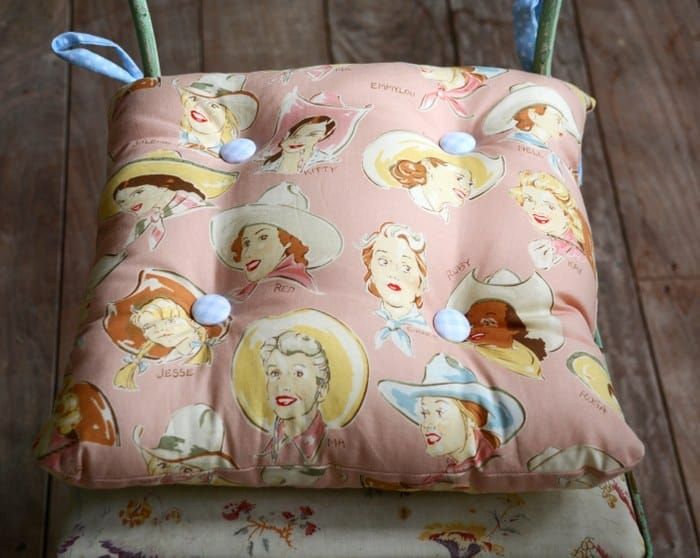
DIY Chair Cushion with Ties
Looking to add some cozy charm to your seating area? Creating a DIY chair cushion with ties is a fun and simple project that will instantly elevate the comfort and style of your space. By customizing the fabric and thickness of the cushion, you can tailor it to suit your taste and needs perfectly. The ties not only add a decorative touch but also keep the cushion securely in place. Get creative with different patterns and colors to match your decor, and enjoy a comfortable and personalized seating experience with your handmade chair cushion. Happy crafting!
Equipment
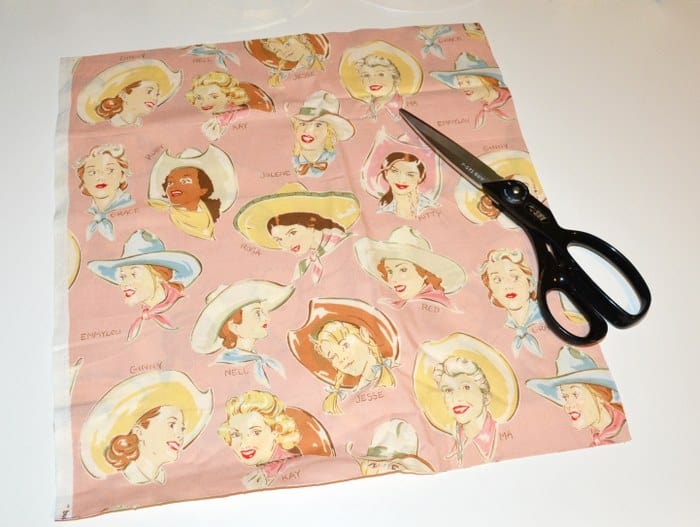
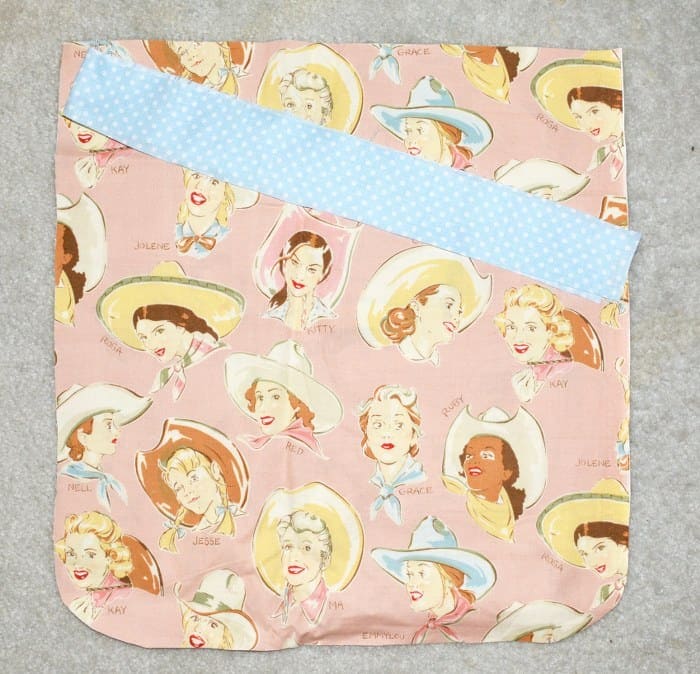
Once you decide on the size, cut two pieces, one front and one back. Stack the pieces together and fold in half. Cut the bottom edge to be rounded.

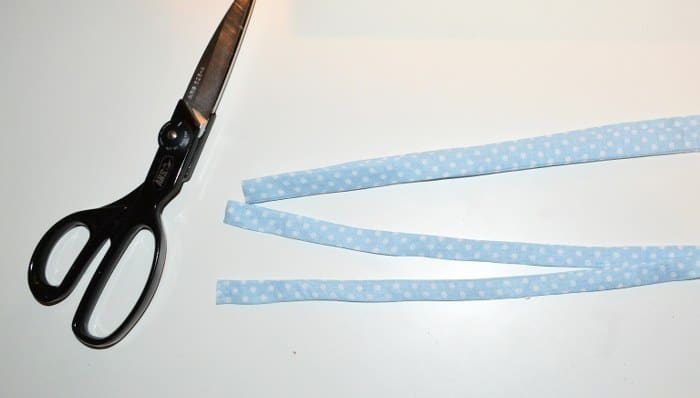
Cut two ties to be 20"x 2".
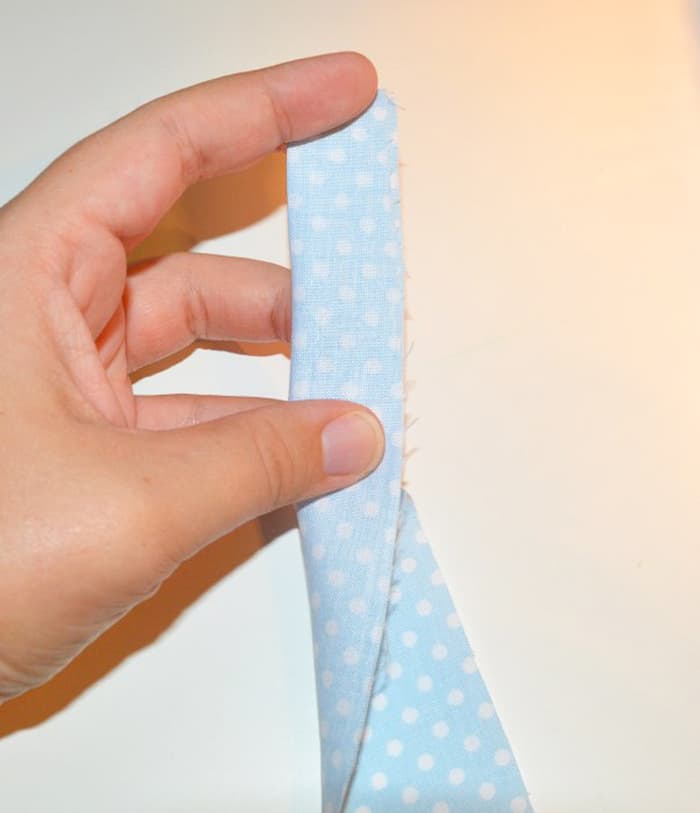
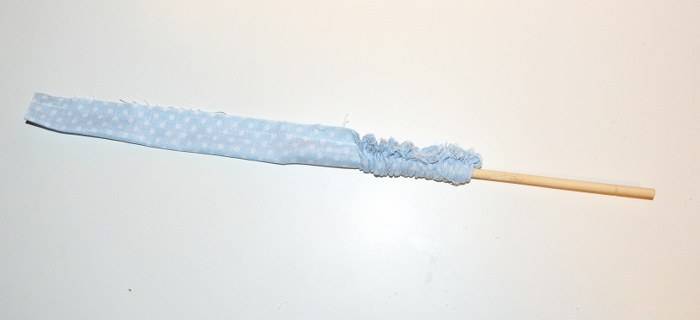
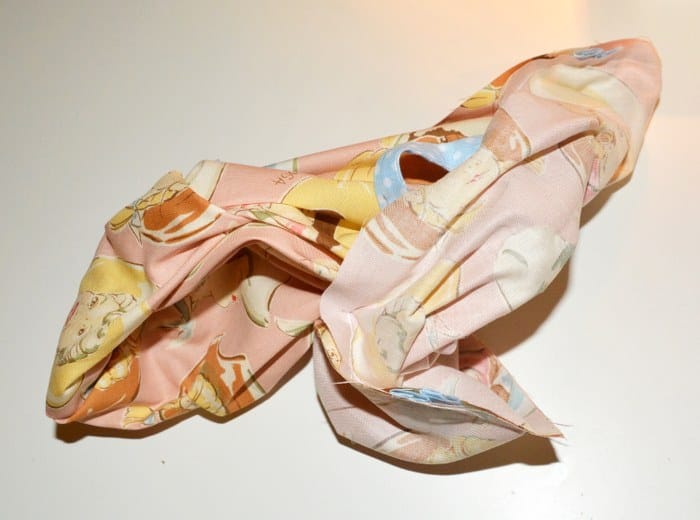
Turn the tie right side out. Fold a little of the open in to the inside and stitch across the end, closing up the open end.
Cut tie in half. Repeat with other tie.
Pin your ties in between the front and back piece. The front and back should be right sides together. Pin the ties about an inch and a half in from the sides.Make sure the ties are facing in towards the center of the cushion and the raw edges are lined up at the back. You need two ties on the right side and two at the left on what will be your back seam. Pin it all together.

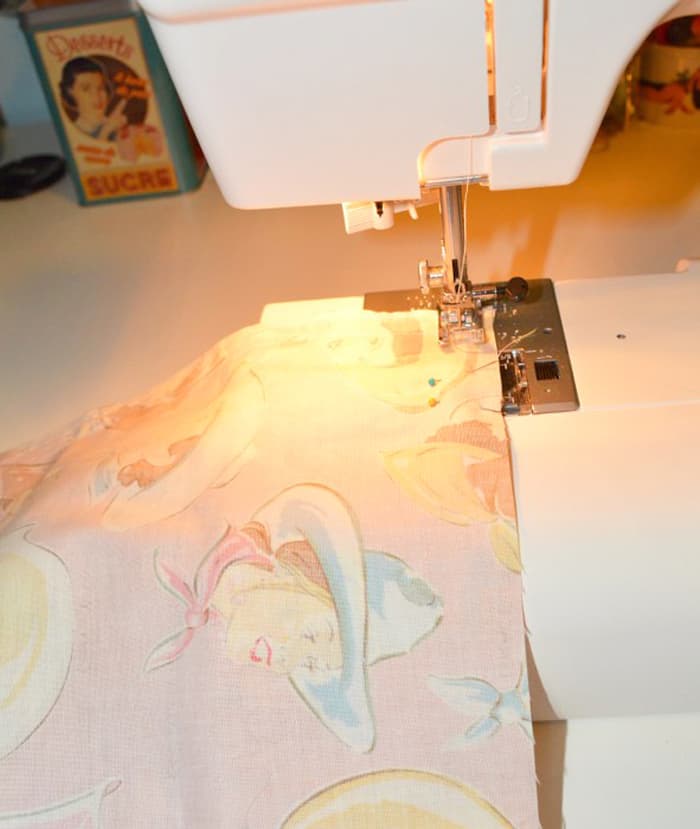
Stitch across the back then pivot and stitch down the side, across the bottom, up the other side and then across the back until right past the left set of ties. You should have an opening left in the back between the ties for stuffing.
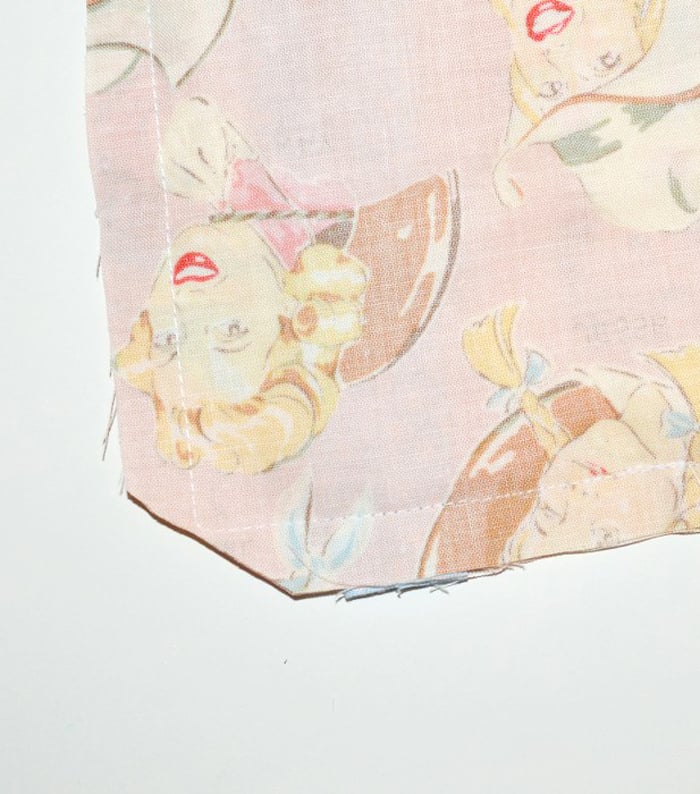
Clip corners and curves close to the seam.
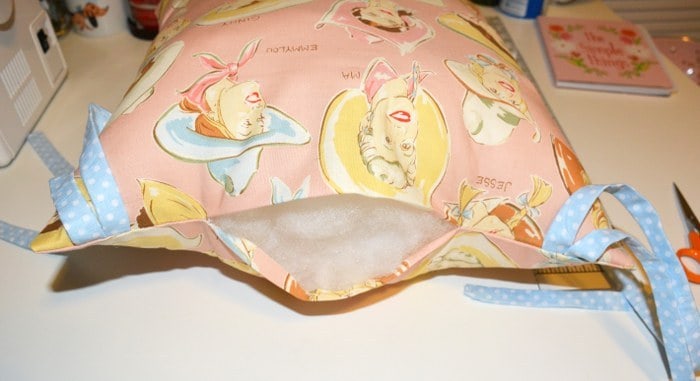
Turn your cushion right side out.
Stuff your cushion with polyfill or other stuffing of your choice. Stitch up the opening in the back with your hand needle and thread using a blind stitch, ladder stitch, or a whip stitch. You can leave your cushion like this or you can add buttons.
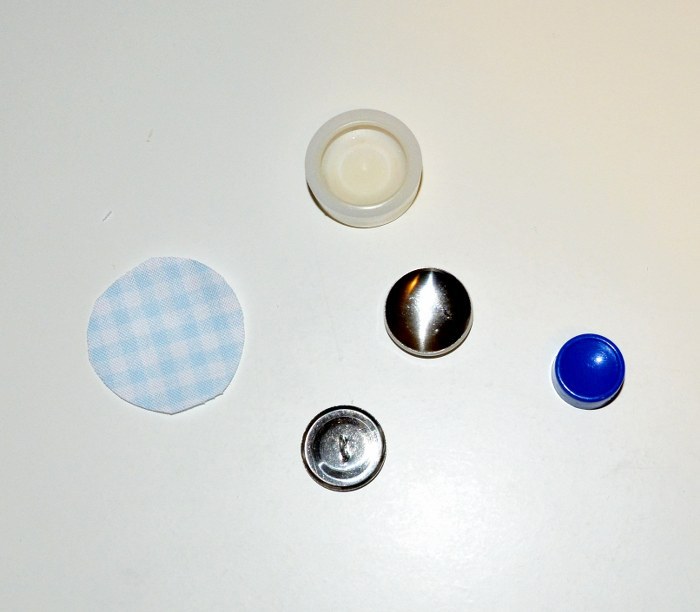
To make covered buttons, cut a piece of fabric with the template included in your kit. Then follow the instructions for your kit to assemble the button(s).
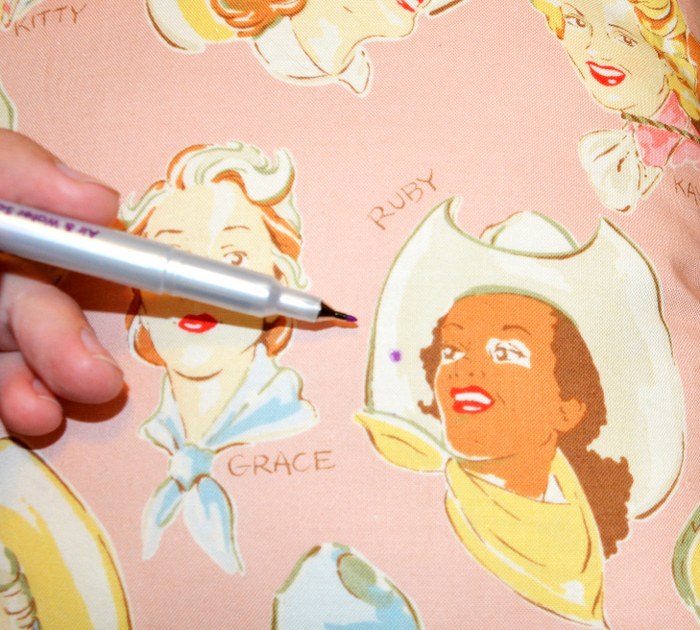
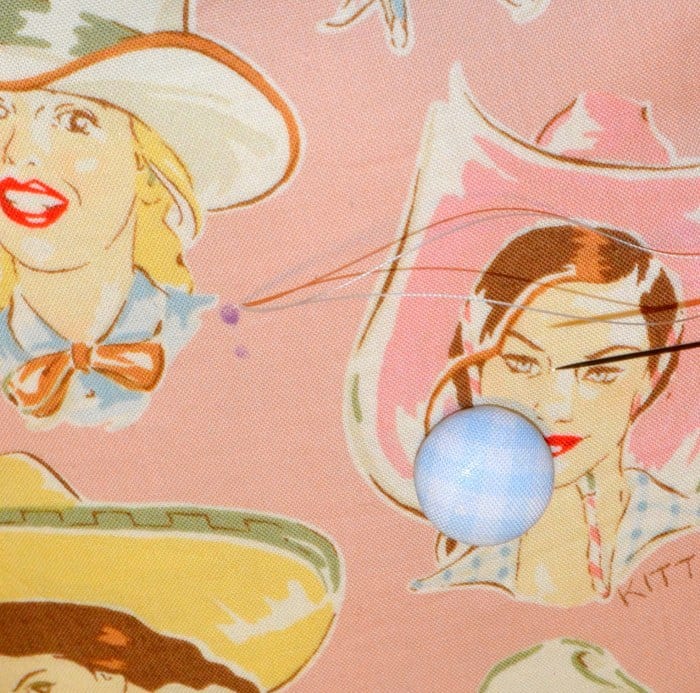
Measure and mark where you want your buttons to go. Mark the placement on the front and back of the cushion.
Bring your threaded needle up from the bottom through the marked spot.
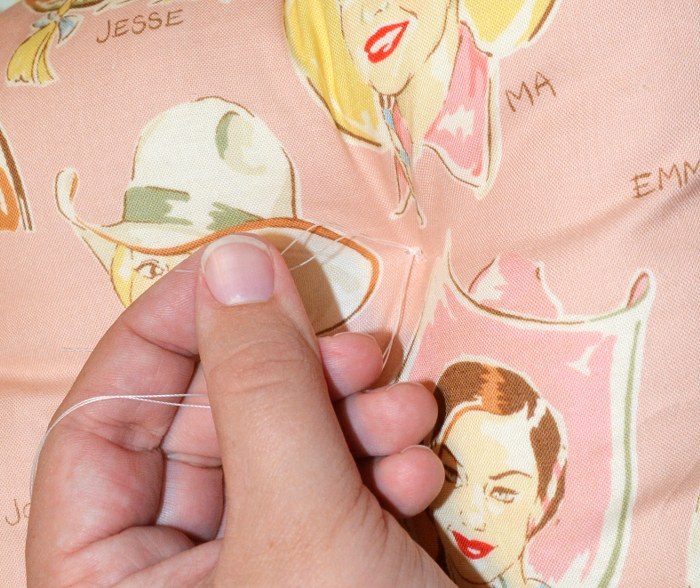
Pull the thread tightly so that the button sinks into the pillow. Tie off the thread with a couple of knots.
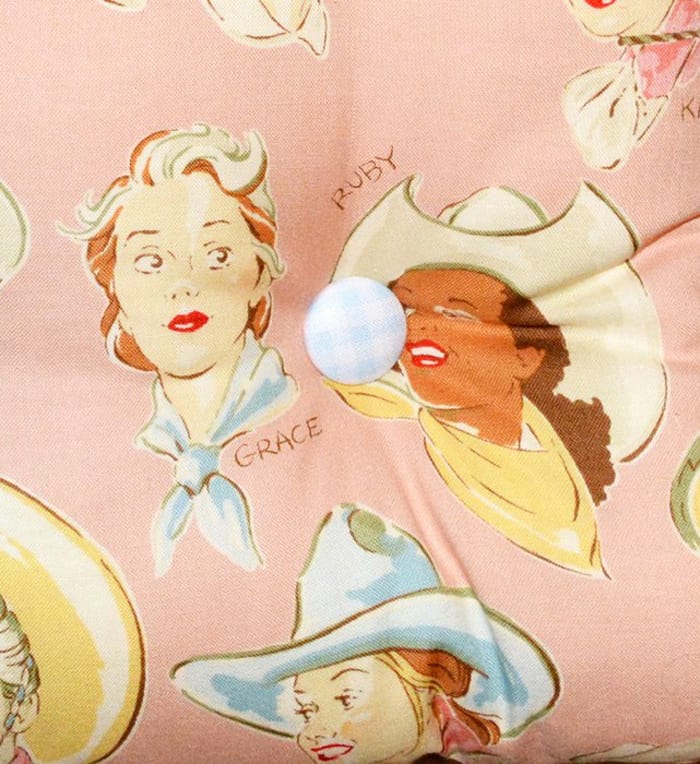
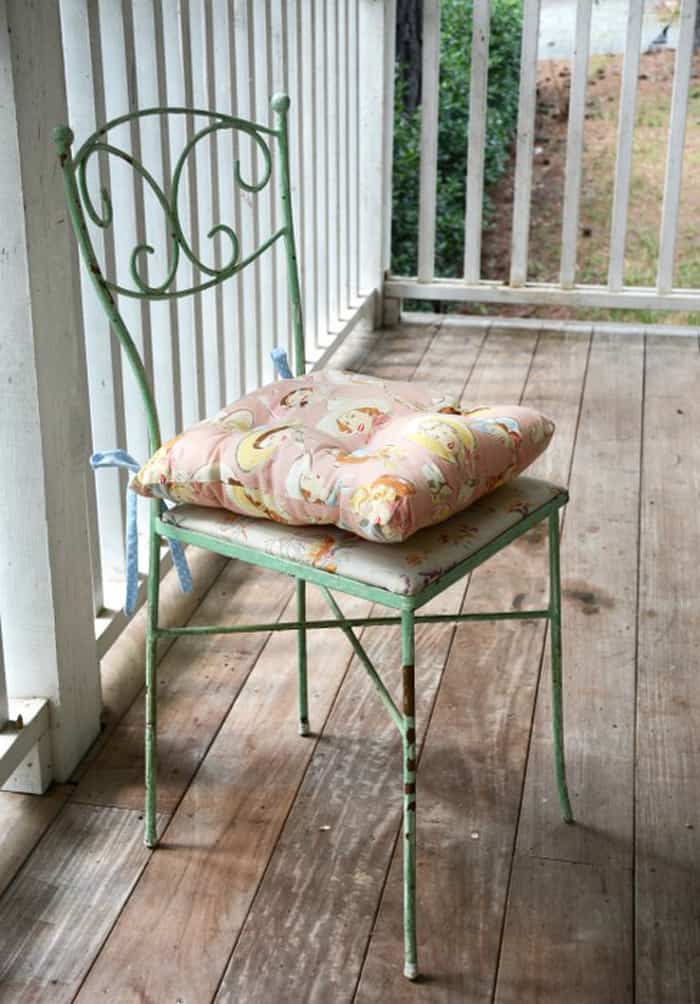
Clip the excess. Repeat with your other buttons. Finish by tying your cushion to the chair.
Instructions for my kit were to place the fabric right side down into the rubber cup. insert the top of the button face down into the cup. Gather the fabric into the back side of the button front.