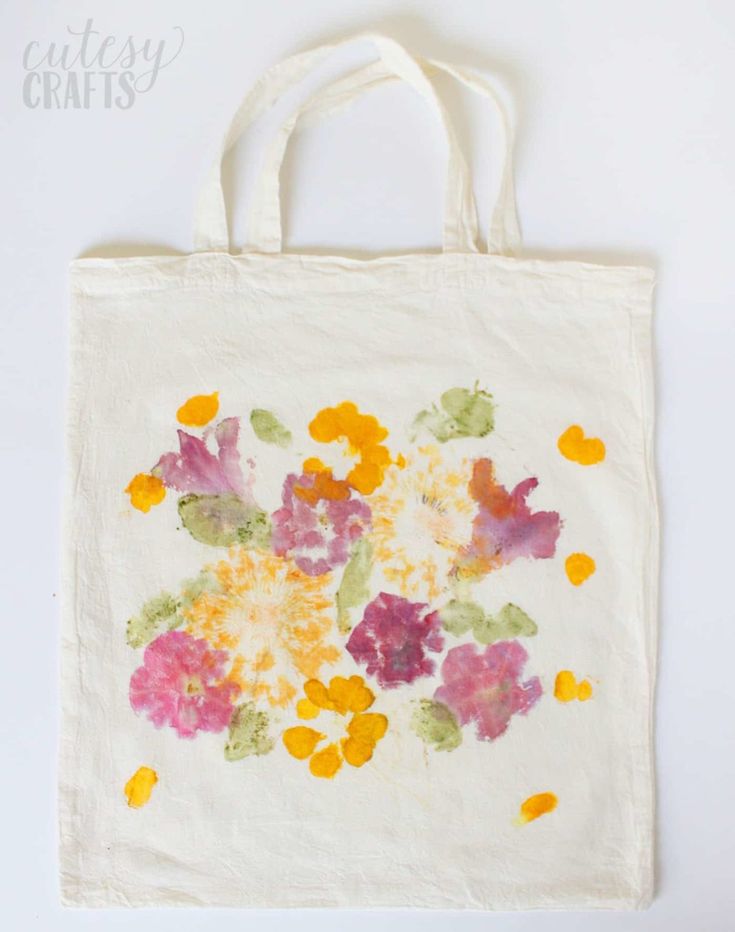
DIY Pounded Flower Tote
Are you ready to add a touch of nature to your everyday style? The DIY Pounded Flower Tote is the perfect craft project for you to unleash your creativity! With a friendly tone, this project is not only fun and easy but also a great way to personalize a plain tote bag into a unique and eye-catching accessory. By pounding fresh flowers onto the fabric, you can create beautiful and vibrant designs that will make your tote stand out from the crowd. So, grab your favorite flowers, a plain tote bag, and let's get crafty!
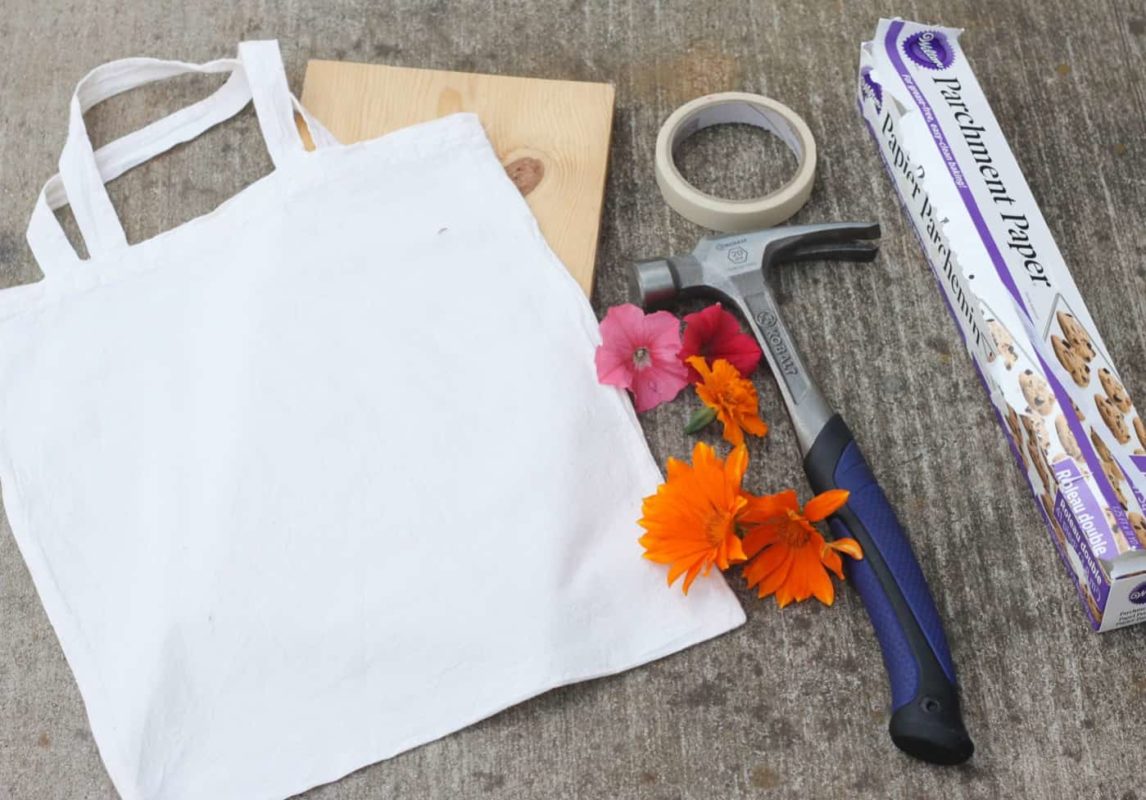
Equipment
- Rubber gloves
- Board
- Hammer
- Cotton tote
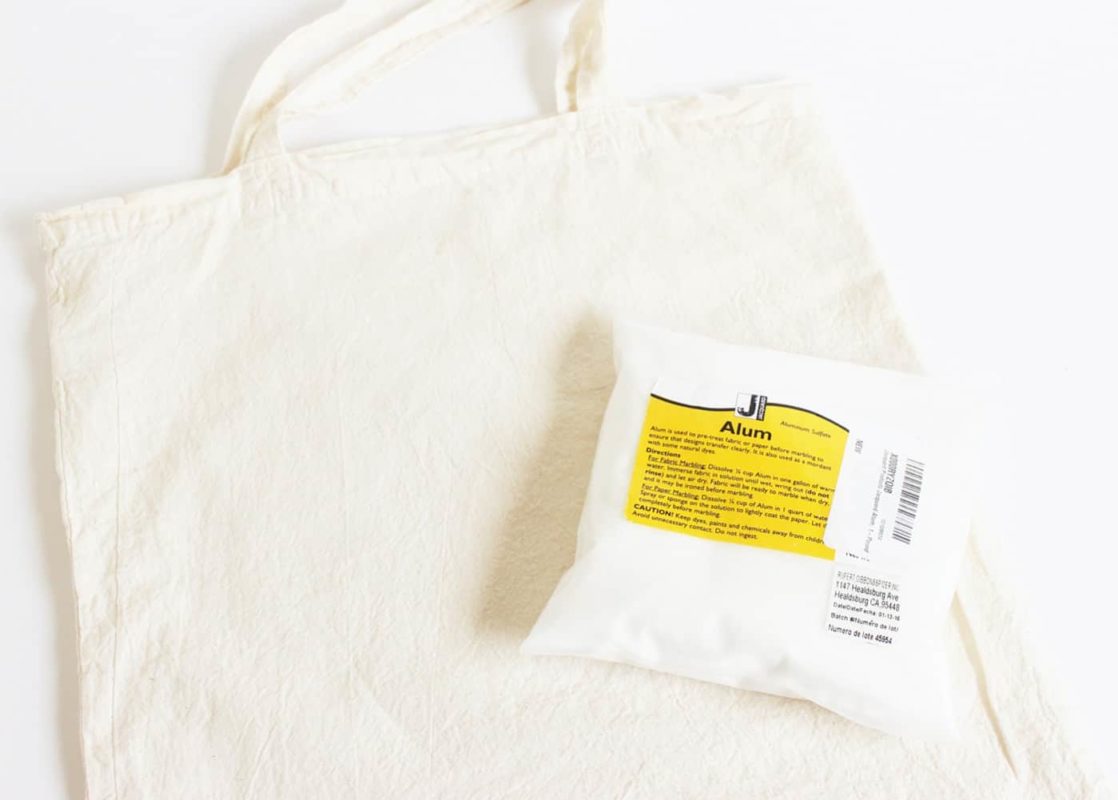
- Alum powder
- Parchment paper
- Masking tape
- Flowers
Dissolve 1/4 cup of alum in two cups of hot water. Soak the bag in the mixture, wring it out, and let it air dry. Iron to get out the wrinkles.
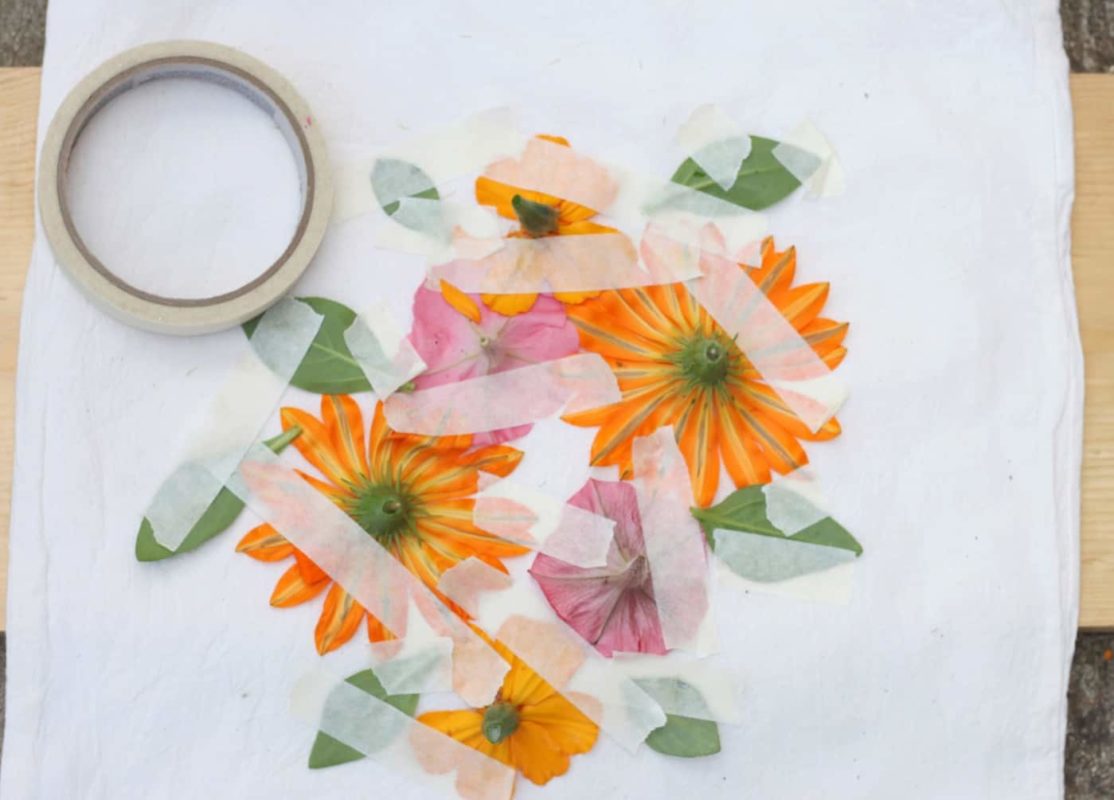
Gather flowers and leaves. If the flower is really full, with lots of layers of petals, you'll want to pluck a bunch off first, so the prints come out nicer. Lay your flowers out on the bag, and secure them with lots of masking tape.
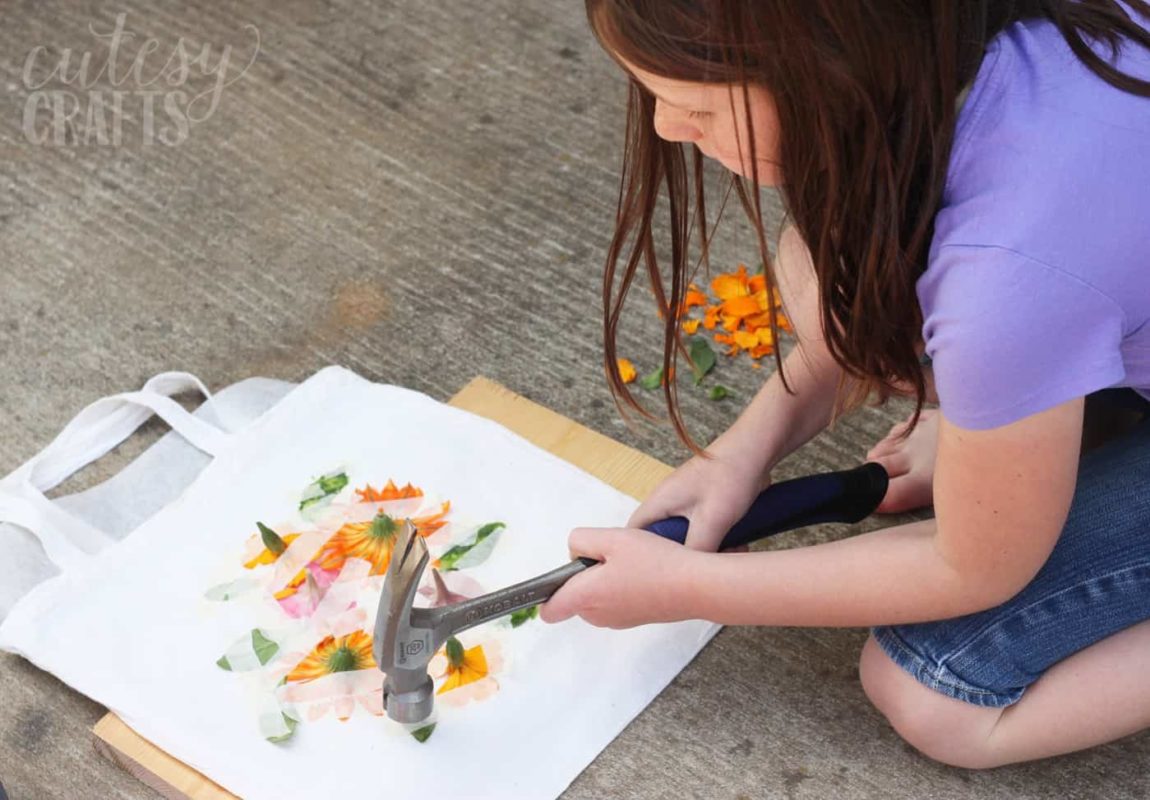
Put the bag on top of your board and hammer away. Make sure you hit every part of the flowers.
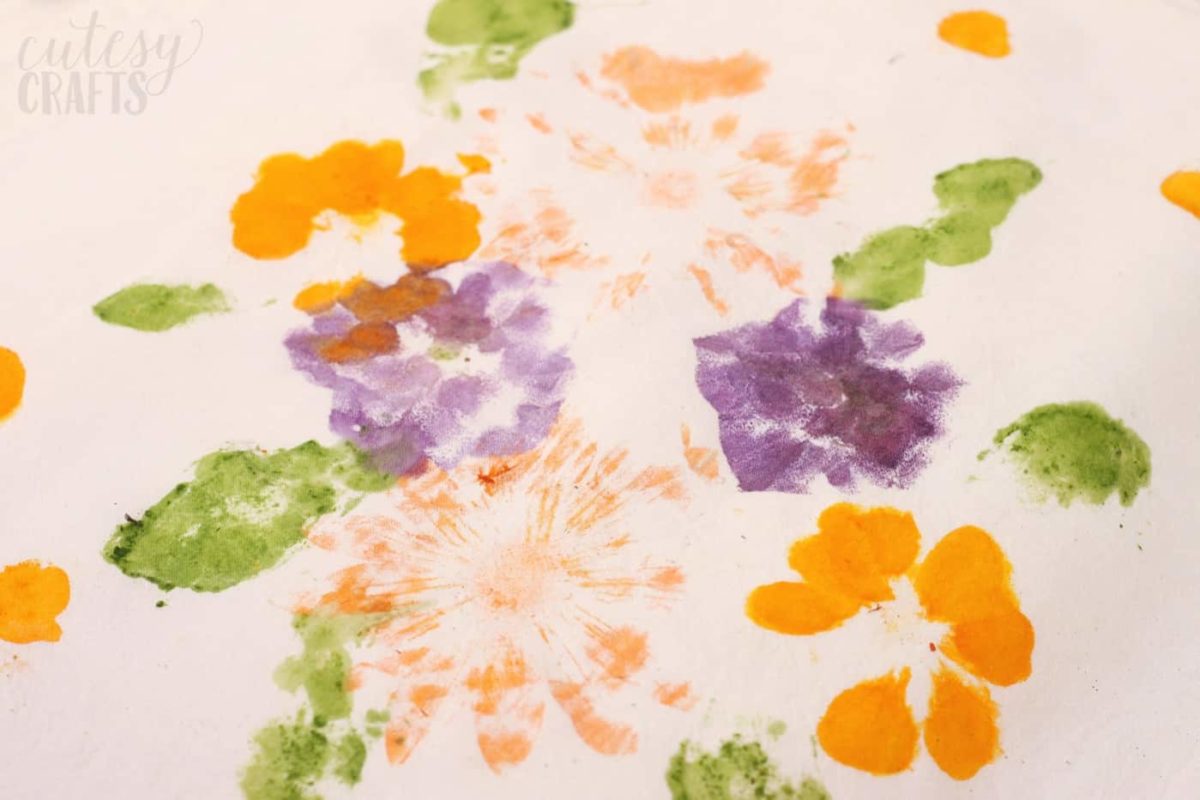
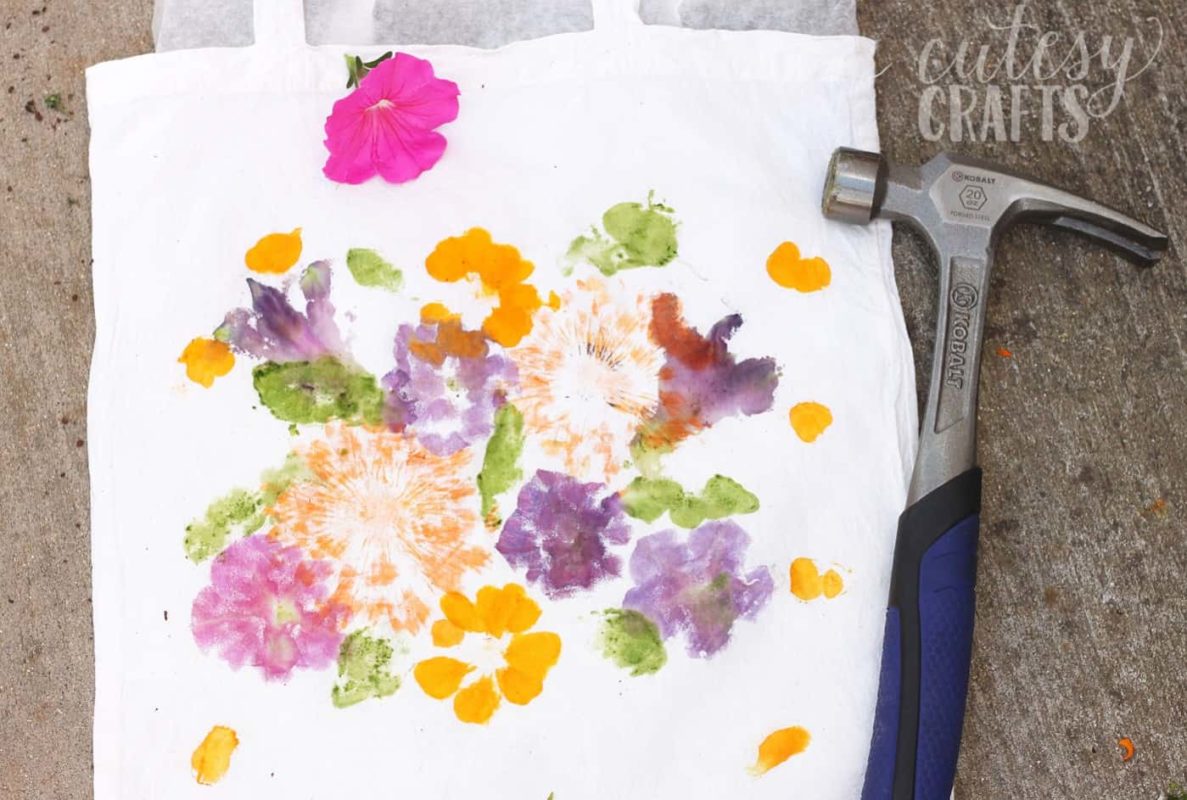
Peel the flowers and tape off to reveal your print. Add some additional flowers in random areas and hammer as needed.
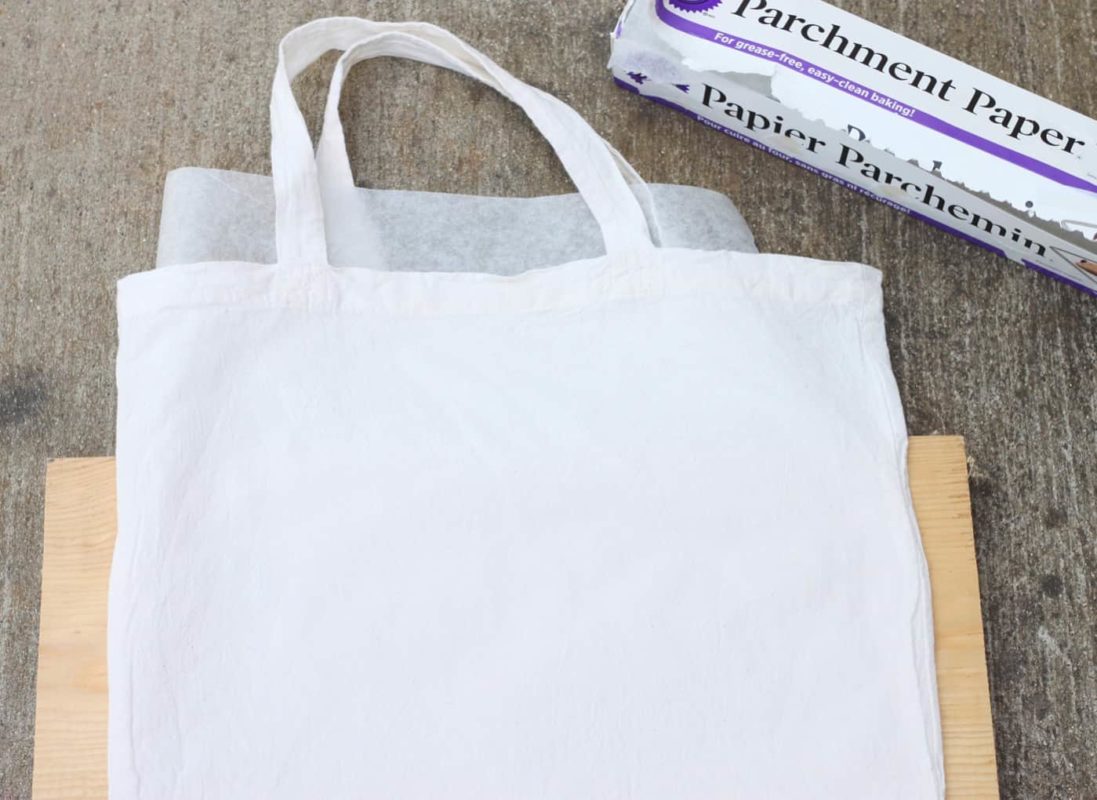
When you are done, let everything dry, then put another piece of parchment paper on top of the bag and iron over your design with a hot, dry iron on the highest setting. This will help the colors set in and keep them from fading.
At first we had some flower prints that turned out just looking like a bunch of dots/hammer marks. It’s a good idea to try it out on some scrap fabric or paper first.