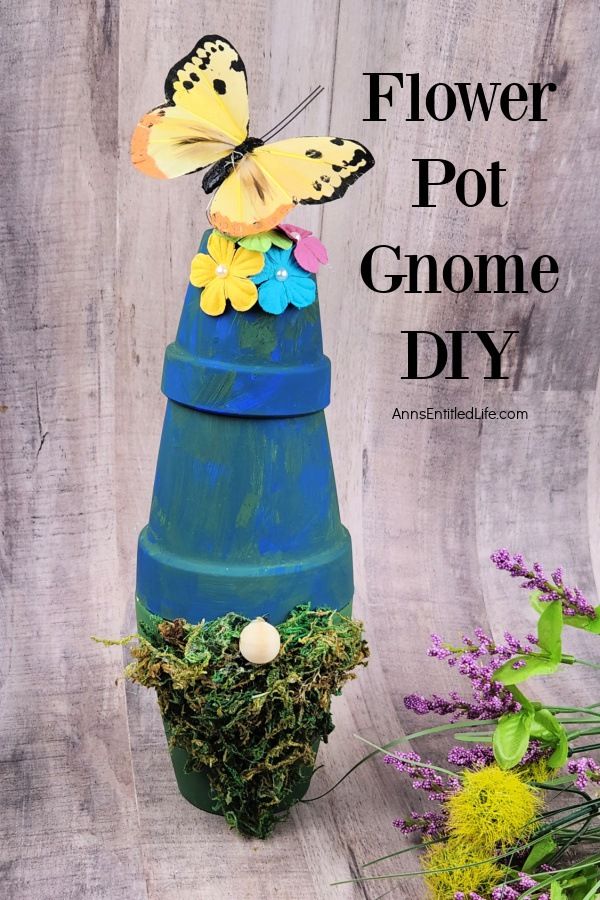
DIY Flower Pot Gnome
Creating your own DIY Flower Pot Gnome is a delightful and whimsical way to add charm to your garden or home décor. All you need are some clay pots, paint, and creativity to bring these adorable little creatures to life. Whether you choose vibrant colors or earthy tones, each gnome you make will surely bring a smile to your face and a touch of magic to your surroundings. Get ready to unleash your imagination and have fun crafting these lovable garden companions!
Materials
- (1) 2.5-inch Clay Pots
- (2) 3.5-inch Clay Pots
- Glue Sticks
- Blue Paint
- Green Paint
- 1 Package Moss
- 1 Small Wooden Bead
- Flower Embellishments (or embellishment items of choice)
- Decorative Butterfly
Tools
- Paint Brush
- Art Easel
- Scissors
- Hot Glue Gun
- Self Healing Mat
Instructions
- Cover your work surface against paint, burns, and cuts.
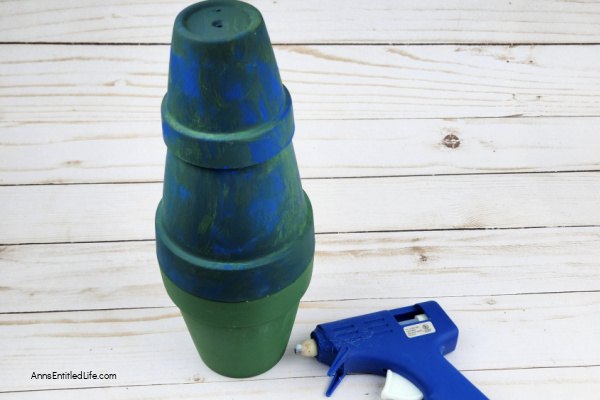
- Paint the flower pots. One large pot was painted green, then the other two pots were painted a mixture of blue and green. You can paint any colors you choose, and mix and match as desired. The bottoms of the large pots do not need to be painted but the small pot does. Allow the flower pots to dry completely.
- Use a hot glue gun to glue the two large pots together. You will be gluing them rim to rim.
- Glue the small pot on top of the blue and green pot. This will be the rim of the small pot onto the bottom of the large pot.
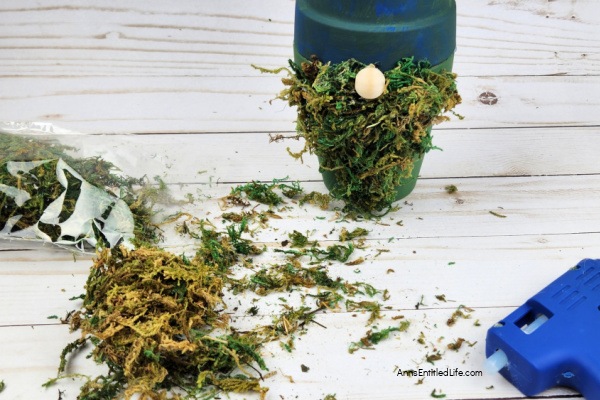
- On the large green pot, use hot glue to glue the moss into a V shape on one side of the pot. This will make our gnome beard. You may need to glue in layers in some areas. You can also go out to the sides a little around the rim of the pot if you want your gnome to have a mustache.
- Glue the wood bead in the center top of the wide part of the moss. If you need to add more moss to the sides of the bead you can add more so that it looks like hair under and around the nose.
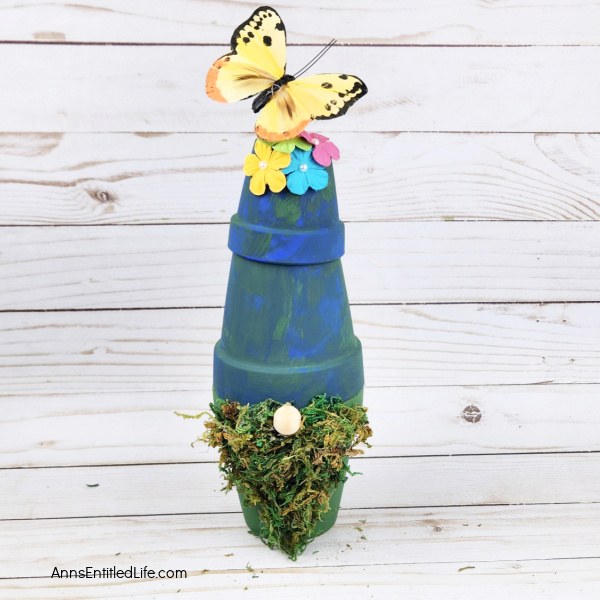
- Glue the flowers and butterfly to the top of the flower pot.
- Display as desired.
No comments
Write a comment