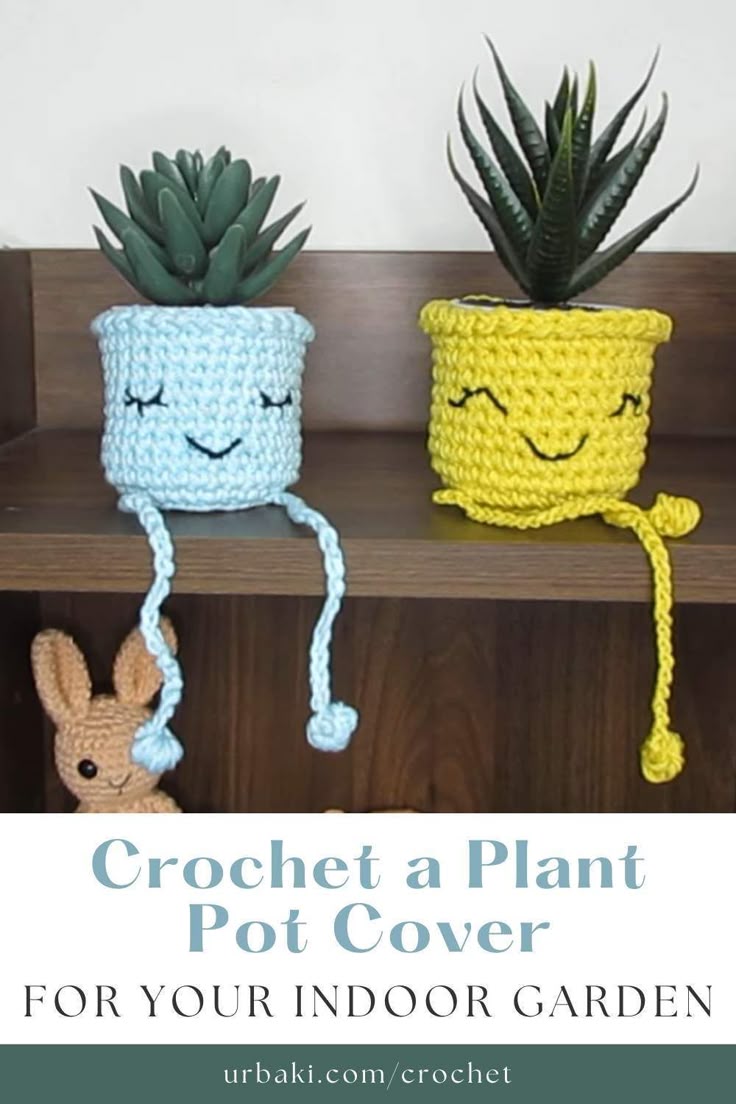
Crochet Plant Pot Cover
Crochet plant pot covers are fantastic additions to your home decor! These charming covers add a touch of warmth and coziness to your plants, elevating your space with a handmade feel. Not only do they look adorable, but they also provide a personal touch to your plant display. Whether you choose a vibrant color or a subtle pattern, these covers are sure to bring a smile to your face every time you see them. So why not add a little bit of handmade charm to your plants with a delightful crochet plant pot cover?
Materials Needed
Yarn: Choose a medium-weight yarn in your favorite color. Cotton yarn is a great choice as it provides good structure.
Crochet Hook: Use a size H (5mm) crochet hook.
Scissors: For cutting the yarn.
Yarn Needle: For weaving in ends.
Basic Stitches Used
Chain (ch): The foundation of most crochet projects.
Slip Stitch (sl st): Used to join rounds and create a seamless finish.
Single Crochet (sc): A simple and sturdy stitch perfect for beginners.
Double Crochet (dc): Adds texture and height to your work.
Instructions
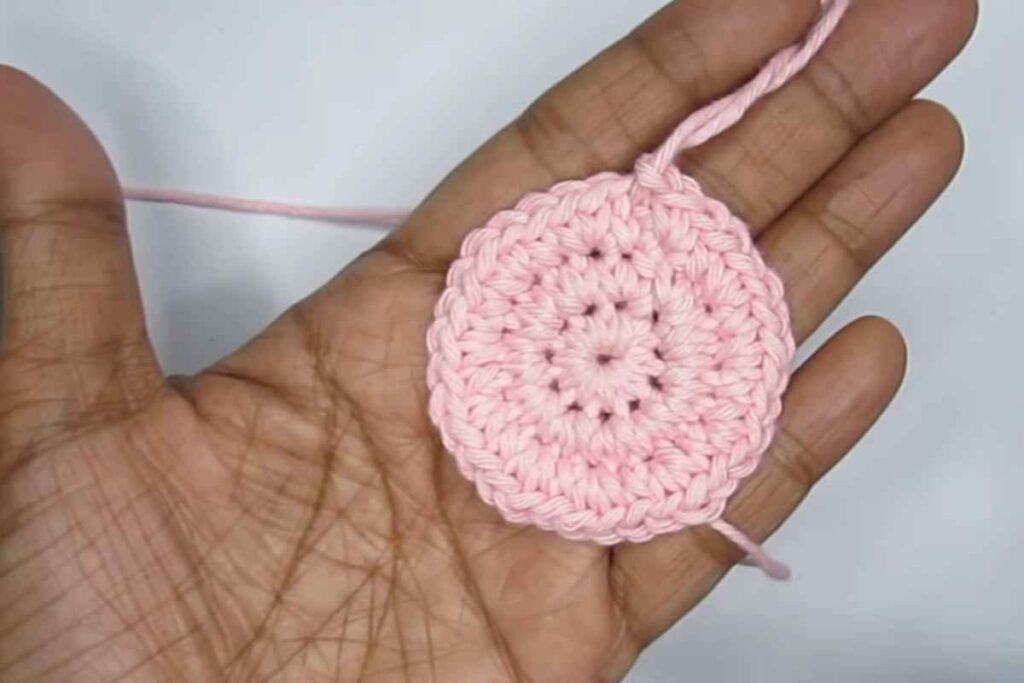
Step 1: Create the Base
Start with a Magic Ring: This technique helps create a tight, adjustable loop. Alternatively, you can chain 4 and join with a slip stitch to form a ring.
Round 1: Chain 1, work 6 single crochets into the ring. Join with a slip stitch to the first sc.
Round 2: Chain 1, work 2 single crochets in each stitch around (12 sc). Join with a slip stitch.
Round 3: Chain 1, 1 sc in the next stitch, 2 sc in the next stitch around (18 sc). Join with a slip stitch.
Round 4: Chain 1, 1 sc in the next 2 stitches, 2 sc in the next stitch around (24 sc). Join with a slip stitch.
Round 5: Chain 1, 1 sc in the next 3 stitches, 2 sc in the next stitch around (30 sc). Join with a slip stitch.
Continue increasing in this pattern until the base matches the diameter of your plant pot.
Step 2: Build the Sides
Foundation Round: Chain 1, work 1 sc in the back loop of each stitch around. This creates a nice edge and transitions from the base to the sides. Join with a slip stitch.
Subsequent Rounds: Chain 1, work 1 sc in each stitch around. Join with a slip stitch. Repeat this round until the cover reaches the desired height for your pot.
Step 3: Add Decorative Touches
Double Crochet Rounds: For a textured look, alternate between rounds of single crochet and double crochet.
Double Crochet Round: Chain 2, work 1 dc in each stitch around. Join with a slip stitch.
Single Crochet Round: Chain 1, work 1 sc in each stitch around. Join with a slip stitch.
Finish with a Border: To give the top edge a finished look, consider adding a decorative border such as a scallop or picot edge.
Scallop Edge: Skip 1 stitch, 5 dc in the next stitch, skip 1 stitch, sl st in the next stitch. Repeat around.
Picot Edge: Single crochet in the next stitch, chain 3, sl st in the first chain (picot made), skip 1 stitch, single crochet in the next stitch. Repeat around.
Step 4: Weave in Ends
Use a yarn needle to weave in all loose ends securely.
Customization Ideas
Color Stripes: Add stripes by changing yarn colors every few rounds.
Embellishments: Attach small crocheted flowers or buttons for a whimsical touch.
Different Stitches: Experiment with different crochet stitches to create unique textures and patterns.
No comments
Write a comment