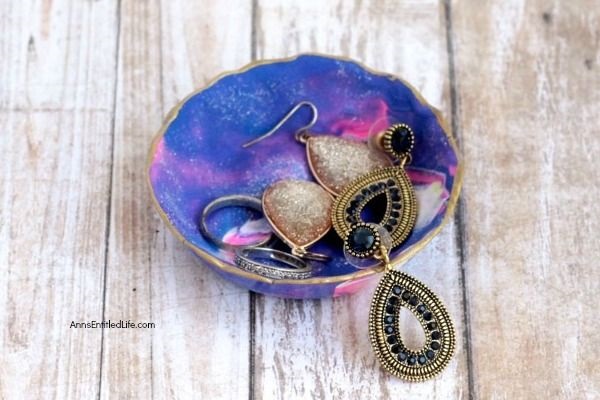
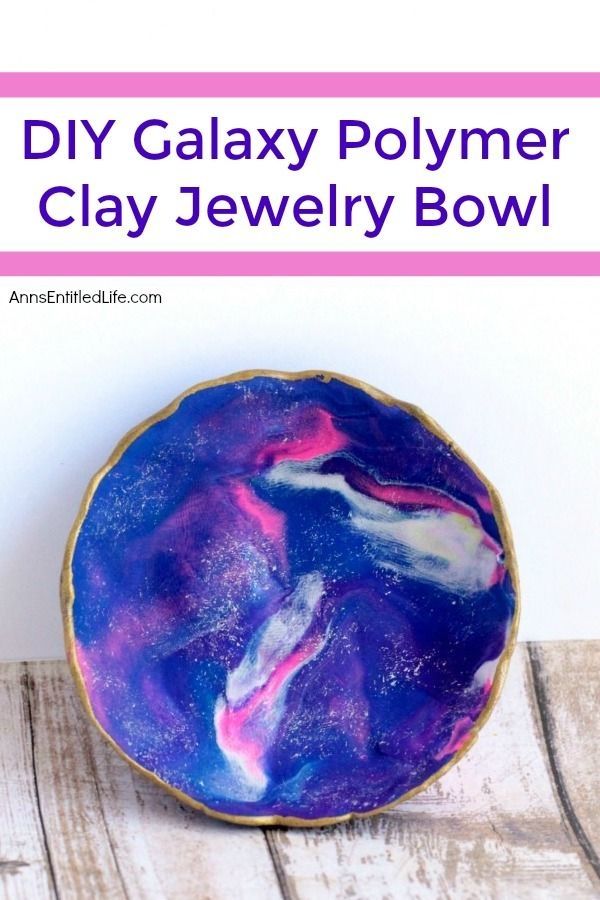
Making your own DIY galaxy polymer clay jewelry bowl is a fun and creative way to add a touch of magic to your space! With just a few simple materials like polymer clay, acrylic paint, and some gold leaf flakes, you can create a stunning and unique jewelry bowl that is perfect for storing your favorite pieces. Let your imagination run wild as you blend different colors and swirls to create your own mini galaxy. It's a fantastic DIY project that allows you to express your artistic side and showcase your jewelry in style!
DIY Galaxy Polymer Clay Jewelry Bowl Materials:
● Polymer Clay in blue, pink, purple, and white
● Clear Glass Bowl – that can be baked at a temperature of 275°F
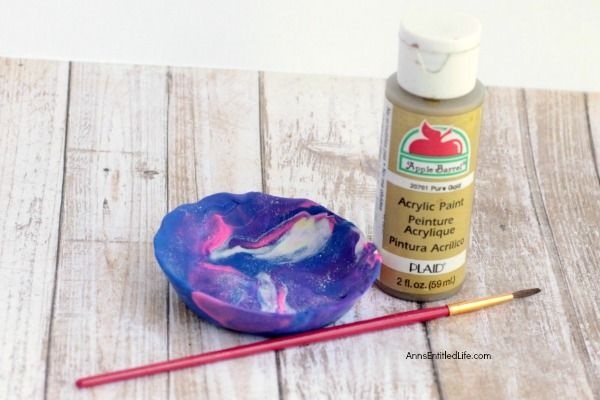
● Gold Acrylic Paint
● White Acrylic Paint
● Fine Tip Artist Paintbrush
DIY Galaxy Polymer Clay Jewelry Bowl Directions:
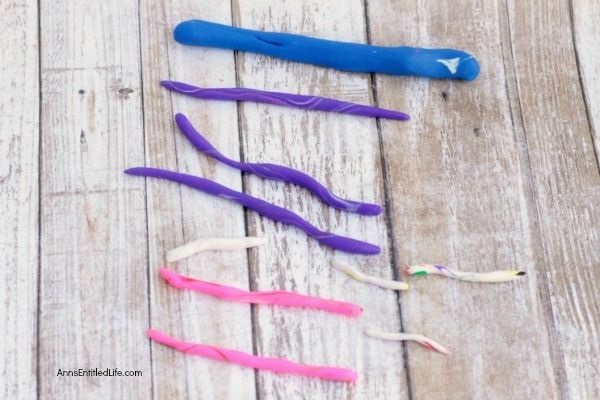
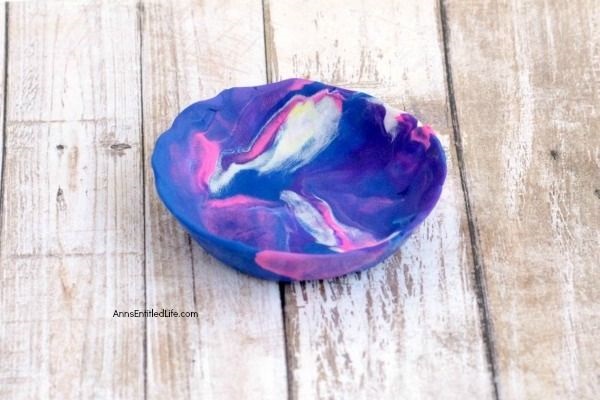
● Making the galaxy print is similar to making any marble print with clay. You will need to use mostly blue, with accents of purple, white, and pink.
● Roll out your clay into snakes and wind them around each other.
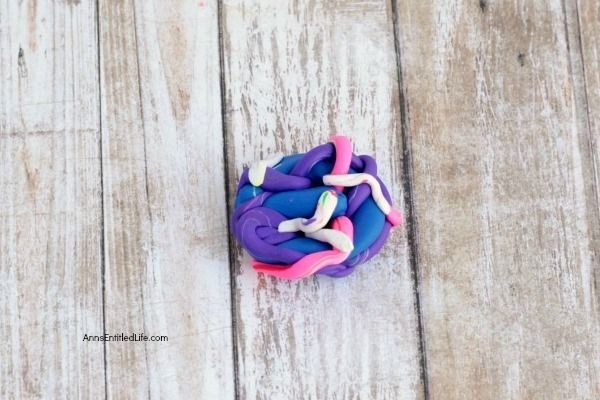
Curl the clay snake into a ball and gently press the clay together. Slowly work the clay together to position the galaxy print the way you want it. However, be careful not to work the clay too much, or you will lose the definition between the layers.

Once you are satisfied with the design, press it into the bottom of your glass bowl.
● Press the clay into the bowl until it is about ¼ of an inch thick and about 2 inches high on the sides.
● Make any adjustments to the shape at this point, as you will not be able to change the shape or design after baking.
Place the glass bowl in the oven at 275 degrees Fahrenheit for 15-20 minutes.
● Let the clay completely cool in the bowl before removing it.
Dab small spots of white paint over the surface and inside of the bowl to give your galaxy stars.
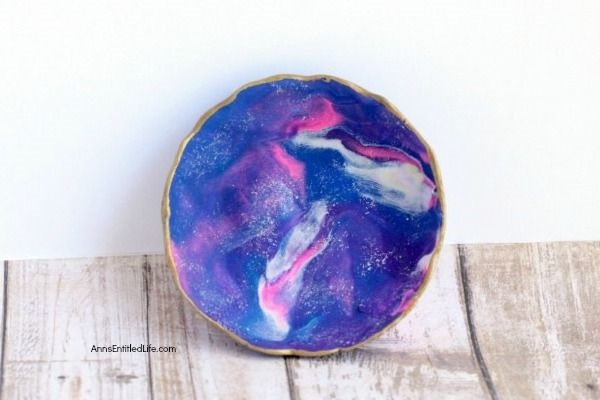
Paint a gold edge around the rim of the bowl to give it a finished look.
● Let the acrylic paint dry, then your bowl is ready to use!