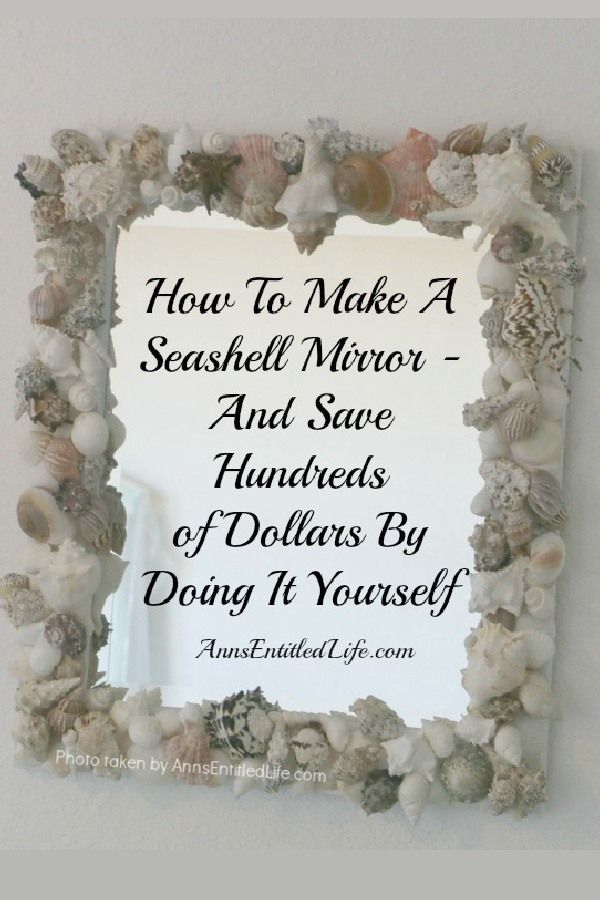
DIY Seashell Mirror
Creating your own DIY seashell mirror can bring a touch of coastal charm to any room in your home! Collect different shapes and sizes of seashells from your beachcombing adventures, then simply glue them around the frame of a mirror to create a stunning piece of decor that will remind you of sunny days at the beach. This fun and easy project allows you to get creative with different shell arrangements, adding a personal touch to your home decor. So grab your shells, grab your glue, and get ready to bring a bit of the beach into your living space!
US Shell, 36 Piece, White Scallop Sea Shells, 4 to 5 Centimeters in Size – Clam shells formed the bottom base. I ordered one pack, and my frame is 24″ x 28″. The one pack covered most (but not all) of the frame. That was ok, because there were other clamshells in the other packs I purchased.
Hinterland Trading Sea Shells for Decoration, 1-Pound, White – these were smaller and I wish I had ordered a second package. They hid a multitude of sins!
● U.S. Shell, Inc. Large Designer Bag– I purchased two bags of these, and I was glad I did. They were larger, and covered a great area. They were an excellent value for the money, and I did a pick-and-choose out of both the bags leaving the leftovers for two other projects.
● U.S. Shell, Inc. Shell Mix – this mix was a home run! It had unusual shells that I used as highlights in the corners.
● U.S. Shell, Inc. Extra Tiny Mix Collection – for me these were a complete waste of money. There was no way in hell I was going to hot glue these to fill holes. I would have fried my fingers off. When they say tiny, they mean tiny.
● Activa Décor Sand Floral Candle Sand, 28-Ounce, White – you can get by without the sand. I used it more on my second project. And “white” is definitely in the eye of the beholder on this one. More like er, sand color.
● US Shell, 6 Piece, Assorted White Armoured Starfish – I didn’t use these on this project. They were pretty darned large, and so I used them for other decor.
● Mod Podge – the mod podge is only necessary if you are using the sand.
● Small Paint Brush – a small paint brush – only necessary if you use the sand.
● Glue gun and glue sticks OR Marine Goop! (especially if your area is very humid, but it will take longer to dry and hold in place)
● White Spray Paint – if your frame isn’t white or a light color that works with the beach motif.
● Scissors and/or cutter – to cut off the 2,748,943 strings leftover from the hot glue.
● Rust-Oleum 249845 Painter’s Touch Multi Purpose Spray Paint, 12-Ounce, Satin Clear – to seal it all at the end.
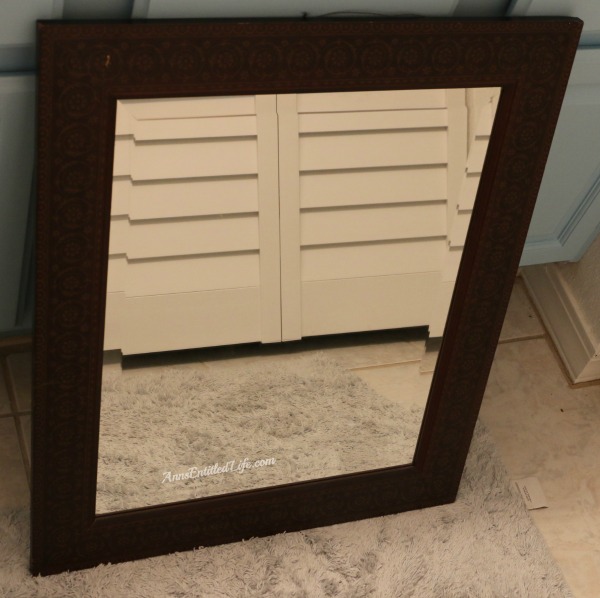
I found a mirror that was 24″ x 28″
I just painted the mirror white. More important than the color was the fact that the frame was fairly wide (2″ around), and flat (so I could adhere the shells).
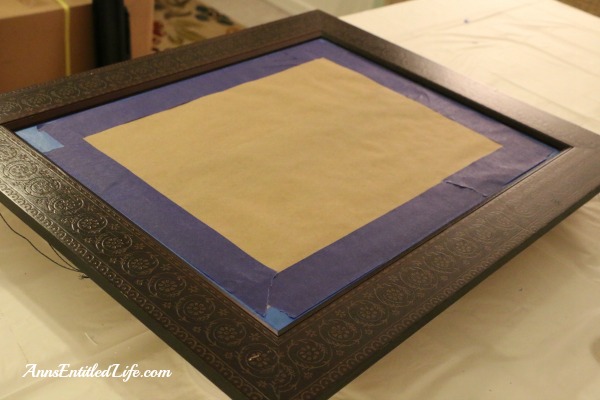
Before painting, I covered the entire frame with painter’s tape and masking paper. I wanted to avoid scraping glue (and paint) off the mirror later.

After I taped off the frame, I gave it a couple of coats of white paint, including the edges, allowing each coat of paint to dry completely.
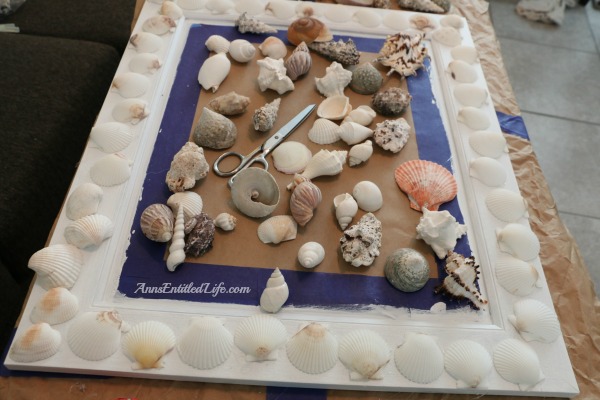
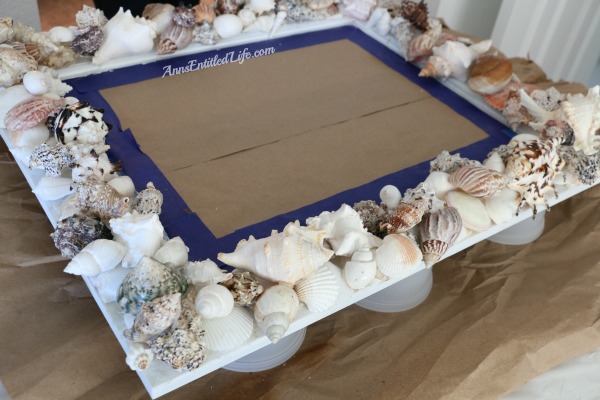
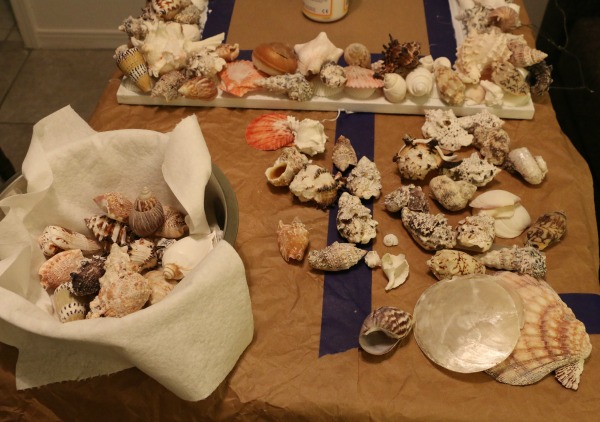
Once dry I set up a table (that I covered) and set to work! The first thing was a bottom layer of clam shells. I wanted a base. I laid out all my clamshells so they covered the frame making certain I had enough before I even started. After that, I just ran my glue gun (on low – I burned myself a few times on high, so low it was!) along the edges of the underside of the shell, and placed it underside-down (with the hot glue) on the frame. It adhered and dried almost immediately, so there really was no moving those shells… they landed where they landed.
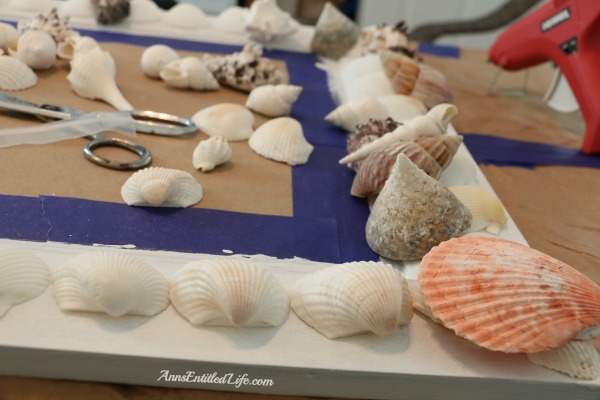
I then set about adding a layer on top of those clamshells, again using the hot glue and gluing the edges of the shells. (Note: you can use Goop or Marine Goop and it will work well and dry clear.)

And then added another layer and another layer, all using the hot glue. I worked the corners first. In my mind, the corners were going to be heaviest, and the middle of each of the sides and bottom was going to be a lighter shell application.

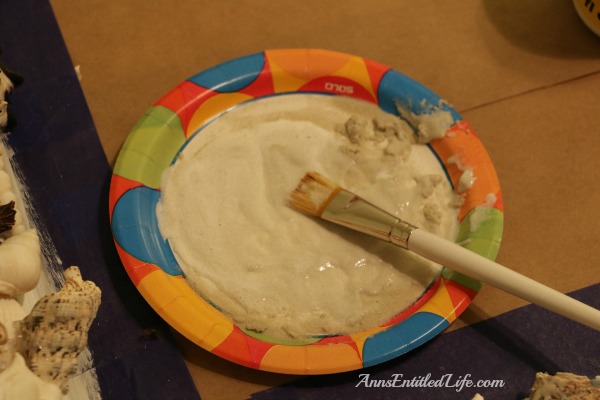
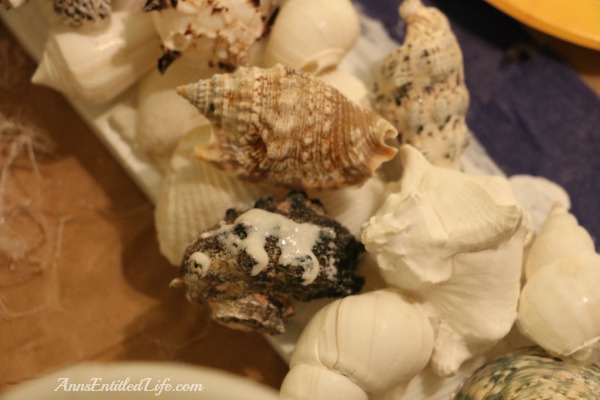
I then saw a few (ok, a whole lot) of imperfections, and so mixed together some sand and mode podge to camouflage a few. In no way did this cover everything (these are natural shells, of course, there will be imperfections!), but I covered more than a few.
Honestly, I could have skipped this step. I don’t feel it added a ton to the overall look of the project.
I then gathered my leftover shells for other projects. I proceeded to clip off all the strings of glue all over the shells! There must have been a hundred of them. Once I thought I was done, a few dozen more seemed to pop-up out of thin air!