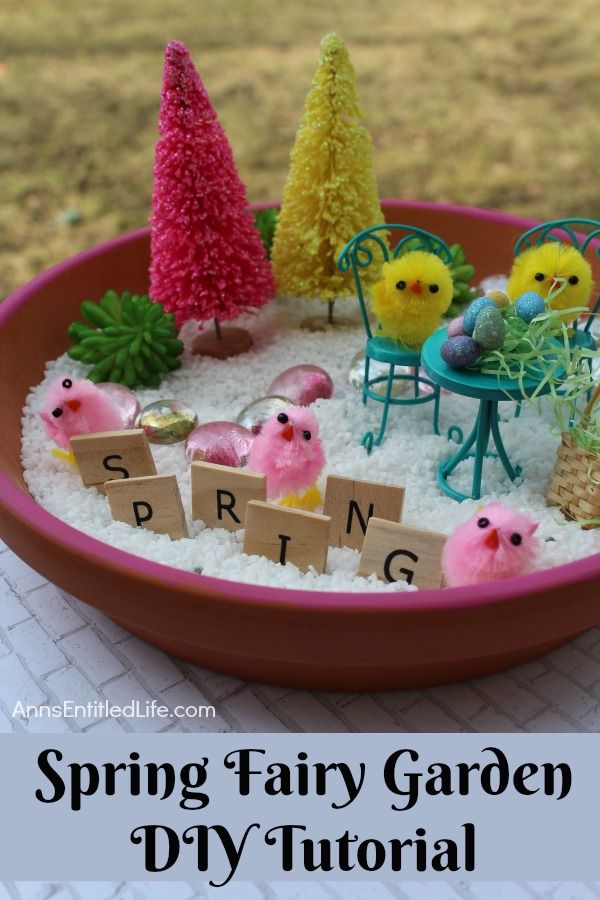
Creating your own DIY Spring Fairy Garden is a delightful way to add a touch of whimsy and magic to your indoor space. With a bit of creativity and some natural materials, you can craft a miniature world that will enchant both young and old alike. Gather tiny plants, miniature furniture, and delicate decorations to bring your fairy garden to life. Let your imagination soar as you design your own little piece of fairy magic right at home.
Spring Fairy Garden Supplies:
● Terra Cotta Flower Pot Saucer, at least 12 inches wide
● Filler such as White Sand, White Mini Stones, or Gravel
● Assorted Glass Gems or Sstones
● Mini Chenille Chicks
● Assorted Small Furniture Pieces (dinette set is ideal)
● Mini Eggs and Basket
● Pastel Colored Trees or Flowers – such as Bottle Brush Trees or maybe these Bottle Brush Trees
● Mini Greenery
● Assorted Wood Letter Tiles
● Enamel Paint: Pastel Colors
● Paint Brushes
● Small Easel or Paper Plate
Spring Fairy Garden Directions:
● Begin by applying a strip of paint in your choice of pastel color around the rim of the terra cotta saucer. If you wish you can color the entire saucer, however, once it is filled it may be hard to see the color, which is why this terra cotta saucer is just painted at the rim.
● Allow the paint to dry completely.
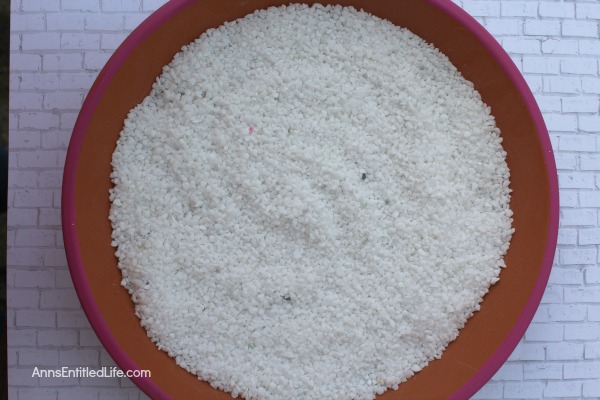
● Fill the terra cotta saucer approximately 2/3 of the way full with a filler such as white sand or white mini gravel.
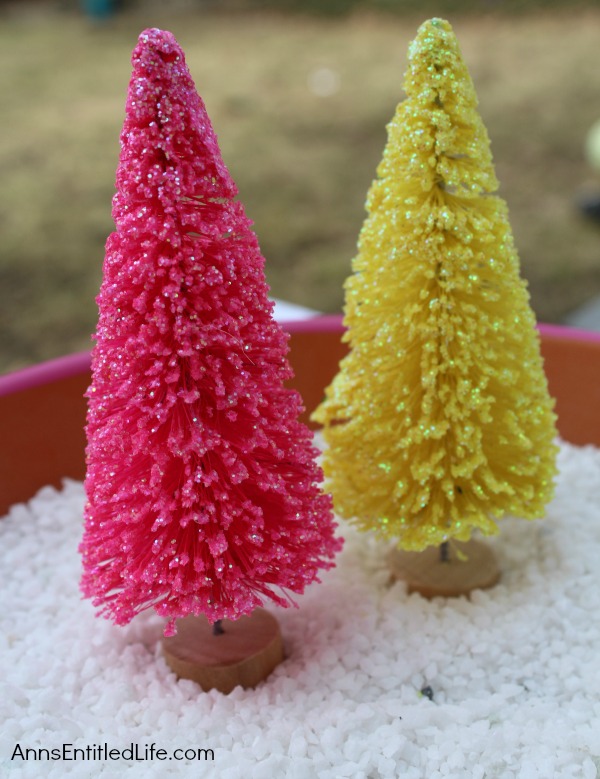
If you are looking to this tutorial as a guide for your miniature fairy garden accessories, place the pastel trees (bottle brush trees were used) along the back of the saucer. They are taller than the rest of the fairy garden items so you want them in the back so as not to obstruct any of the other fairy garden decor from view.
● Push down a bit so the trees remain upright.
● Place some small greenery pieces along the tree line to create shrubs.

Assemble the dinette set. This is set up to look as if the chicks are having a little party. Place a chick to each chair and arranged the dinette set with some mini eggs and grass on top of the table.
● Push into your filler a bit so they remain upright.
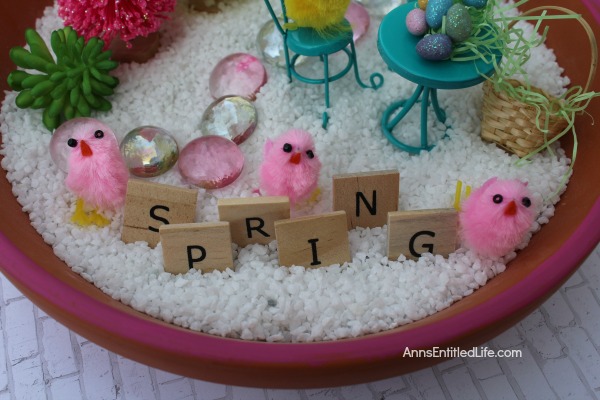
Take some wooden letter tiles or old Scrabble tiles and spell out a word of your choosing. This craft used “Spring”, but “Easter”, “Rebirth”, etc anything that is a has a springy connotation would work. Or, no tiles at all if you do not have them or care for them. If you are using tiles, arrange the tiles so the word(s) is spelled correctly and that the tiles are wedged into the filler allowing them to stand upright.
● Decorate around the tiles with some additional chicks, so it looks like they are hiding behind them or even assembling them.

Add in some additional features, such as a glass stone walkway or additional chicks (or bunnies).
All these spring fairy garden accessories were left unglued so children can play and interact with this spring fairy garden. If you wish for it to be more of a display piece, you can use hot glue to glue the pieces in place.