DIY Pencil Holder
Creating your own DIY pencil holder is a fun and easy way to add a personal touch to your workspace! Not only does this project unleash your creativity, but it also helps to organize your desk space in a stylish manner. Get those creative juices flowing and enjoy making your very own customized pencil holder!
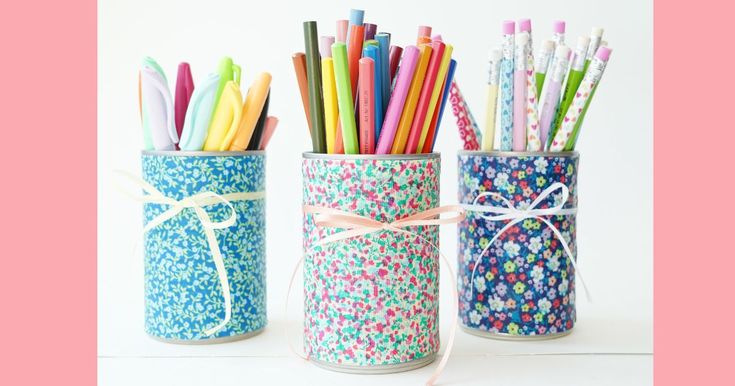
Fabric Covered Tin Can Pencil Holder
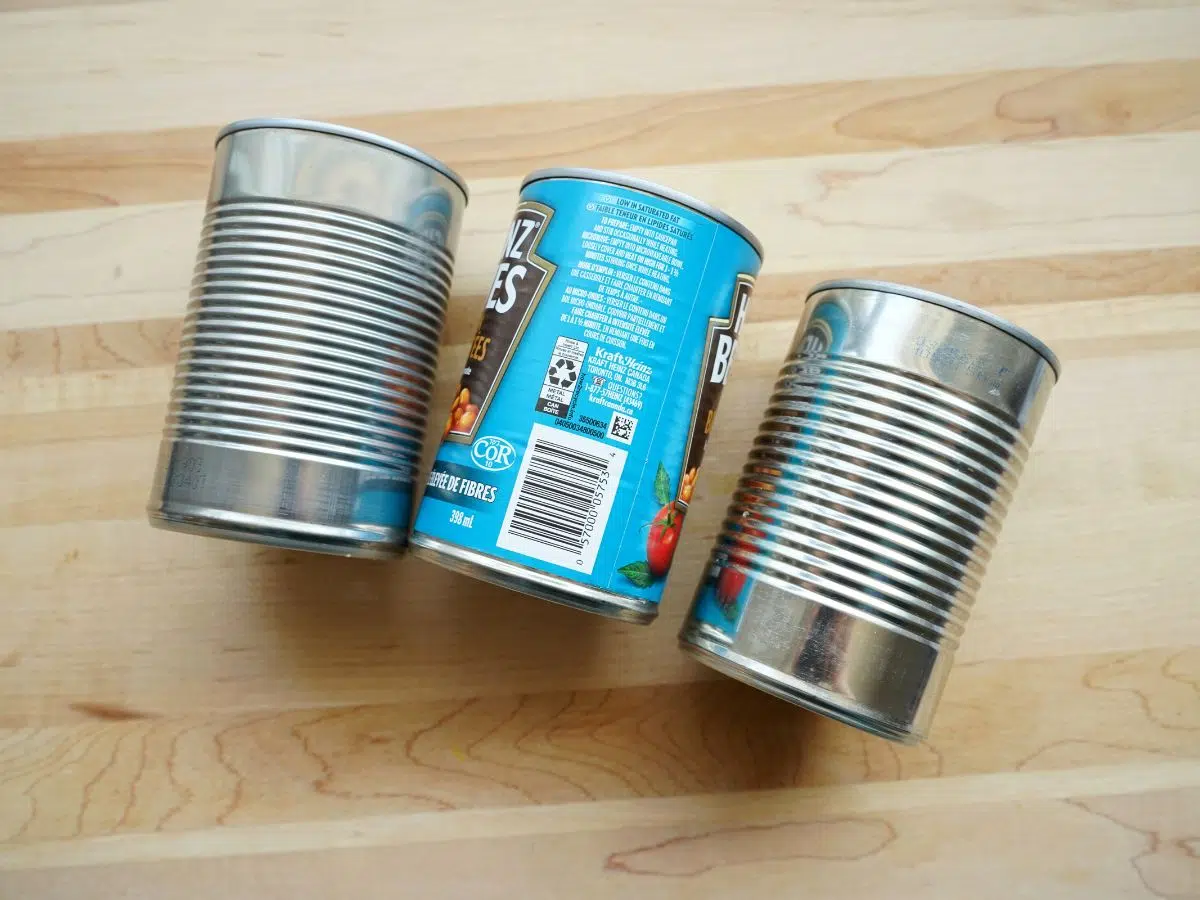
Okay, the first step is to prepare your cans. For this project, I used 3 standard cans. Eat whatever is inside and then clean the cans thoroughly. You don't want any food left in the crevices. I used a piece of fine sandpaper to smooth any rough spots or sharp edges where the can opener opened the can. Let the can dry.
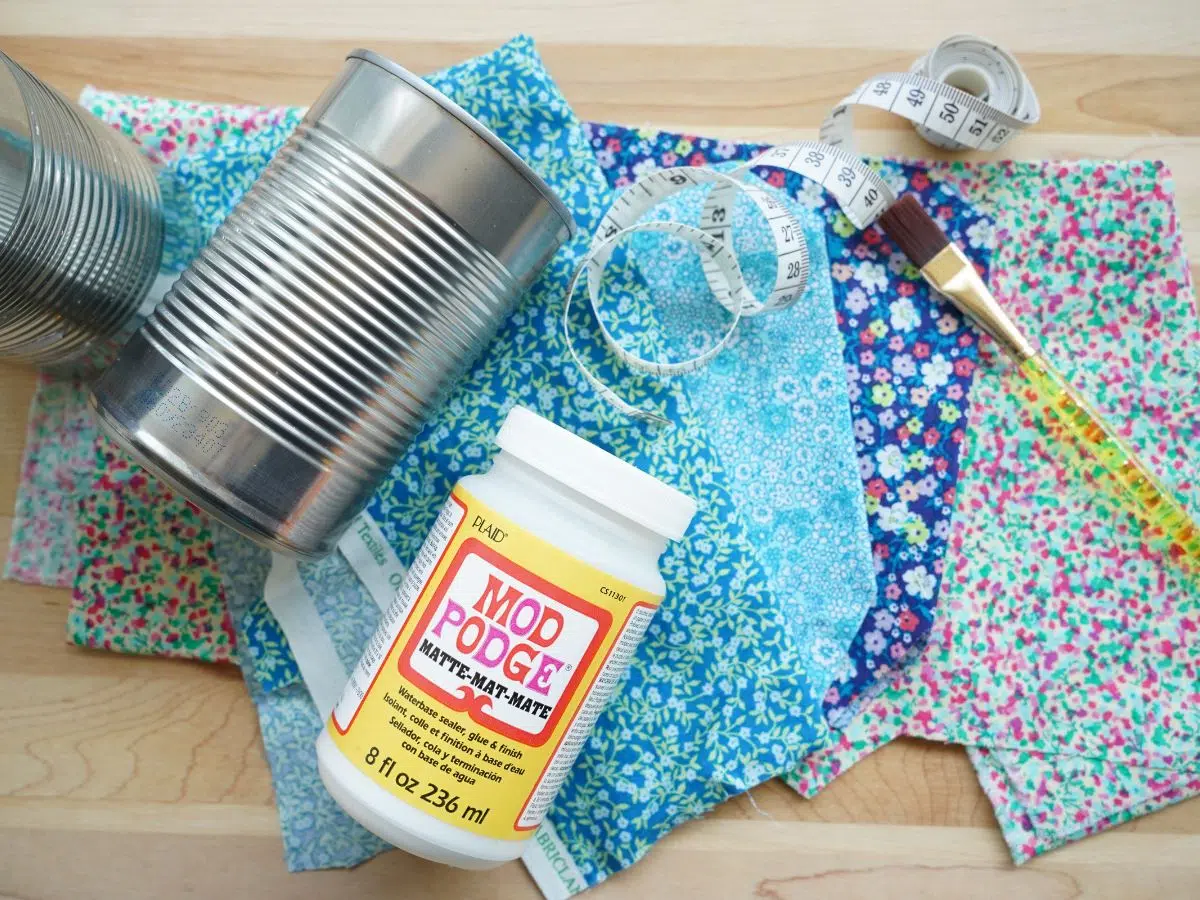
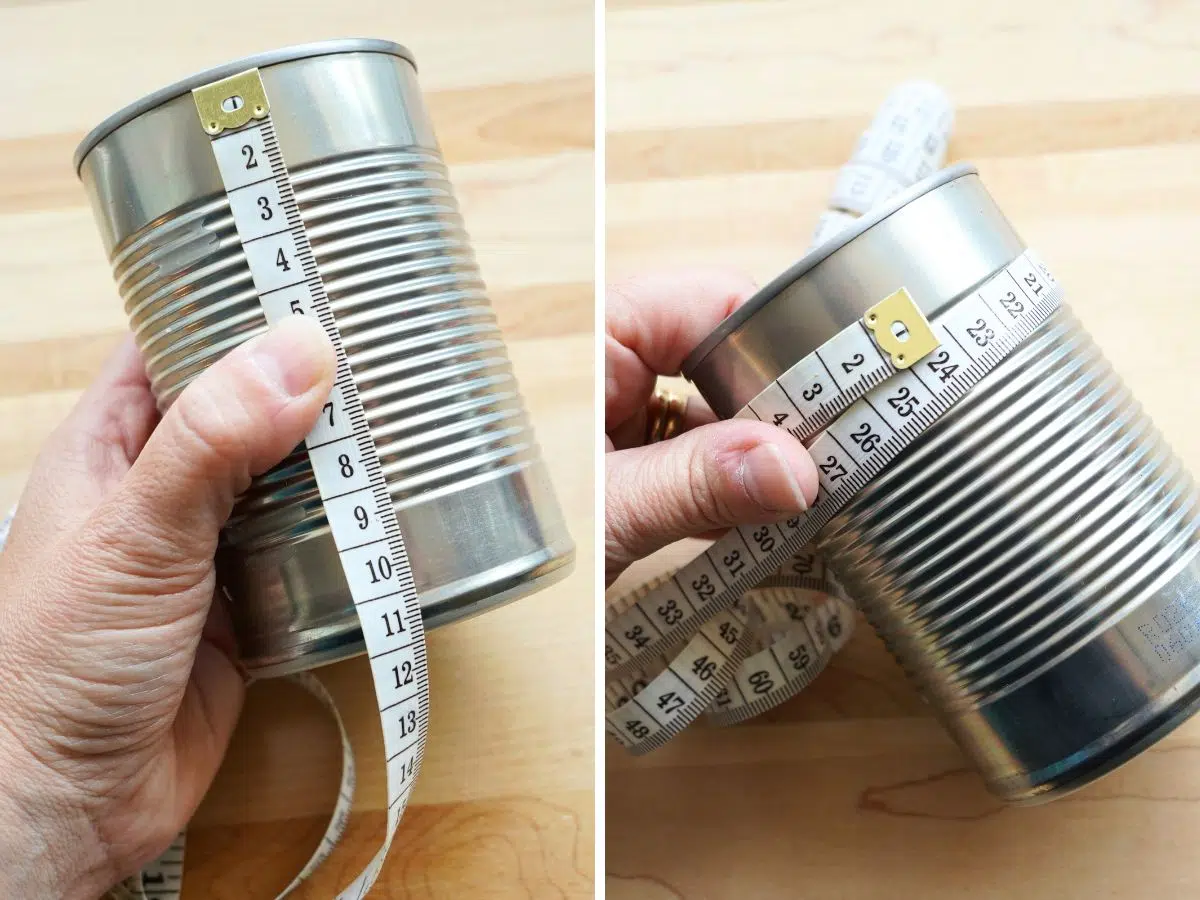
Next up, it's time to measure the circumference of the can (the distance around the can). You will need a flexible measuring tape for this. Wrap it around the can and write down the measurement. Mine measured 23cm, I added 1 cm to this to accommodate the hem I would fold. Then measure the height of the can from under the lip, if it has one, to the bottom edge. Again, I added 1 cm to the measurement to allow for a hem I would fold - 11cm.
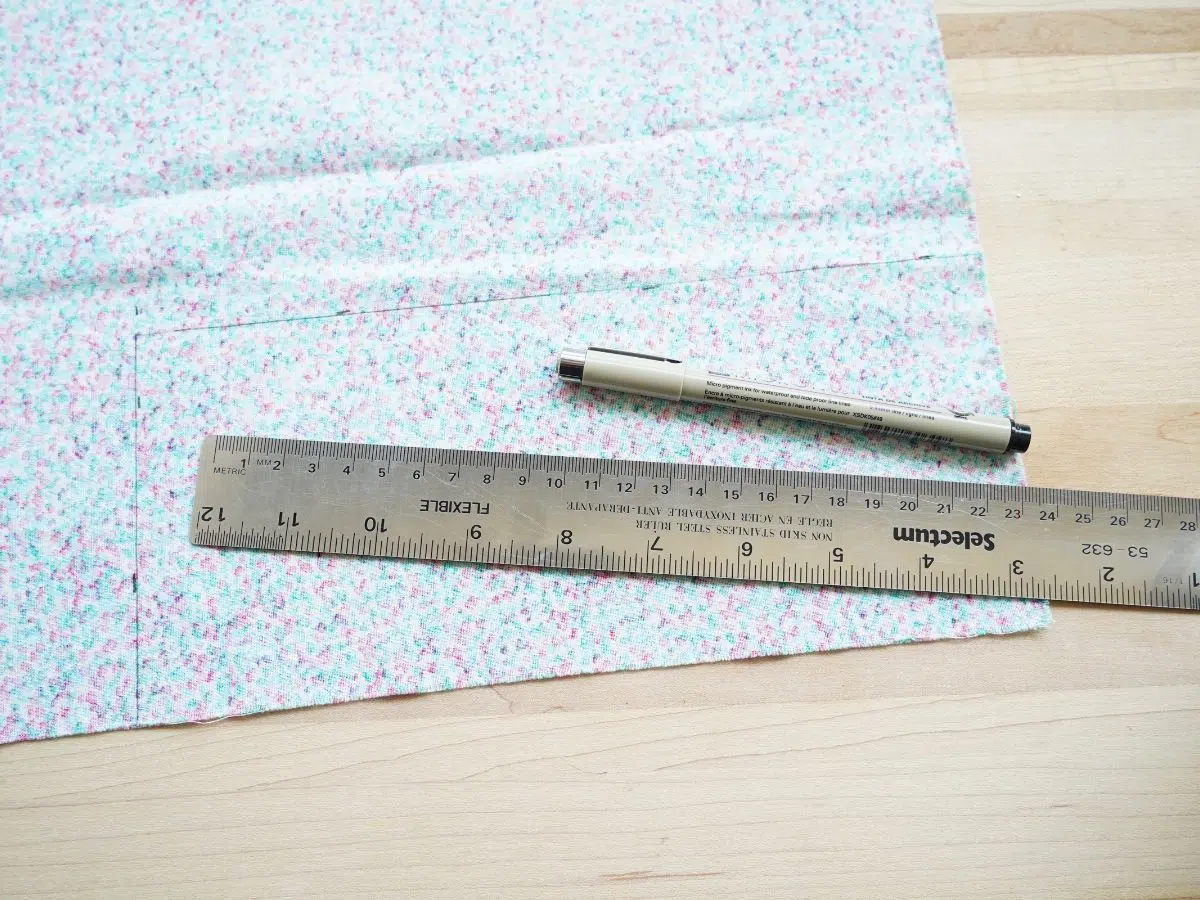
Now, take those measurements to your scrap of fabric. Draw the measurements on the wrong side of the fabric and use sharp scissors to cut out the strip you need
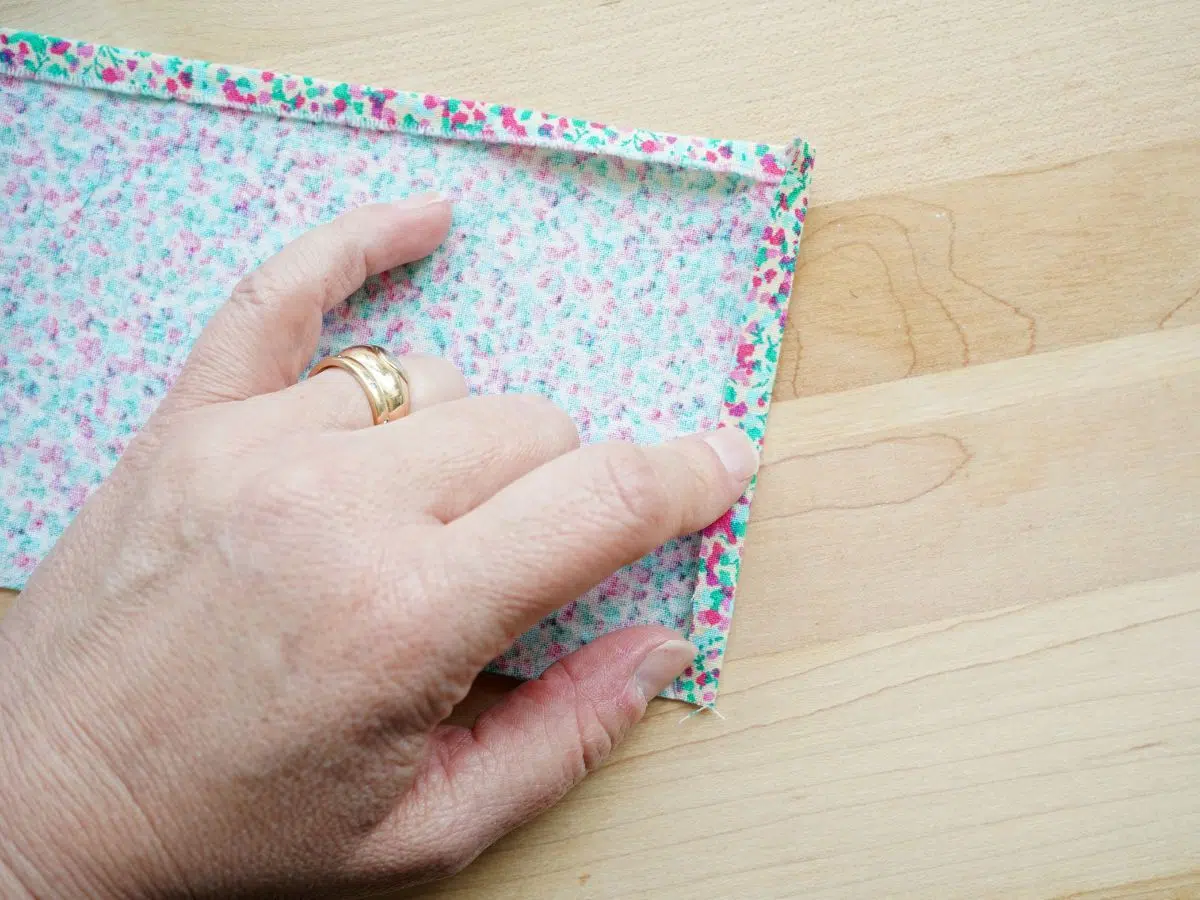
Then you can simply use your fingers to press a hem along the top and one end of the fabric. You could apply a dot of Mod Podge to help hold the hem in place if you like. If you press firmly the finger pressing should work just fine, no need to bring out an iron.
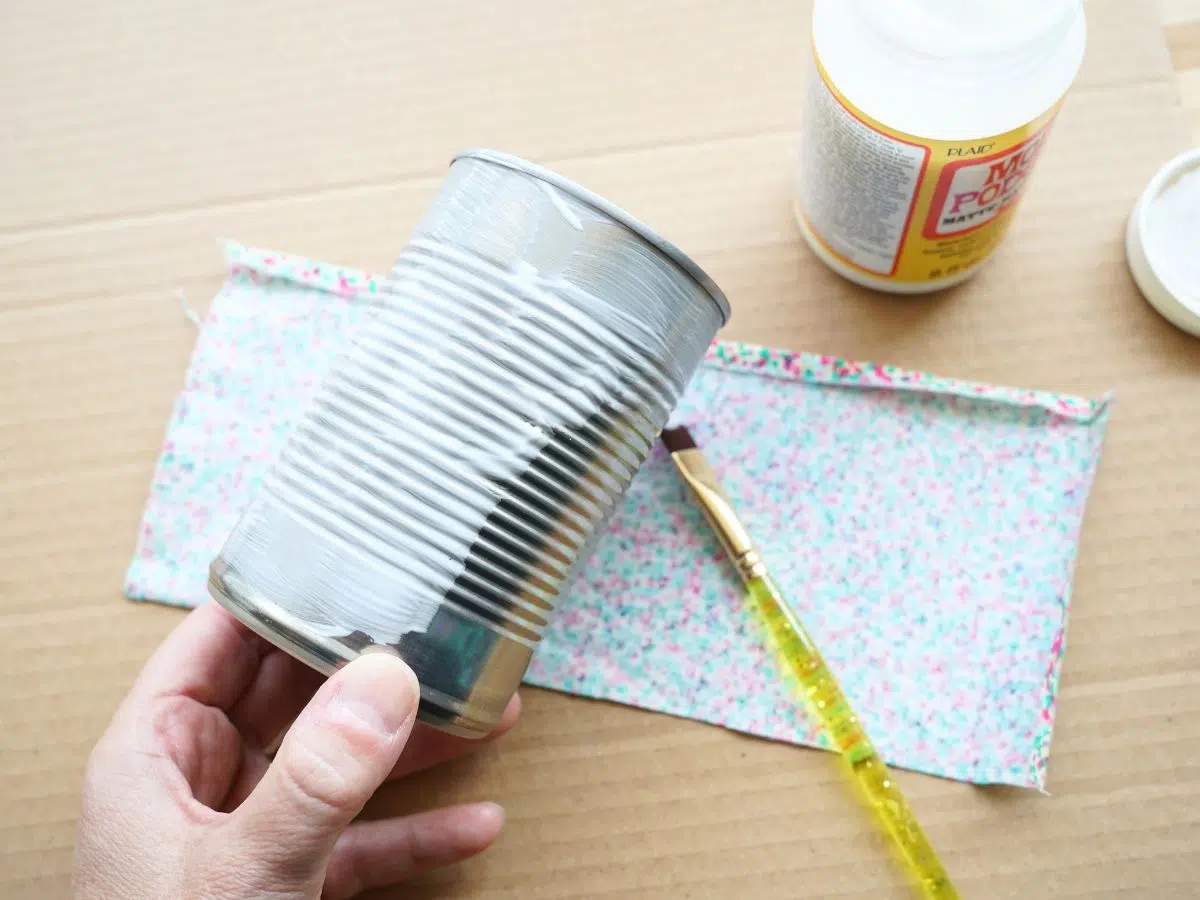
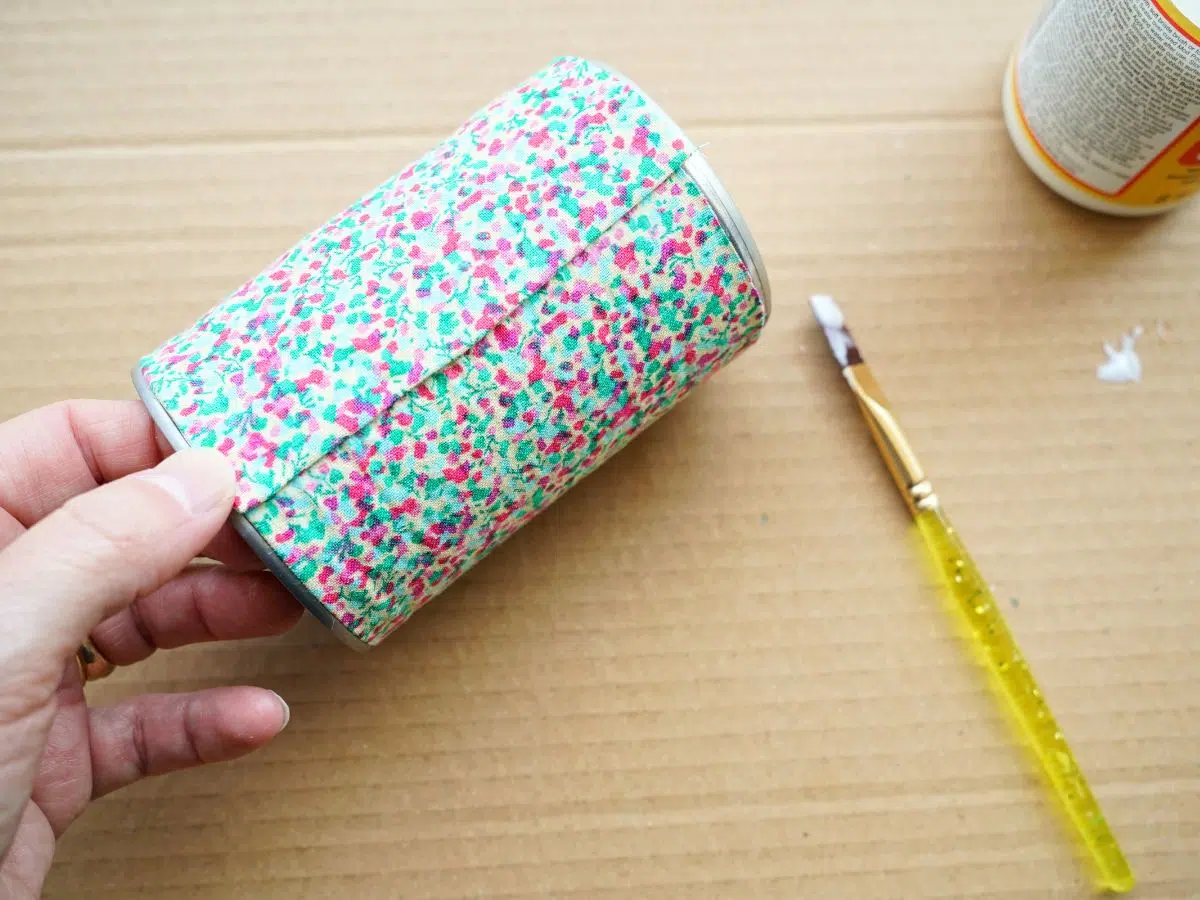
Okay, now it's time to prepare the can. Use the paintbrush to apply a coat of Mod Podge to one strip of the can, top to bottom. Press the center of the fabric to the Mod Podge. Tuck the hemmed edge along the top of the can and then use your fingers to smooth it down to the can. Once you've adhered this section apply more Mod Podge to the can and continue pressing the fabric in place.
To close the fabric around the can glue the unhemmed end to the can and apply a layer of Mod Podge over this strip and glue the hemmed end in place.
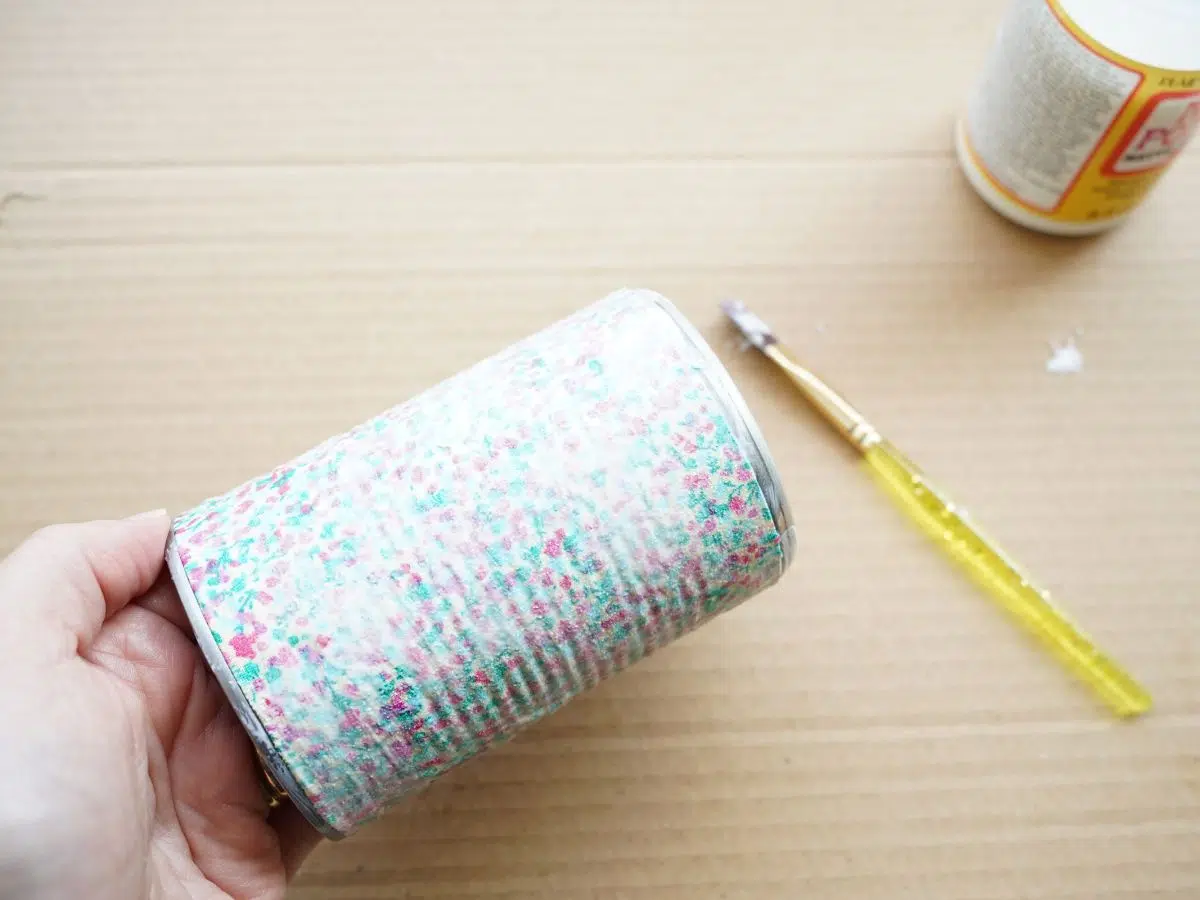
When the fabric is all in place use your fingers to smooth out any bumps and then apple a coat of Mod Podge over the fabric. It will be white when applied, but it will dry clear and leave a protective coat. Let the can dry.
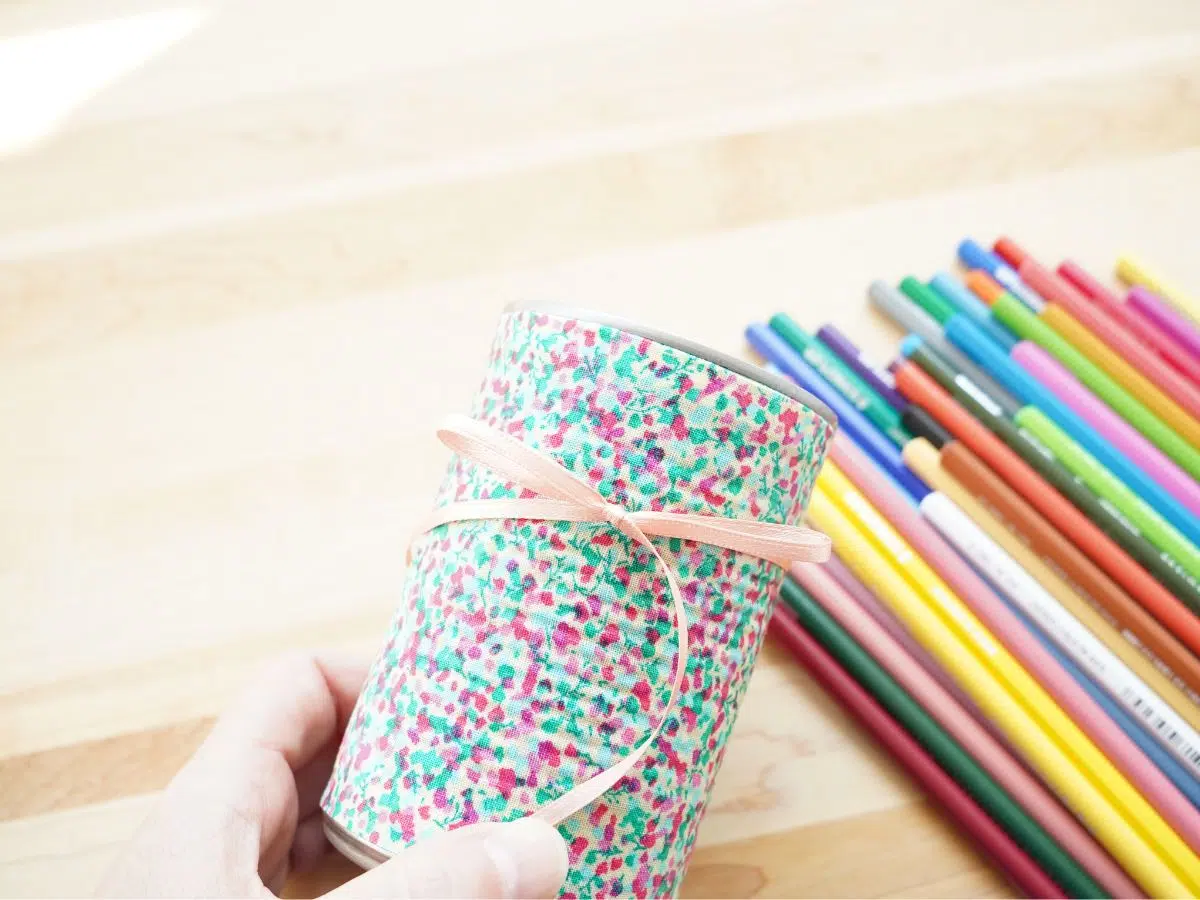
To apply the ribbon you need to cut a piece of ribbon that is about 12 inches long...for a long loopy bow. Decide where you want to position the bow along the can and use the paintbrush to apply a strip of Mod Podge to where you want the ribbon to sit, this will hold the ribbon in place while you tie the bow. Once you've tied the bow, apply another coat of Mod Podge over the ribbon to secure it in place.
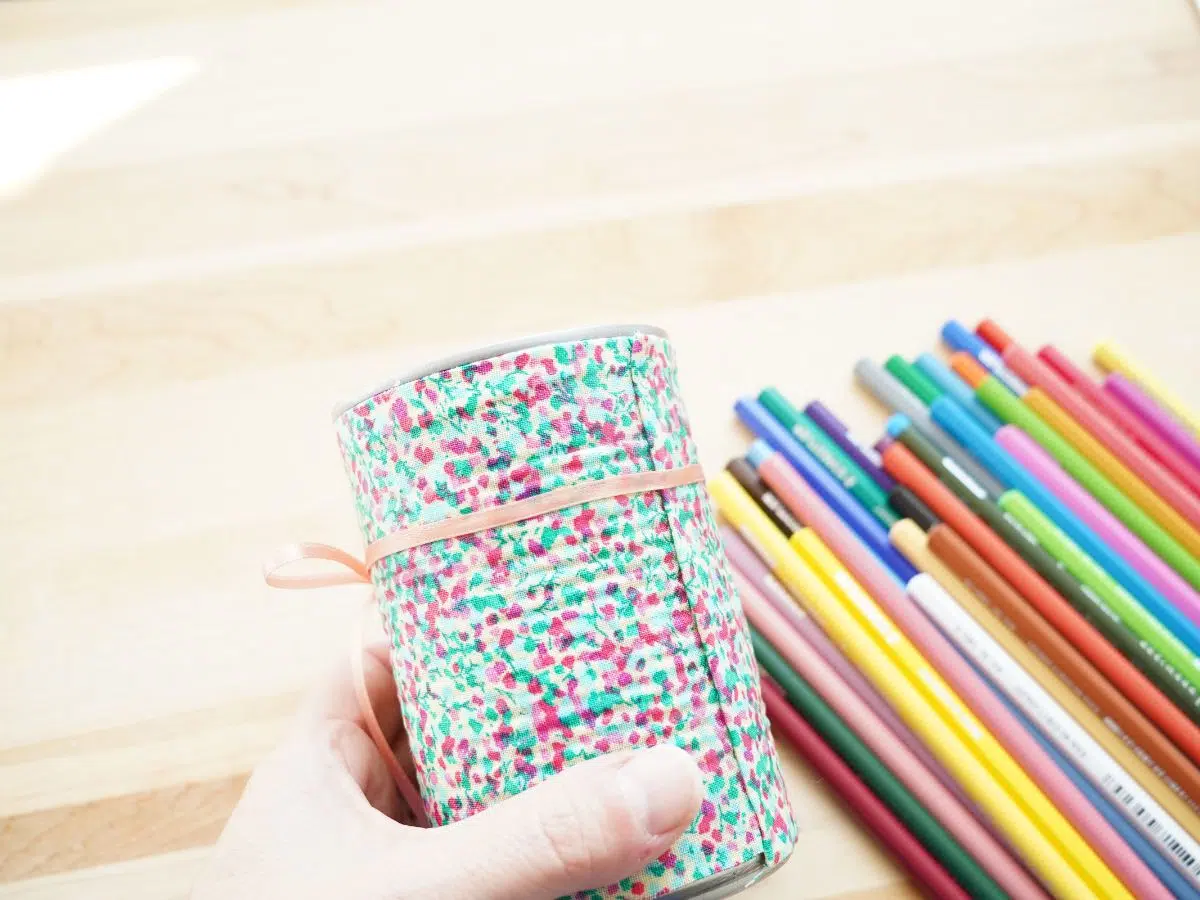
Now your DIY pen holder is ready to fill with all your colorful pens, pencils, markers, pencil crayons, scissors, and whatever else you'd like to keep close at hand on your desktop.