DIY Mini Fourth of July Banner
Looking to add a festive touch to your Fourth of July celebrations? A DIY Mini Fourth of July Banner could be just the thing to jazz up your space! Whether you're hosting a barbecue or simply want to spread some patriotic cheer, this easy and enjoyable craft project is sure to bring a smile to your face and add a festive flair to your Independence Day festivities. So grab your supplies and get ready to create a banner that will have everyone feeling extra patriotic this Fourth of July!

Supplies
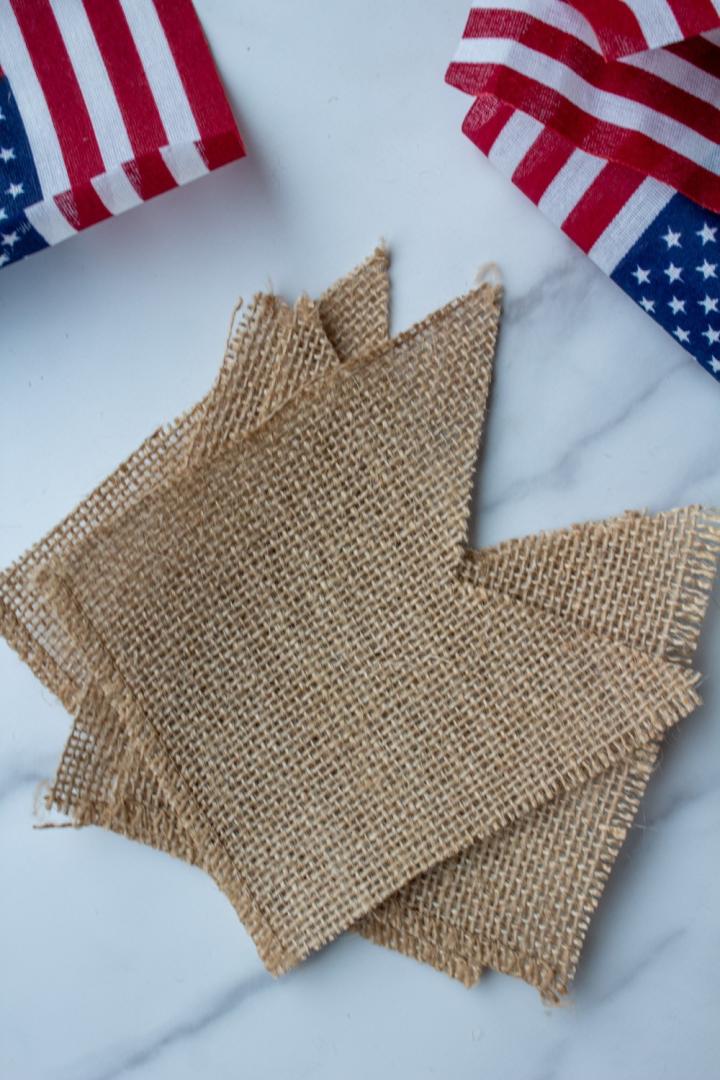
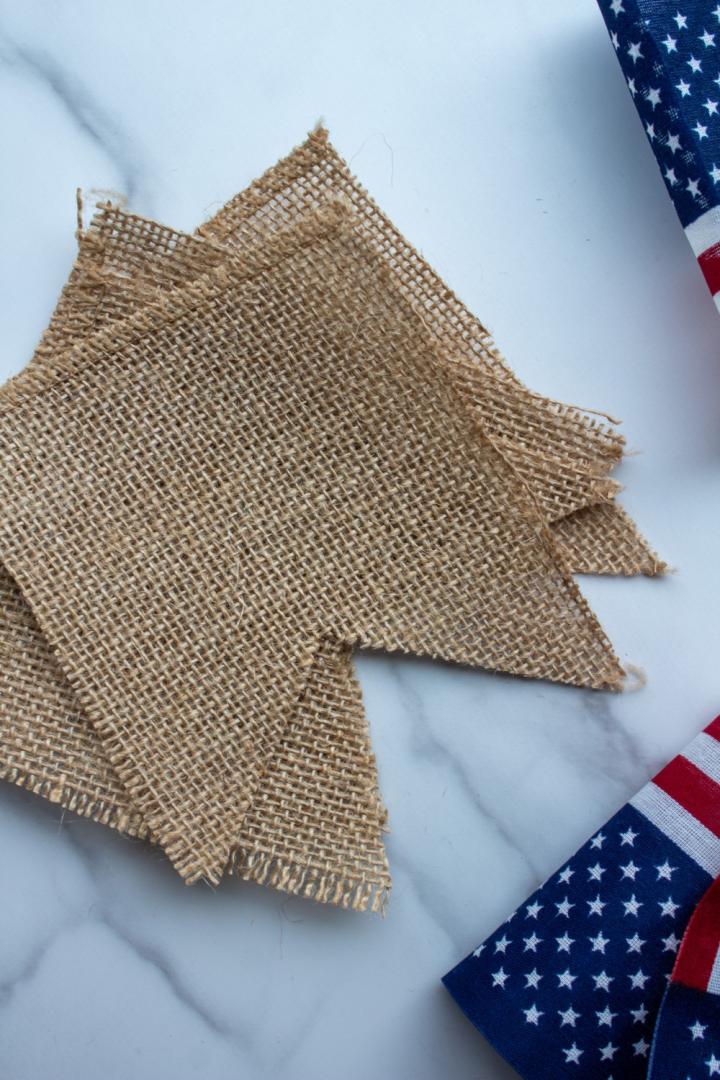
Burlap fabric roll or pieces, 6 inches wide
Miniature American flags, 6 inches wide
Twine
Scissors
Hole puncher
Nails/tacks
Tips for Success
To secure each piece in place, and to keep pieces from sliding down the banner once hung, tie small knots on each side of the fabric piece once it’s added to the twine. Repeat with each piece added until finished. This also prevents crowding them together.
Over time, if the edges of trimmed fabric pieces begin to fray (especially the burlap), carefully trim back the threads with scissors. Hand wash if it gets soiled to prevent more fraying around the edges.
When trimming fabric, I like to make the first one and if it turns out well use that as a guide to trace/cut the other shapes out. This ensures they are all the same size without having to measure every single piece.
Steps
Cut twine to length
Decide first where you’d like to hang your banner, so you can measure the length of the banner. A long banner for a table will be much different than one hung above a small doorway. Also consider whether you’ll be pinning it up in 2 spots (on each end) or in 3-4 spots along the banner. These added “dips” in the banner will require more length for this effect.
Pre-hang the twine without the fabric attached, if desired, for confirmation of the length before you begin. Do be aware that tying knots throughout the banner to secure each fabric piece will shorten the length considerably. Be generous in adding at least a few extra inches (if not doubling the length) to ensure the final result is long enough. It’s easy to trim extra off, if needed, once you finish.
Trim burlap pieces, if needed
You may need to trim your burlap if you bought it in one long roll instead of individual pieces. You can opt for squares with two pointed ends on each that resemble a ribbon or a triangle shape for your pieces. These are the most traditional for a banner. Use scissors to trim pieces into desired shapes and set aside.
Remove fabric from mini flags
Carefully run some scissors along the edge of the flag, cutting it away from its stapled wooden stick. This will remove the American flag fabric for use on the banner. Repeat on all the mini flags.
Punch holes in burlap and mini flags | mini diy fourth of july banner
Use a hole punch to punch a hole out of the top middle of each piece of burlap and each mini American flag. This will allow you to thread twine through them to secure them to the twine..
Thread twine through holes
Start by leaving some extra space on the end for hanging the banner. Thread the twine through each piece of fabric/flag piece through the holes. Alternate burlap with the American flag until you’ve reached the other side. As you work, tie a knot before and after each piece to hold it in place. You can space them out or have them slightly overlapping. Leave some more empty space on the end you finish on for hanging as well.
Hang your new DIY Fourth of July banner
Hang your new banner as a welcome to guests outside your front door or on a patio umbrella for some festive outdoor decor. I like to hang mine above a fun, patriotic tablescape or along our mantle on the main wall guests see first thing when stepping into our home.
Be sure to secure the banner with either snail or tacks. Hang it with 2-4 nails/tacks total, depending on the length and style you’re going for.

No comments
Write a comment