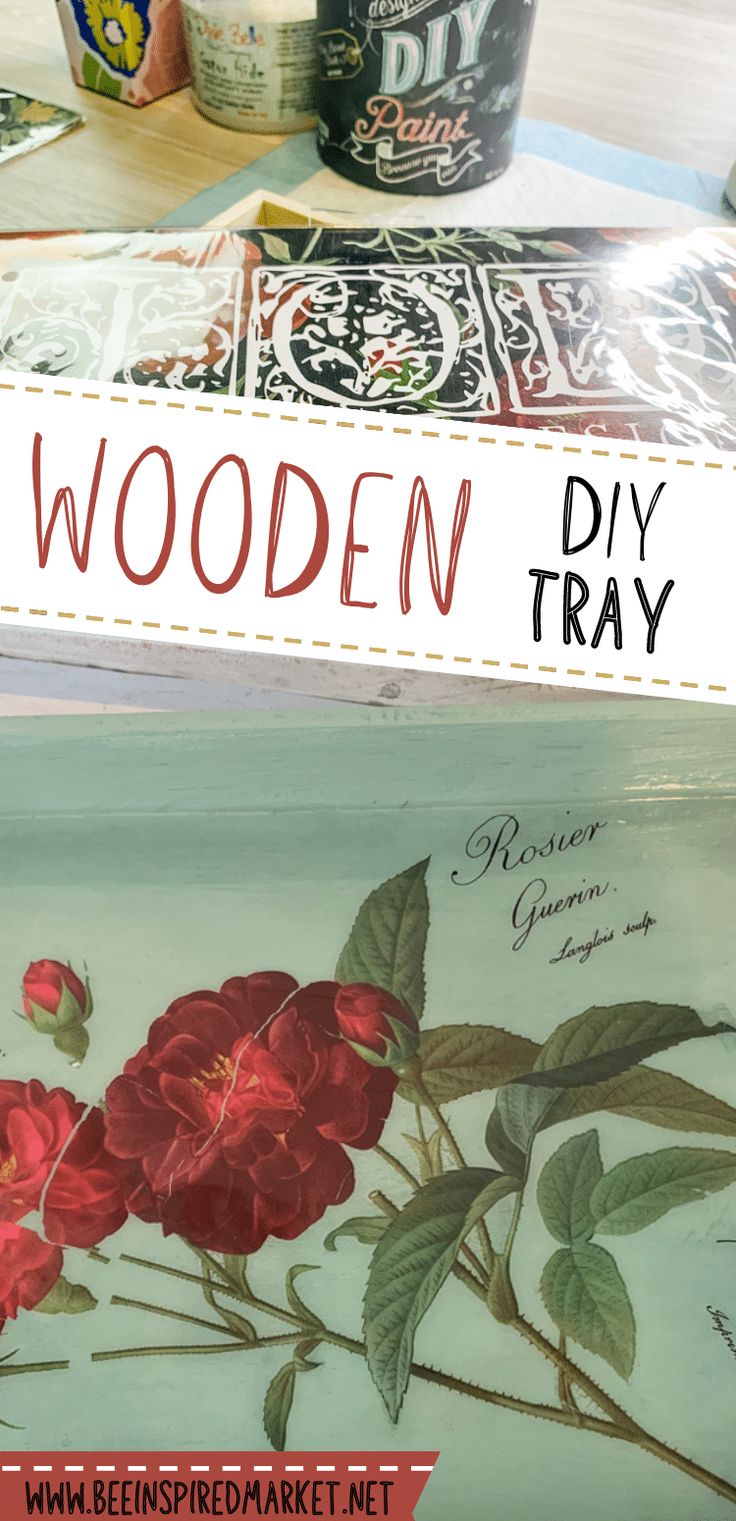
DIY Wood Tray
Creating your own DIY wood tray can be a fun and rewarding project to add a touch of rustic charm to your home. With just a few simple materials and some creativity, you can customize a wooden tray to fit your style and needs perfectly. Whether you're a seasoned crafter or trying woodworking for the first time, making a wooden tray is a great way to unleash your creativity and showcase your personality.
SUPPLIES NEEDED TO FOR YOUR DIY WOOD TRAY:
Wooden Trays pack of 5
Sanding block 240 grit
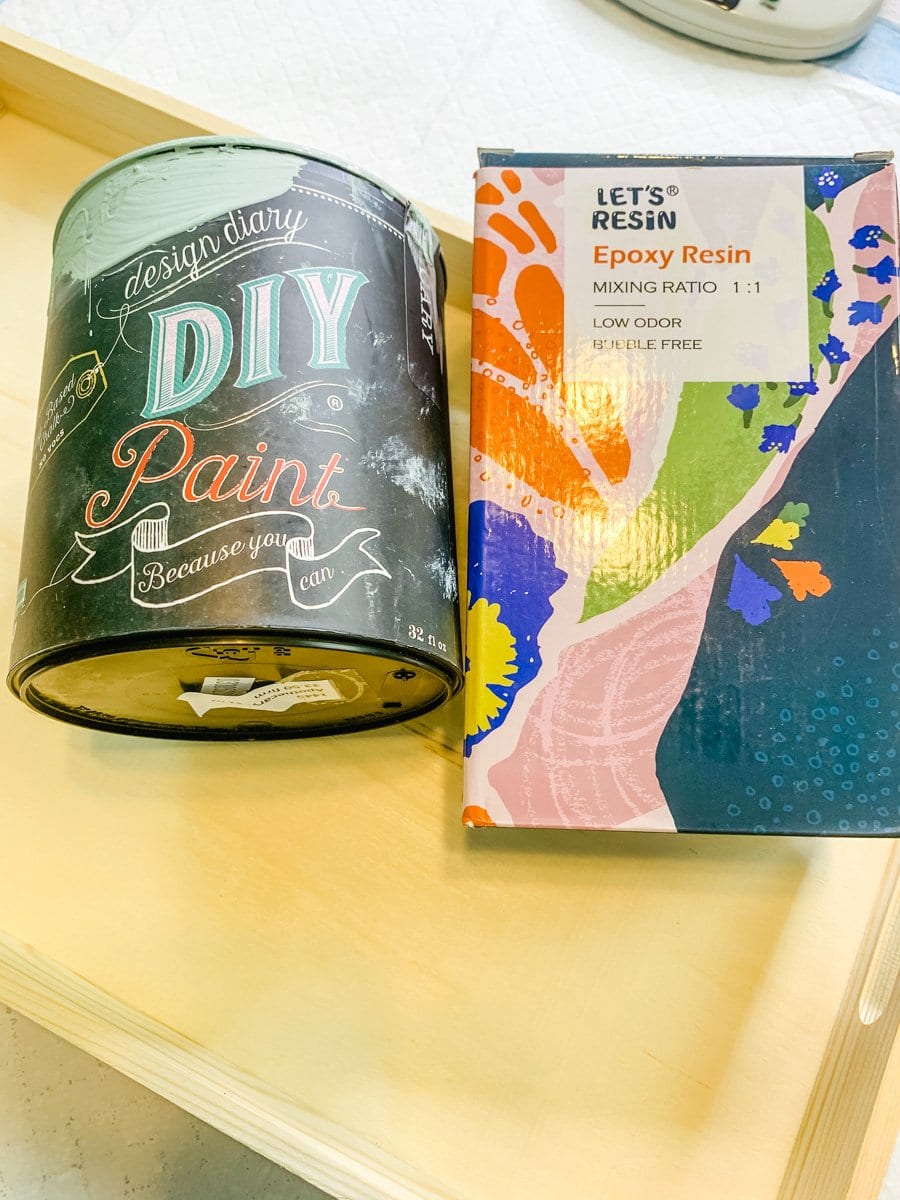
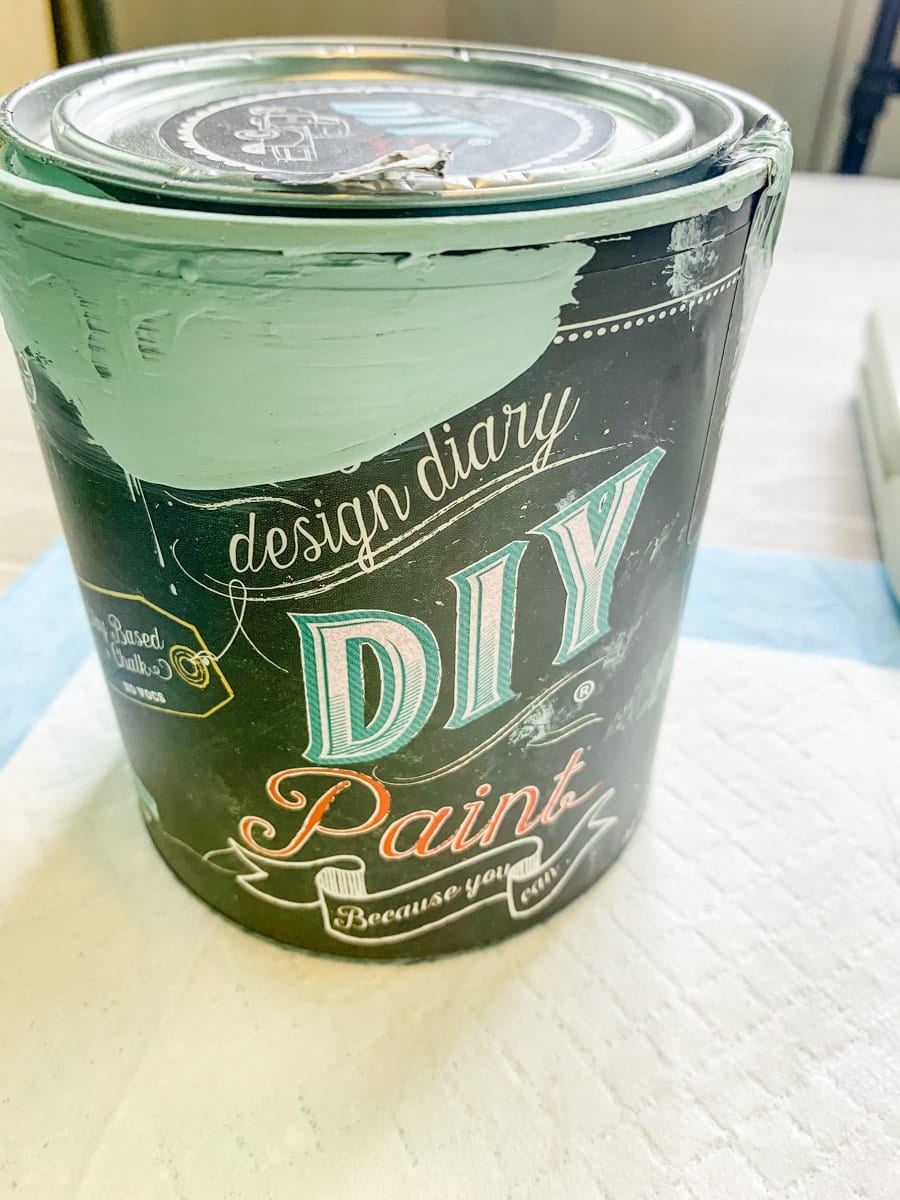
DIY Paint – color Apothecary
Paintbrush
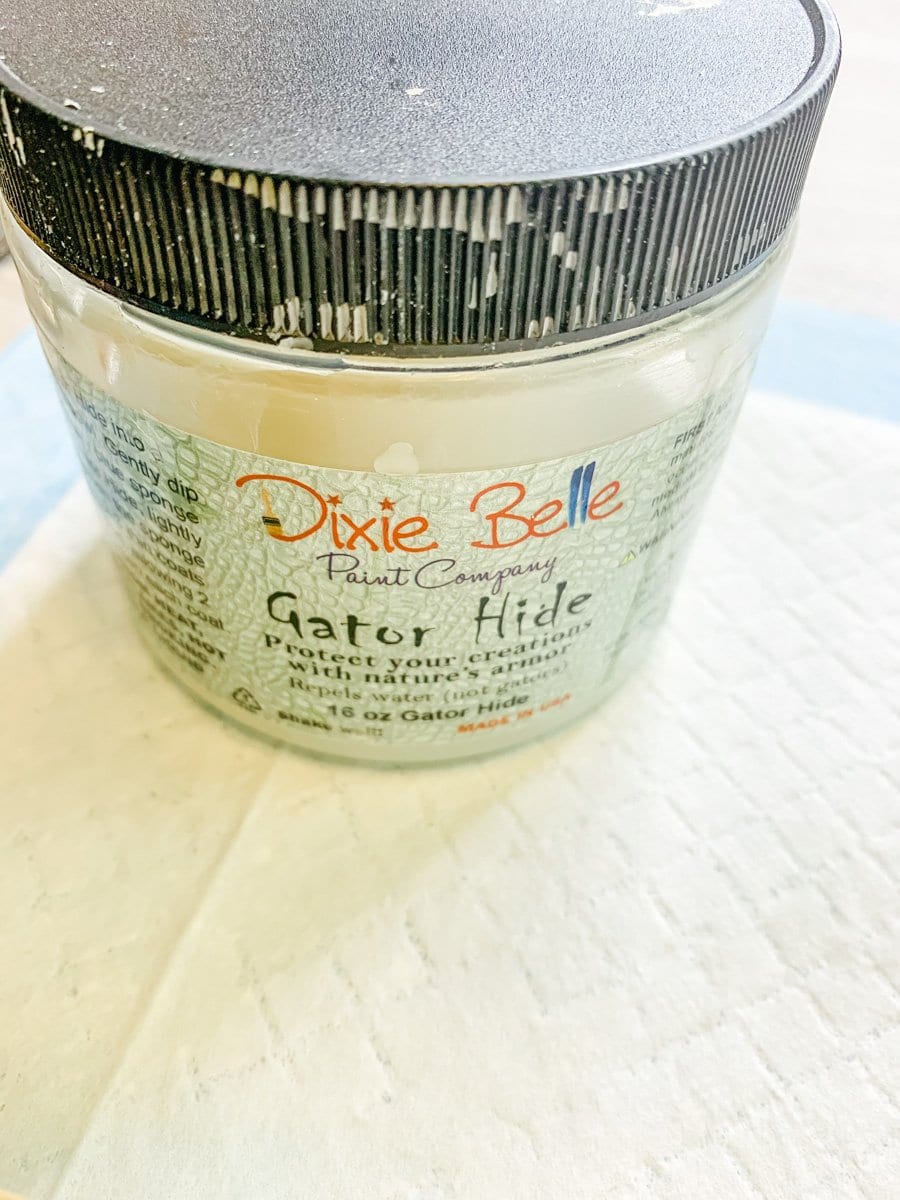
Dixie Bell Gator Hide
sponge
IOD Transfer – Redoute used in this project or you can use June Ode or Anthology
Flat edge tool
Let’s Resin pack
2 plastic mixing cups
scale
Plastic gloves
STEPS:
1 – Grab your wooden tray and begin to sand it down with your sanding block, just to smooth out the surfaces. Don’t forget to get all the edges, sides both inside and outside.
2 – Wipe down your tray to remove the debris with a paper towel.
3 – Get plastic gloves on. Grab your DIY Paint (clay-based), color Apothecary, and a good paintbrush. Cover your board completely with your paint. Don’t forget the back!
4 – Use a heat gun to speed up the drying process.
5 – Grab your Dixie Bell Gator Hide and apply a top coat all over your tray. This will help your transfers come off easier on your tray.
6 – Let dry.
7 – Grab your Iron Orchid Design transfer sheets and decide which transfer you want to use on your project. This is the hardest part.
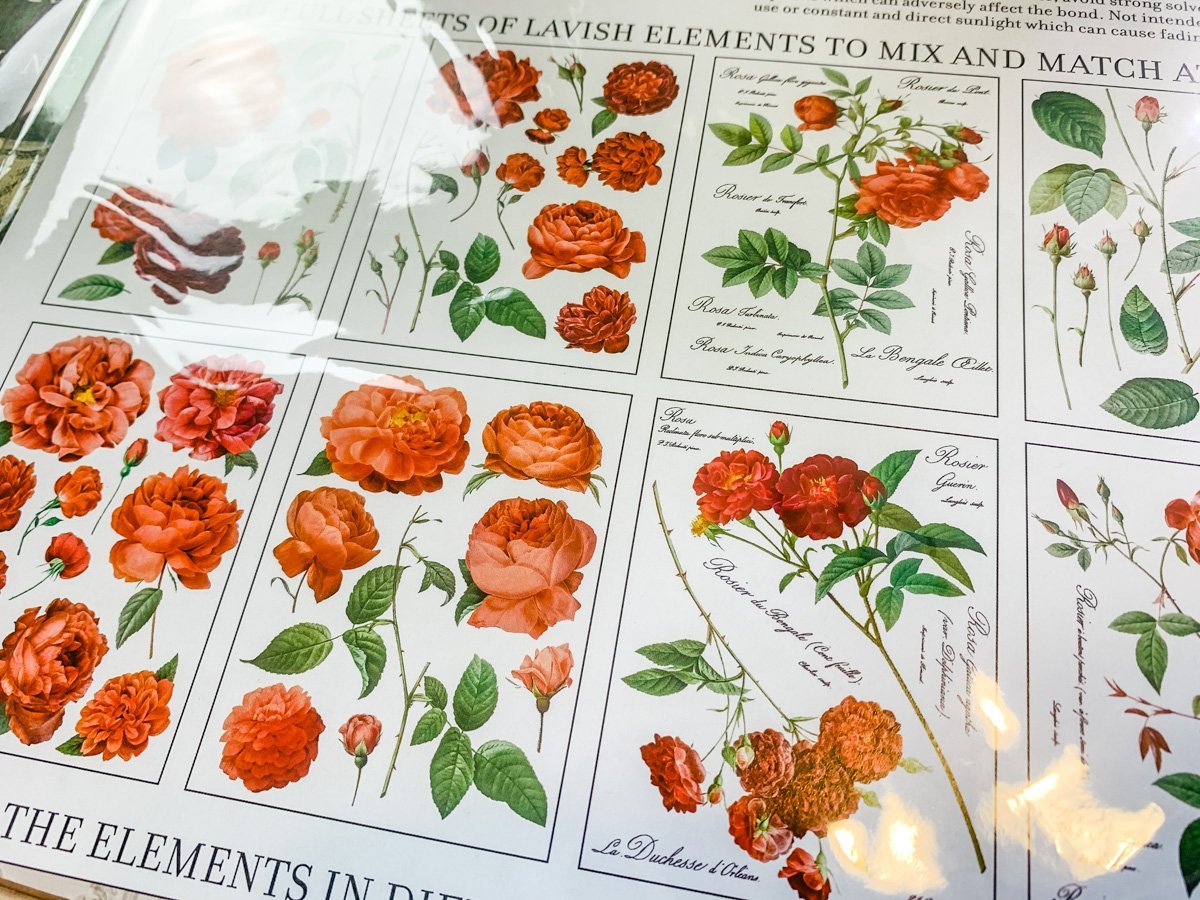
8 – Cut your transfer to fit into the desired space on your tray. Trim if necessary. Play with placement before you commit and remove the white backing off.
9 – Carefully peel off your white backing, and place directly onto your wooden tray. Use the plastic wipe stick from the IOD package and rub firmly onto your tray. Be sure to rub until you feel a little bubble form to help release the transfer. Tip* Do not throw away the plastic stick. Only one comes per package, so don’t lose it..
10 – Add more flowers throughout your tray. Play with placement and have fun. Use your fingers to help rub in place if needed. Repeat the steps to add more transfers.
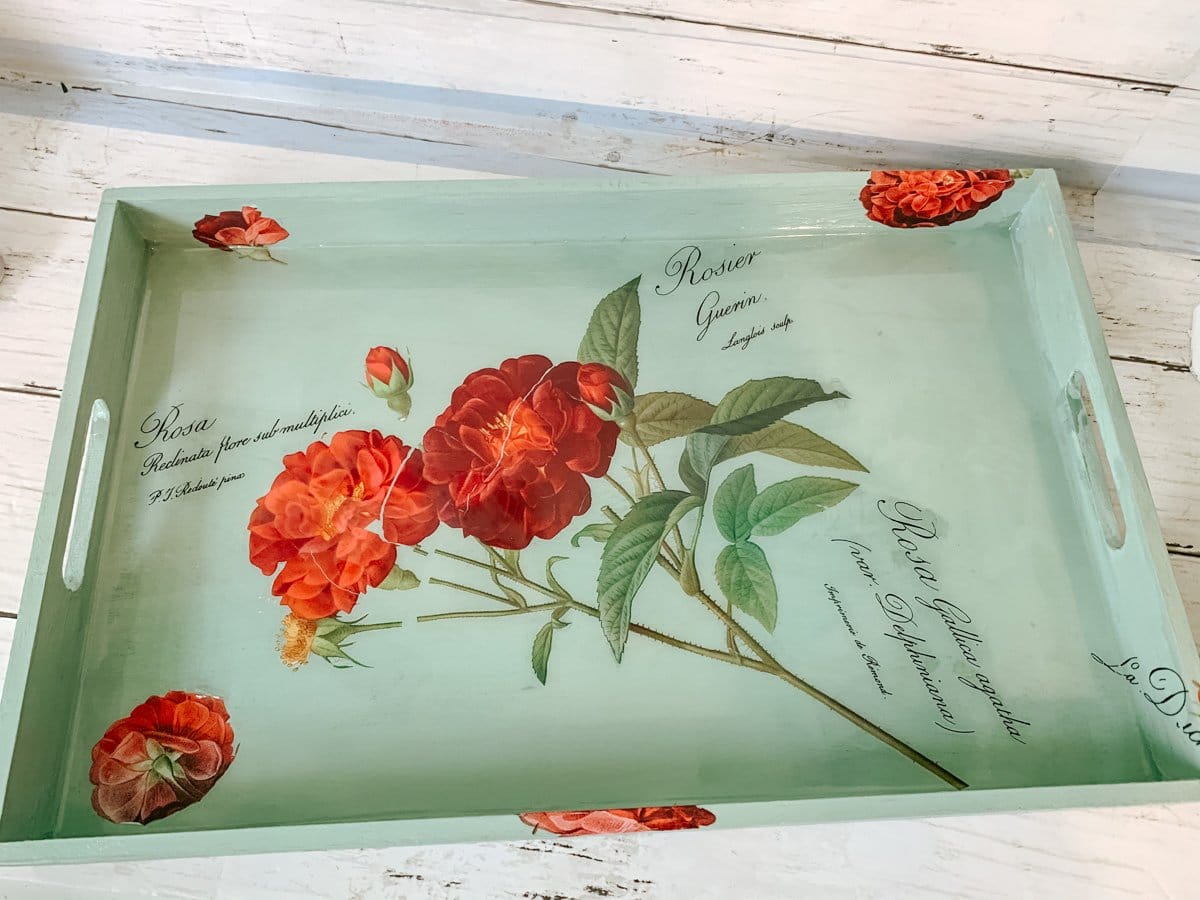
11 – Keep going, this process of transferring is time-consuming but well worth it. Once you have your transfer completely down, take the back of your transfer sheet, (the shiny side) and just burnish it by rubbing over it in circles.
12 – Now that all your transfers are on, grab your resin and let’s finish this high-end, beautiful DIY “Cottagecore” tray.
13 – Grab 2 plastic cups and your Let’s Resin bottles, A & B. You will need equal parts of both, so I use a scale. Mix 1 fluid ounce of each bottle and then combine. Tip* You can just eyeball it if you like, but not equal parts create bubbles and other irregularities. Stir for at least 2 minutes.
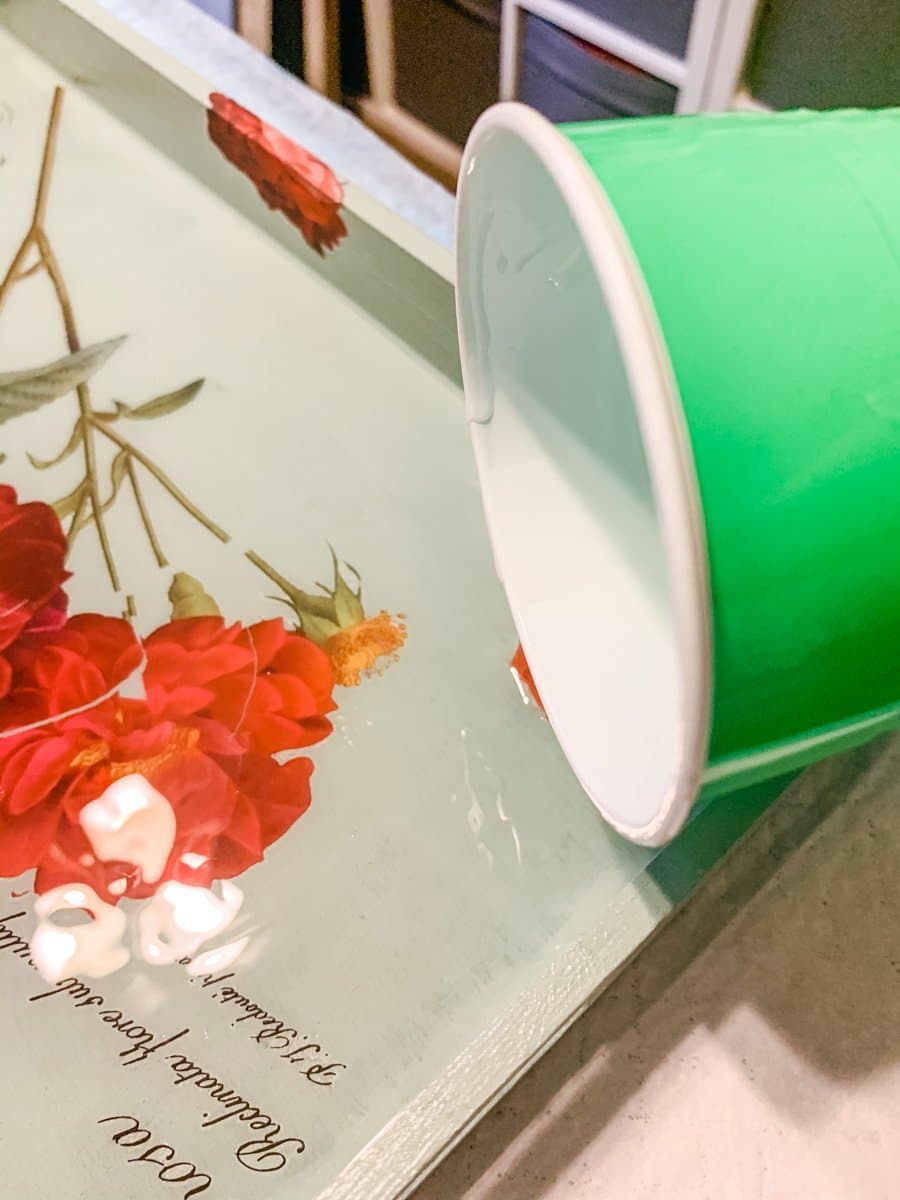
14 – Once mixed completely, pour directly into your tray and move your tray around so the inside is completely covered.
15 – Use a flat edge tool to spread the resin out nice and even and thin throughout your tray. Tip* If you have bubbles, use a heat gun, lighter, or torch to remove them.
16 – With a gloved hand, you can help your resin reach the corners of your tray. Let it cure for 24-48 hours.
17 – With a glossier top coat, you could add that to the sides of your tray to match the shine from your resin inside. Or, if you prefer to keep it a matte finish, that is fine too.
18- Seal the sides and bottom of the tray with a sealer of your choice.
This turns out so pretty and I hope you can find an amazing place in your home to display it and let your hard work show off! This entire project can be done in under an hour.
No comments
Write a comment