DIY Bird Bath Fairy Garden
Creating a DIY Bird Bath Fairy Garden is not only a delightful project but also a wonderful way to attract whimsical visitors to your outdoor space. Decorate the surrounding area with miniature plants, colorful pebbles, and tiny fairy figurines to add a magical touch. With a little creativity and some imagination, you can transform your garden into a whimsical paradise that will surely bring joy to both you and your feathery friends. Get ready to welcome a bit of enchantment into your backyard with this enchanting DIY project!
MATERIALS
Bird Bath
Potting Soil
Moss Sheet
Marker & Scissors
Decorative Rock & Gems
Fairy Garden House & Accessories
Plants & Flowers (optional)
INSTRUCTIONS
Step 1: Gather your supplies.
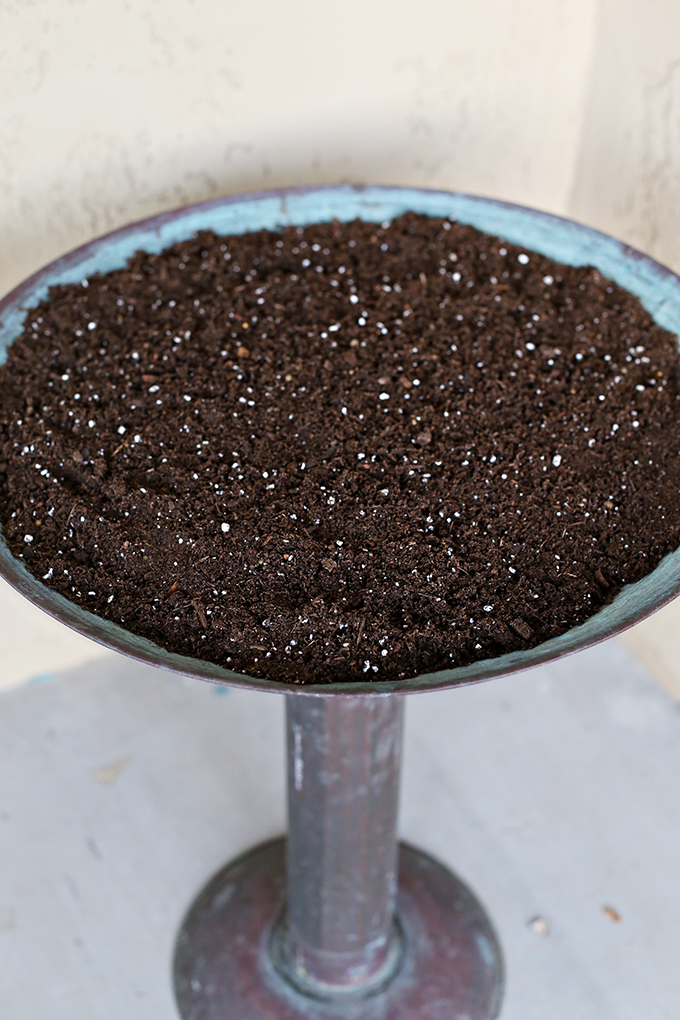
Step 2: Fill the bird bath with potting soil. The amount of soil will depend on how large your bird bath is. If you aren’t planning on planting flowers or plants, you can fill the bottom with floral foam. I wanted to have the option to plant succulents in our fairy garden when it isn’t so hot outside, so I used soil.
Step 3: Gather your fairy garden house and accessories, and come up with a plan for your garden as a family. You may want to draw a mock up before you start placing items in the garden. You don’t have to follow my design, you can be creative!

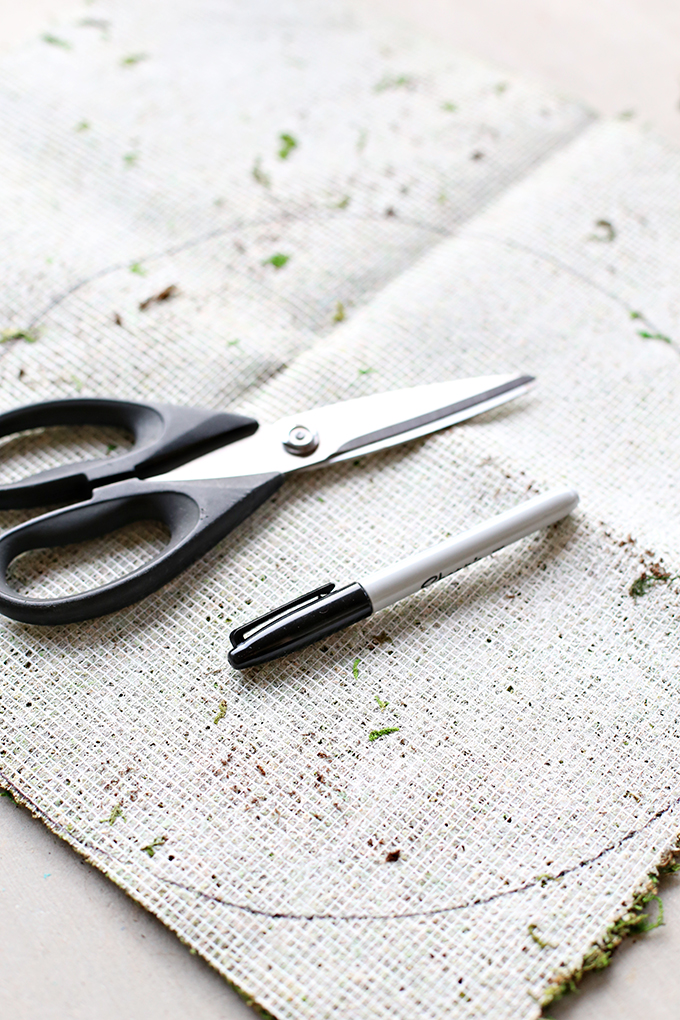
Step 4: Trace a circle, slightly larger than the house, onto the moss sheet and cut around the line.
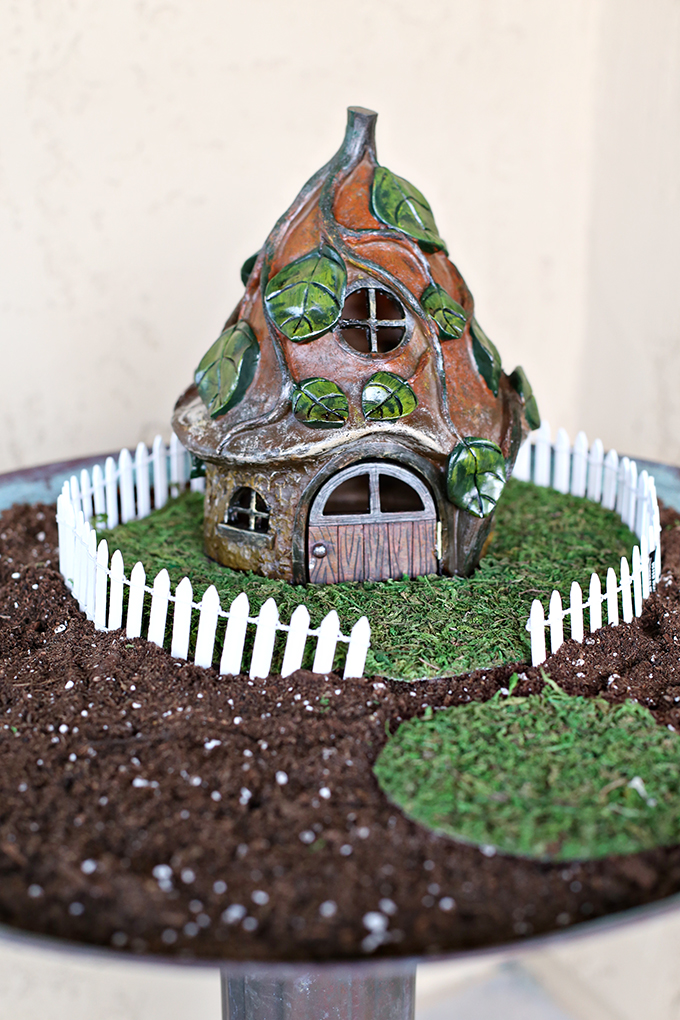
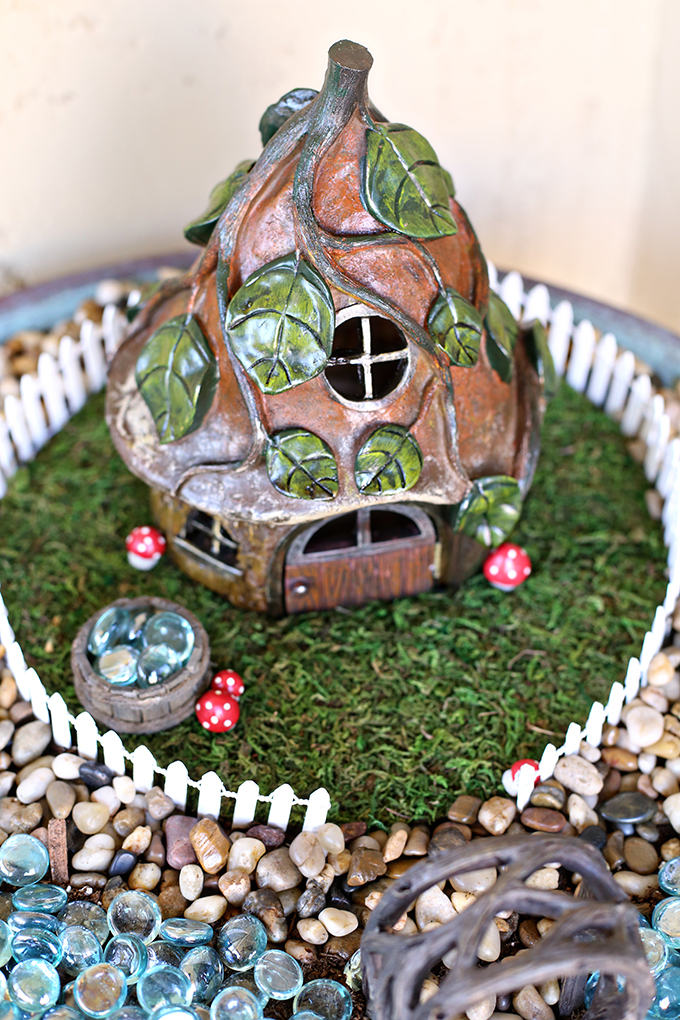
Step 5: Place the moss circle on top of the soil and the house on top of the moss. I added a white picket fence around the moss. You can place several moss circle patches in your garden, if you wish.
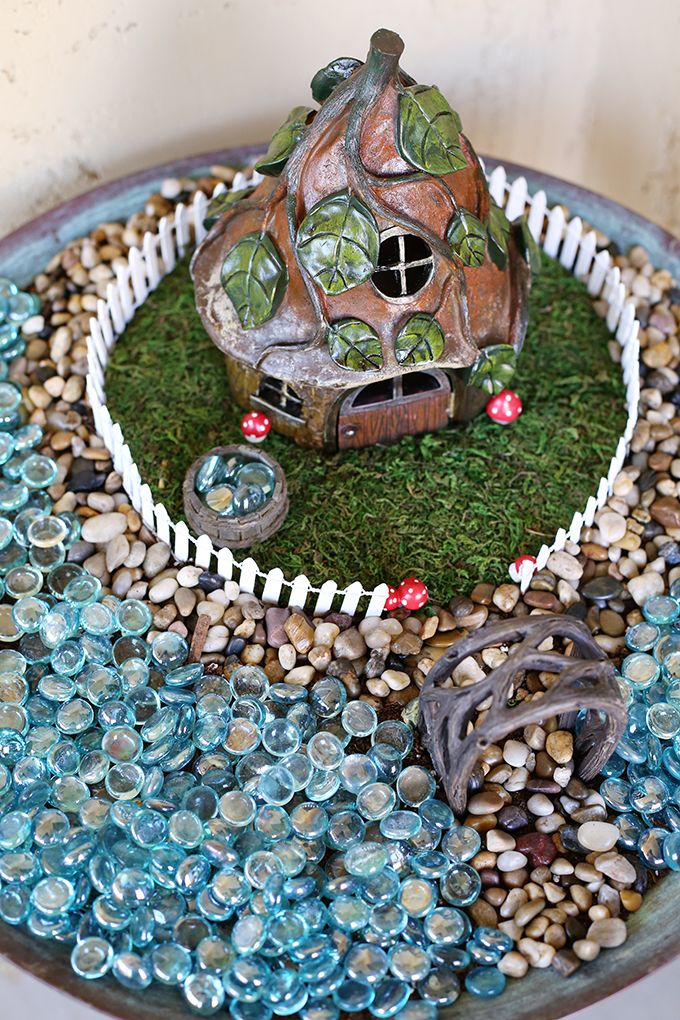
Step 6: Cover the soil completely with decorative rock paths, glass gems or flowers and plants.
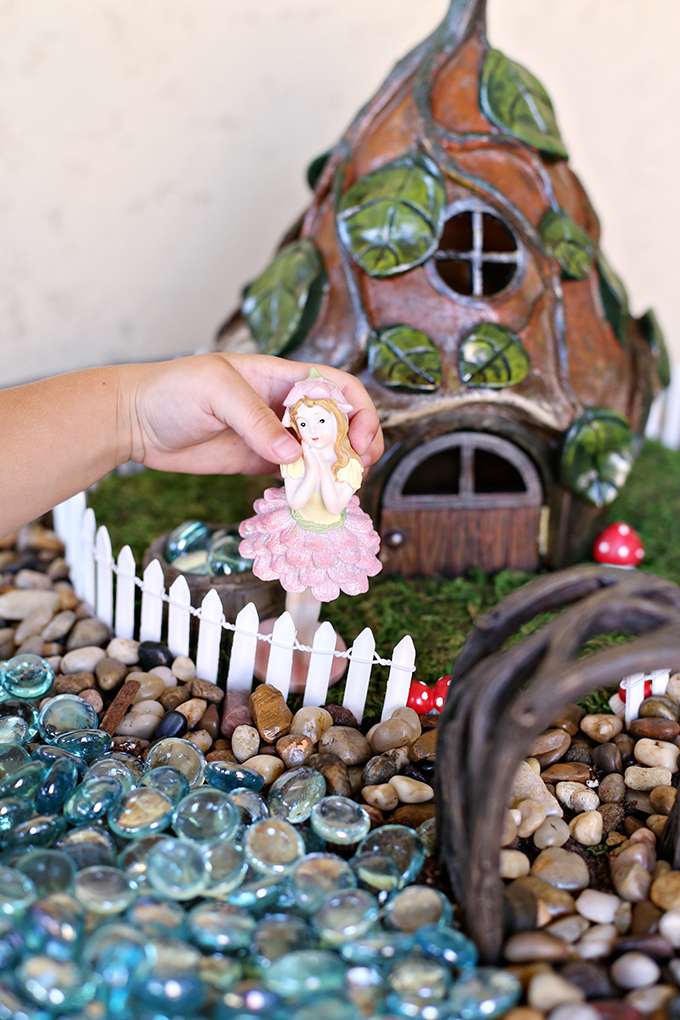
Step 7: Add in other accessories. Miniature mushrooms, small wells and little fairies would make great additions.
Step 8: Play. The fairy garden is a magical little area, meant to grow and be moveable.
No comments
Write a comment