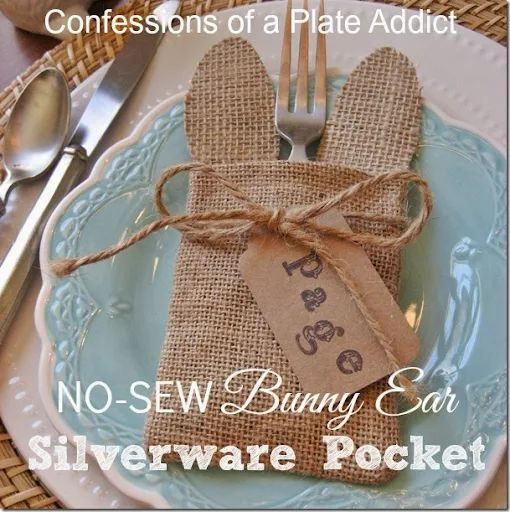
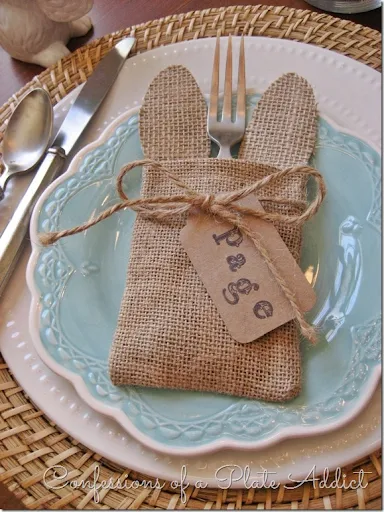
DIY Burlap Bunny Ear Silverware Pocket
Looking to add a charming touch to your table setting this spring? Why not try making DIY Burlap Bunny Ear Silverware Pockets! These adorable pockets are not only a cute way to display your cutlery but also bring a festive vibe to your dining space. With just a few simple supplies like burlap, ribbon, and a hot glue gun, you can easily create these pockets that will impress your guests. It's a fun and creative way to add a personalized touch to your next gathering, and your table will surely be hopping with style!
And here’s what you will do:
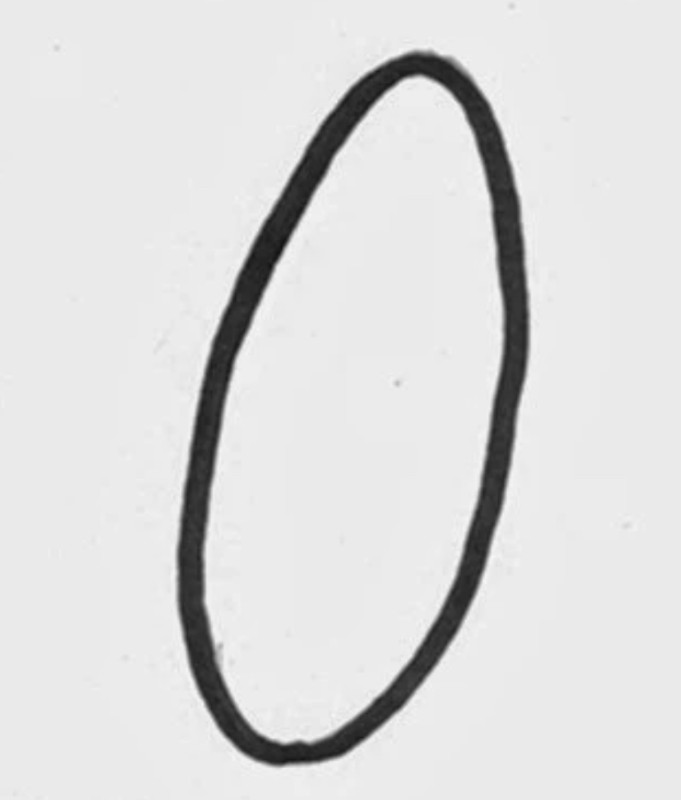
First, use the bunny ear pattern above.
Now you are ready to create the “ears.”
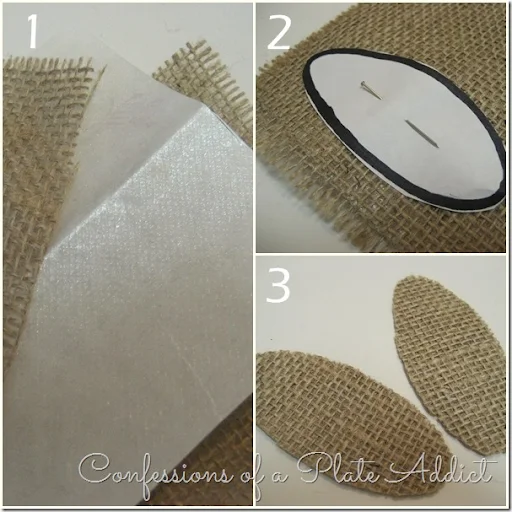
Start by cutting a piece of burlap that will be just large enough for cutting your ears. If you are making multiple pockets, you will, of course, cut more ears. Then cut another piece of burlap and a piece of Heat n Bond the same size as the first piece of burlap. Follow the directions on the package and fuse the two pieces of burlap together.
Using the bunny ear pattern above, cut as many ears as you will need…two per pocket, of course. :-)
The burlap is now thicker and will hold its shape and resist raveling.
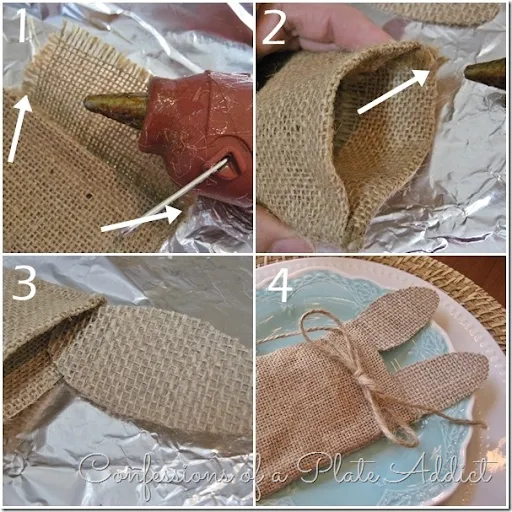
Now you are ready to add them to the pre-made envelope to create your pocket. I like to work over a piece of aluminum foil since burlap has such a loose weave and the glue can leak through.
Open up the envelope and add a bead of hot glue to the inner corners. Fold the flap over and tuck it inside, pressing it in place using a bamboo skewer so as not to get burned.
Add another bead of glue to one the inner corners of the pocket on top of the fold.
Add one of the ears and press down, again using a bamboo skewer so as not to get burned, and hold until the ear is securely in place. Repeat for the second ear.
Tie a length of jute twine around the pocket.
No comments
Write a comment