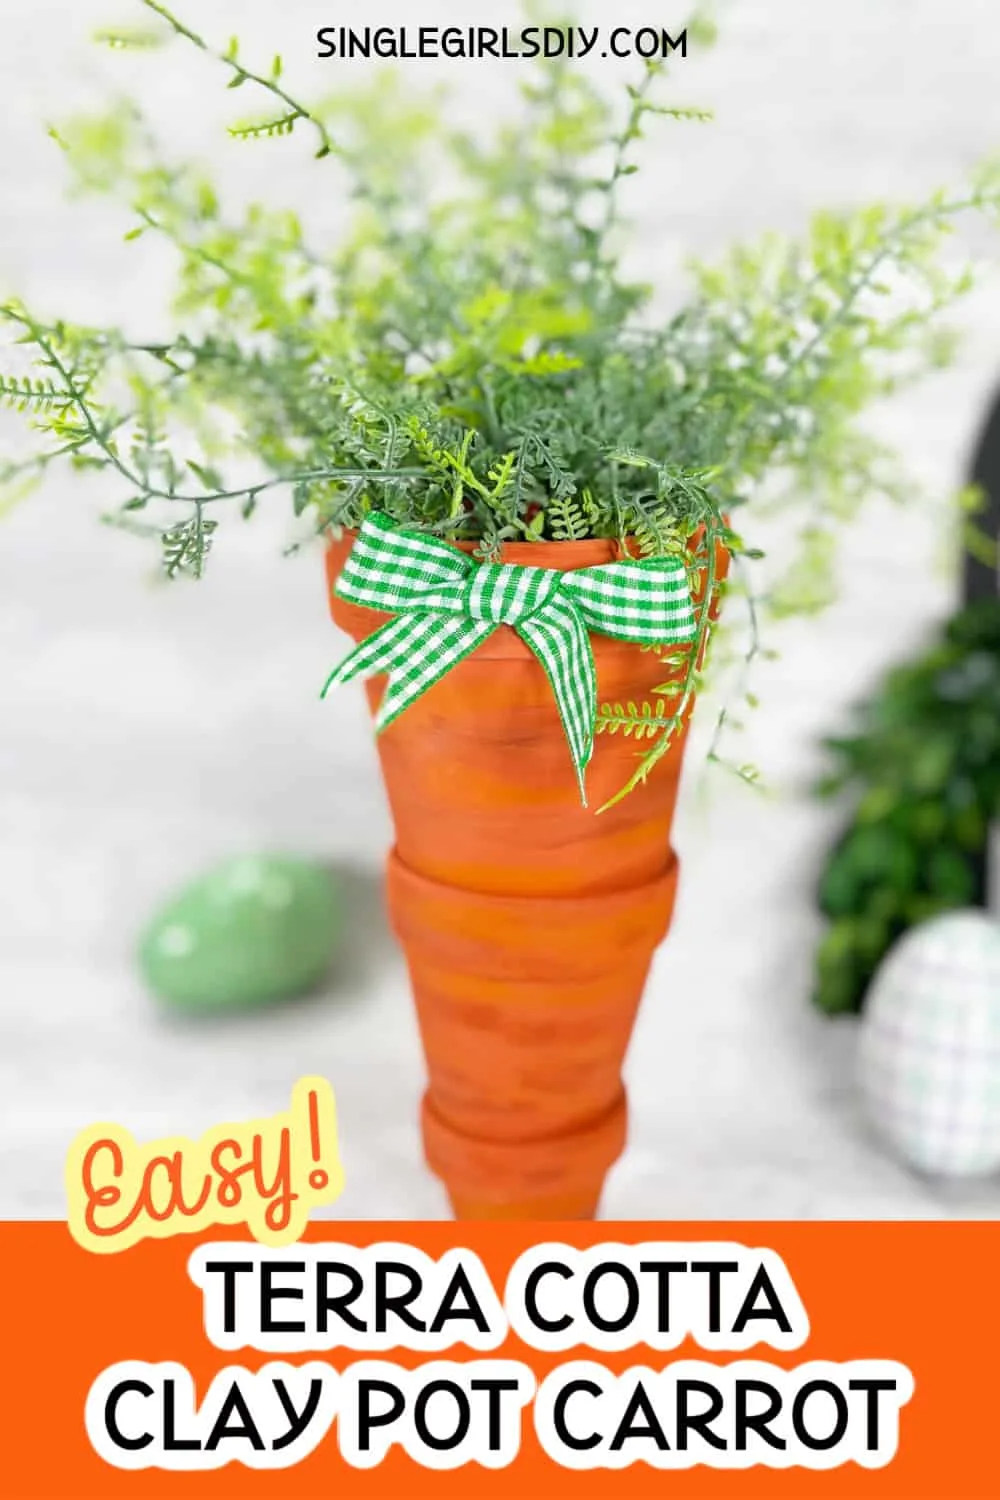
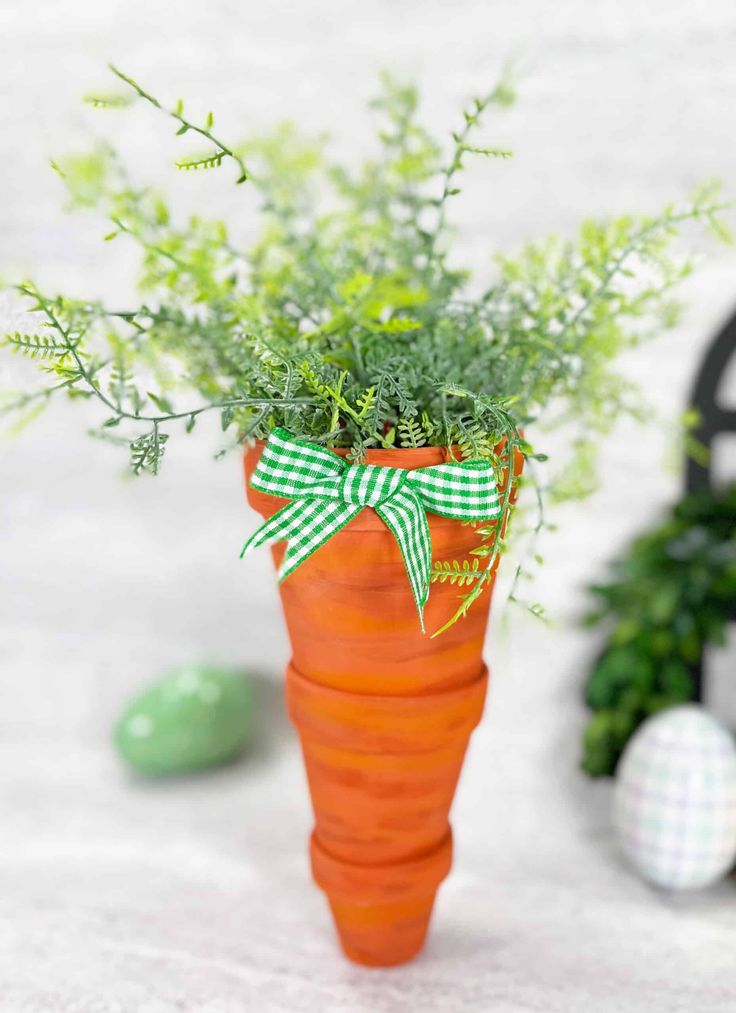
DIY Stacked Clay Pot Carrot
DIY Stacked Clay Pot Carrot is a charming and creative project that brings a touch of whimsy to your garden or home decor! By stacking different sizes of clay pots painted in vibrant orange hues, you can easily create a delightful carrot design perfect for spring and Easter decorations. This fun and easy craft not only allows you to showcase your artistic flair but also adds a pop of color to any space. So go ahead and get your hands dirty, and let your creativity bloom with this adorable DIY project!
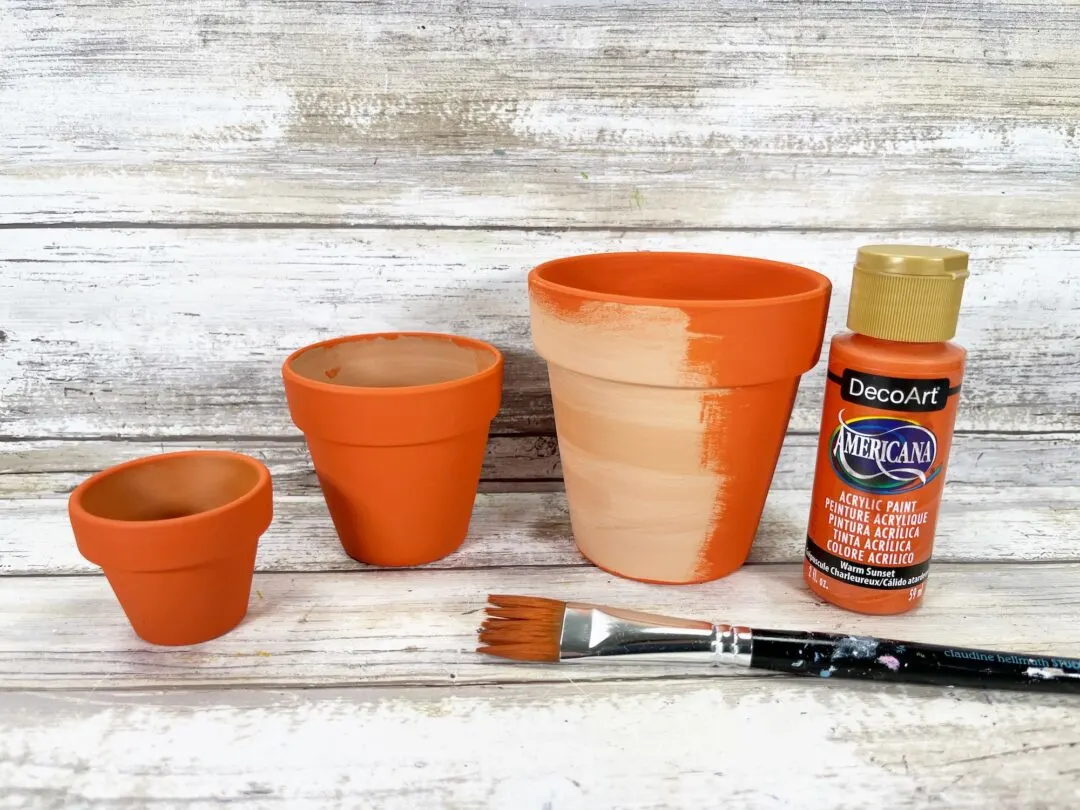
Materials
Directions
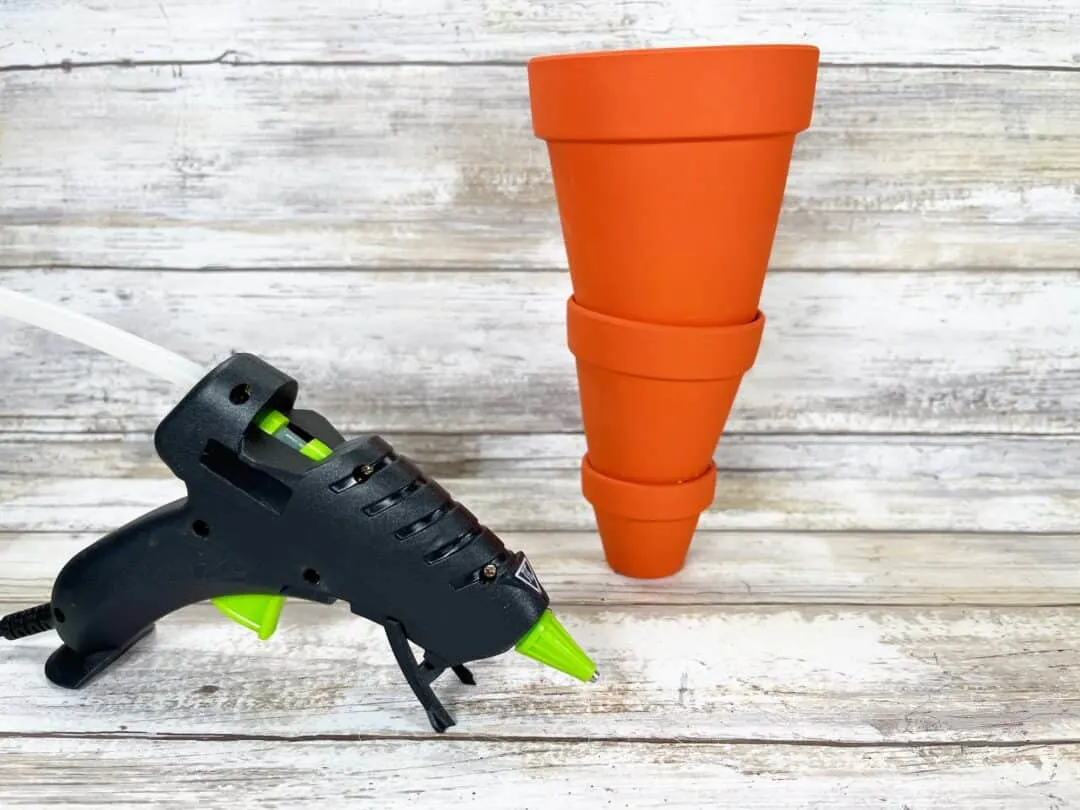
Paint all three clay pots with medium tone orange acrylic craft paint. Let dry and then apply a second coat, if necessary.
Glue the medium clay pot onto the small clay pot with a glue gun. This is easiest when you apply the hot glue to the inner top edge of the small pot and then place the medium pot inside.
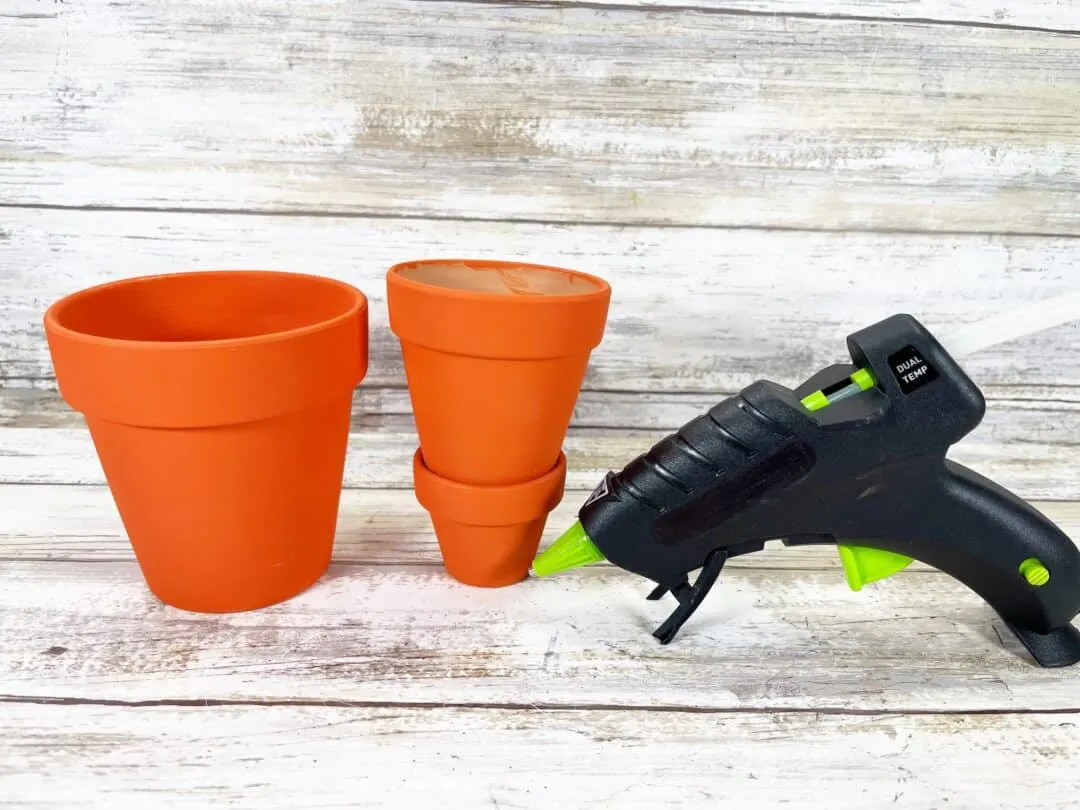
Next, glue the large clay pot inside the medium clay pot.
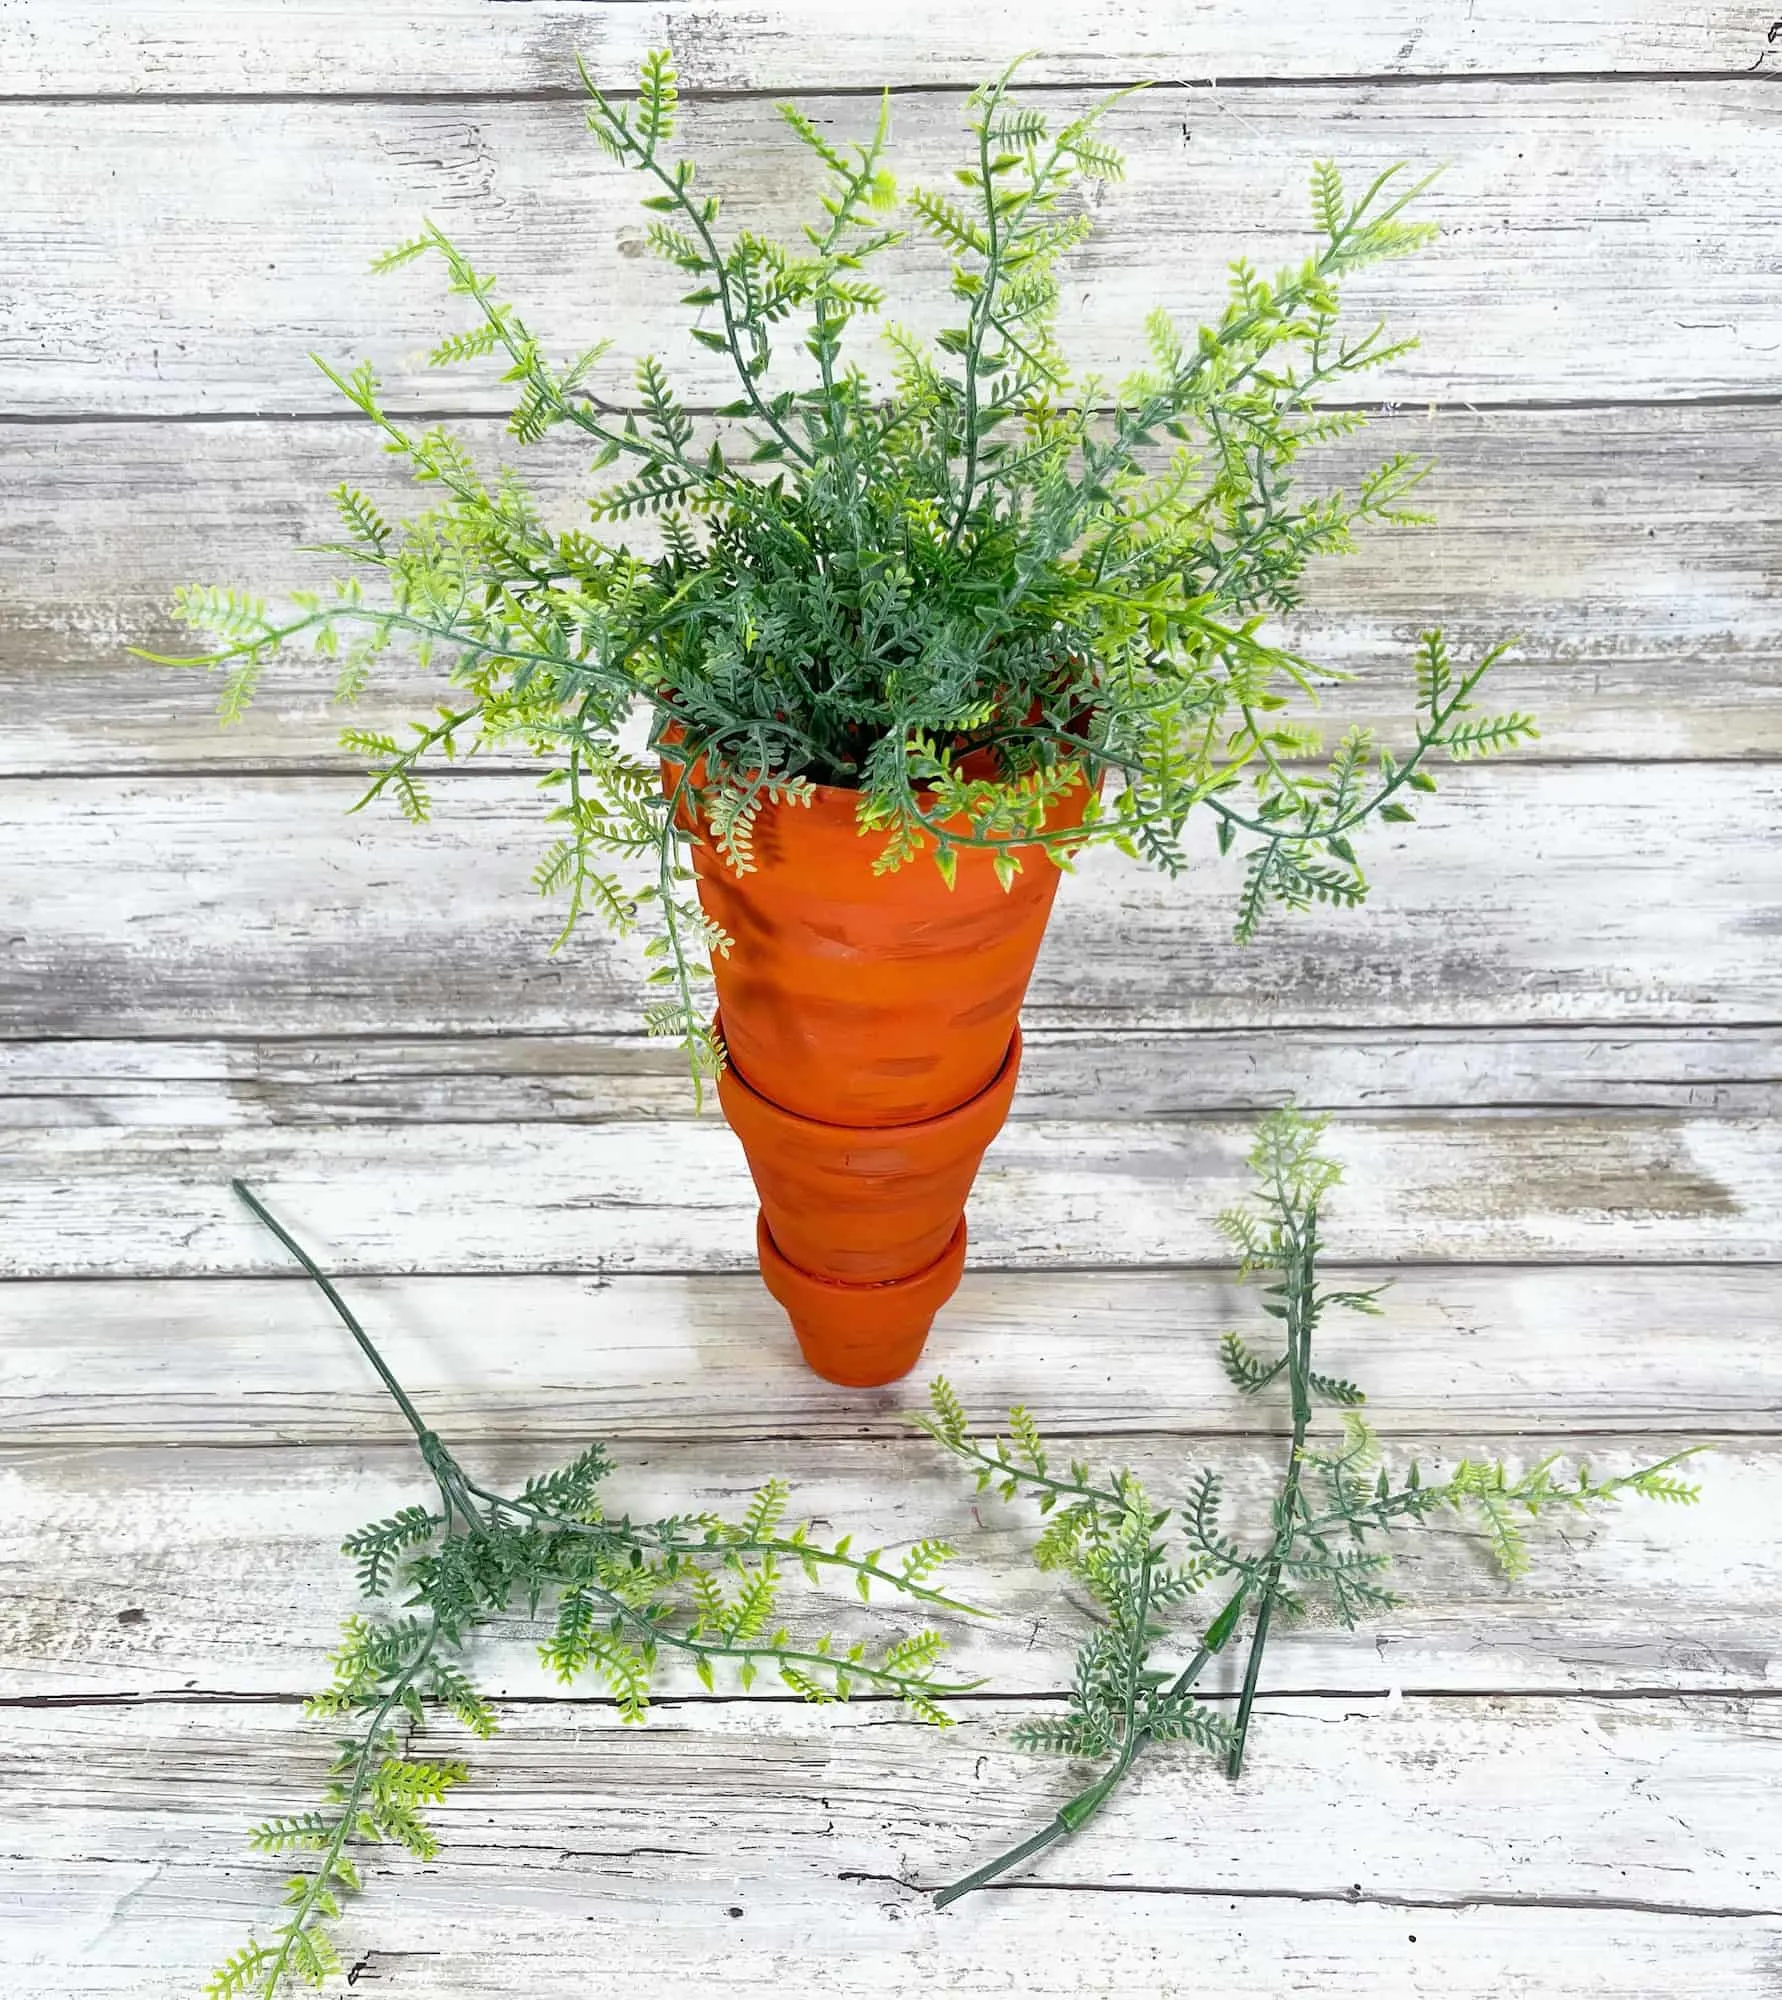
Stack the pots together at different angles to give the carrot some character, if you would like.
With the bright and dark orange paints, apply random swashes of paint to the exterior of the clay pots for a textured look.
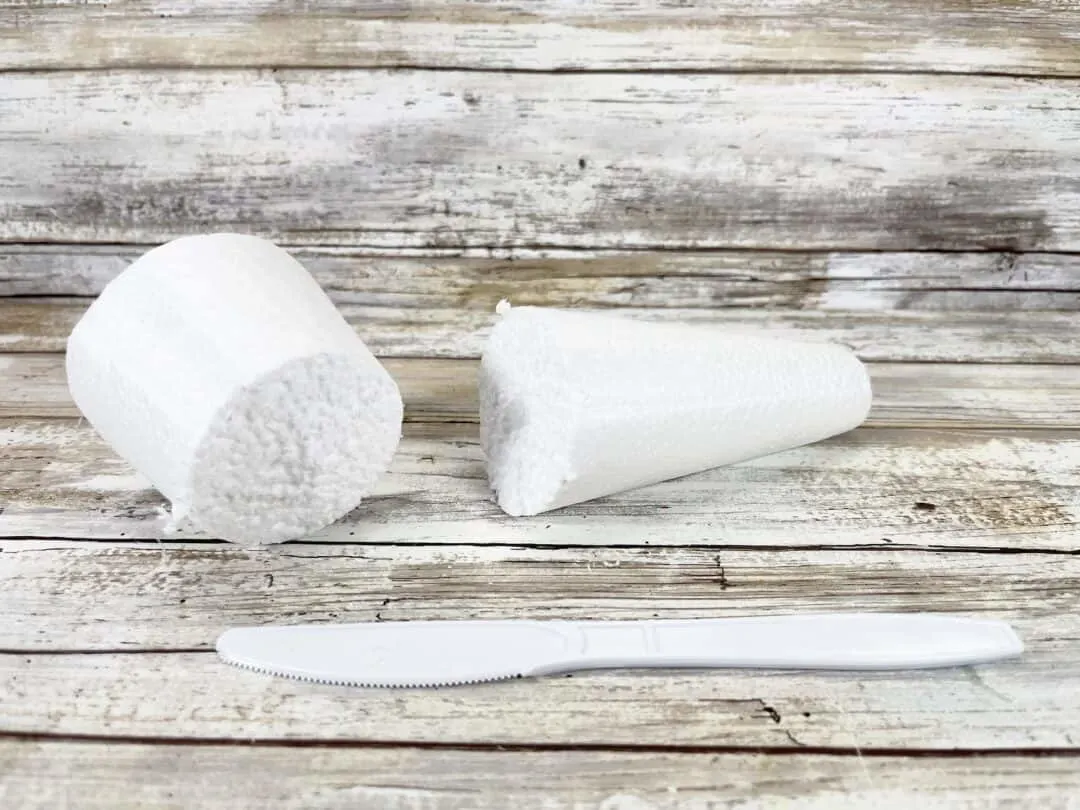
Cut a foam cone in half with a plastic knife.
Glue the bottom of the foam cone half in the top clay pot.
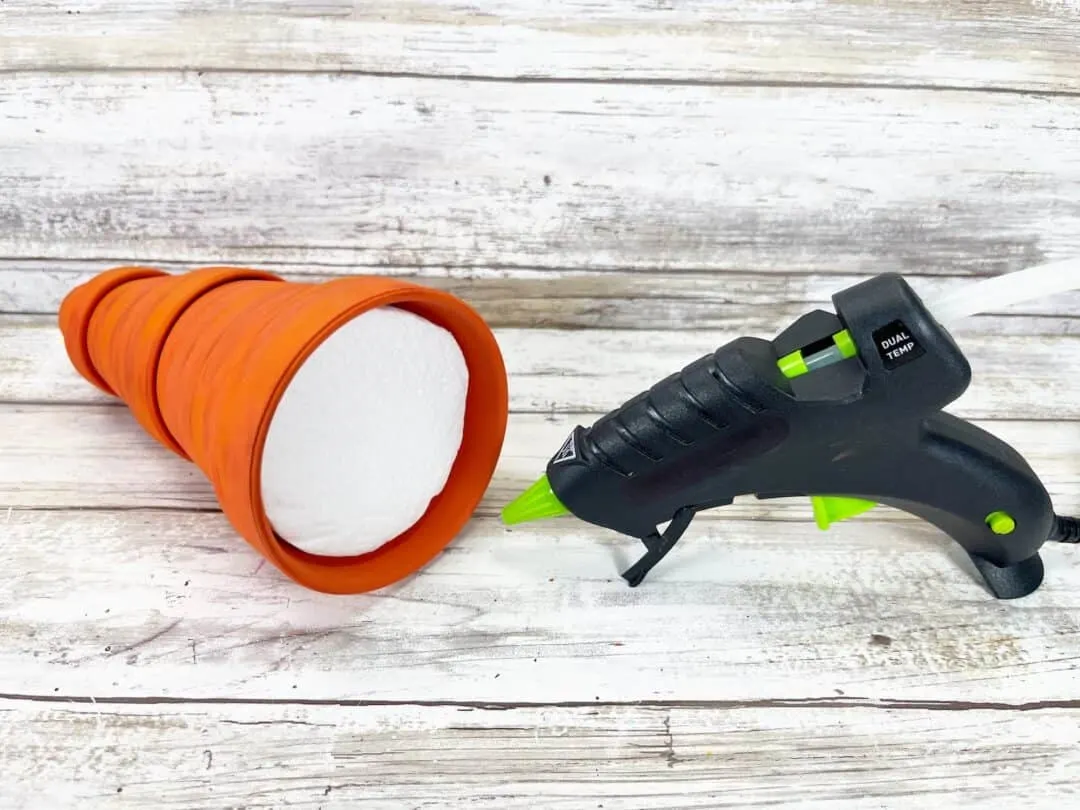
Paint the top of the foam with orange paint.
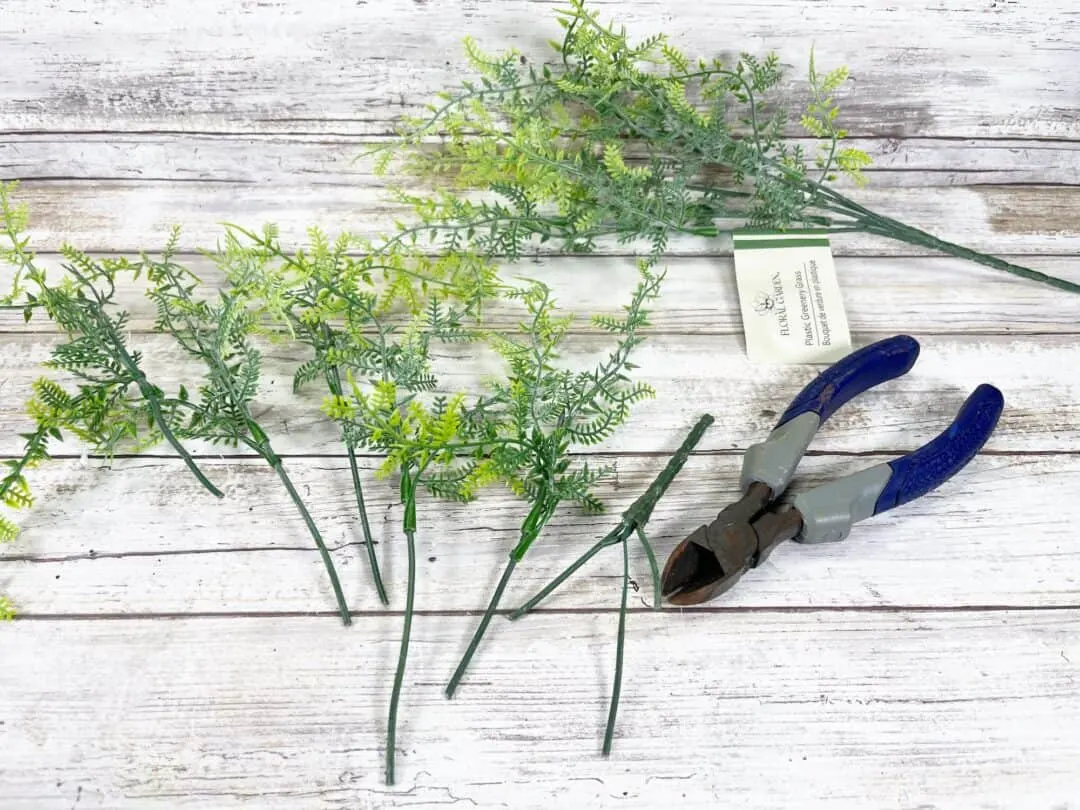
Trim the stems on the silk greenery with wire cutters. Push the leaves to the ends of the stems, so they are bunched together.
Insert the stems into the foam to look like carrot fronds.
Tie the twine or ribbon in a bow. Attach the bow to the top of the clay pot carrot.