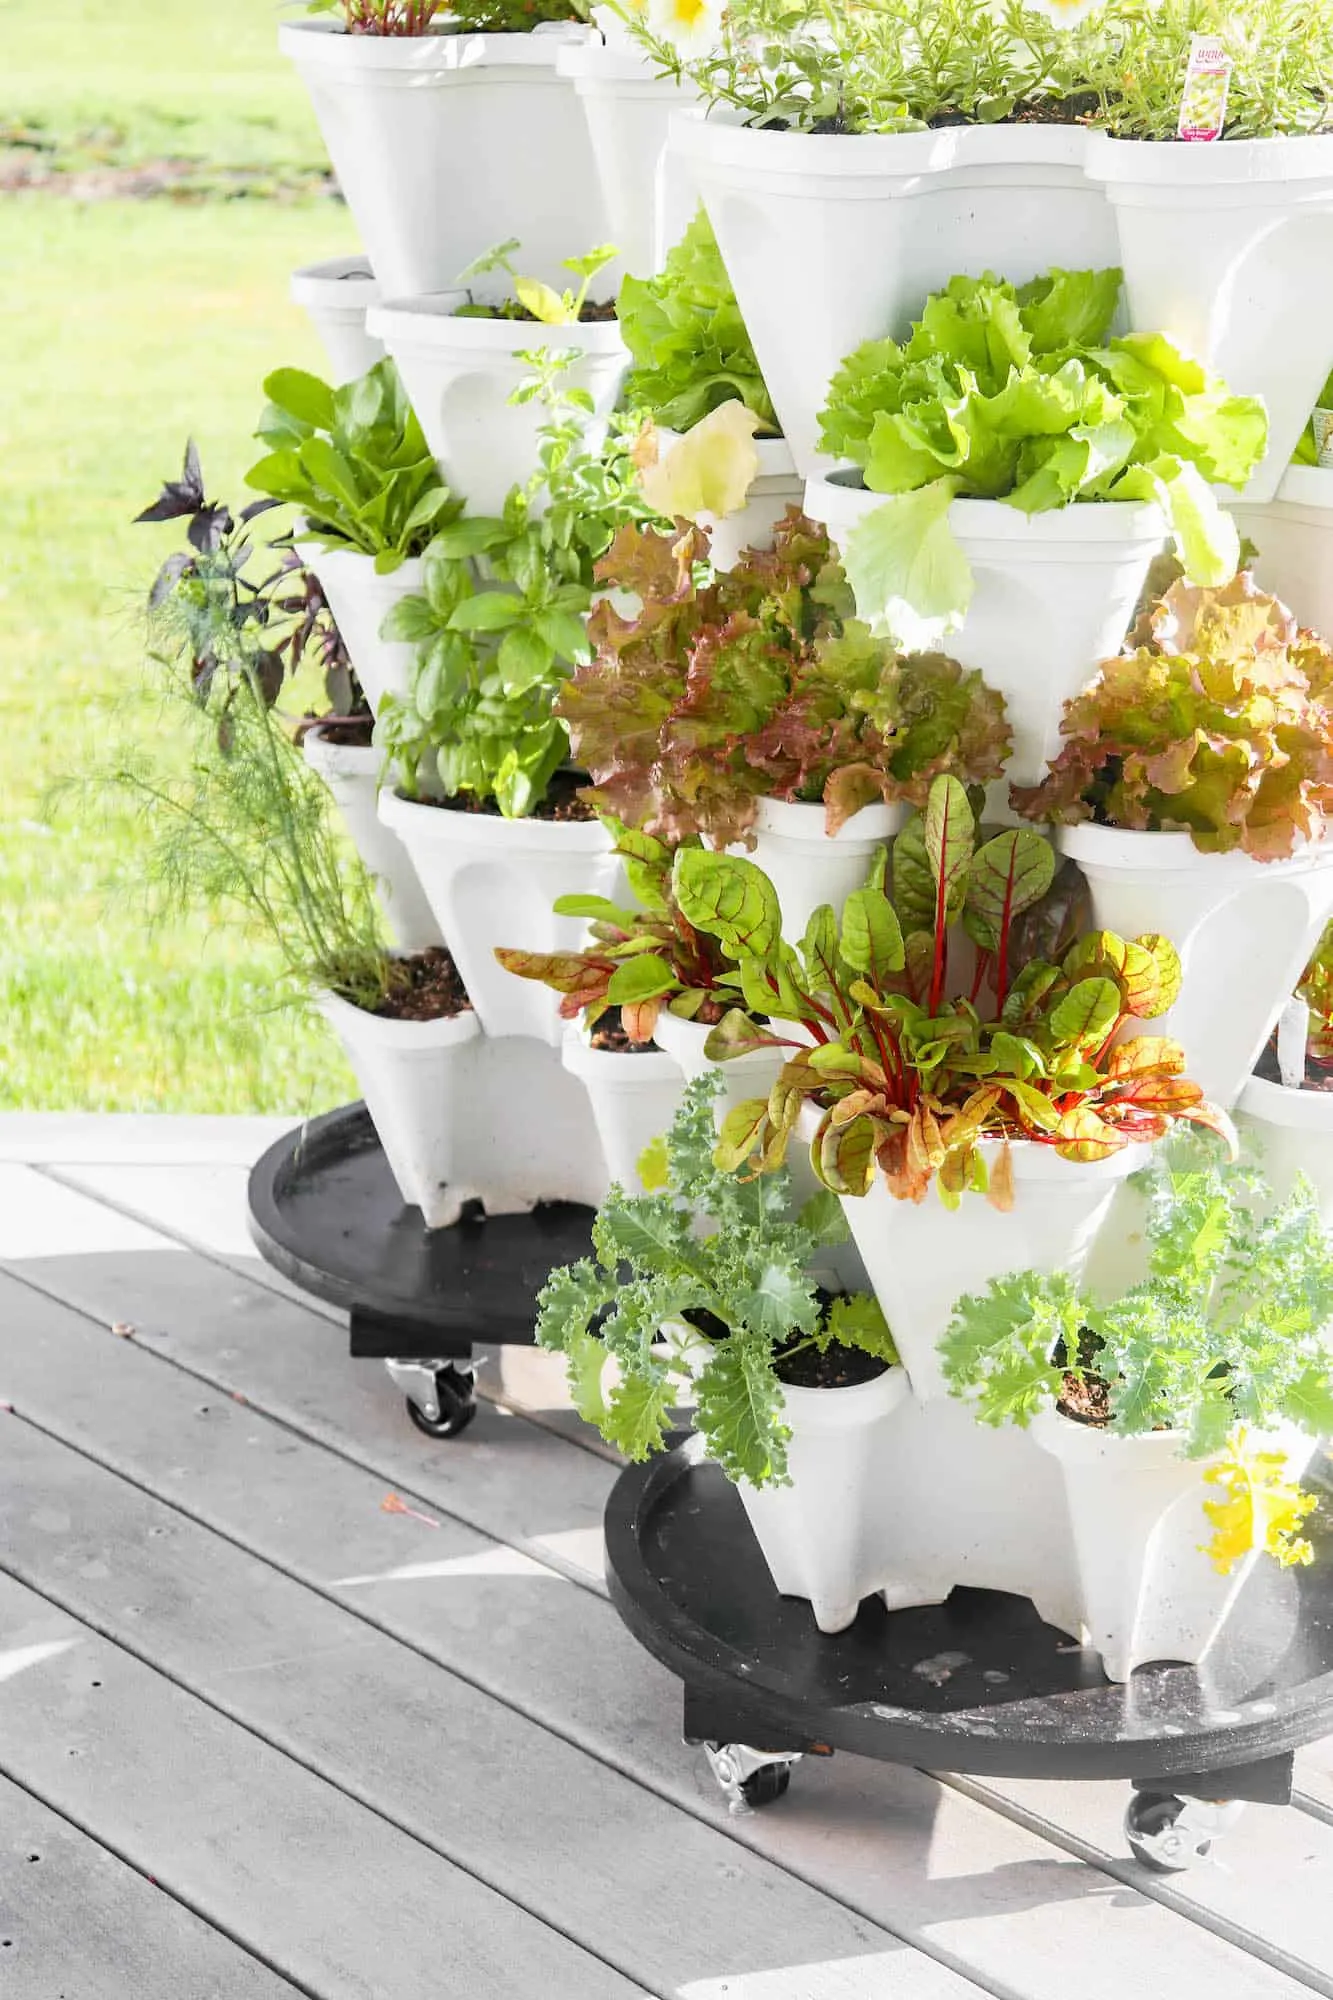
Looking to effortlessly move your plants around? The Rolling Plant Base With Wheels is here to save the day! This handy tool not only adds a touch of convenience to your gardening routine but also brings a hint of style with its sleek design. Say goodbye to struggling with heavy pots and hello to smooth gliding as you transport your plants from one spot to another. With these wheels, you can easily take your green friends out for some sun or tuck them away during colder days. So, make plant care a breeze and add a fun twist to your gardening adventures with the DIY Plant Caddy!
Supplies
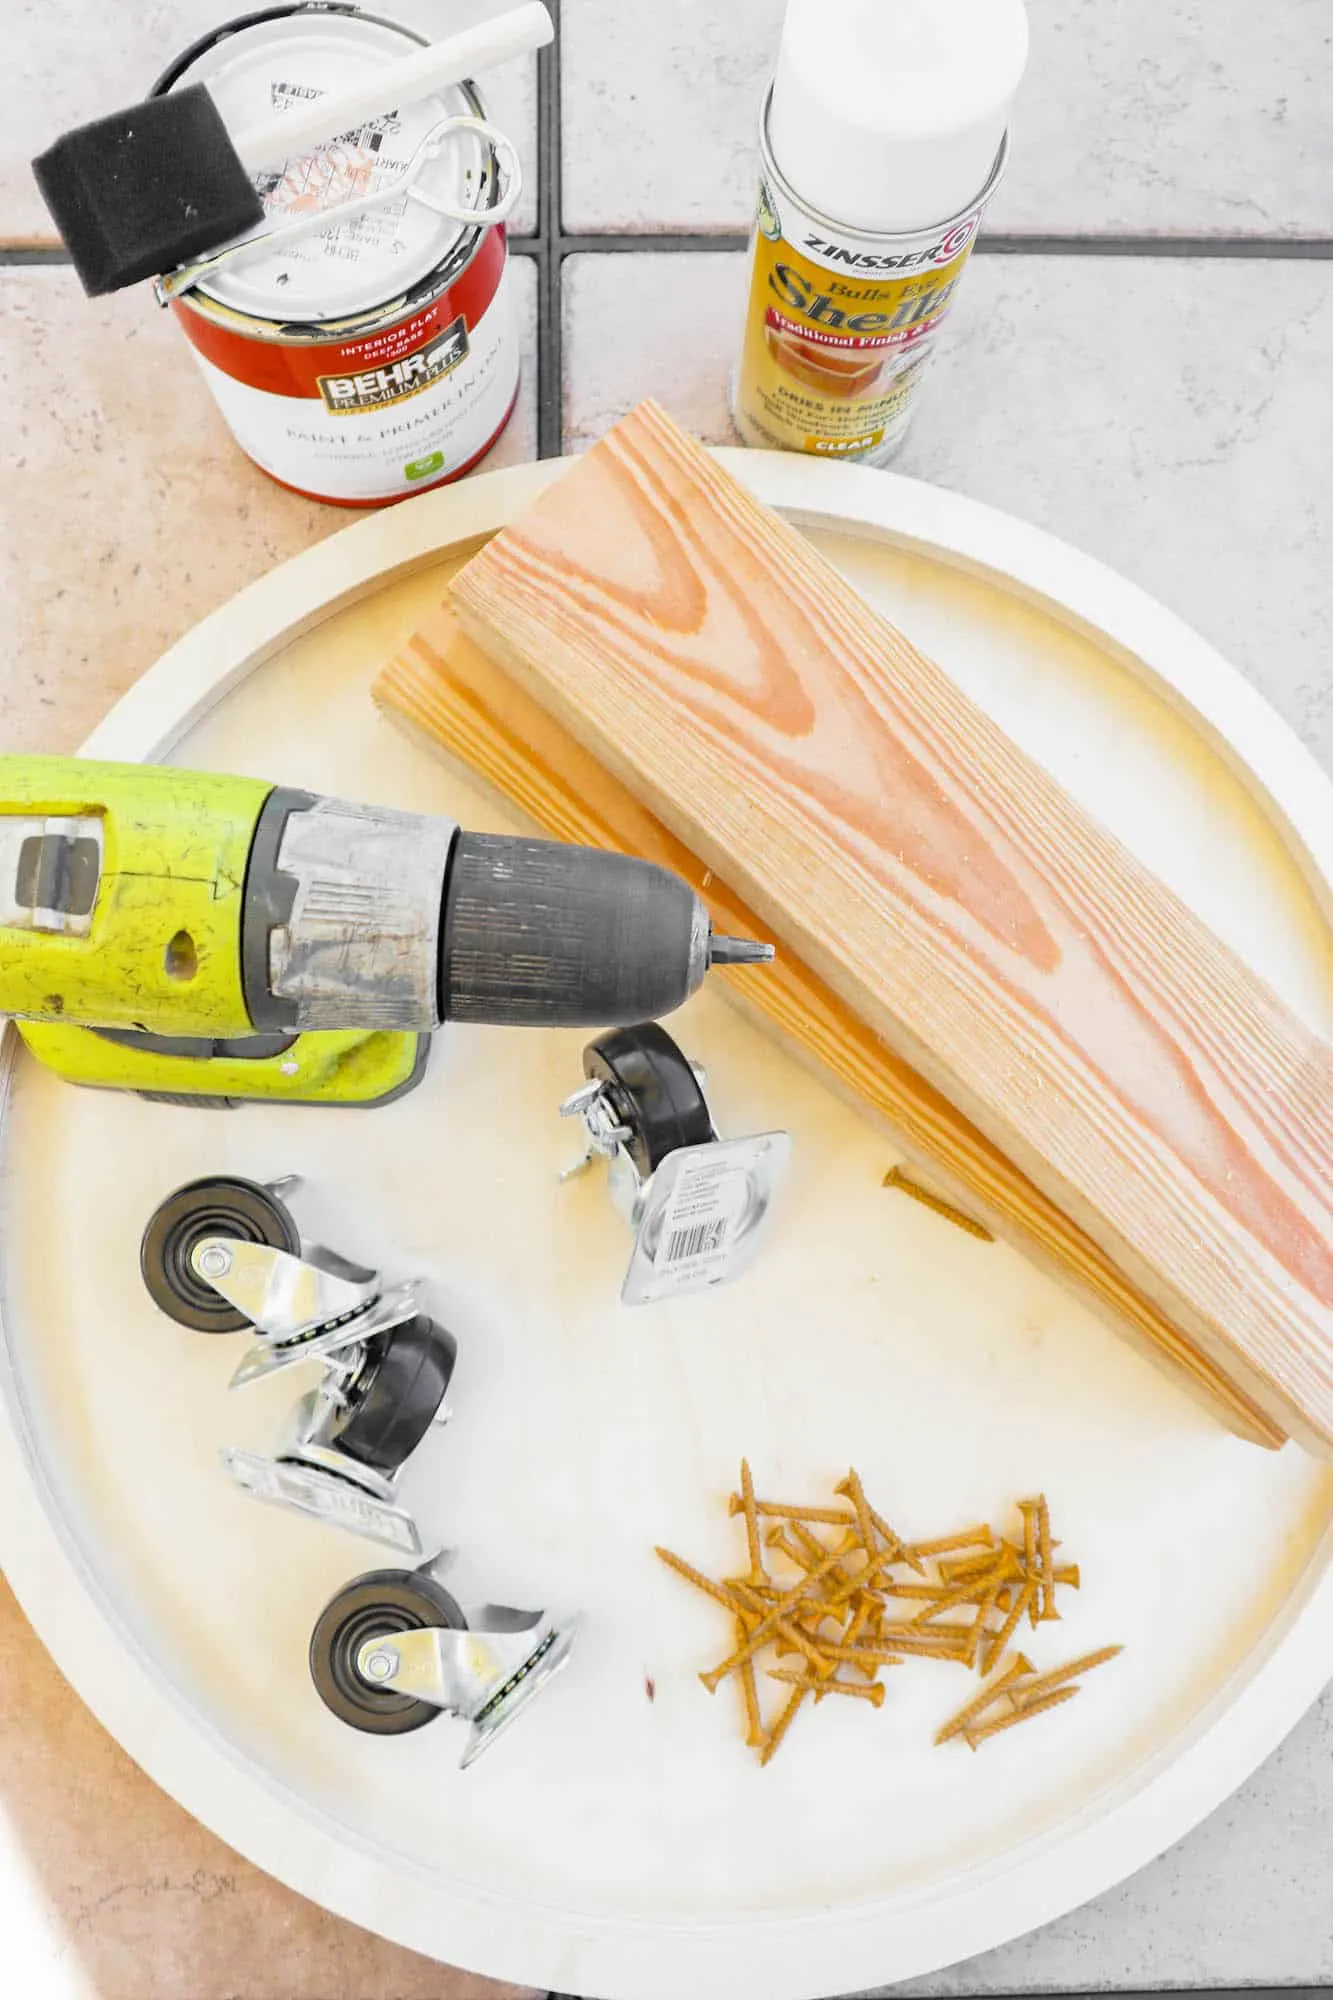
(4) 2″ Swivel Plate Castor Wheels – 90-lb load capacity
Wood Round Tray or Sign – 20″ diameter
2″x4″ Wood cut into two 13 1/2″ pieces
25 Wood Screws (16 for the castor wheels, 8 for the 2×4’s and 1 extra)
Screw Gun
Black Paint
Paint Brush
Clear Shellac Spray
Cardboard, tarp or old sheet for painting
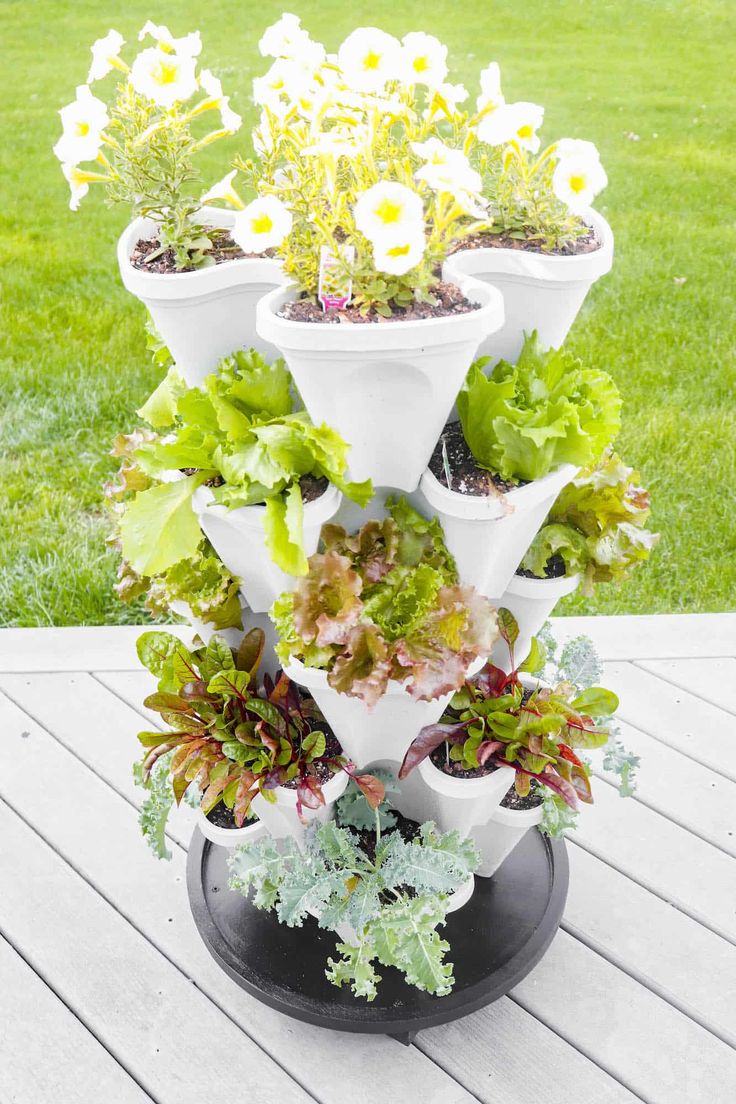
Vertical Planter pots
Instructions
Step 1
Attach two of the 13 1/2″ pieces of 2×4 wood onto the back side of the wood round tray, parallel and set as close to the edges of the wood round tray as possible without extending beyond the edge. You will be driving the wood screws in through the top of the tray and into the 2×4 pieces below.

Step 2
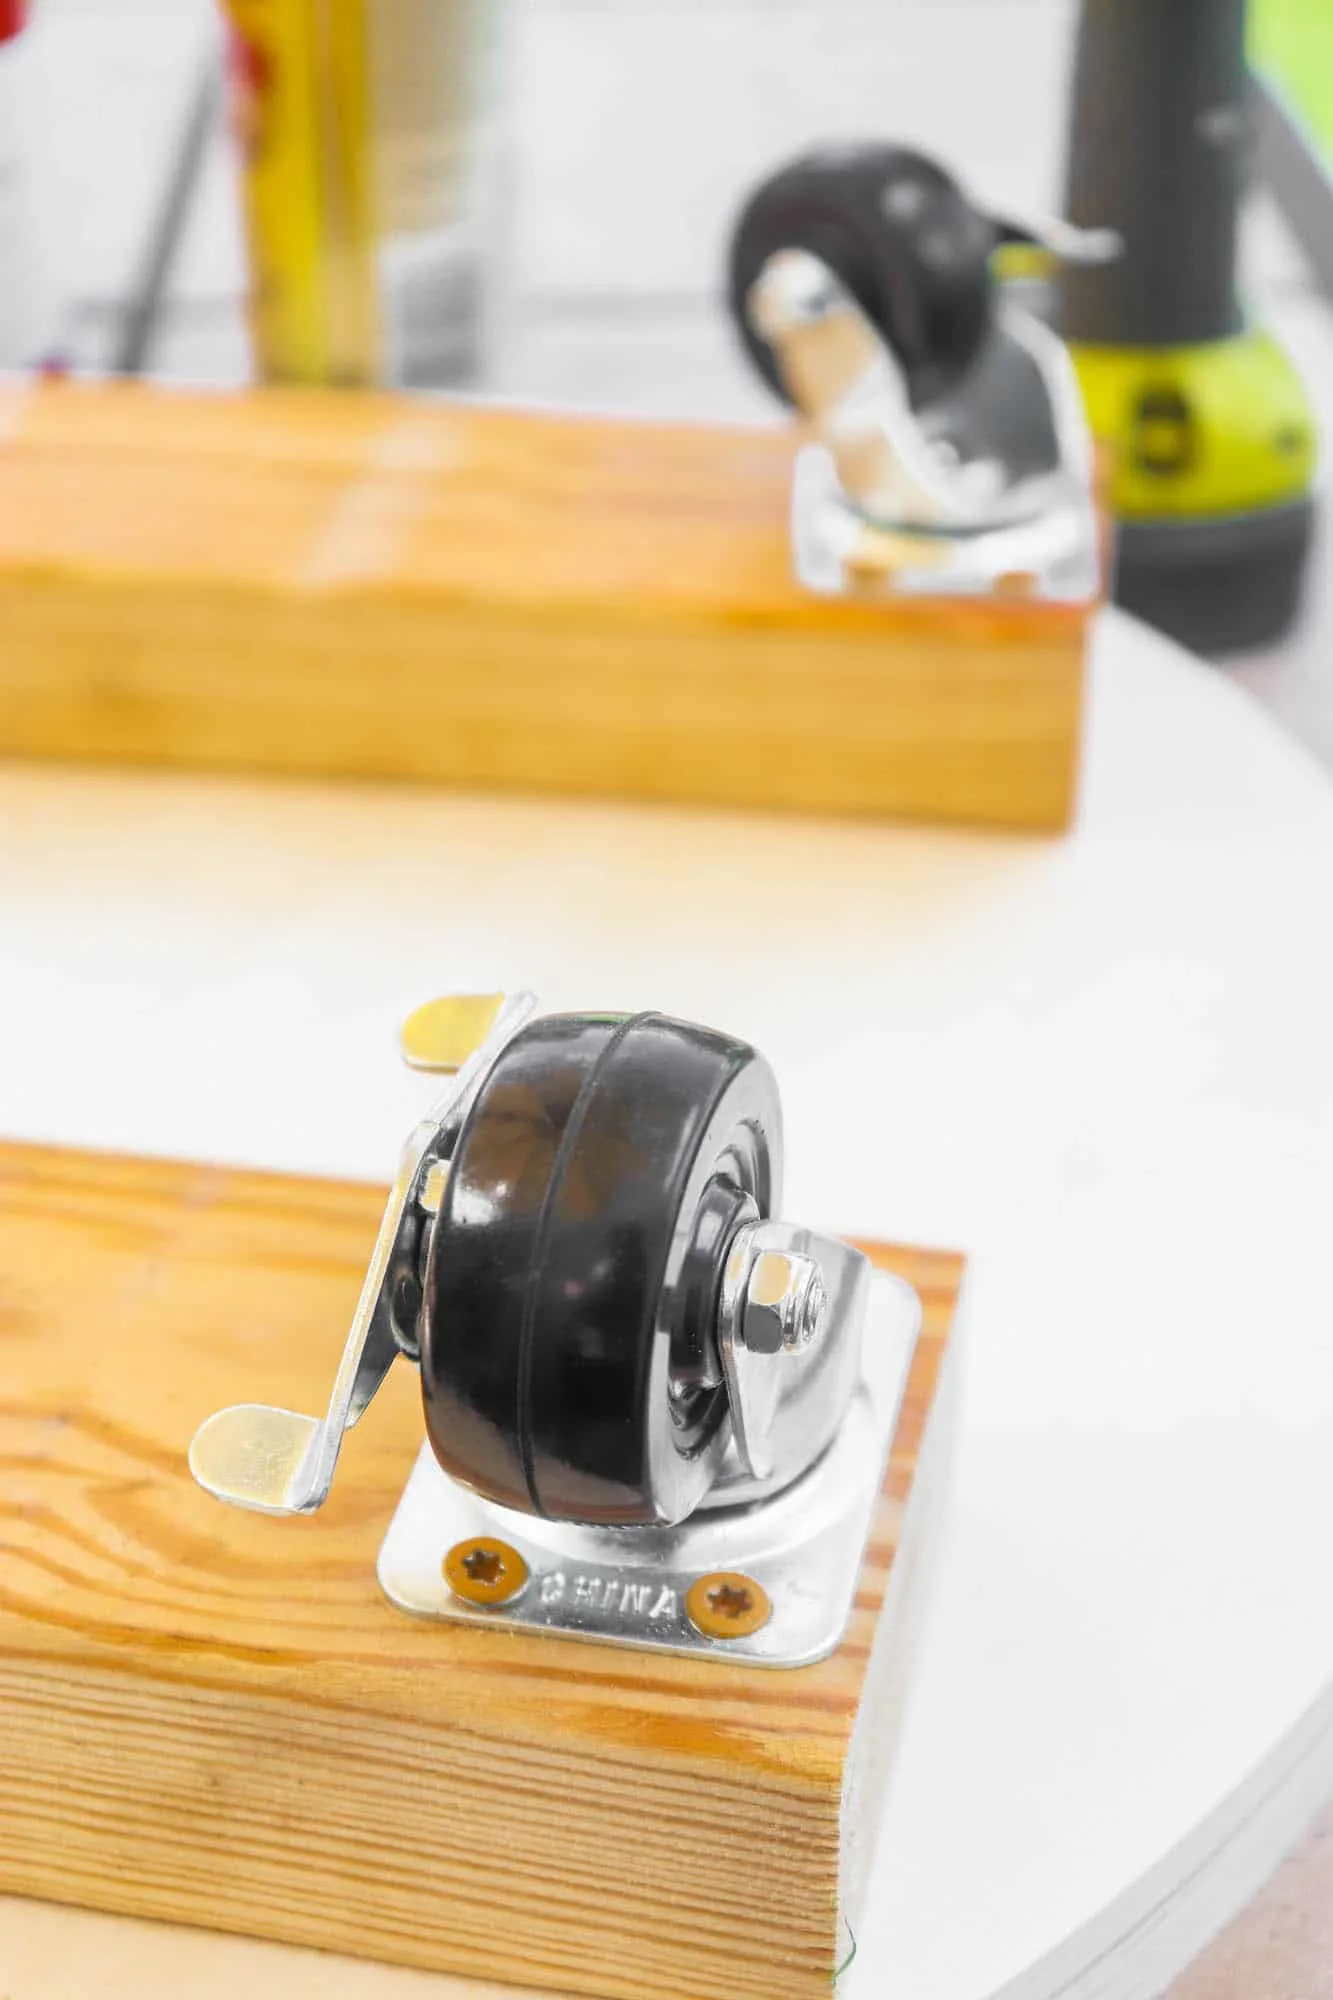
Secure 4 wood screws into each 2×4 piece, making sure to leave space for the castors to be screwed into place at the end of each 2×4 piece.
Use the wood screws to secure the castor wheels into place at the edge of each 2×4.
If you bought the swivel plate wheels then it will not matter which way you put these on.
Step 3
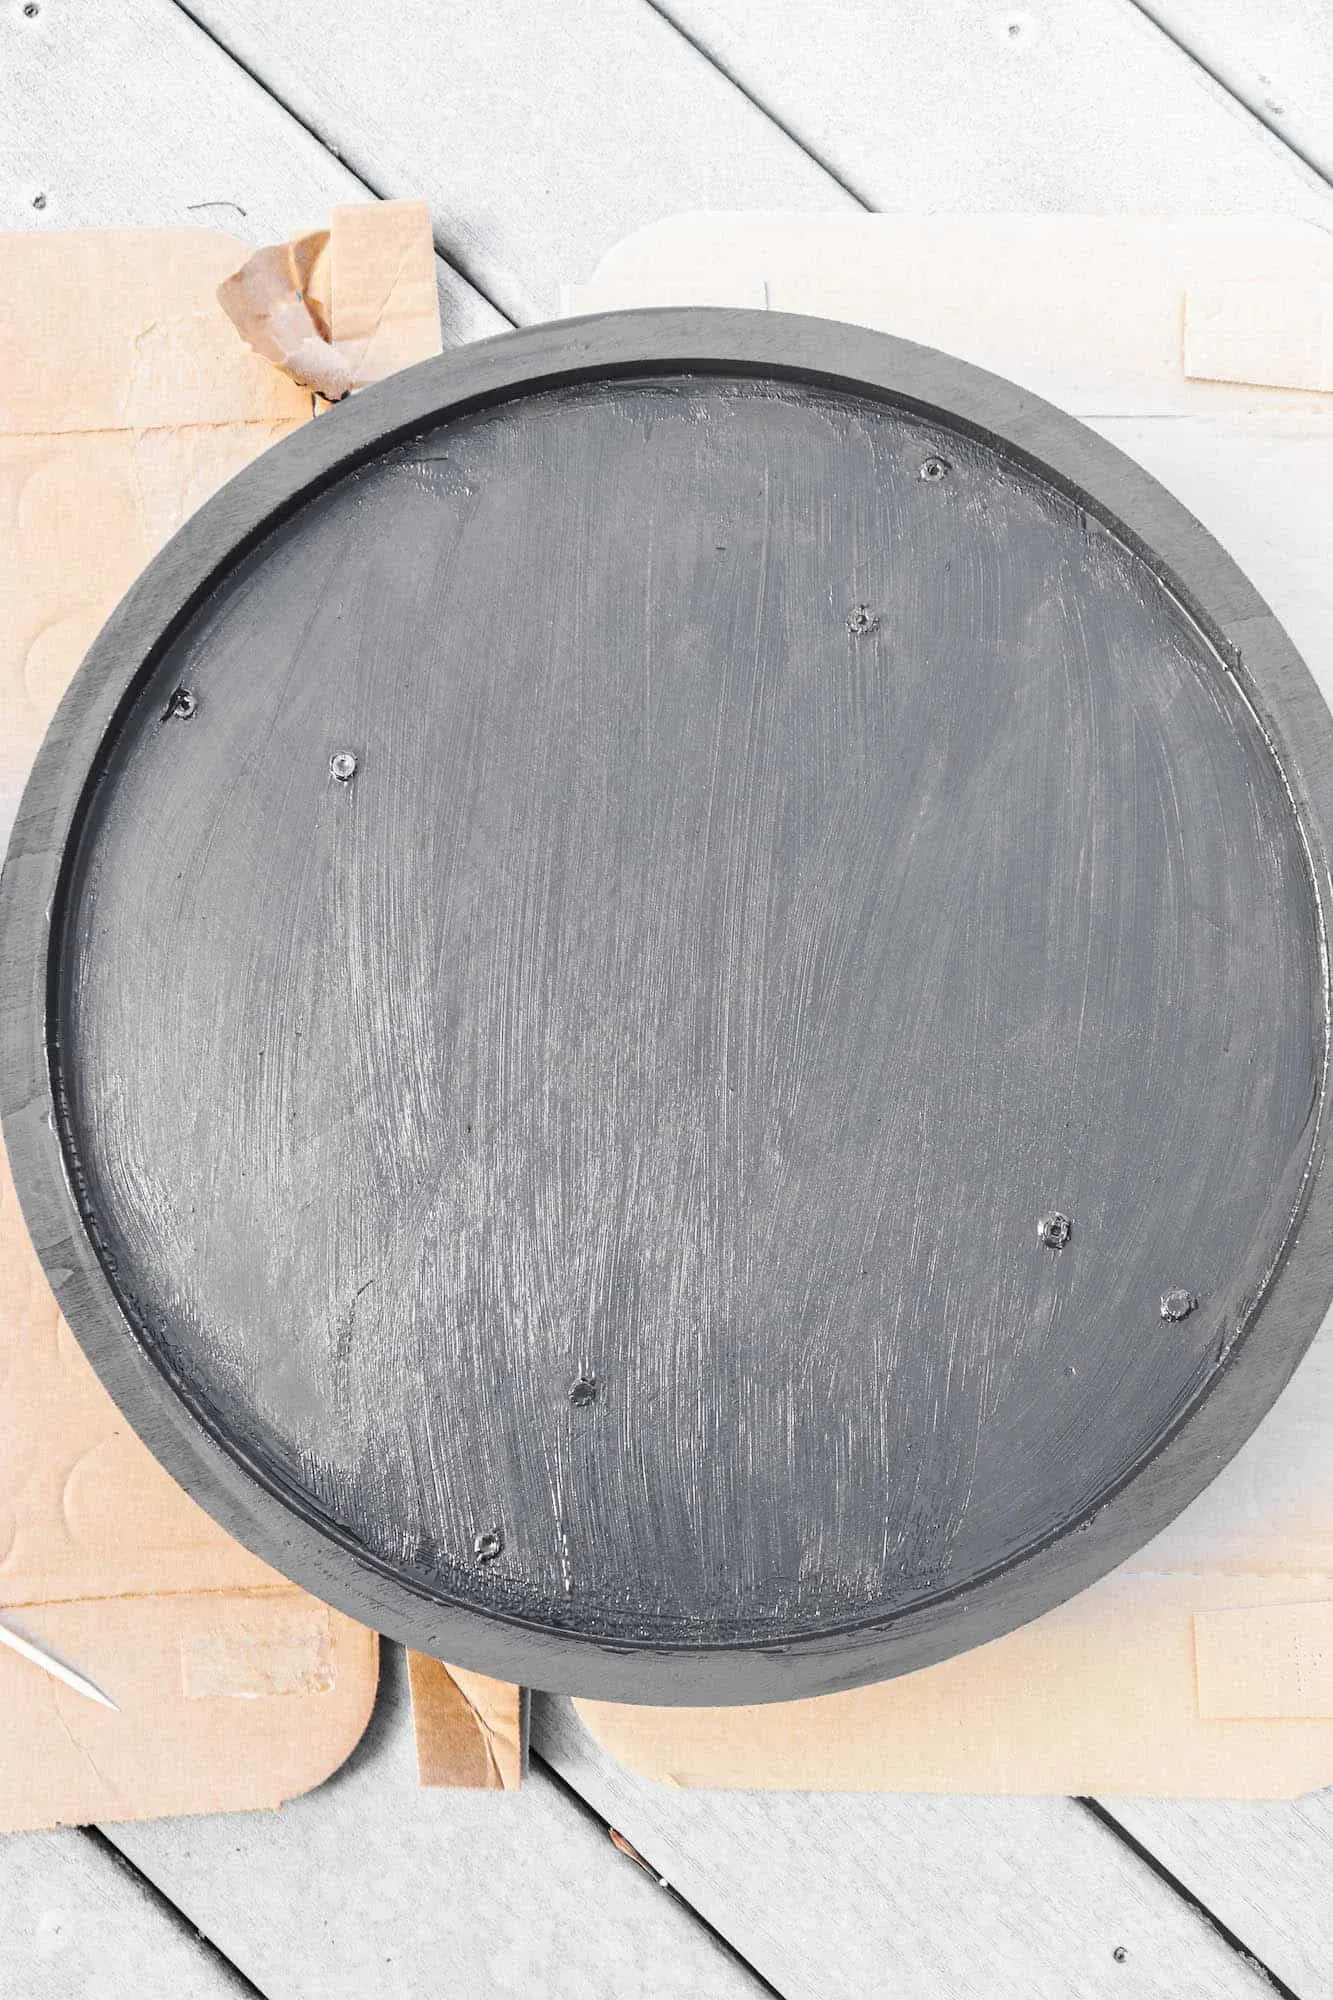
Paint the underside of the planter base with several coats of black paint, allowing to dry in between each coat.
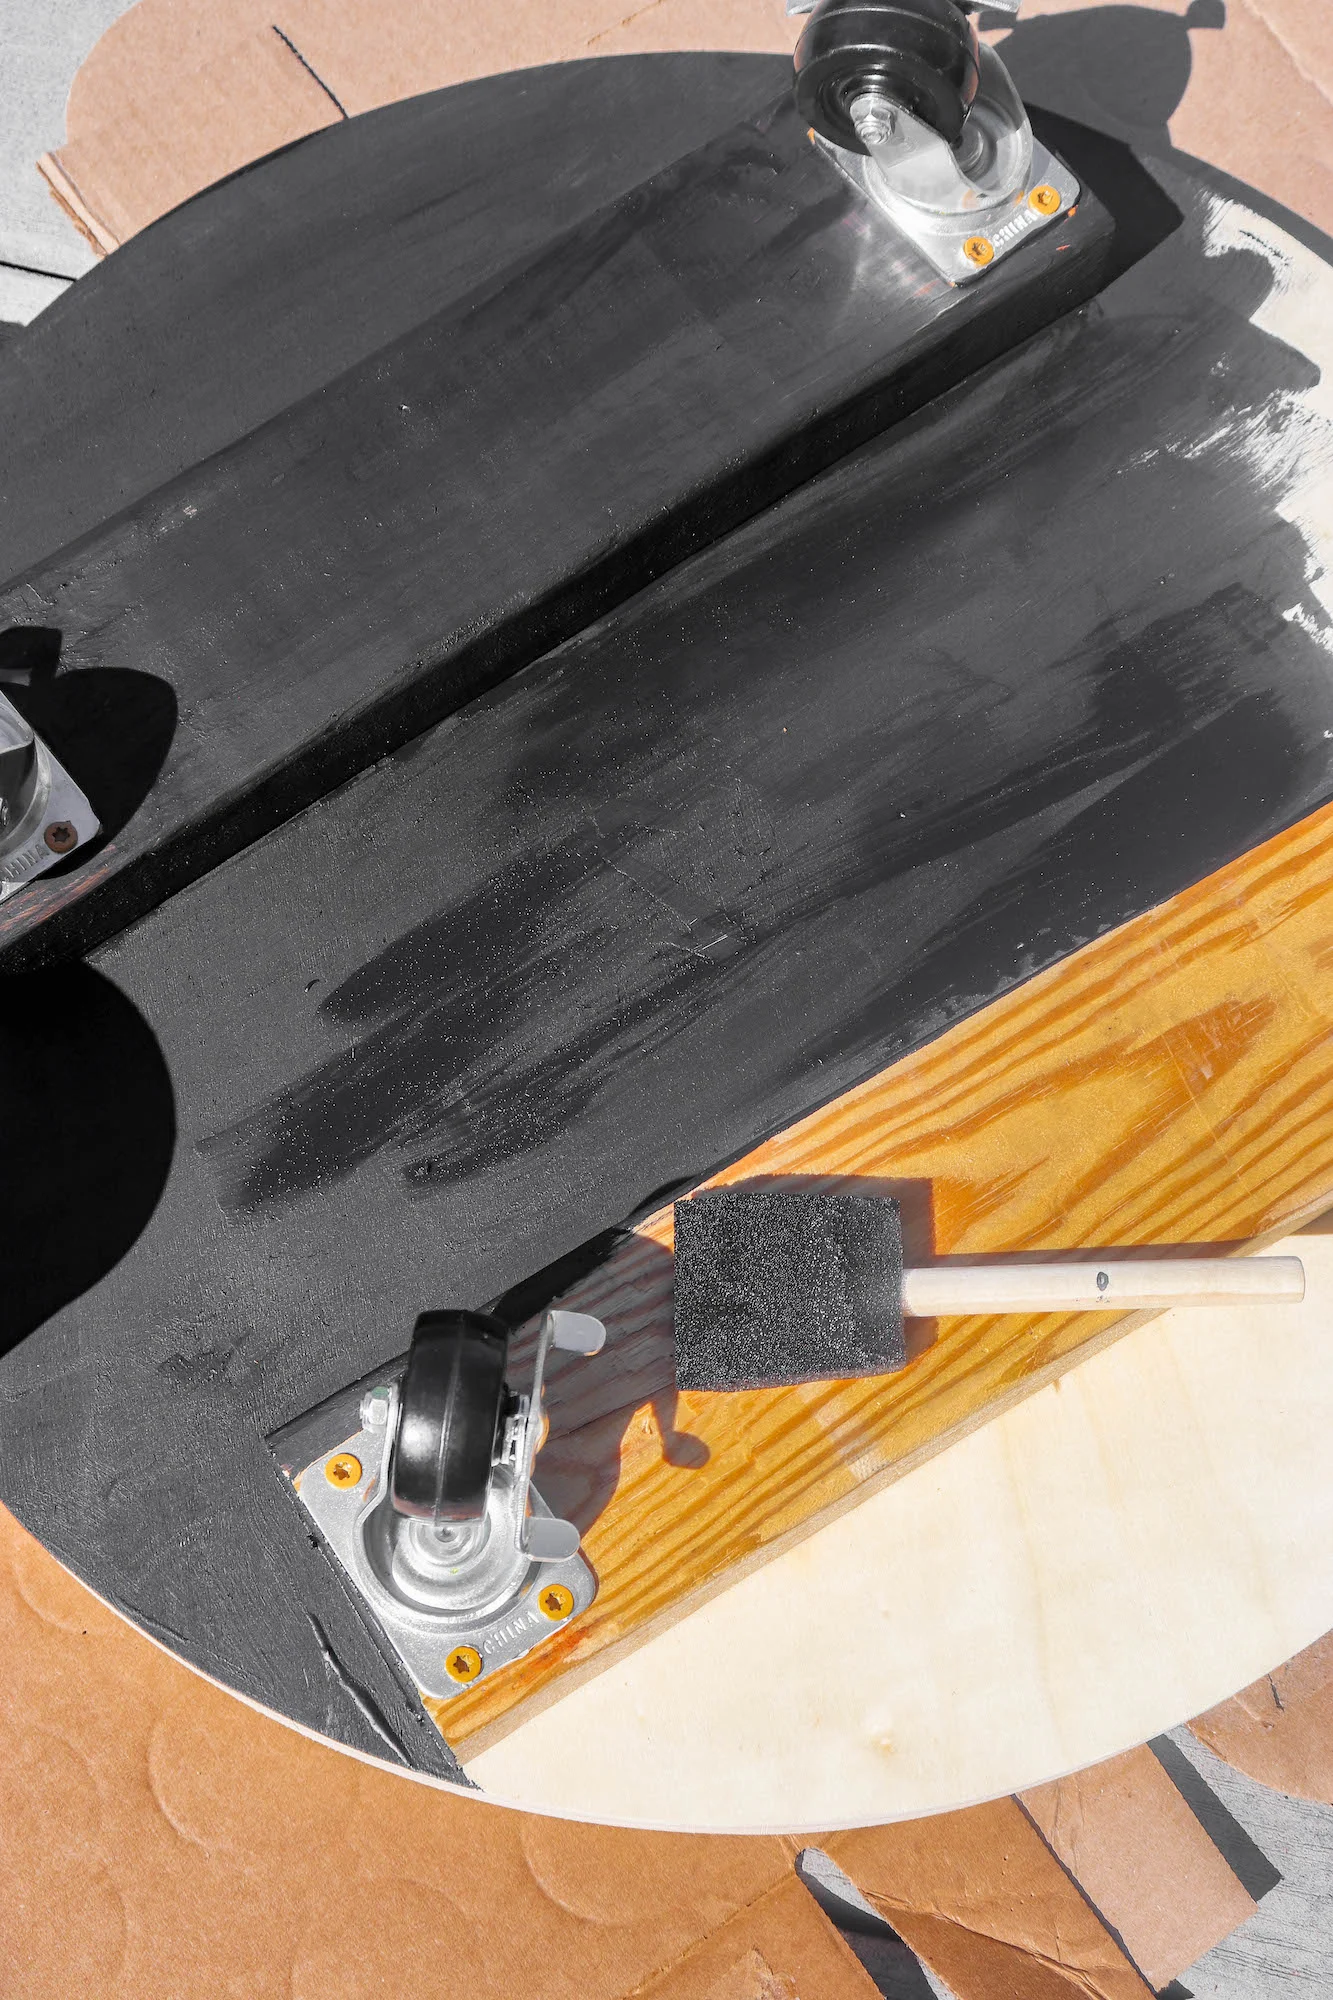
Then flip the plater base over and paint the top with several coats of black paint, allowing to dry in between each coat.
Step 4
Use the extra wood screw to make numerous holes in the planter base to allow for drainage when watering your vertical planter as well as when it rains.
Step 5
Spray several coats of Shellac on the bottom side of the planter base, allowing to dry in between coats.
Spray several coats of Shellac on the top side of the planter base, allowing to dry in between coats.
Step 6
Assemble your vertical planter by stacking nesting pots together to form a tower.
Fill each compartment with potting soil, along with seeds or starter plants.