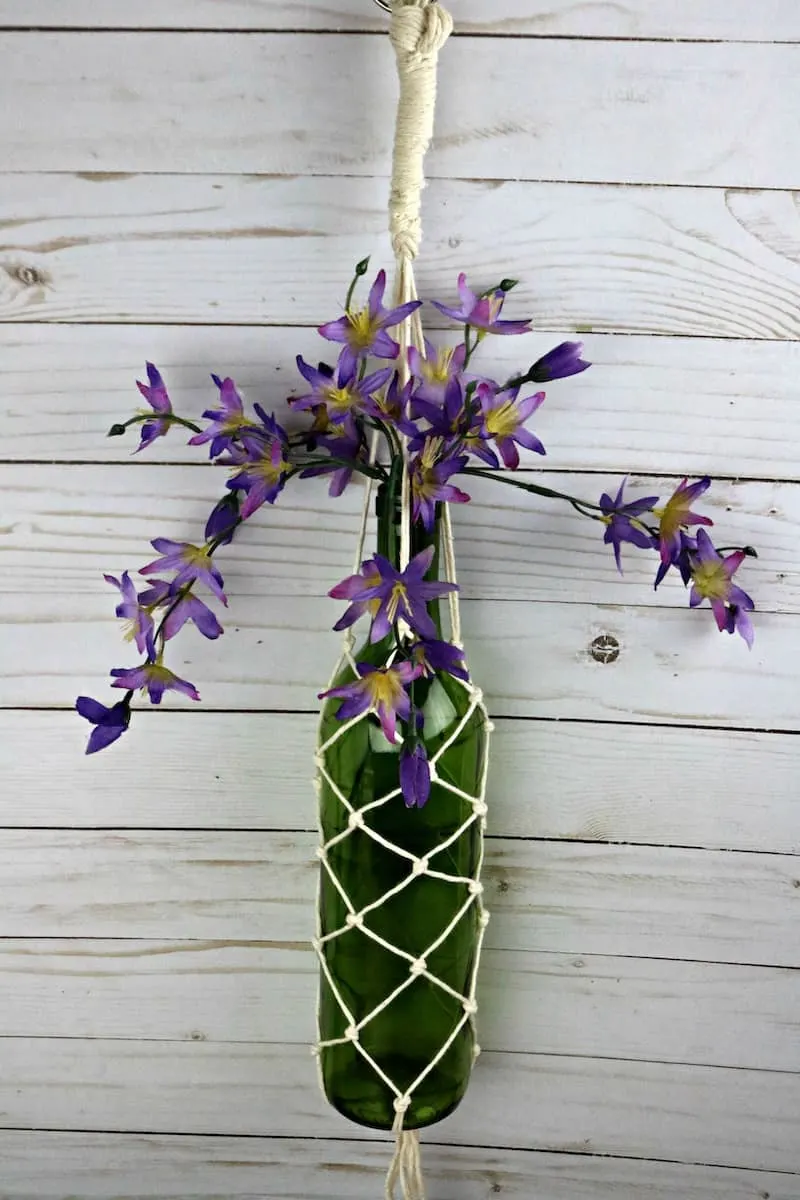
DIY Macrame Wine Bottle Hanger
Looking to add a touch of charm to your wine nights? Why not try creating a DIY Macrame Wine Bottle Hanger! This fun and creative project will not only showcase your favorite bottle but also add a unique boho vibe to your space. With just a few materials and some easy-to-follow tutorials, you'll be on your way to making a stylish and practical accessory for your next gathering. So grab your favorite bottle of wine, some macrame cord, and let's get crafting! Cheers to creativity and handmade decor!

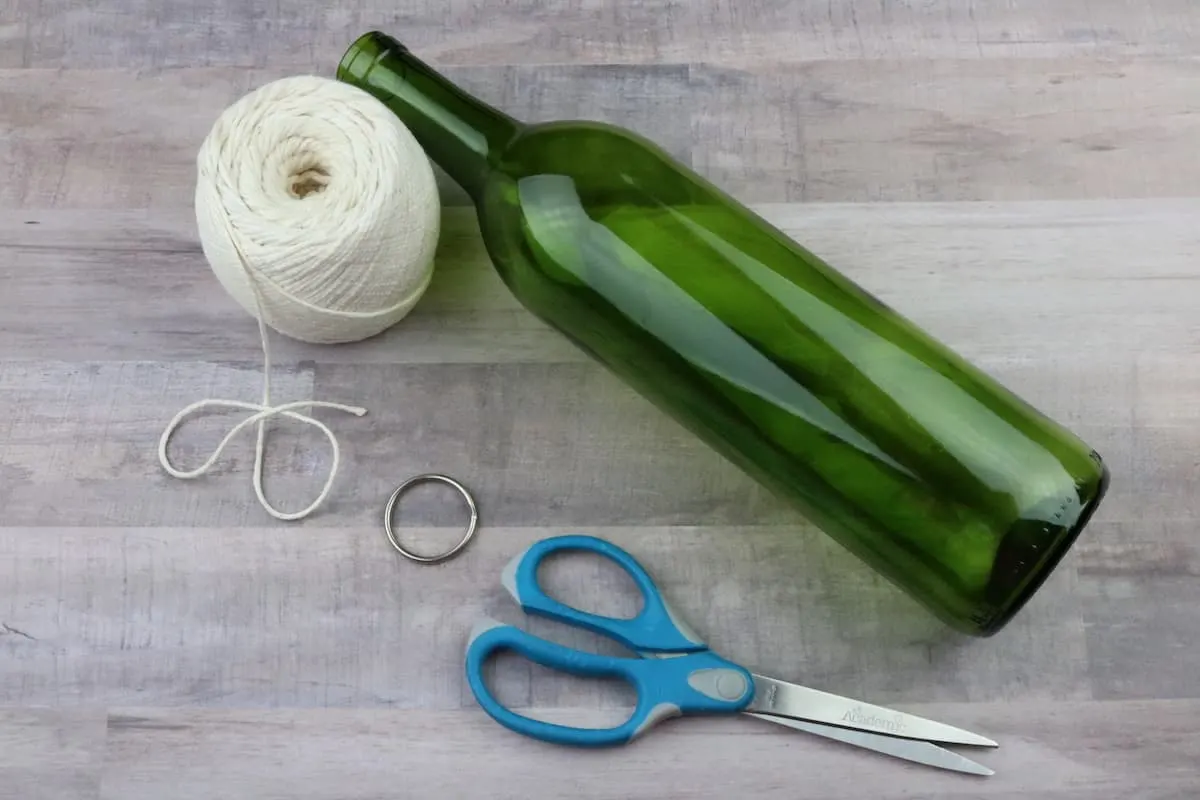
Supplies
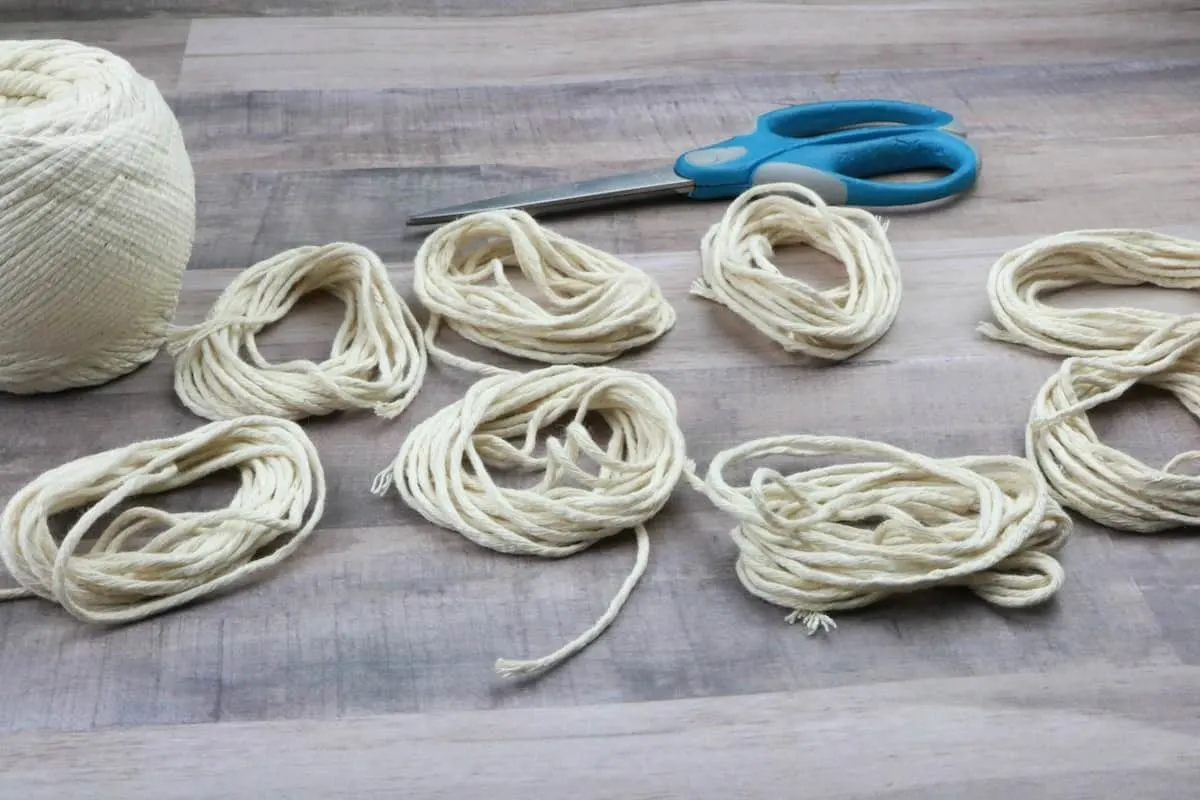
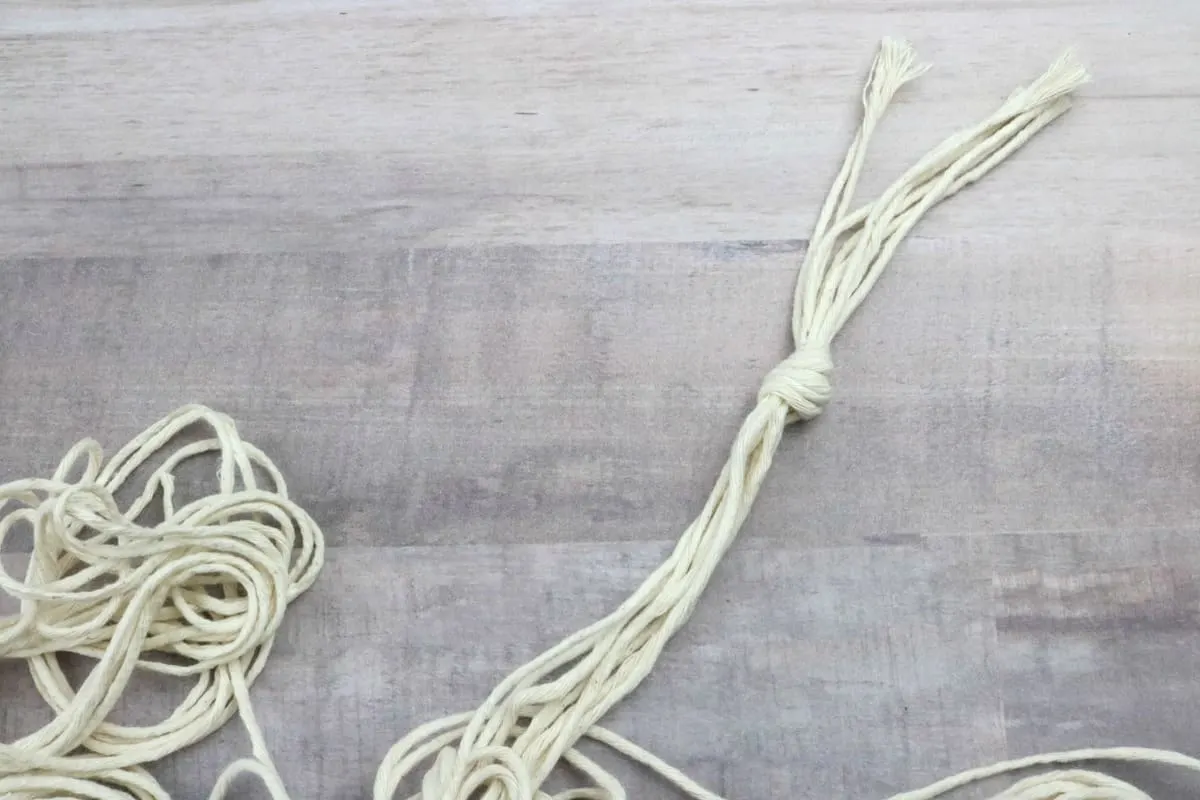
Gather each of the cut pieces of twine at one end. Tie in a knot.
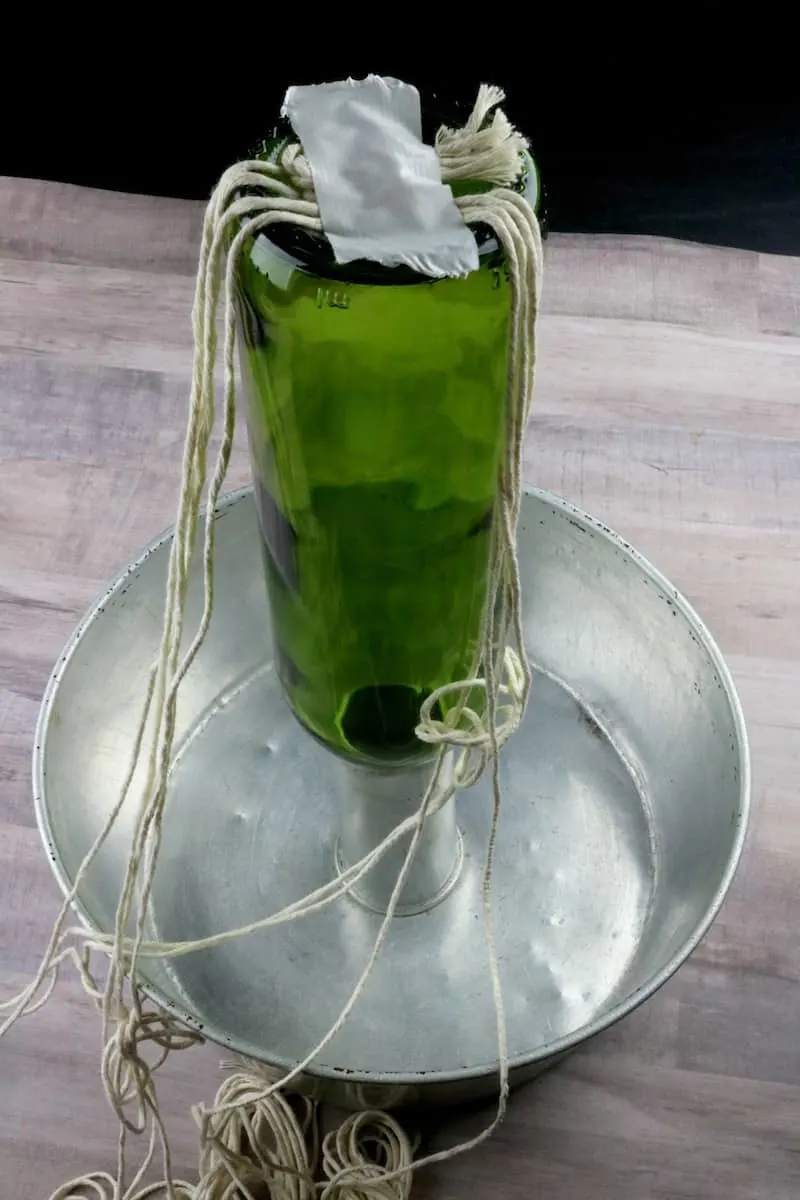
Place the bottle upside down in a fluted cake pan or another type of object that can keep it steady. Place the knot of the twine on the bottom of the bottle and tape in place with four strands of twine hanging on each side.
You don’t have to use tape but I did find it helpful to keep the twine from moving around.
Straighten the twine pieces so they are spread out around the bottle.
Then gather two pieces of the twine that are side by side and knot them together about 1 inch down the side of the bottle.
Repeat that step with the other pieces of twine until you have a total of 4 knots hanging on the side of the bottle.
Now grab one string from one knot on the left and a string from a knot on the right. Tie the two strings together making another knot.
You will be able to start seeing what looks like a net starting to be created.
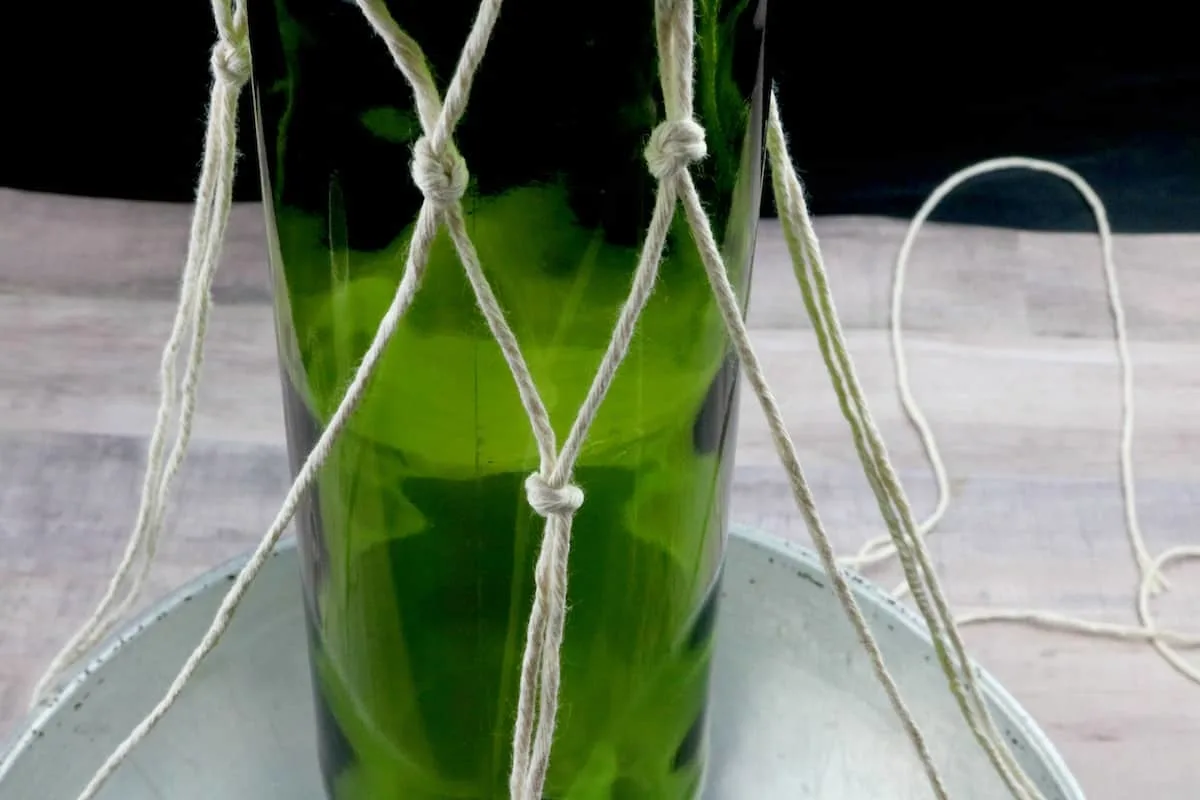
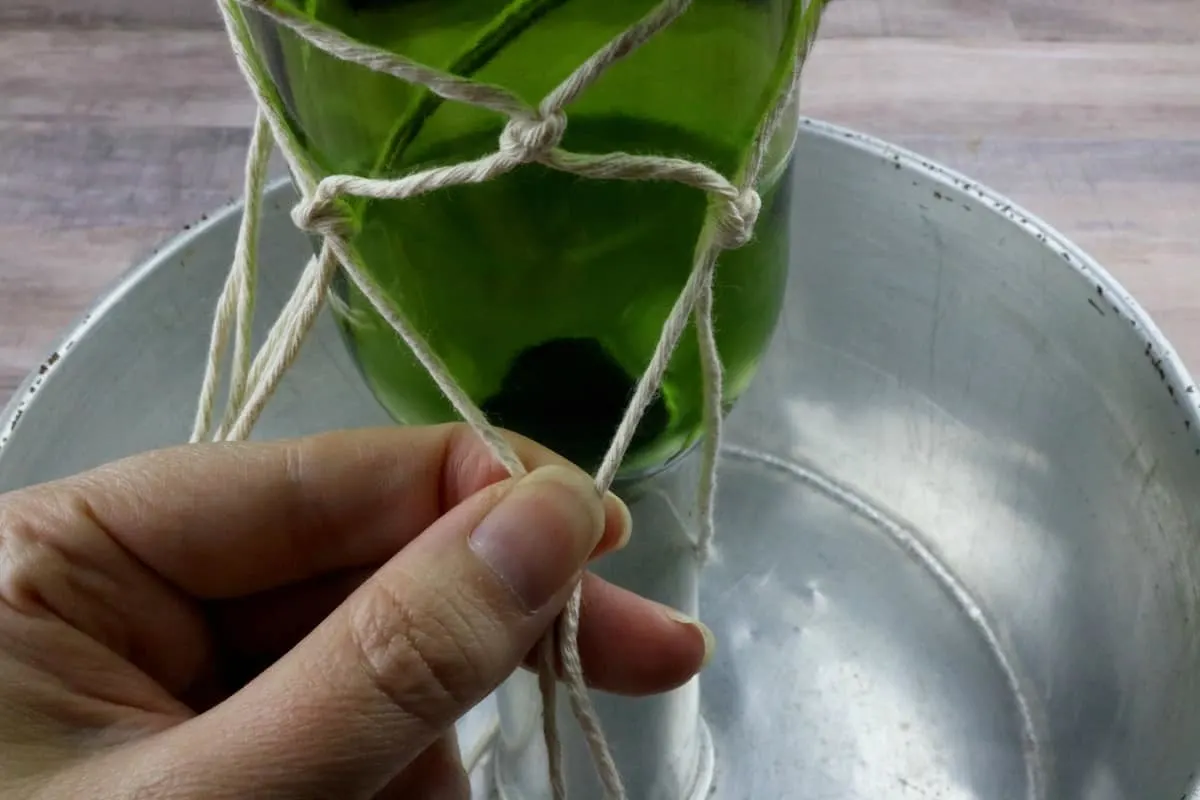
Keep repeating this step working your way around the bottle. Then move down doing the same thing to cover the whole bottle in netting.
Finish creating knots when you get to the neck of the wine bottle.
Remove the bottle from the pan. Turn the bottle over or on its side.
Pull all four knotted sections of string evenly together and tie in a knot about 3-4 inches from the end of the bottle.

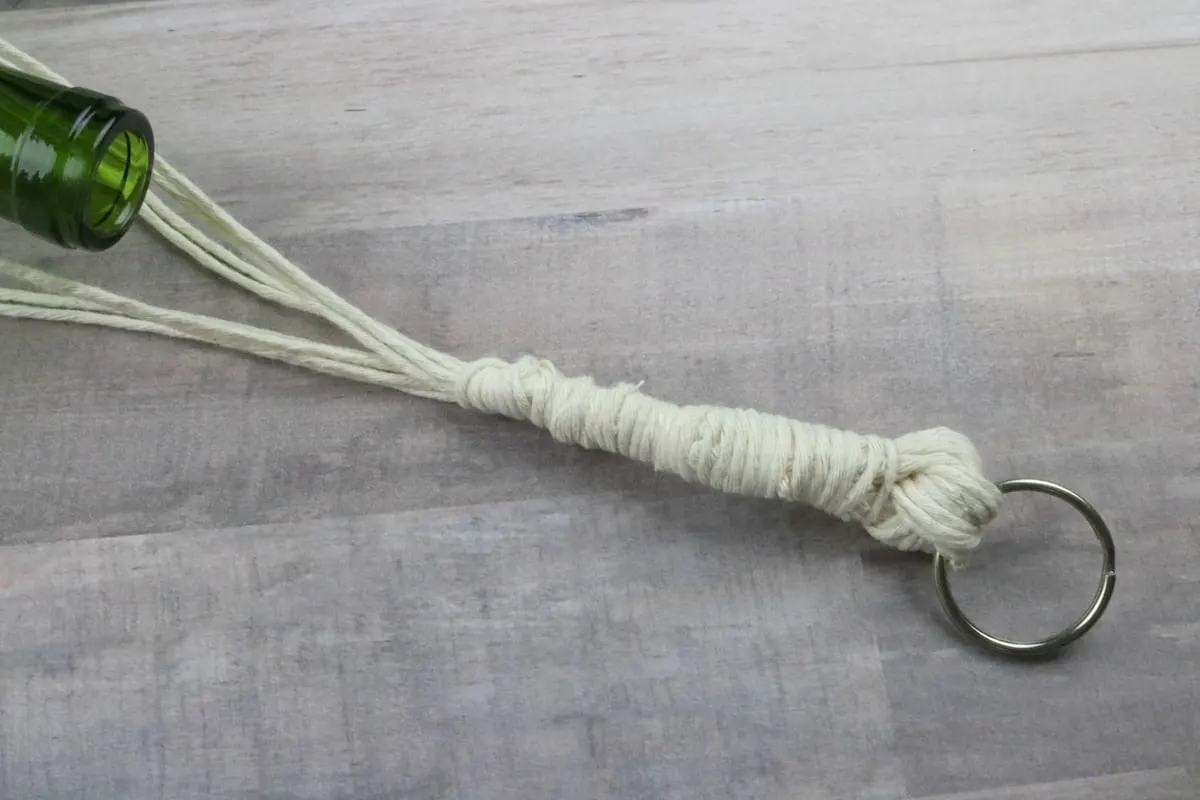
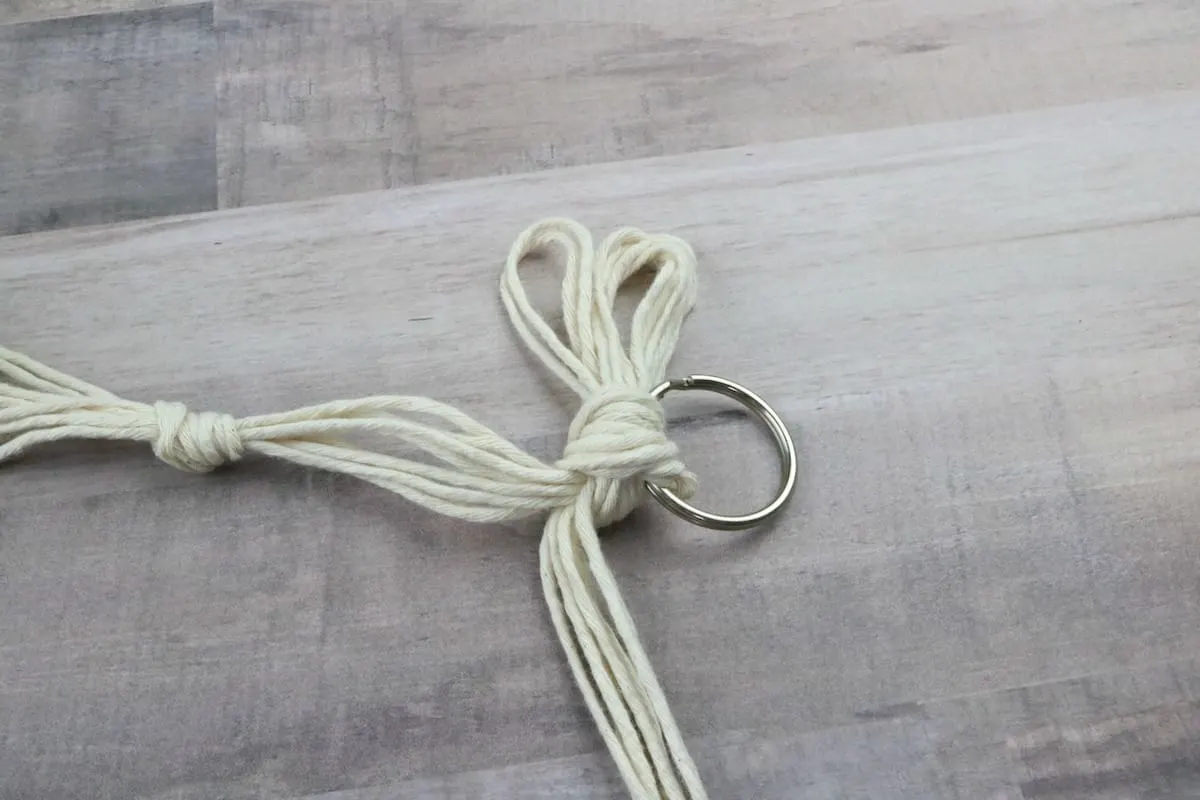
About 3 inches up from that knot, loop the twine through the ring and tie in a knot.
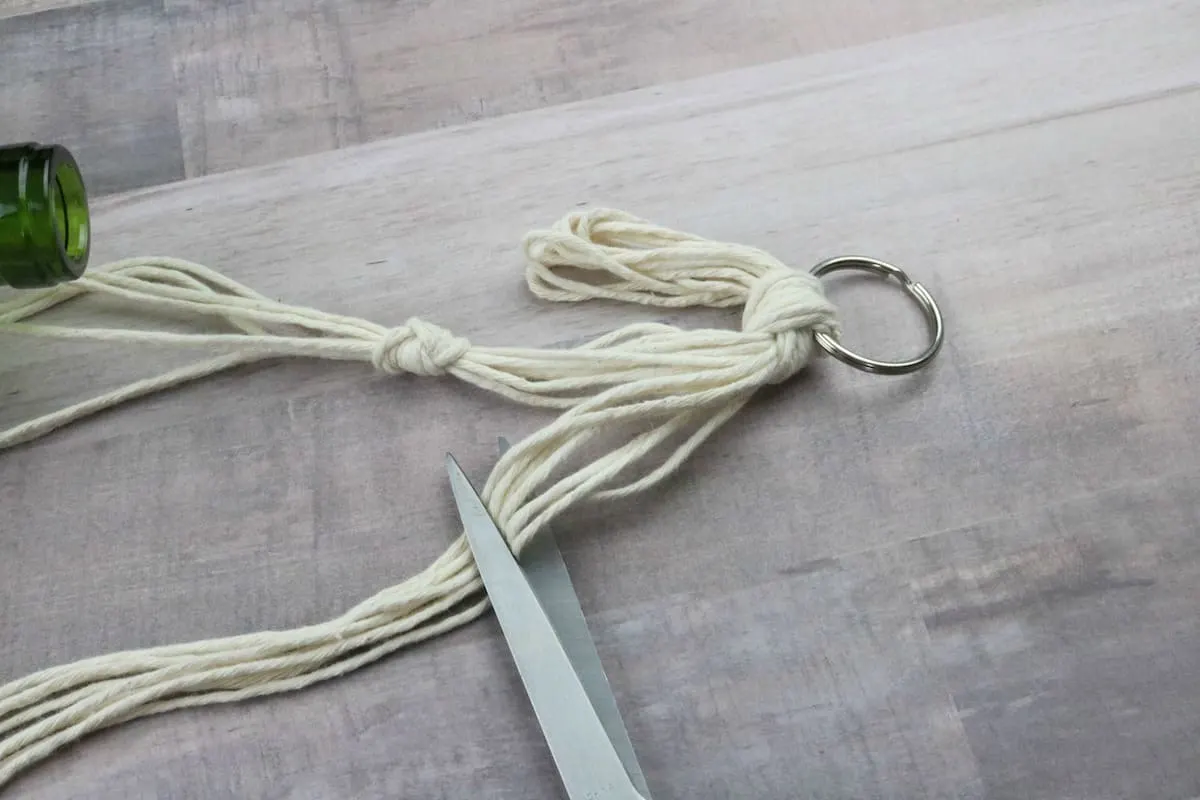
Cut the rest of the loose twine off to about the same length of twine that is left from the knot.
Take a loose piece of twine and tie it tightly around the loose ends from the knot and the ones you just cut.
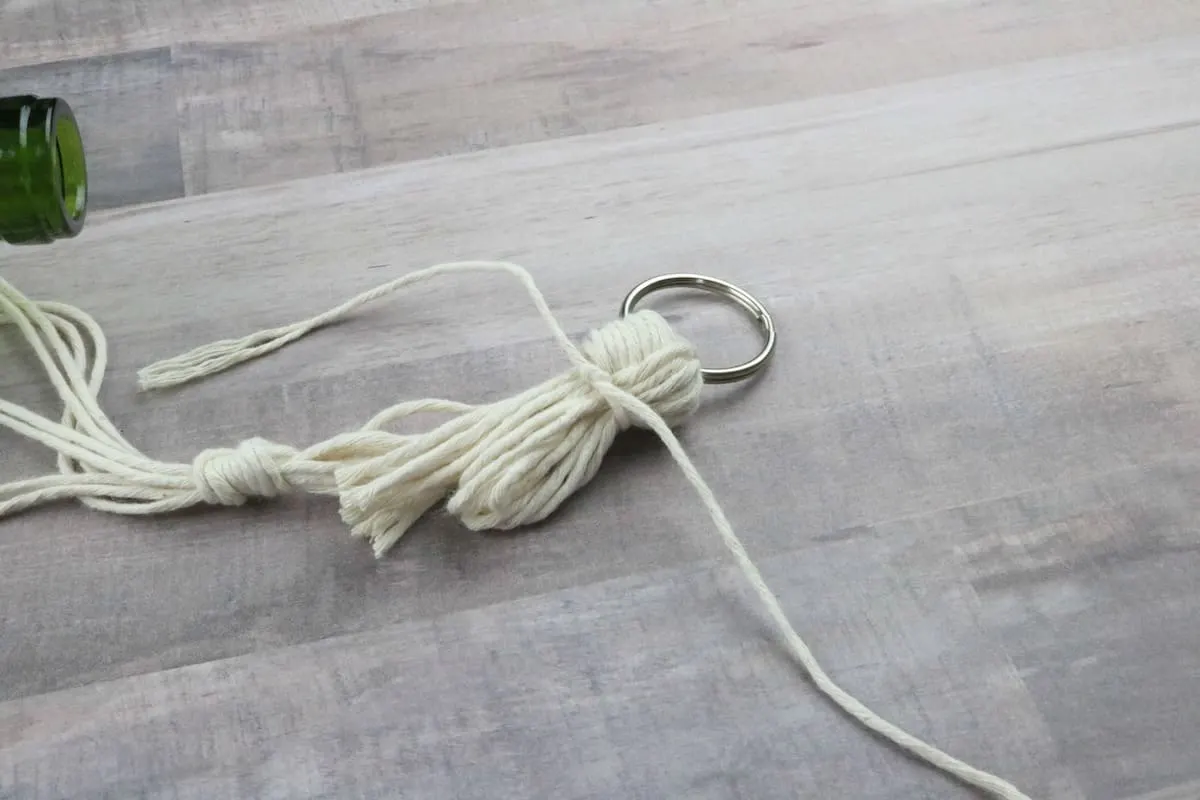
Start wrapping that tied twine around the loose ends working your way down to the knot in the twine. When you get to that knot tie it off.
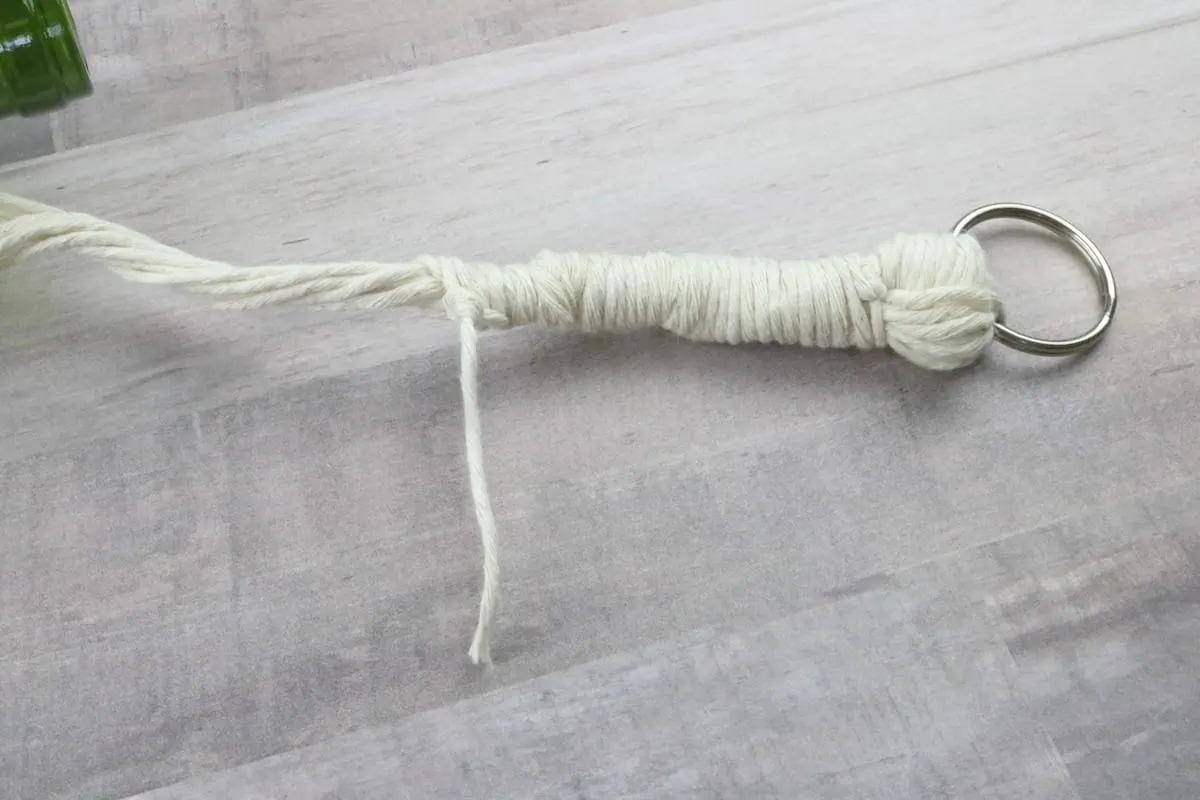
Now you can either just clip off the rest of the twine and leave as is, or hide it.
To hide it, I tucked it back under those wrapped pieces using a crochet hook.