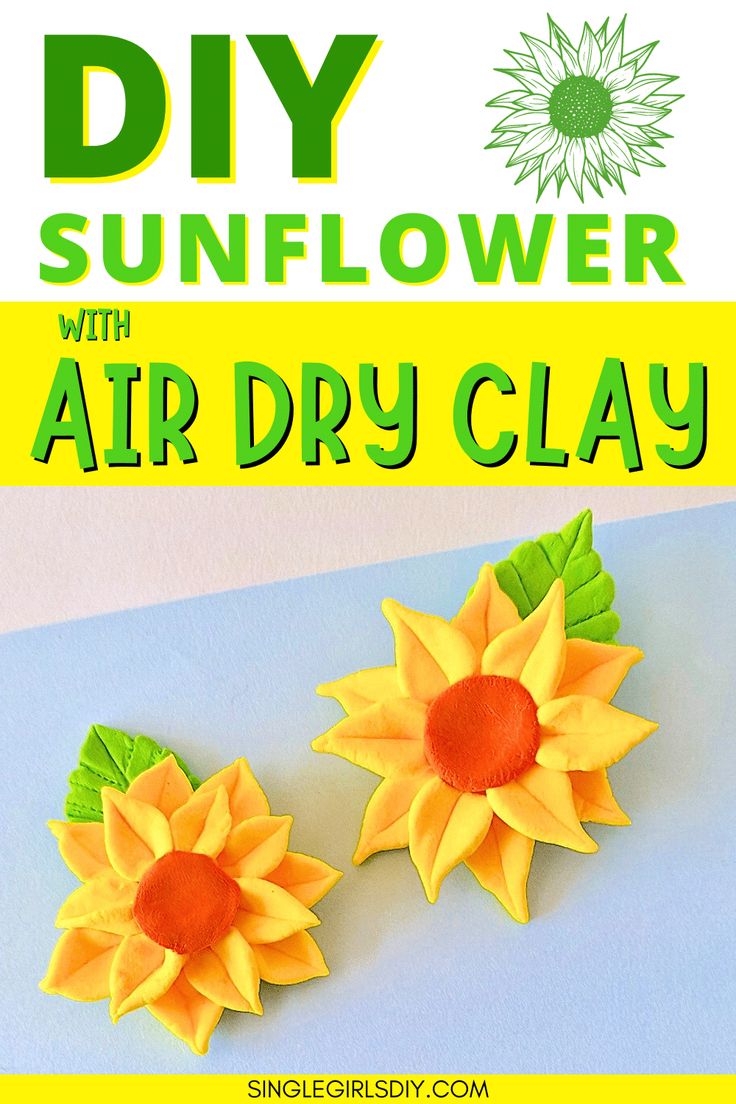
Creating DIY clay sunflowers is a fun and engaging activity that can brighten up any space in your home. With a handful of simple materials like air-dry clay, paint, and a bit of creativity, you can craft beautiful sunflowers that will never wilt. This project is perfect for beginners and experienced crafters alike, as each sunflower can be uniquely designed to reflect your personality and style. Whether you're looking to add a pop of color to your living room or make a thoughtful handmade gift for a friend, these clay sunflowers are sure to bring joy and sunshine wherever they are displayed. So roll up your sleeves, get your hands into the clay, and let your creativity bloom with these delightful DIY sunflowers!
Roll each piece of clay into a ball shape.

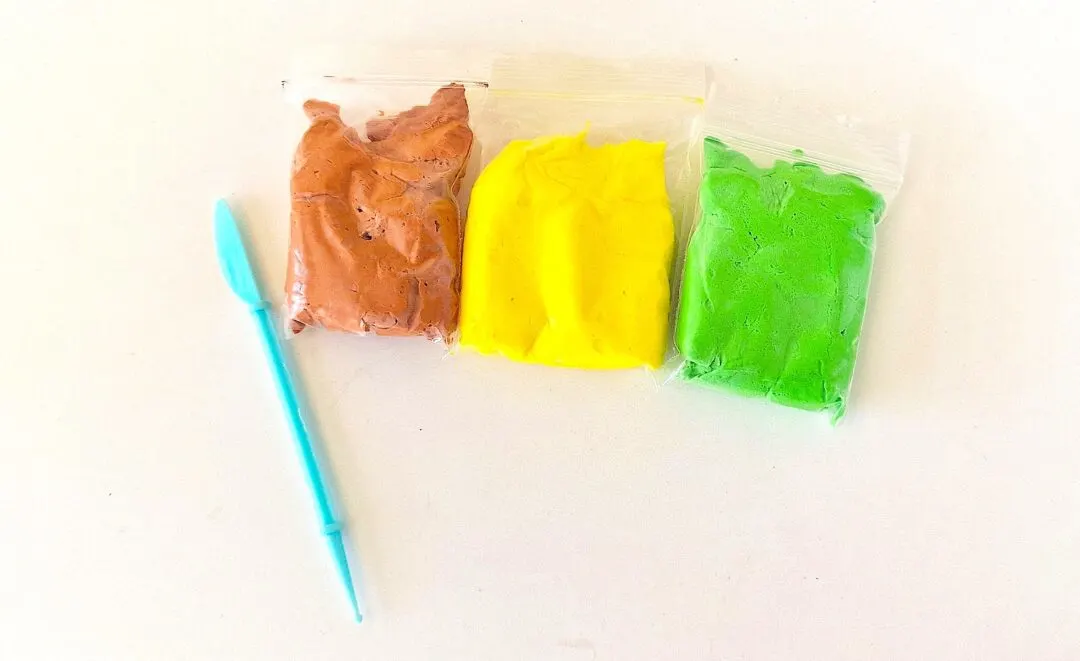
Don’t worry if you pinch off too much or too little clay. You can always readjust the measurements while you are working.
Step 2
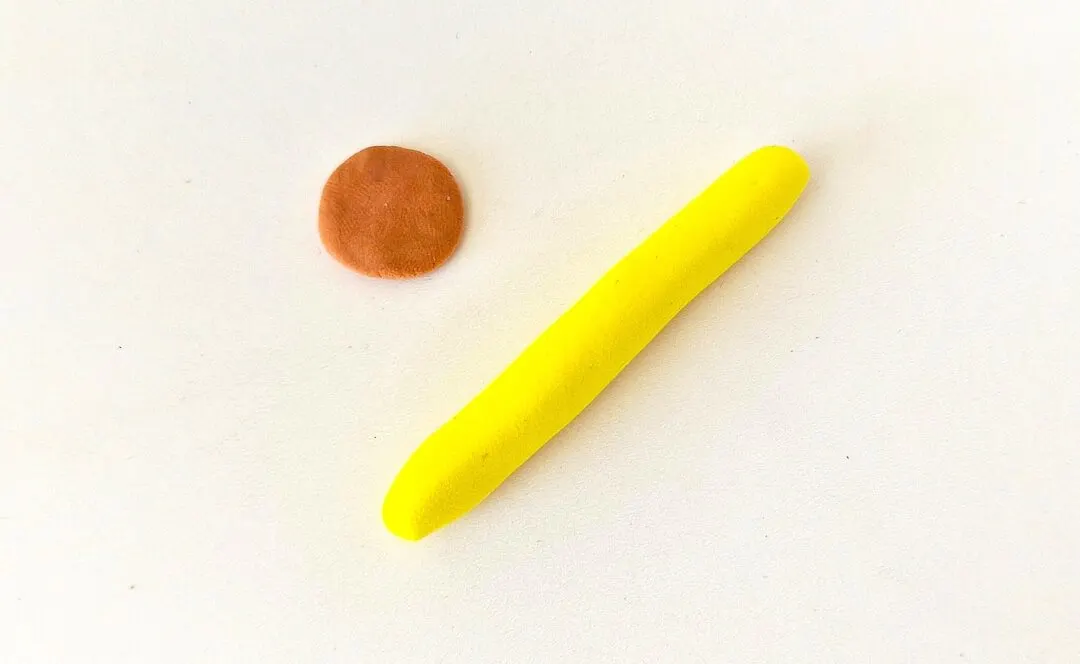
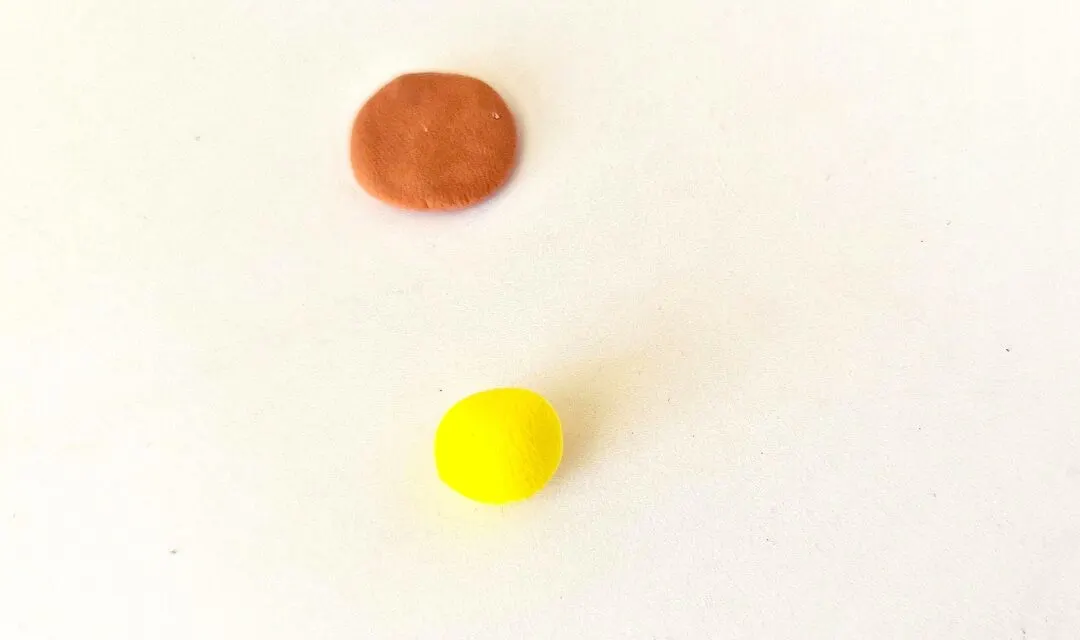
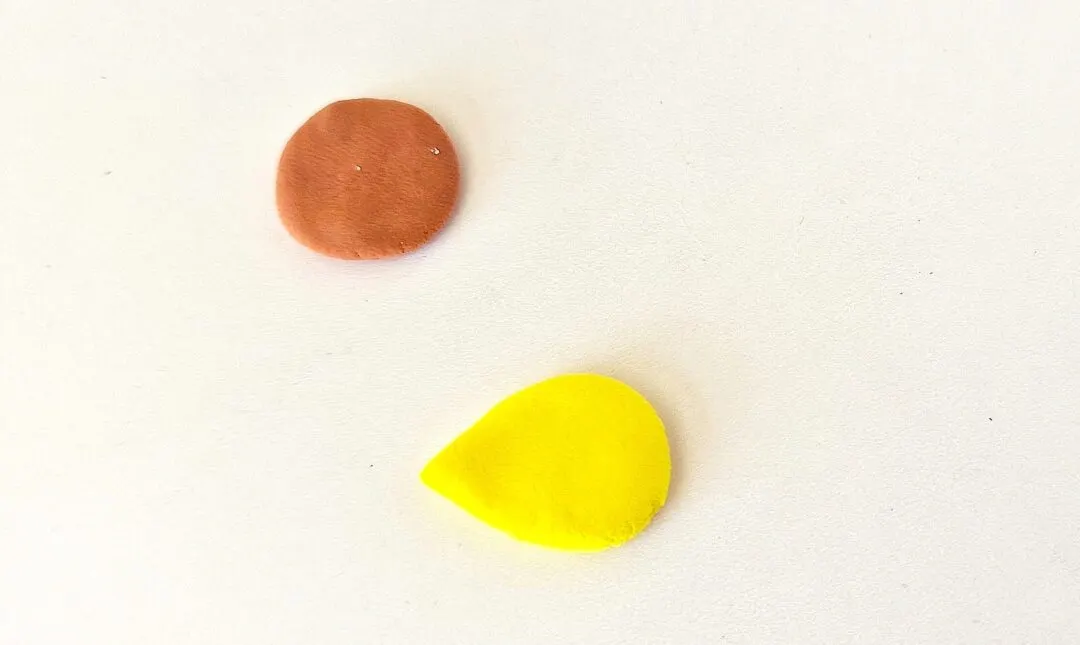
Flatten the brown ball into a disk.
Roll the yellow ball into a rope shape.
Step 3
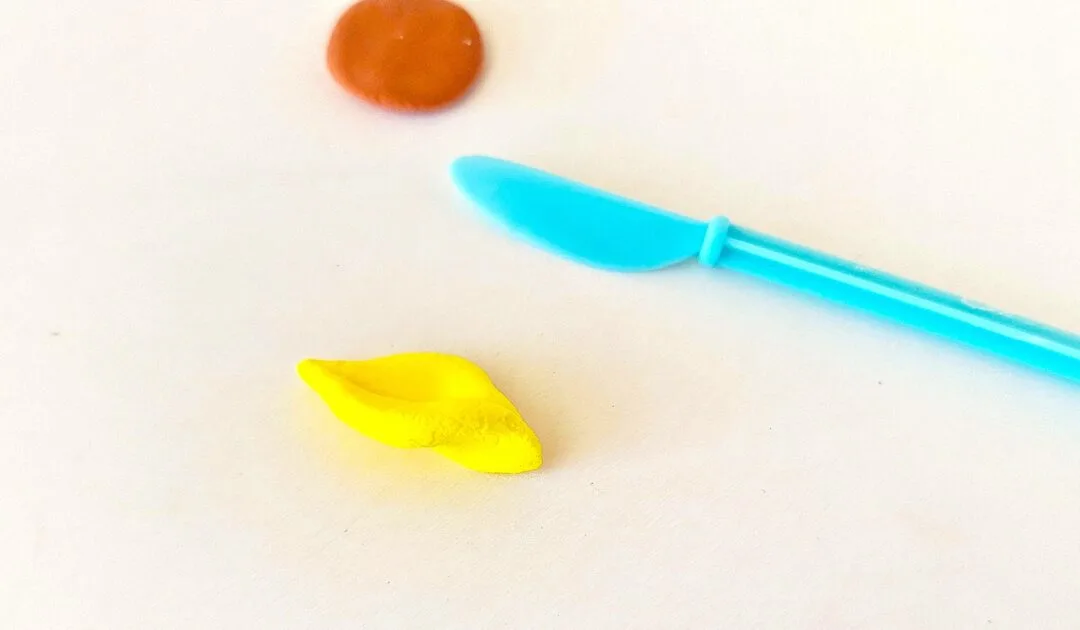
Use a clay cutting tool (or other tool) to cut out 6 even pieces from the clay rope.
Step 4
Roll one of the clay cutouts into a ball shape.
Then flatten the yellow clay ball into a disk shape.
Pinch a side (around the edge) of the clay disk shape to form a teardrop shape; this is one petal of the clay sunflower.
Use a clay cutter or indent tool to mark an indentation on the petal from the point of the teardrop shape to the opposite side.
Step 5
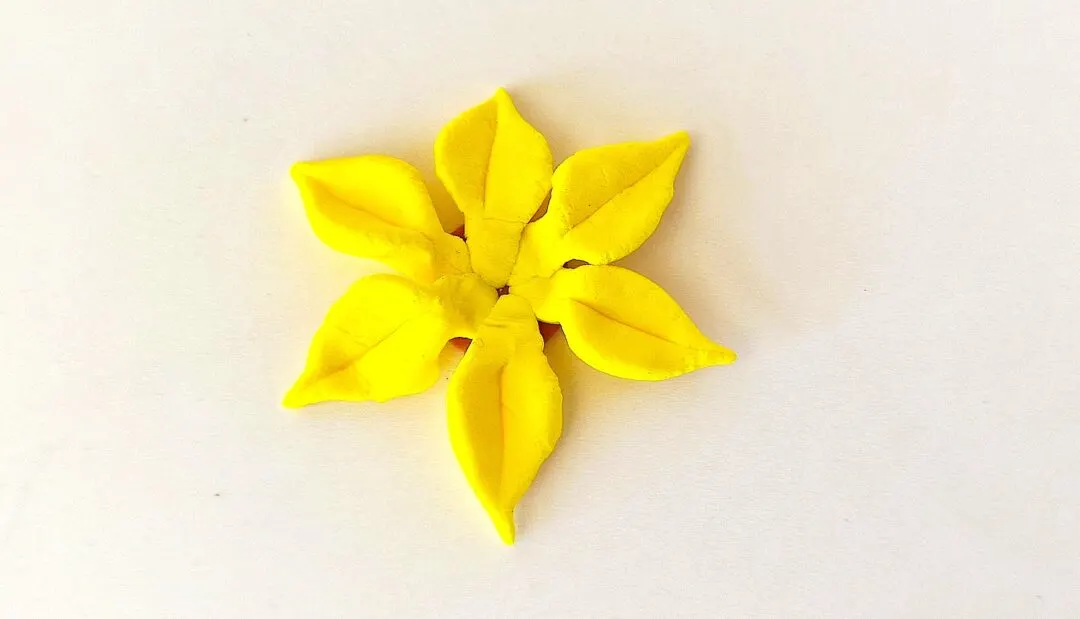
Press the round edges of the petal together slightly to give the petal a 3D appearance.
Now repeat the same process with the rest of the clay petals.
Step 6
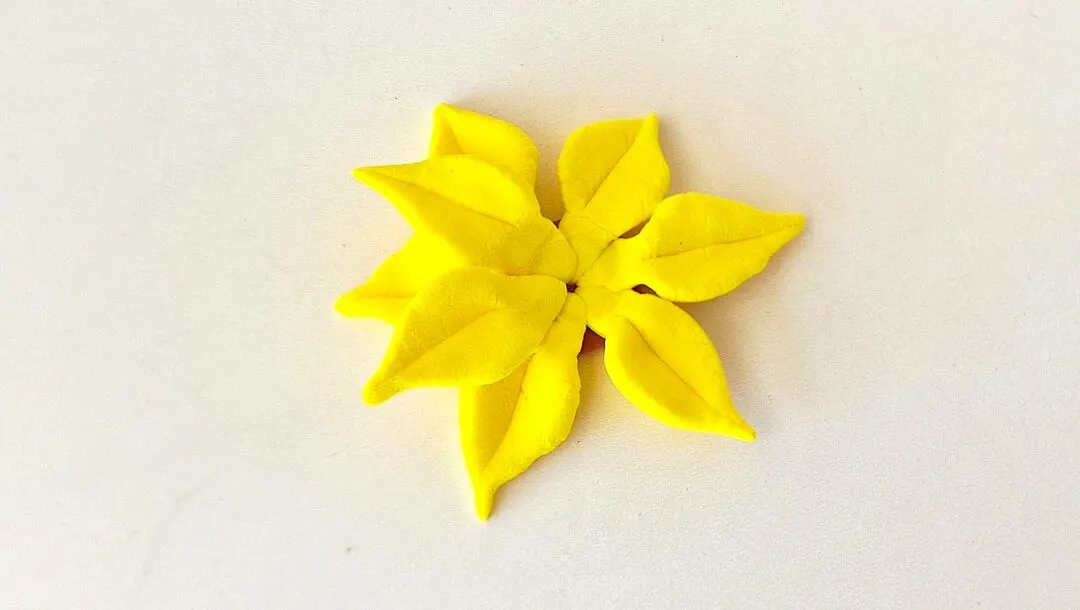
Press the rounded edge side of a petal onto the brown disk. Repeat the process with another petal opposite the first petal.
Continue the process, pressing the petals onto the brown disk opposite each other.
The first layer of the clay sunflower should have 6 petals.
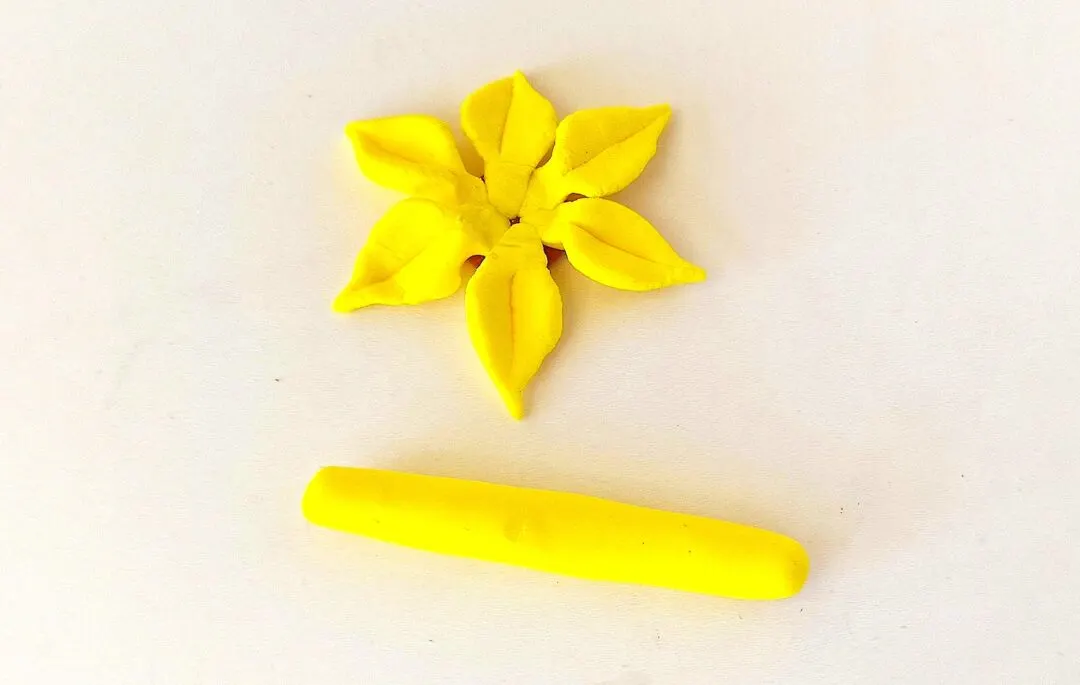
Step 7
Pinch off another piece of the yellow clay, making it slightly less than you took before.
You will repeat the same process as above, with rolling the clay into a rope, cutting six pieces, and forming them into petals.
Step 8
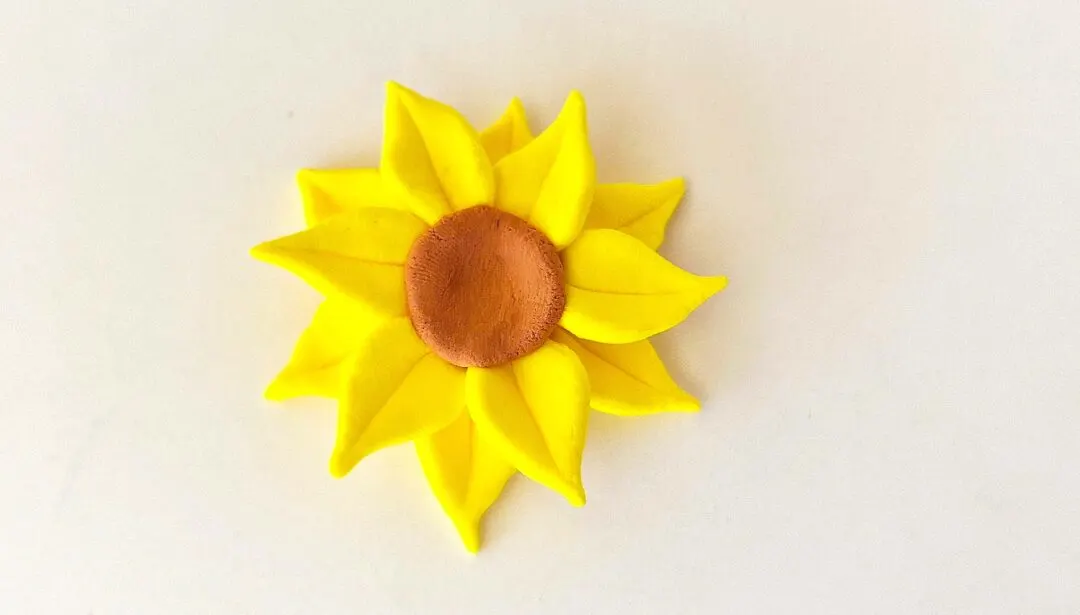
Now add the second layer of petals onto your sunflower base. This time, press the petals between the petals of the first layer.
Step 9
Pinch off another piece of brown clay and create another brown disk as you did previously.
Press that brown disk onto the center of the sunflower over the petals.
Step 10
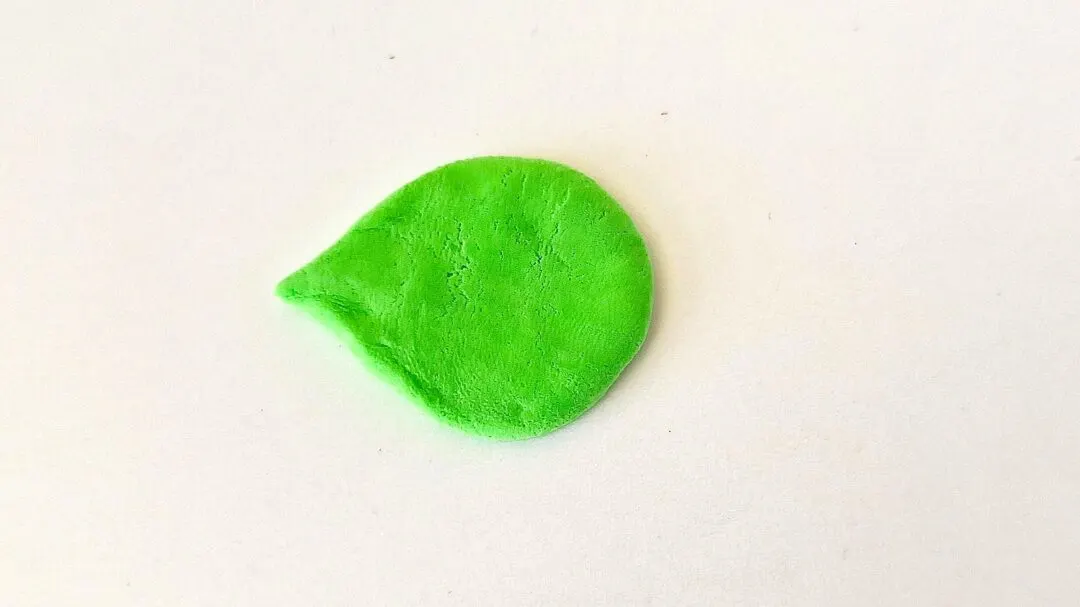
Pinch off a small amount of green clay to make the leaf.
Roll the clay into a ball shape.
Then press and flatten the ball into a disk shape.
Step 11
Form a teardrop shape with the green clay disk by pinching a side.
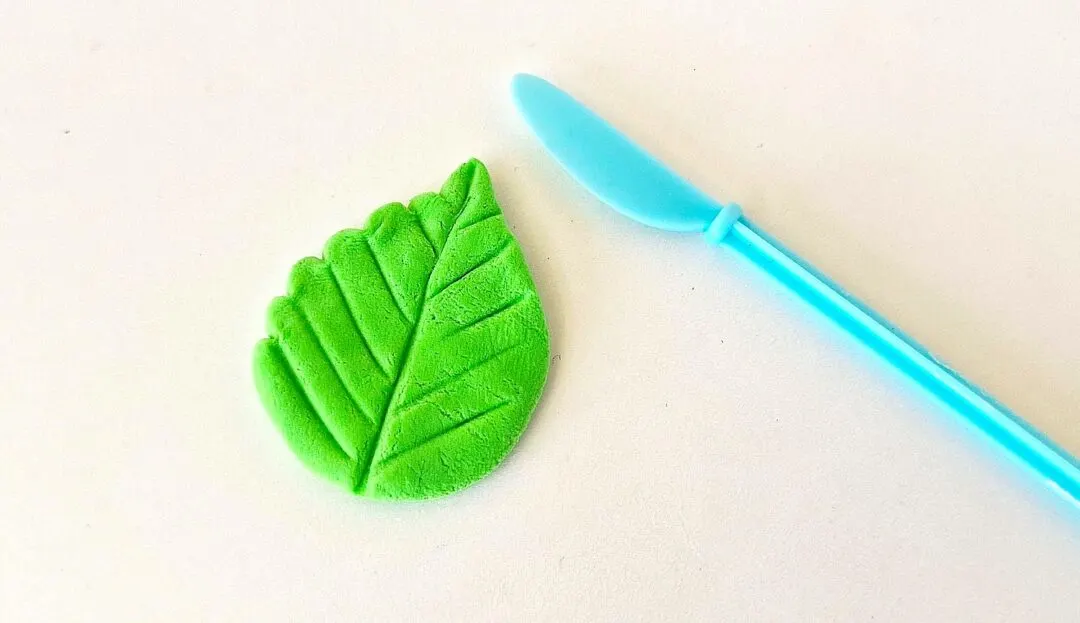
Use a clay cutting tool to make indentations (veins) on the clay leaf.
Then use the clay cutting tool to make scalloped border on the clay leaf.
Step 12
Press the clay leaf under the flower. If you would like, you can make another leaf and attach it, as well.