Making your very own DIY hand-stitched felt valet tray is not only a fun and creative project but also a practical way to keep your everyday essentials organized. By choosing your favorite colors and patterns of felt, you can customize your tray to match your personal style perfectly. The process is easy and satisfying, allowing you to create a beautiful and functional piece in no time. Whether you plan to use it for holding keys, jewelry, or other small items, this charming valet tray will add a touch of handmade charm to your space. So, grab your materials, and let's get stitching!
Supplies
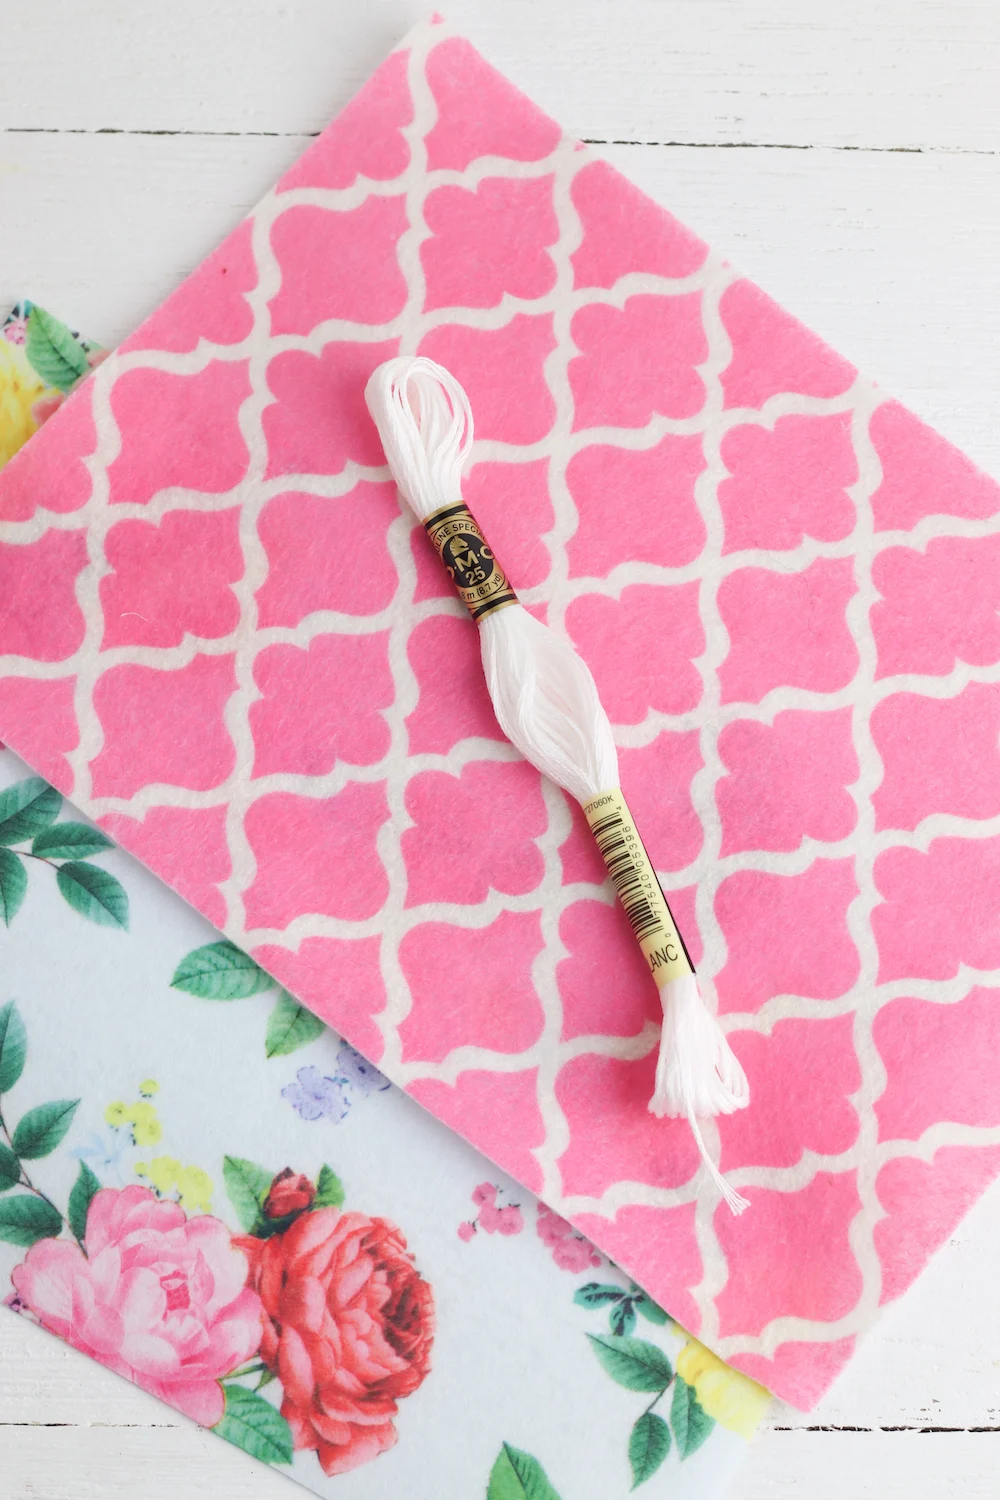
2 pieces of patterned felt
Embroidery thread
4 small buttons
Embroidery needle
Instructions
Step 1
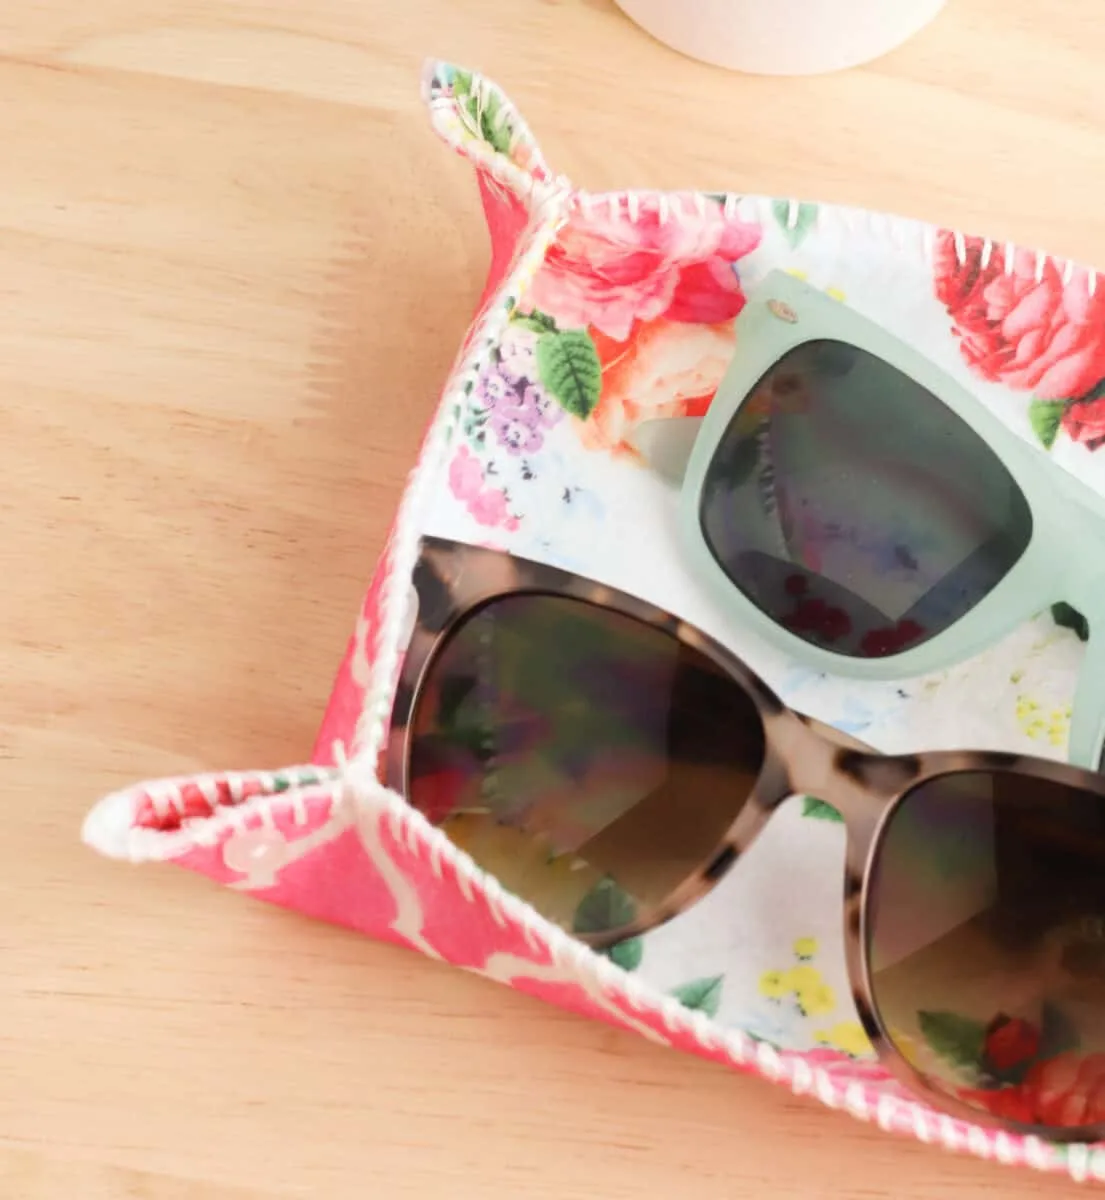
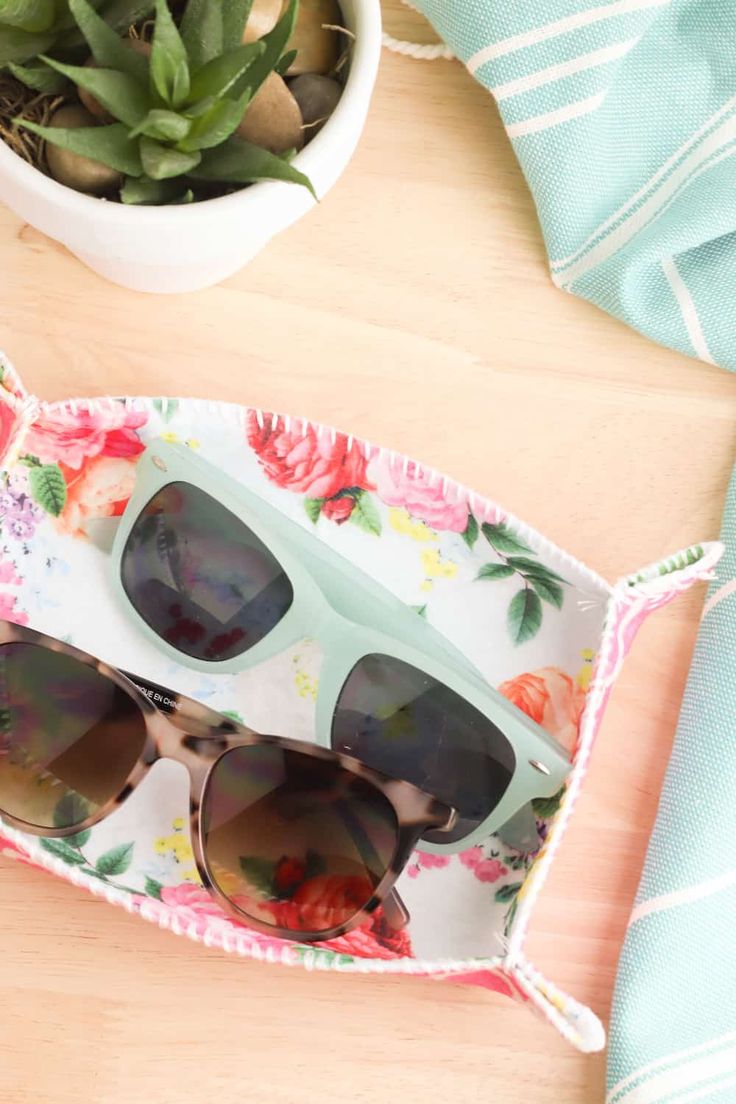
Trim the felt to the size you would like your tray to be, keeping in mind that you will be pulling up the ends slightly. You could make a square valet tray, or a rectangular size.
Step 2
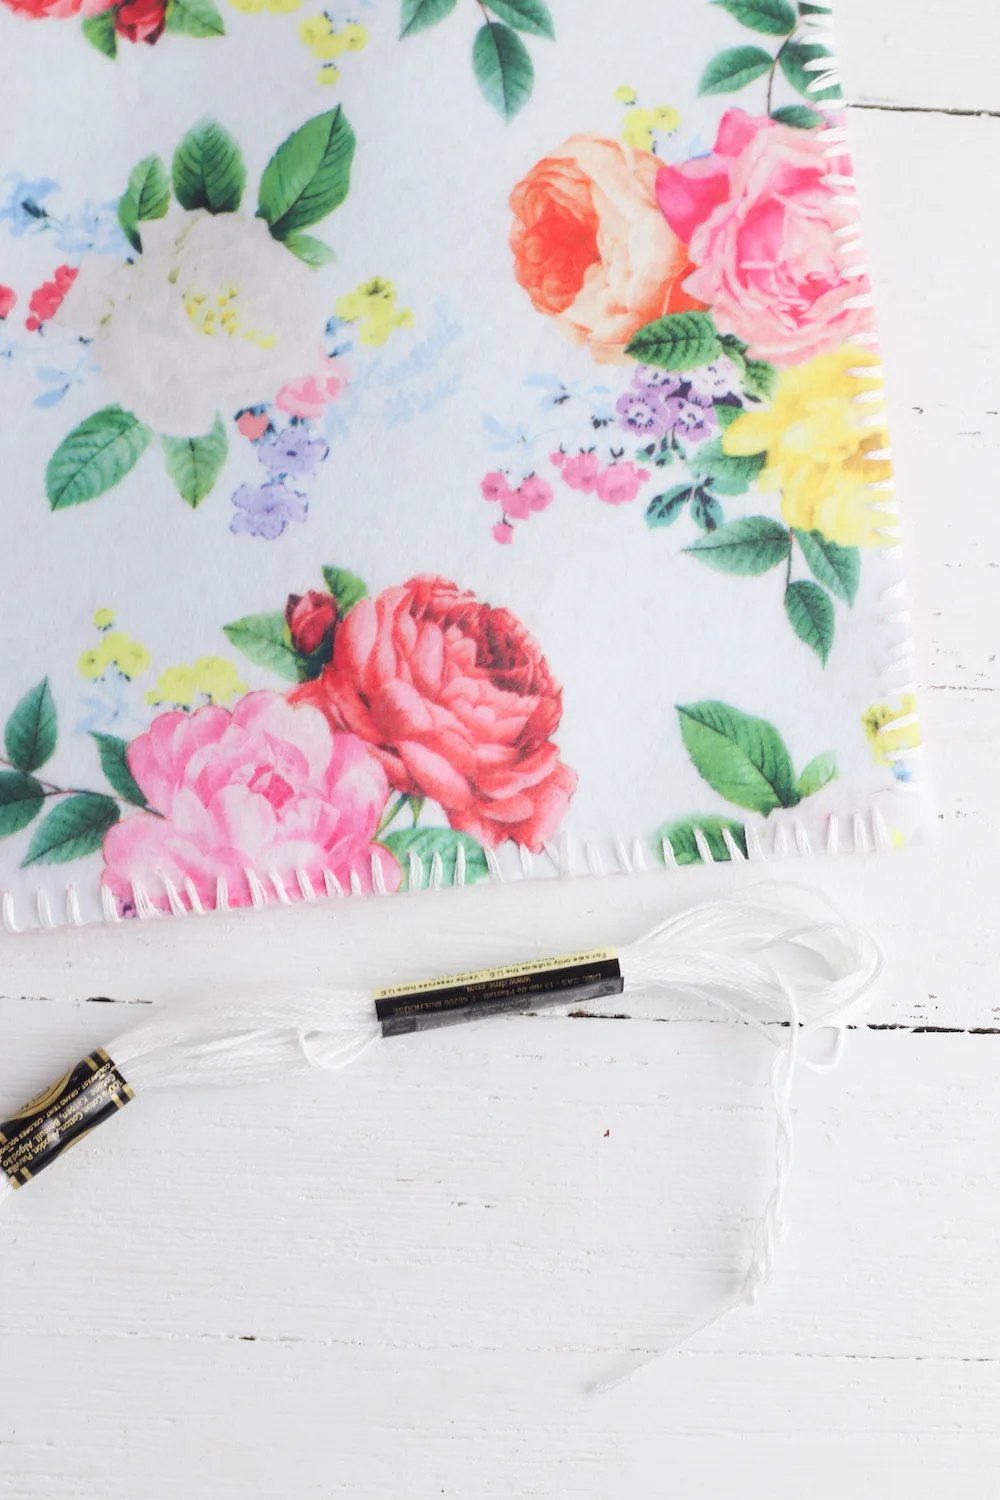
Stack the two felt pieces on top of each other, wrong sides together, with both patterns facing outward.
Sew the pieces together with a whip stitch by looping the embroidery thread over the edge of the fabric.
Step 3
Put a button on the side of one corner and thread the needle through to prepare for stitching.
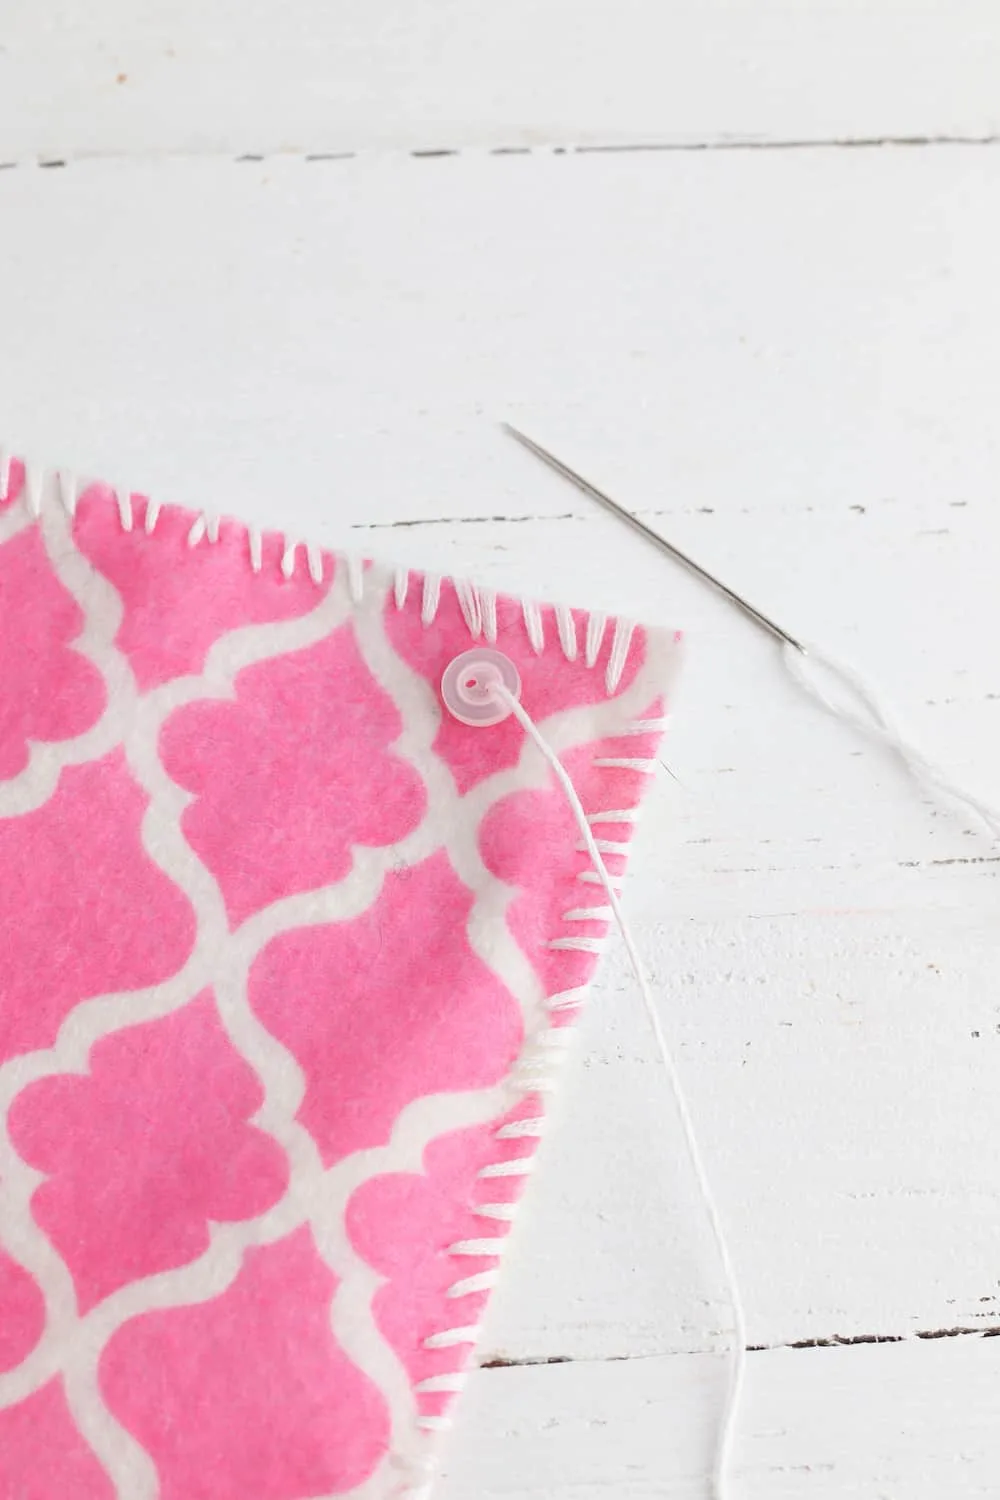
Pinch the sides of the corner together and hold with your hand or pin to hold.
Sew the button on the corner, threading the needle through each side of the corner to catch both sides and hold them together. When the corners are secure, knot the thread and cut off the excess. Repeat the process on each corner.
Step 4
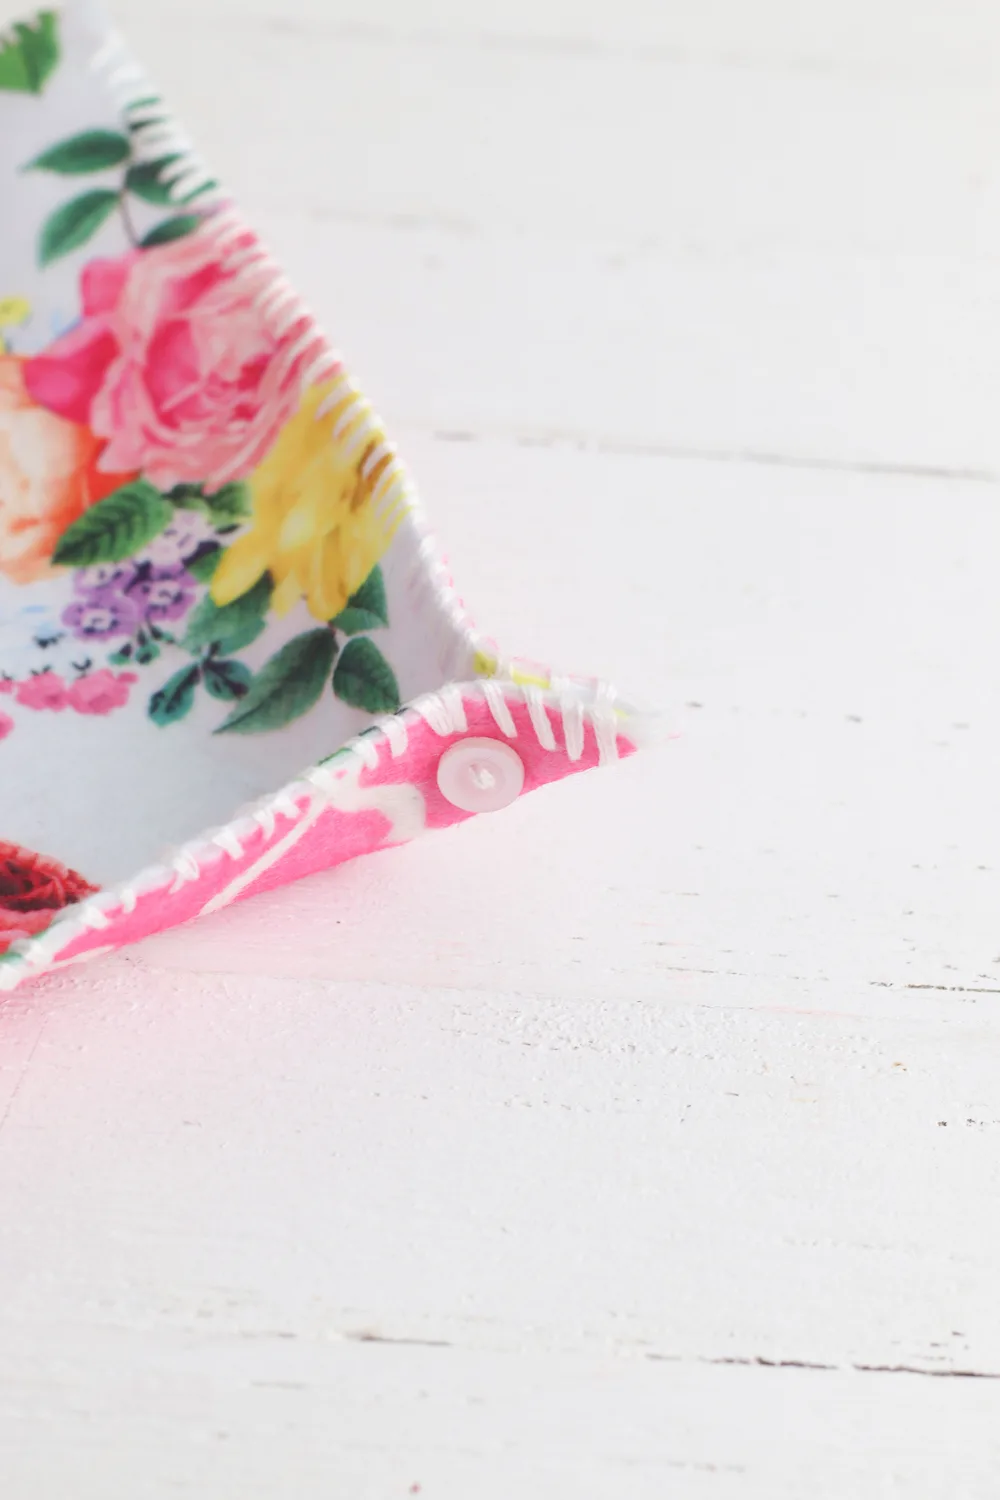
I decided after making these that I wanted a more squared-off corner for the tray.
I pinched the corners together again and hand stitched them together about a half inch from the button. I just did a few stitches to keep the sides together. I didn’t sew down the entire length of the fabric, as you can see in the photos below.