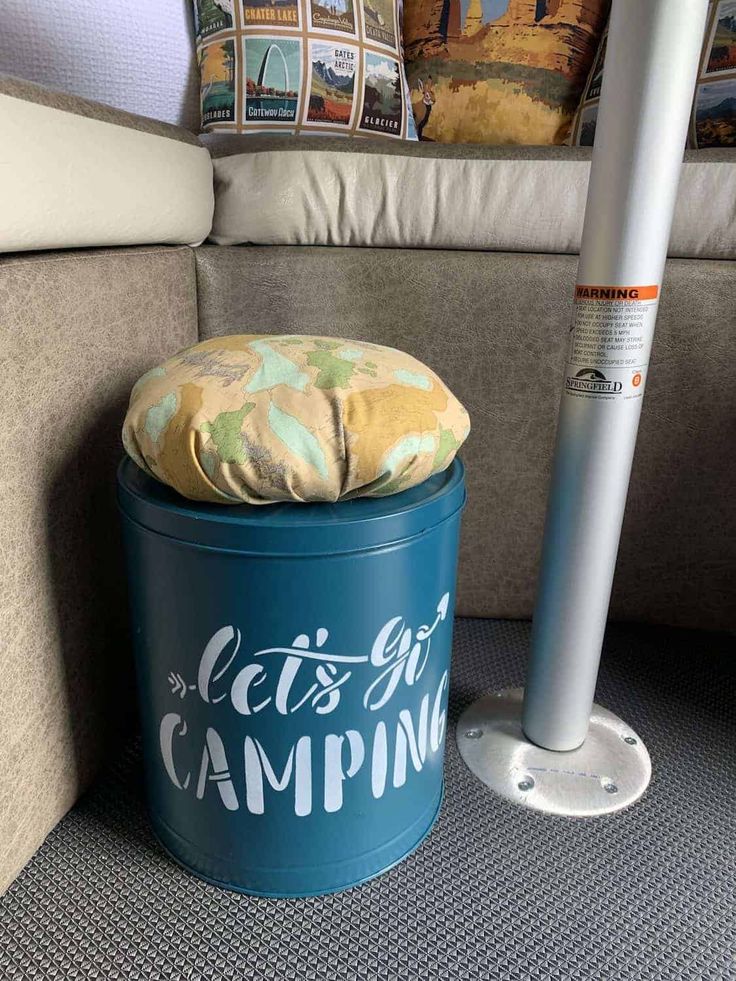
Looking to add both functionality and charm to your camping setup? Why not try creating a DIY Popcorn Tin Storage Ottoman! This fun project not only gives you a comfy place to kick back and relax but also provides convenient storage options. By upcycling old popcorn tins, you're not only reducing waste but also adding a touch of creativity to your camping experience. Whether you use it to store snacks, blankets, or camping supplies, this unique ottoman is sure to become a favorite around the campfire. So, grab your crafting supplies and get ready to impress your camping buddies with your resourcefulness and style!
Supplies
Empty popcorn tin (cleaned and dry)
Spray paint (I used Krylon Fusion All-in-One, Satin Peacock Blue)
Let’s Go Camping Stencil, optional
Acrylic paint, optional
Foam stencil brush, optional
Painter’s tape, optional
Fabric
Needle and Thread
Stuffing (Poly-fil) or Batting
Hot Glue
Directions
Step 1
Spray paint the popcorn tin in a color that you like. I recommend using an all-in-one primer and paint that works on metal. Be sure to paint the lid and the tin separately.
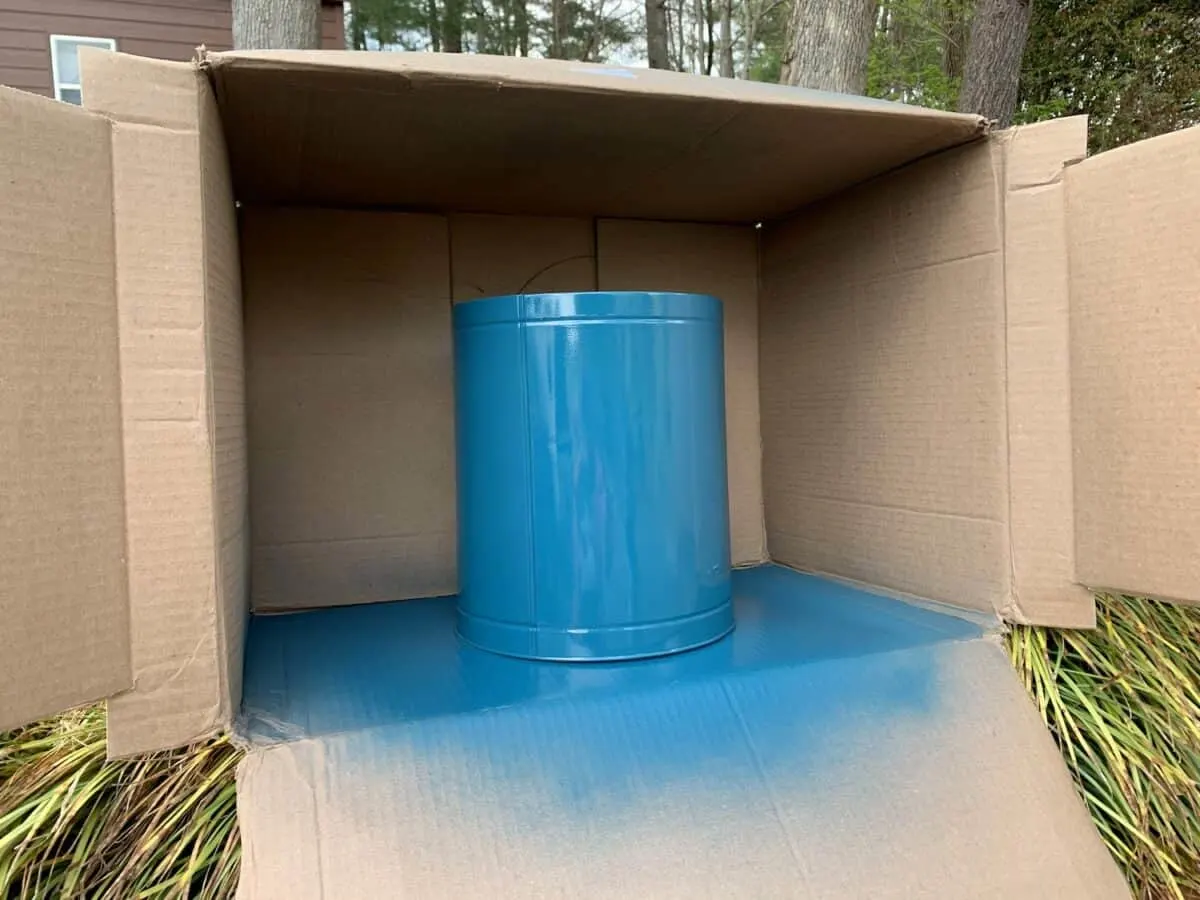
I only had to use one coat of paint.
Step 2
I added a camping stencil to my ottoman seat and I love it. It’s the perfect touch.
I taped the stencil down with painter’s tape.
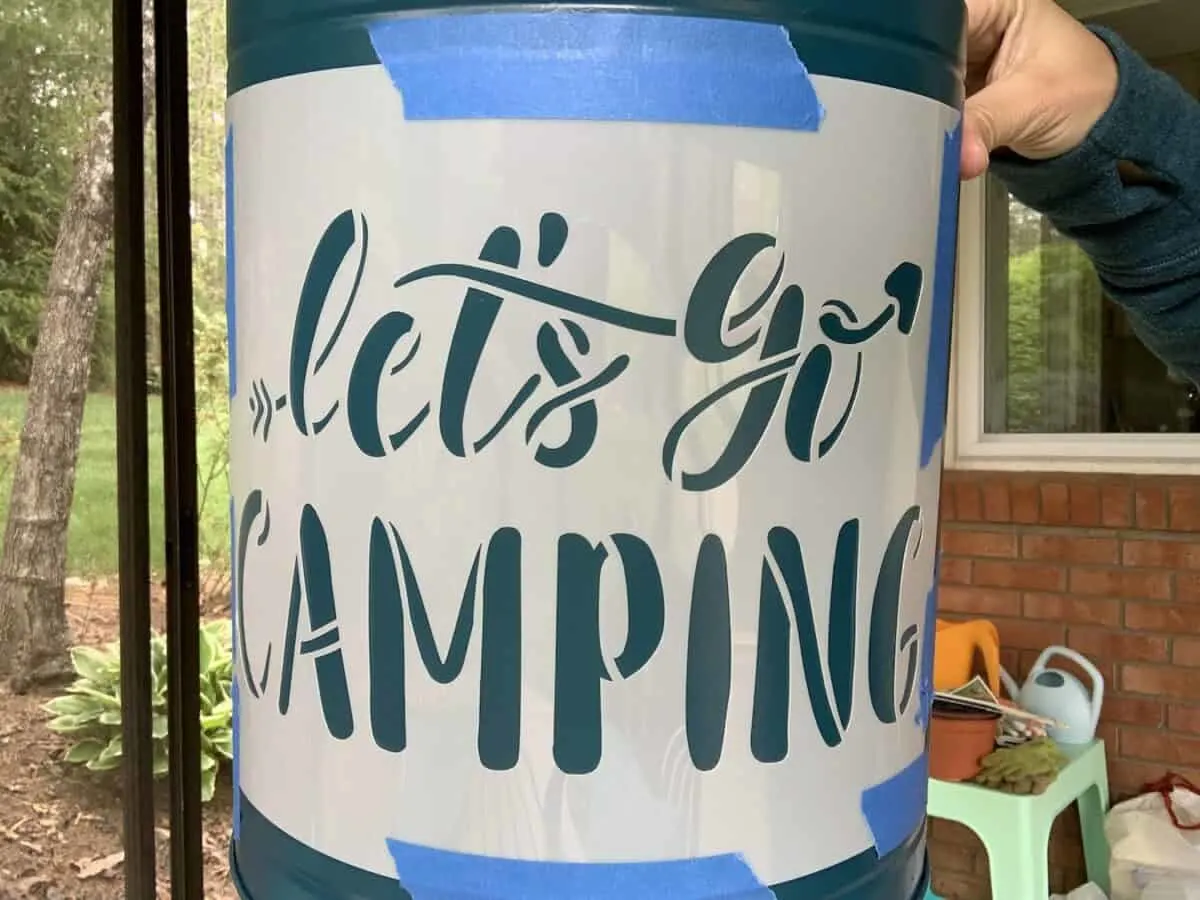
Then using an angled foam brush, I applied acrylic paint to the stencil.
When stenciling, you want to use as little paint as possible. Using too much will cause the paint to bleed under the stencil. Add just a little paint to the brush and dab off almost all of it. You might think that the foam brush is too dry. But it’s better to dab on paint in a few coats rather than one thick coat.

Remove the stencil carefully while the paint is still wet. You don’t want the paint to dry before taking it off, because the paint could peel off with the stencil.
Step 3
For the ottoman seat, measure the diameter of the popcorn tin lid. My lid was 10 inches in diameter.
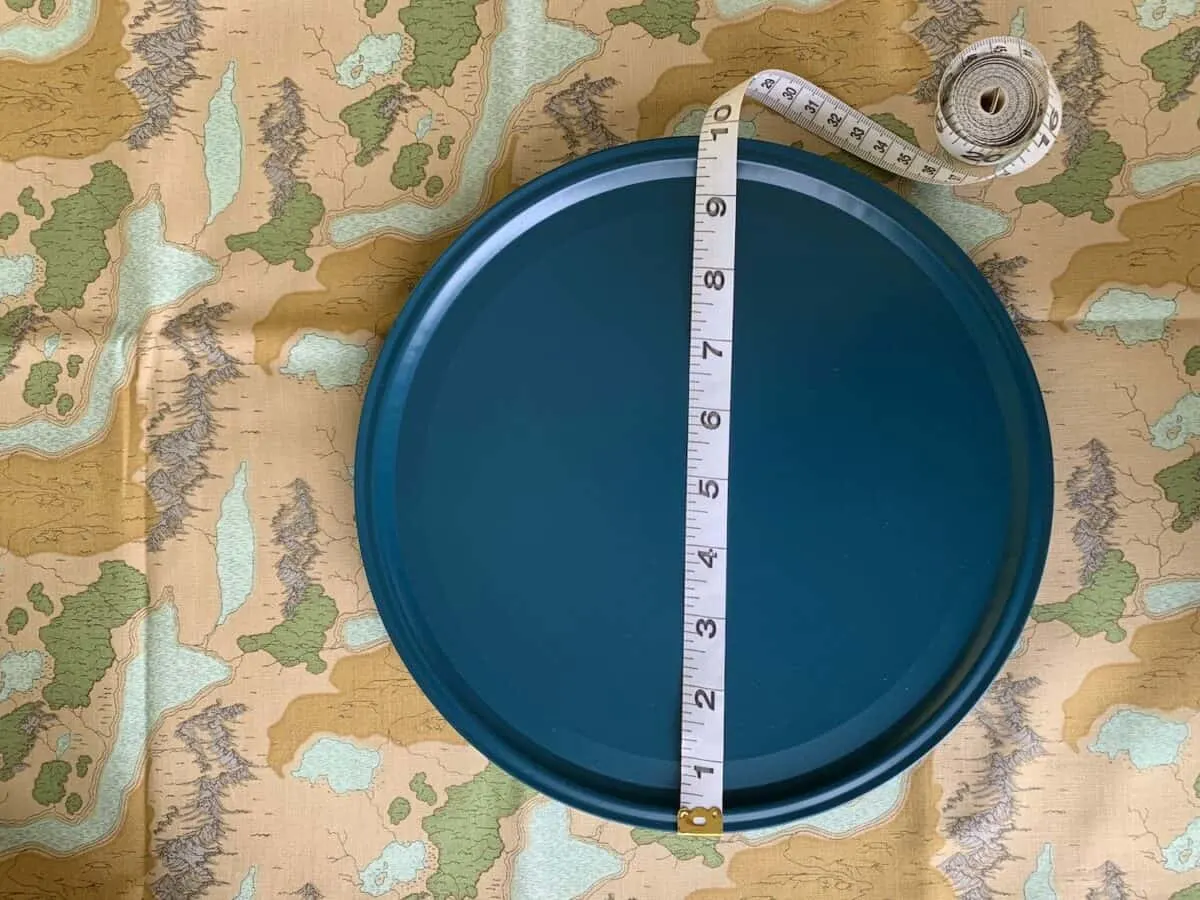
Before measuring your fabric, be sure to iron out any wrinkles if there are any.
I wanted the fabric to wrap around the stuffing/batting that I used and cover underneath, too. So I doubled the size and cut a 20-inch diameter circle.
You can easily cut a fabric circle by laying the lid on the fabric. Then, take the measurement of how much extra fabric you need (in this case, I needed an extra 10 inches to double the size) and divide in half. Take that number and measure the amount around the entire lid with a ruler, making marks with a pen or pencil.
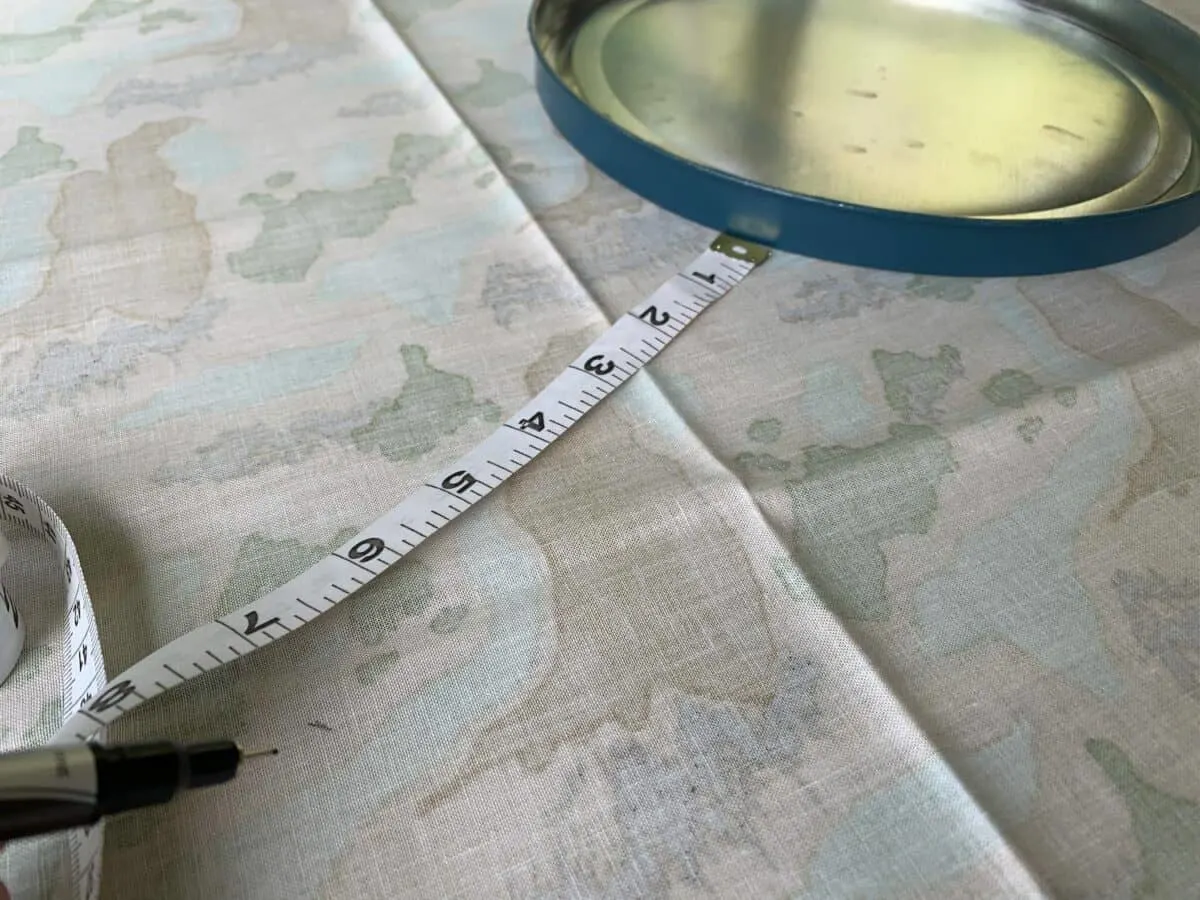
For example, I took the extra 10 inches I needed and divided in half, which is 5 inches. So, I measured an extra 5 inches from the outer edge of the lid all the way around the lid to create a circle pattern.
(In the photo, I’m measuring 7 inches. Those dimensions didn’t work, so I suggest the 5 inches that I suggest previously.)
You can then draw a line connecting the dots and cut the circle out.
*A helpful hint is to measure only the area where you want the seat padding to be, not the entire lid. I could have used less fabric, because I didn’t want the seating cushion to be to the outer edge. I wanted it to lay in between the raised edges of the tin. In reality, I really only needed about 9 inches in diameter of fabric on top of the seat cushion.
Step 4
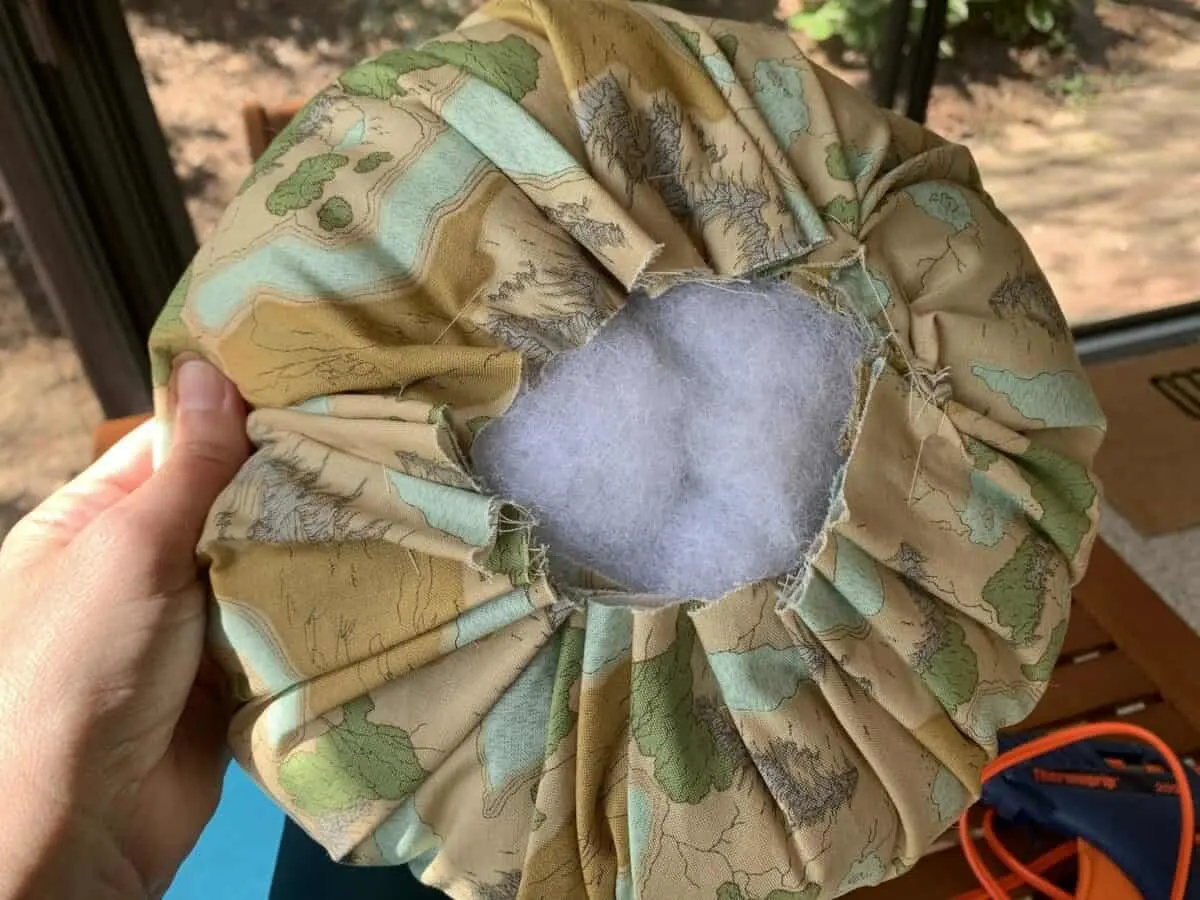
Using a large basting stitch, I hand-sewed a running stitch around the perimeter. I did not finish off the end after I sewed around the edge. Instead, I pulled on the thread to gather the fabric into a circular pouch. I kept pulling the fabric and arranging the layers until it fit correctly on my popcorn tin lid.
Step 5
Add stuffing into the fabric circular “pouch” until it is as thick as you’d like. You could also add batting cut in a large circle to fit the shape of your lid.
Tie a knot in the end of the thread to secure.
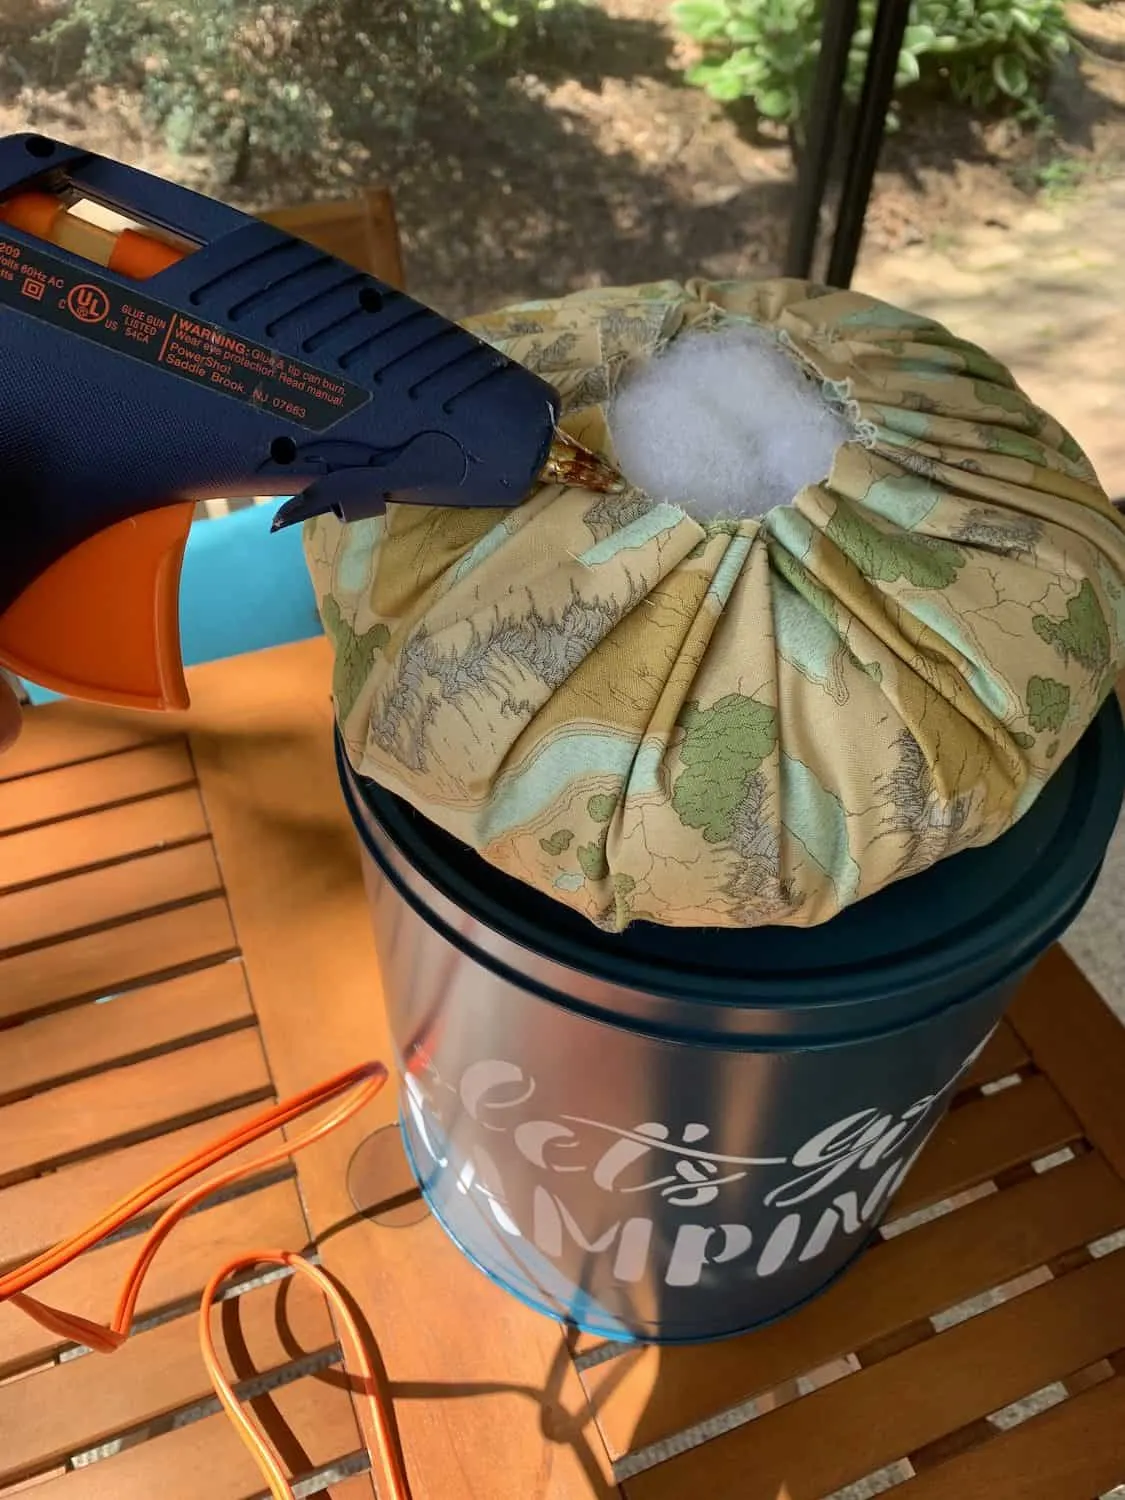
Step 6
Hot glue the cushion to the top of the lid.