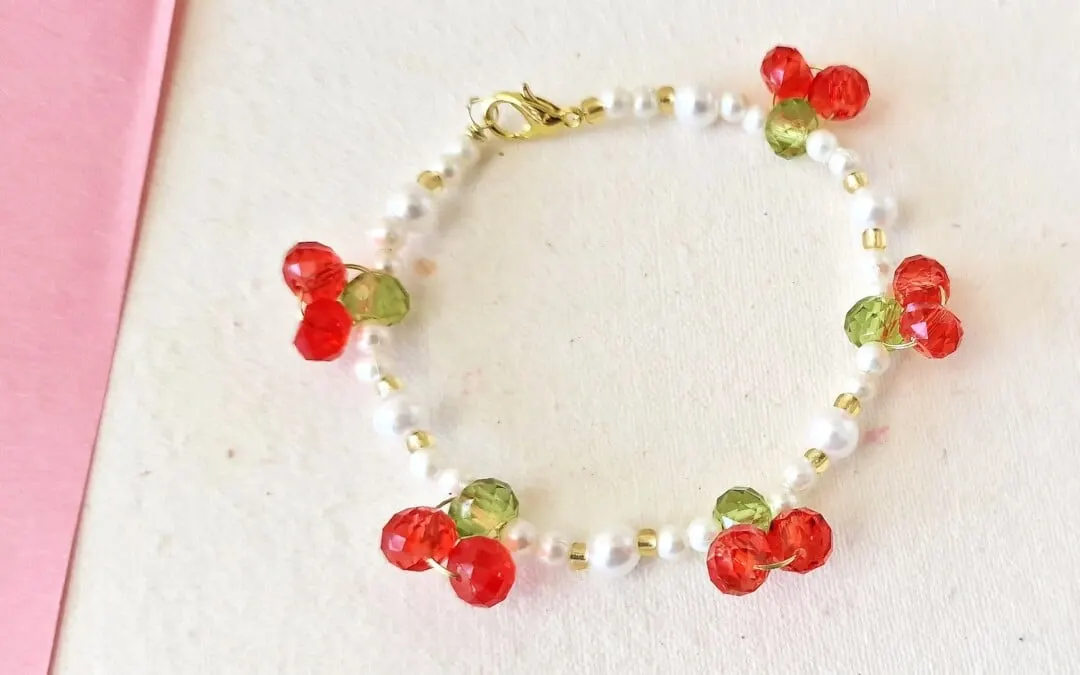
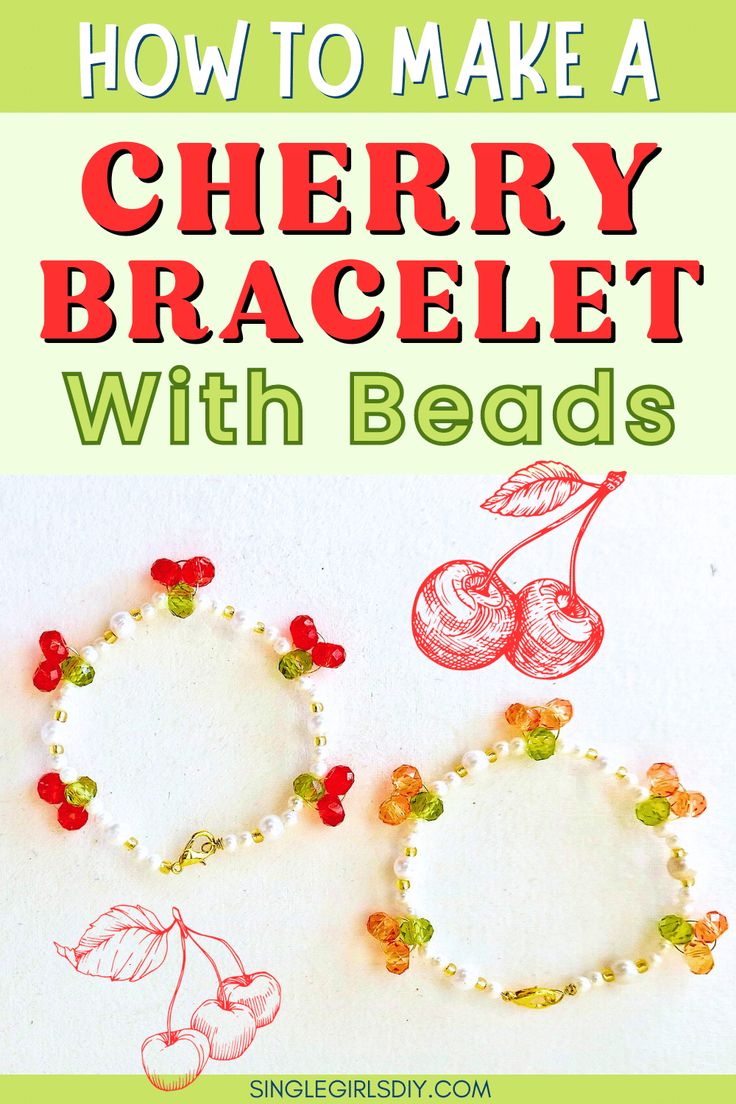
DIY Beaded Cherry Bracelet
If you're looking to add a touch of charm to your style, why not try making a DIY beaded cherry bracelet? This adorable accessory is not only fun to create but also perfect for adding a pop of color to your outfit. You can choose your favorite beads, whether they are bright and bubbly or elegant and muted, and customize the design to match your personal taste. With a few simple steps and a bit of creativity, you'll have a unique bracelet that's sure to turn heads and bring a smile to your face every time you wear it. So go ahead, get crafty, and let your inner artist shine with this sweet and stylish project!
Supplies
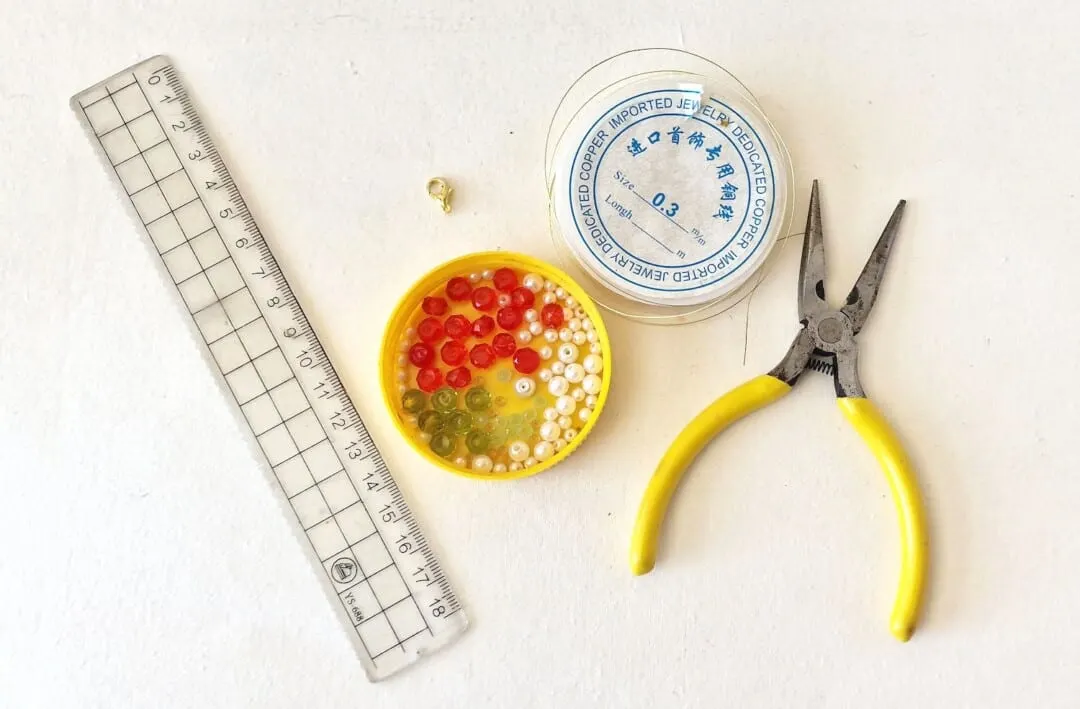
Use that measurement and multiply it by 4. This will be the length of beading wire to cut.
After you have cut the wire, bend it in half.
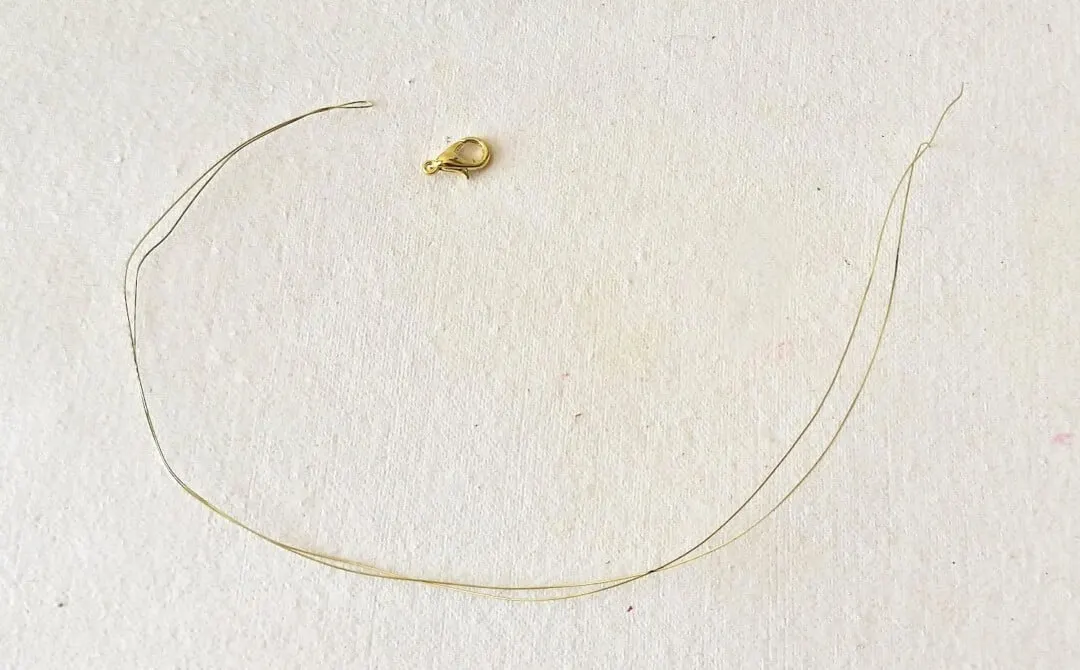
Take a small bead and insert it over the 2 open ends of the beading wire and push it down to meet the lobster claw. This will secure the lobster claw closure.
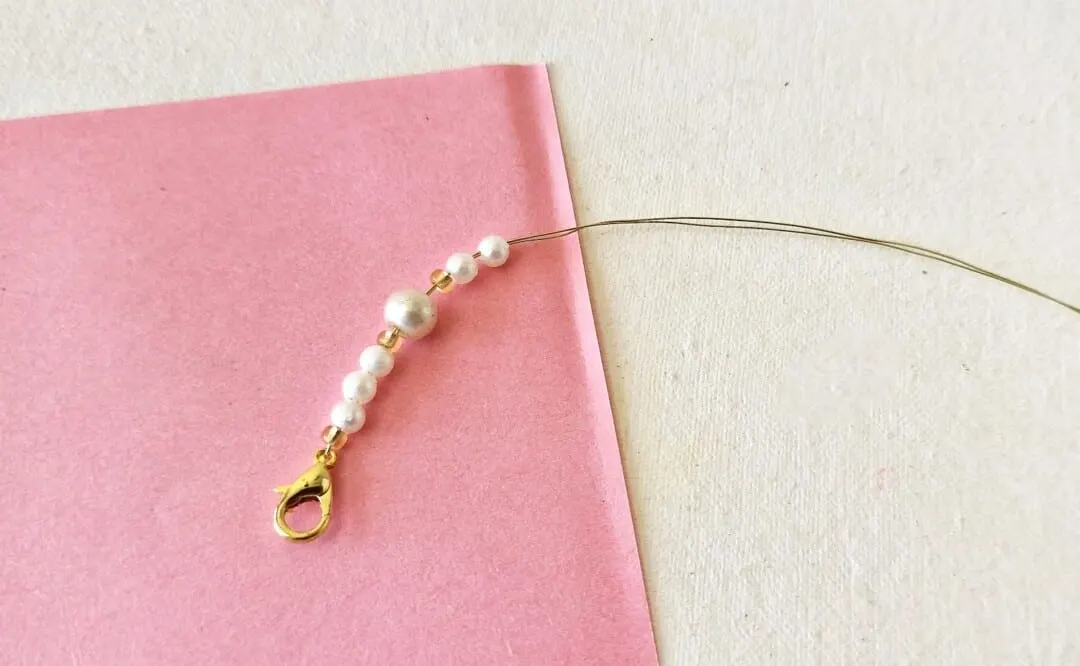
Slide white and golden colored beads over both strands of the wire in whatever pattern you choose. I used a total of 9 beads.
Pull the wire firmly through the bead which will bring the green and red beads closer together.
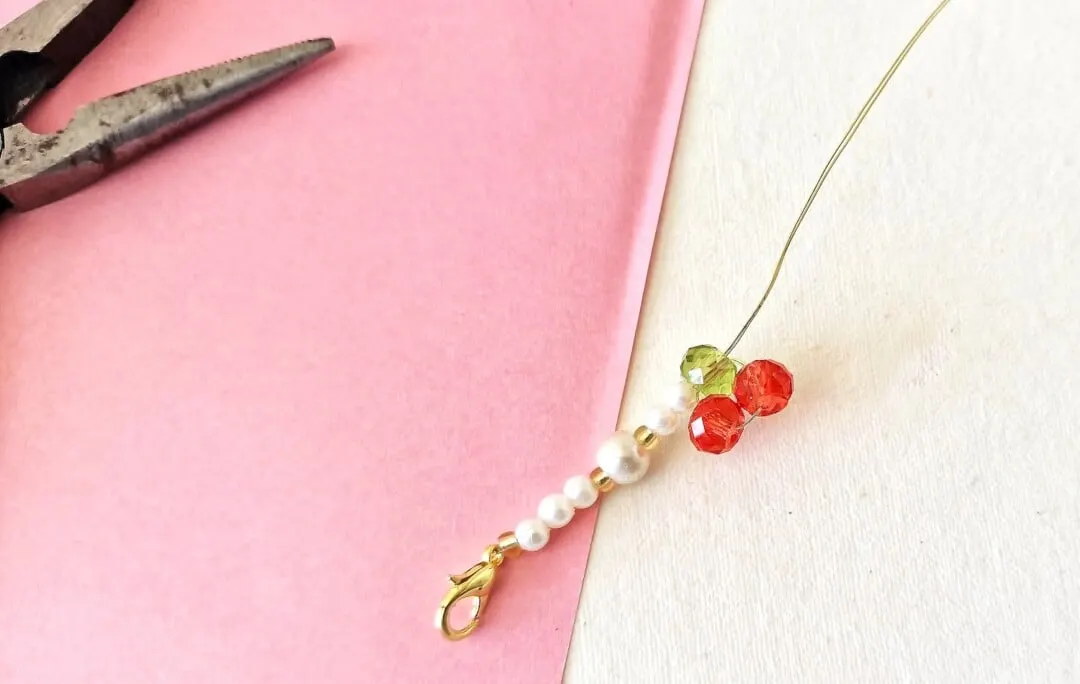
Continue making the cherry clusters until the bracelet is almost entirely covered in beads. Leave an inch or two of the wire strands uncovered to make the clasp next.
Wrap and coil the open end of the wire below the loop to secure it.