DIY Yarn Butterfly
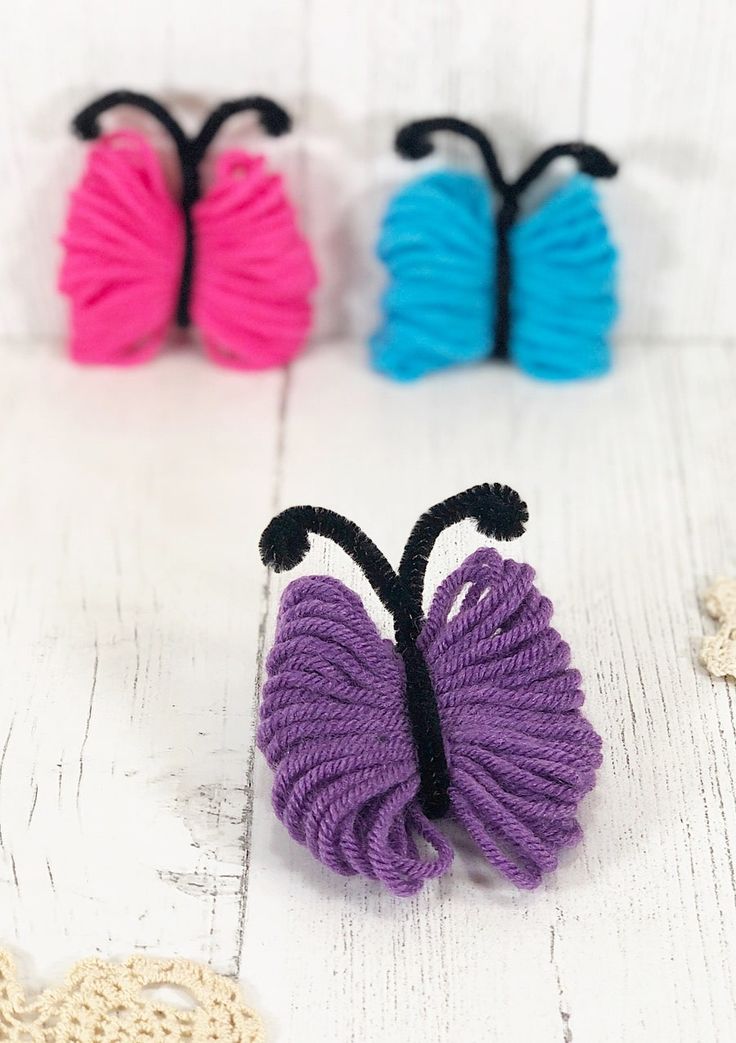
Creating a DIY yarn butterfly is a delightful and easy craft that anyone can enjoy! By using colorful yarn and simple crafting tools, you can bring this adorable creature to life in no time. Whether you're a seasoned crafter or just starting out, this project is perfect for adding a touch of whimsy to your home decor or gifting to a friend. Get creative with different yarn colors and experiment with various sizes to make each butterfly unique. So grab your materials, let your imagination soar, and have fun crafting your very own yarn butterfly!
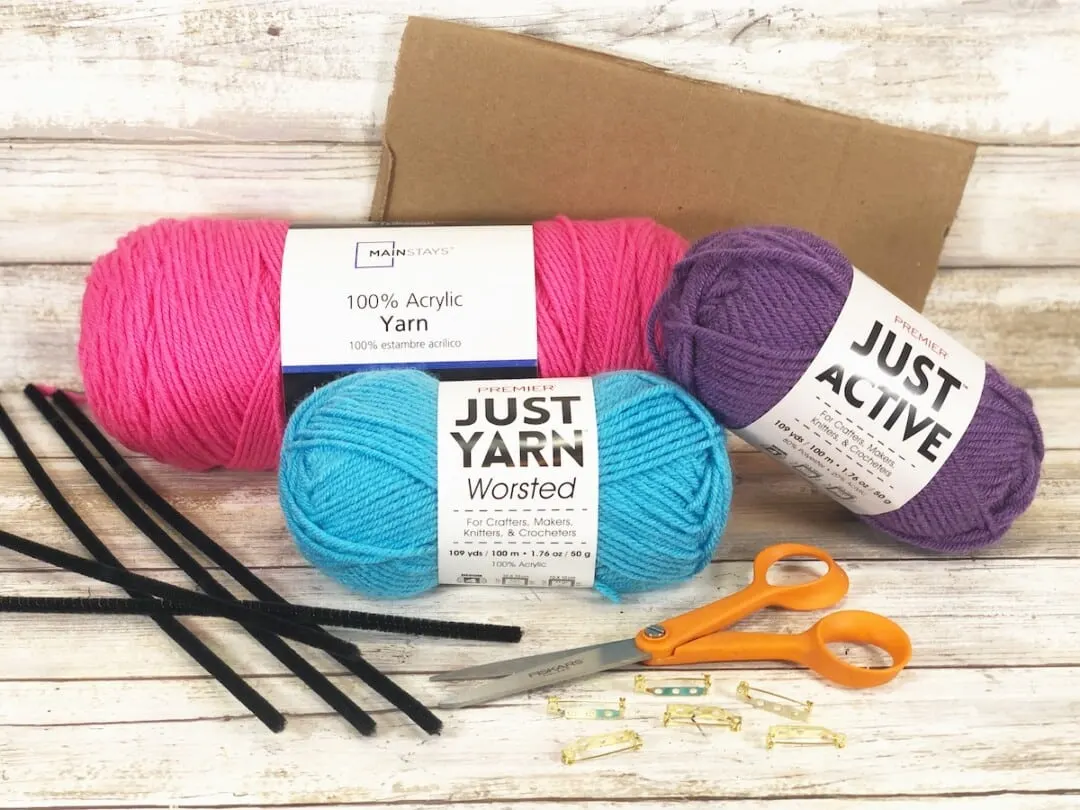
Materials
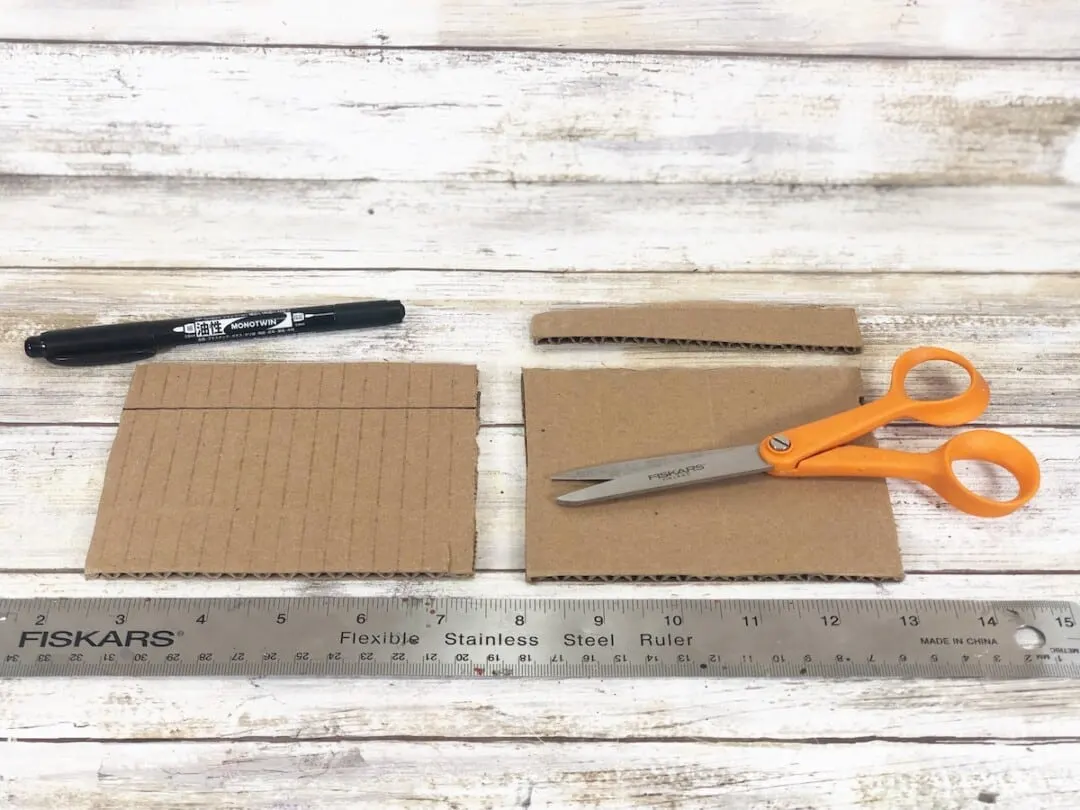
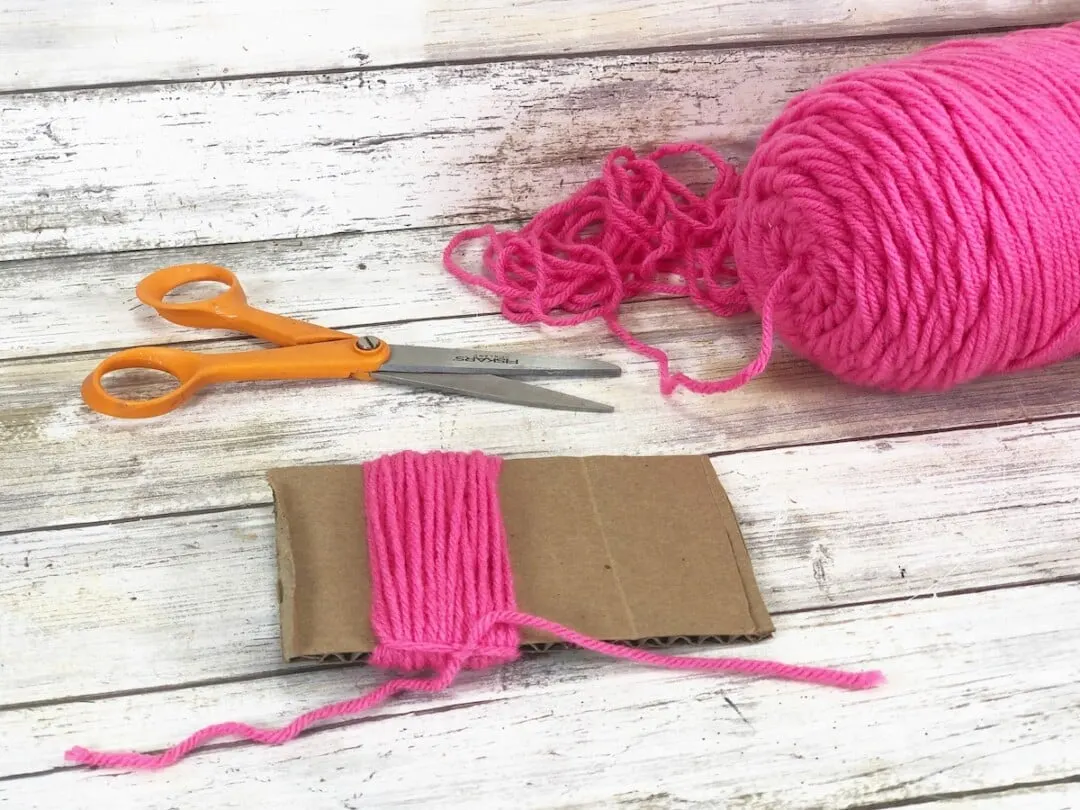
Leave a tail of yarn that is approximately 6” long hanging off the cardboard. Then wrap the yarn around the 4” width of the corrugated cardboard 15 times.
Make sure to keep the rows of yarn straight and wrapped closely next to each other.
Carefully wrap the yarn back around the cardboard another 15 times, keeping the rows neat.
Leave a 6” tail at the other end and tie off in a knot.
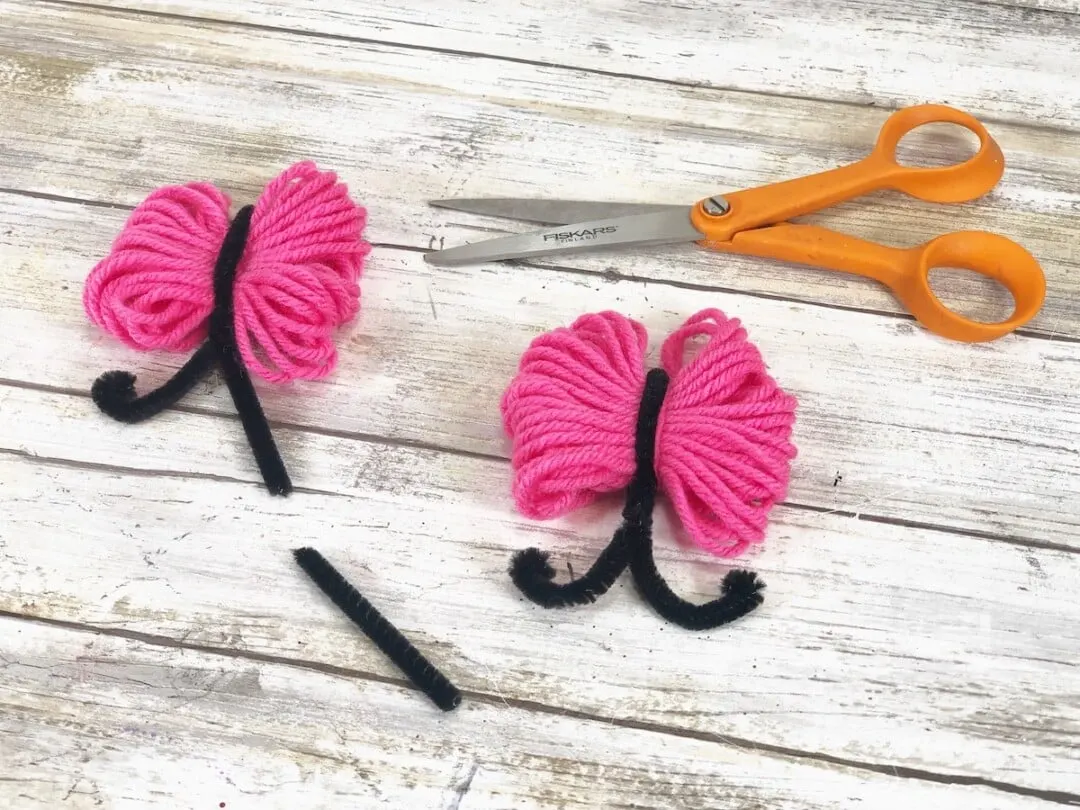
Tie the yarn ends in a knot on the top of the yarn bundle. Trim the long tails of the yarn. This will give you a bow shape that will become the butterfly wings.
Slide the yarn butterfly in the middle.
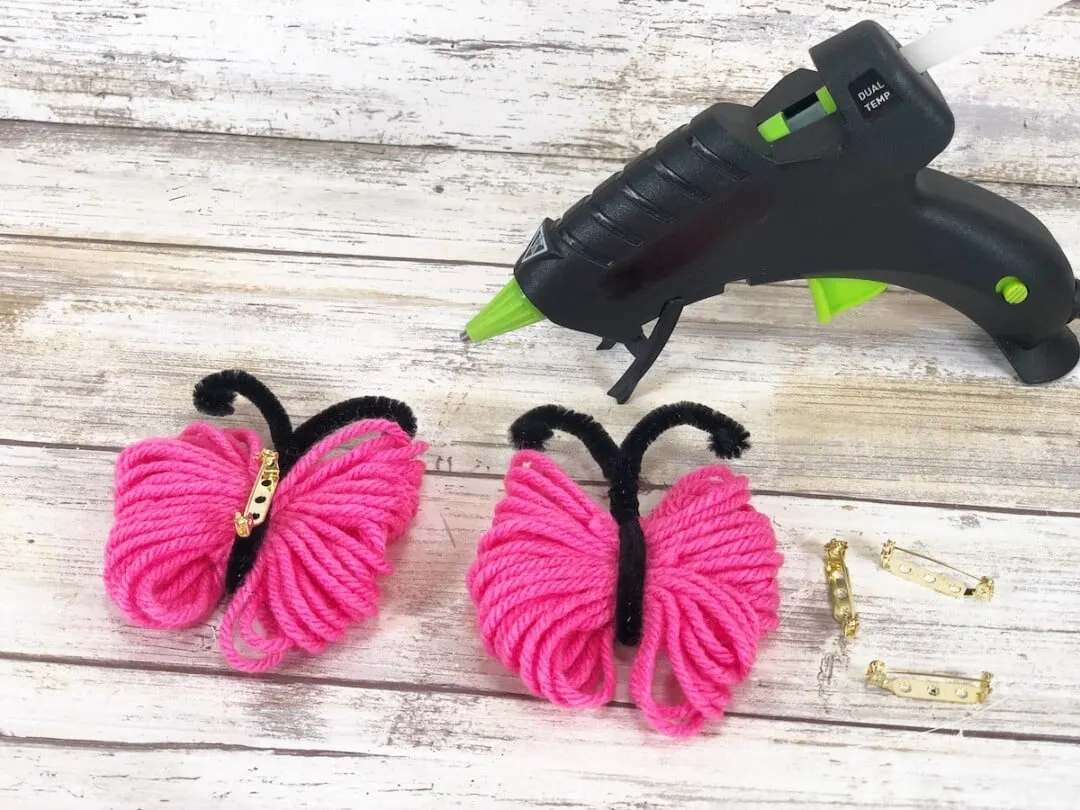
Gently twist the chenille stems together twice just above the yarn bundle to secure.
Measure and cut off 2” from the end of each chenille stem. Bend both ends of the chenille stem into antennae.
Flip the yarn butterflies over and glue a metal pin closure to the back of the chenille stem.