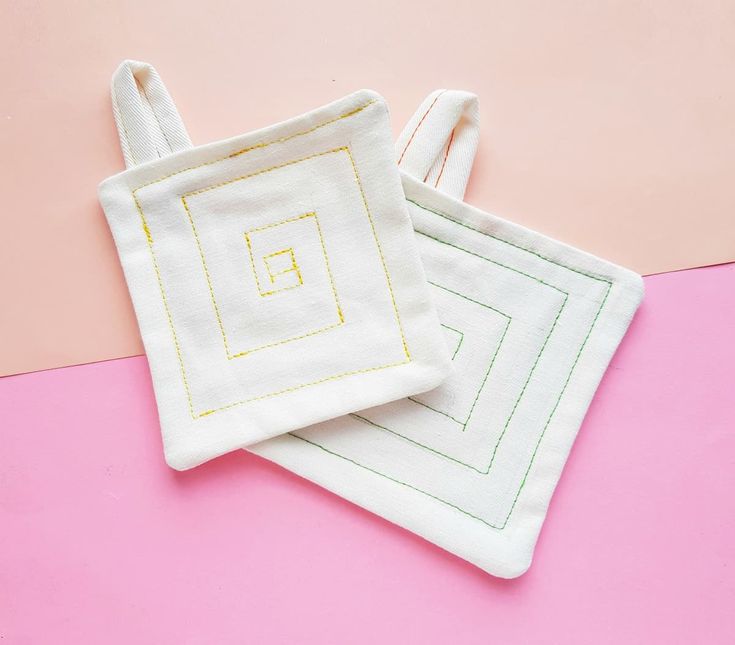
DIY Drop Cloth Pot Holder
Looking to add a personal touch to your kitchen? Why not try making your own DIY drop cloth pot holder! With just a few simple materials and steps, you can create a stylish and functional pot holder that fits your kitchen decor perfectly. Not only is it a fun and creative project, but it's also a practical addition to your cooking arsenal. Plus, you can proudly show off your handmade creation to friends and family. So grab your supplies and get crafting - your pots and pans will thank you!
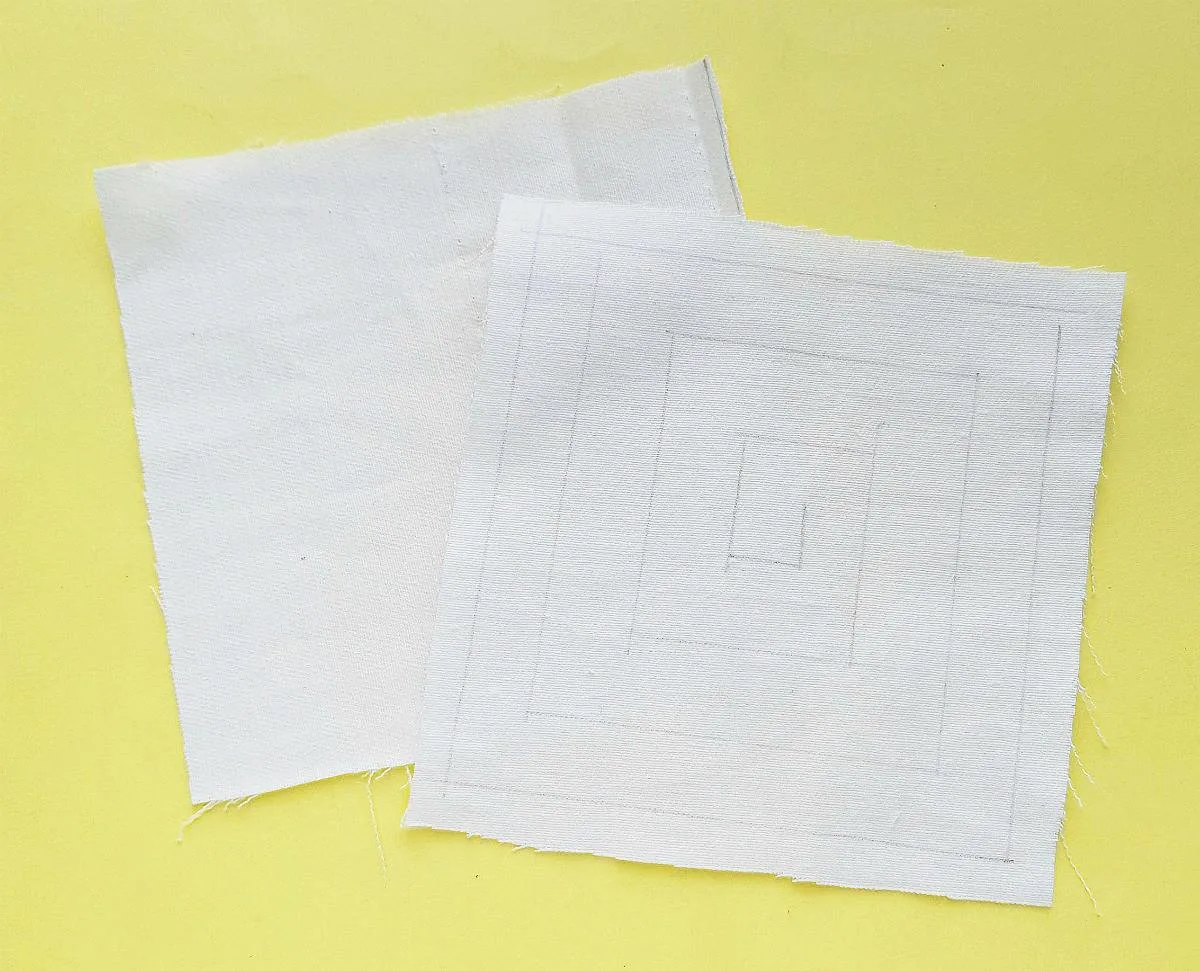
Supplies
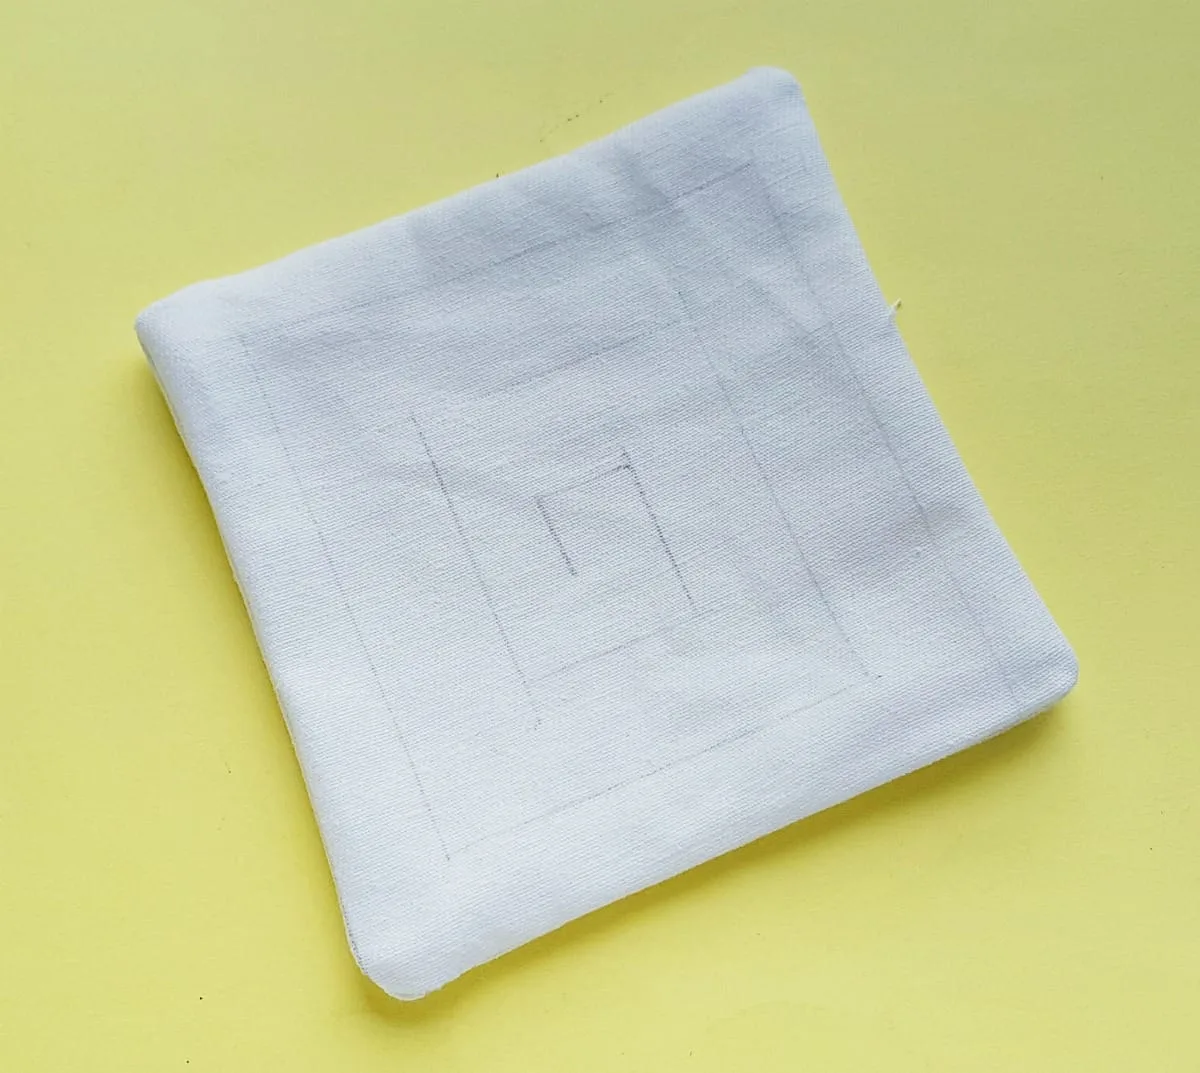
When you start sewing the fourth side of the square, make sure to keep a small opening that you will not sew closed, about 2-3 inches. It’s easier to leave the opening at the corner.
Turn the right side of the sewed fabric out through the small opening.
After you turn the pot holder inside-out, fold under the open side’s edge inside the pot holder and use a pin to keep it in place if you want. (I did not use a pin in the picture below.) This will look like a “finished” hem but is not yet sewn.
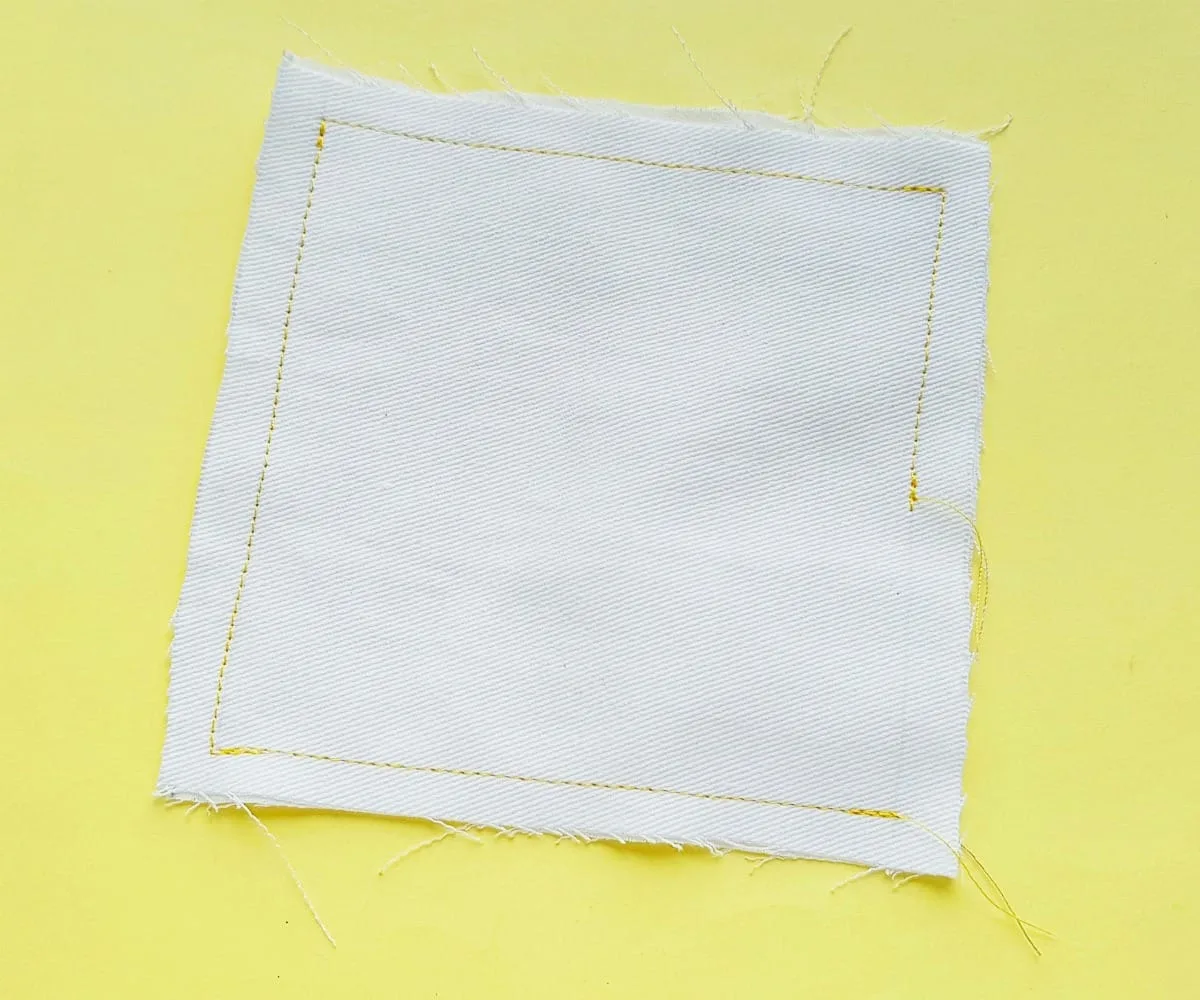
Sew along the pattern. Start with the outermost edge of your design, and just sew along the line. If you do straight edges like this pattern, you will need to pick up the foot of the sewing machine and readjust the fabric several times.
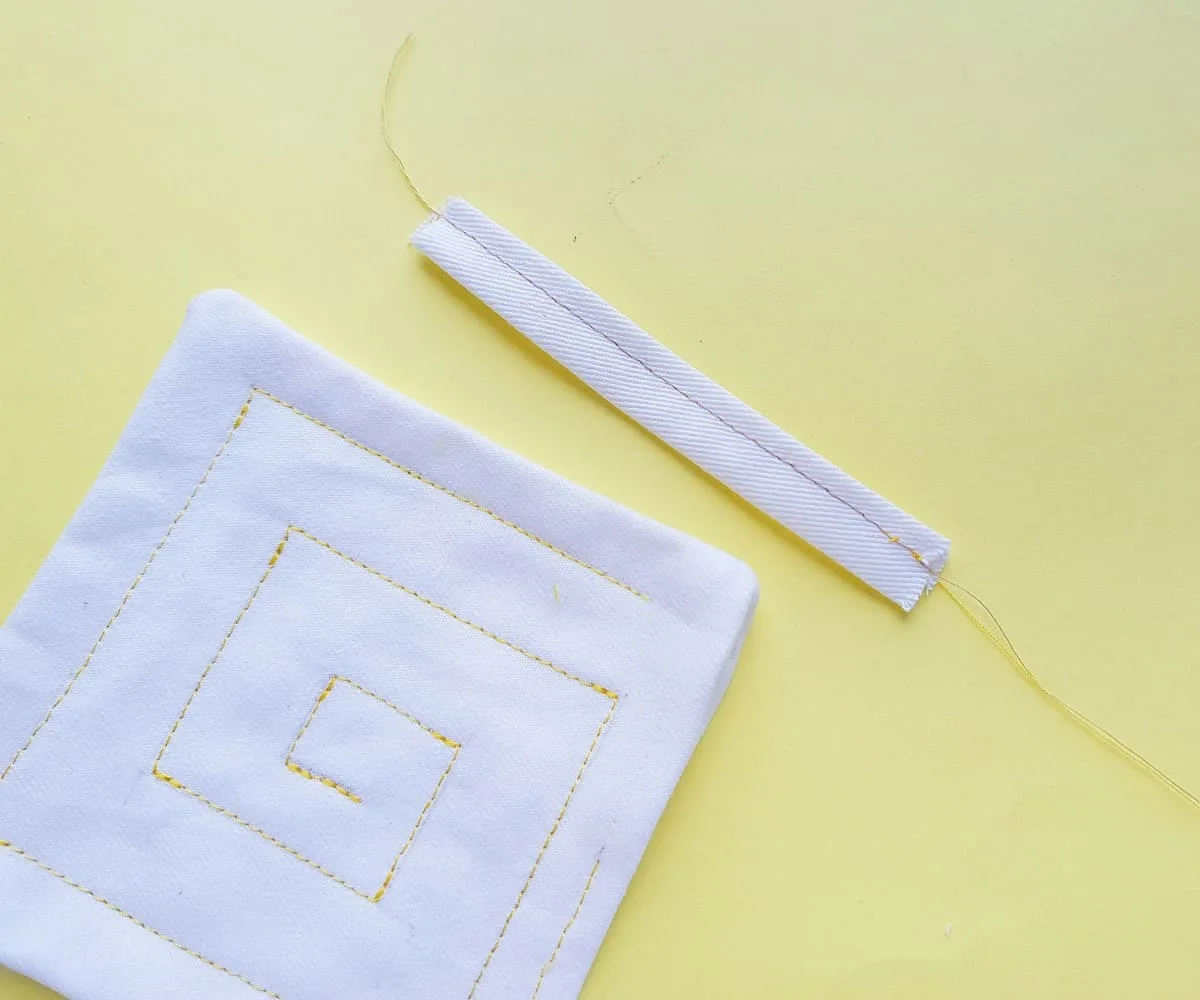
To make the loop handle, cut out a small rectangular scrap piece of fabric (about 1.5 X 4 inches).
Fold the longer side edges of the fabric inwards to meet in the middle. (You are folding 1/4 of the width inwards from each edge.) Then fold it in half, bringing the folded edge together. This will have the unfinished edges inside, with the folded fabric on the edges now. Sew along the open edges.
Fold the loop handle into half (lengthwise) and put its open ends into the small opening of the pot holder. If you have pinned the pot holder together, you’ll need to remove the pin to do this. You can insert the loop and then pin again until you sew. Using the sewing machine, sew over the opening to secure the handle and the pot holder together and finish off the edge.