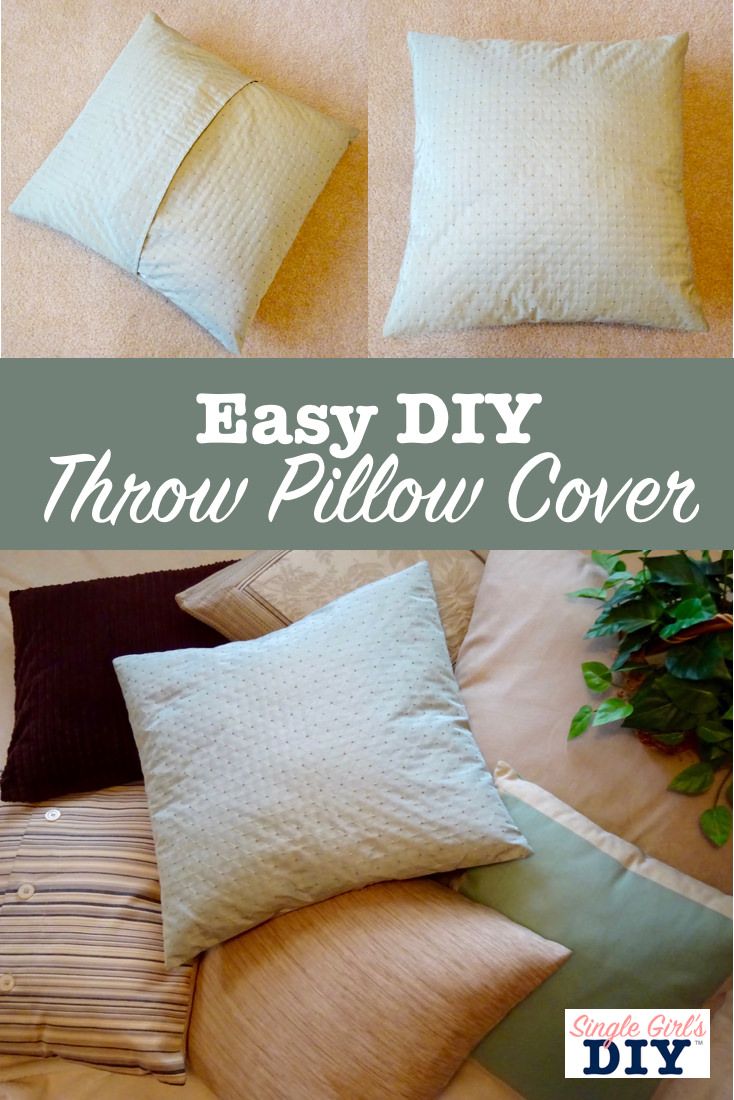
DIY Throw Pillow Cover
Looking to add a personal touch to your living space? Why not try making your own DIY throw pillow cover! It's a fun and creative way to customize your decor while saving some money. With just a few materials and a bit of time, you can transform your pillows into unique pieces that reflect your style. Whether you prefer funky patterns or elegant designs, the possibilities are endless. So, grab your sewing kit and let's get crafting! Your couch will thank you for the stylish upgrade.
Materials
Pillow form (or use a pillow you already have)
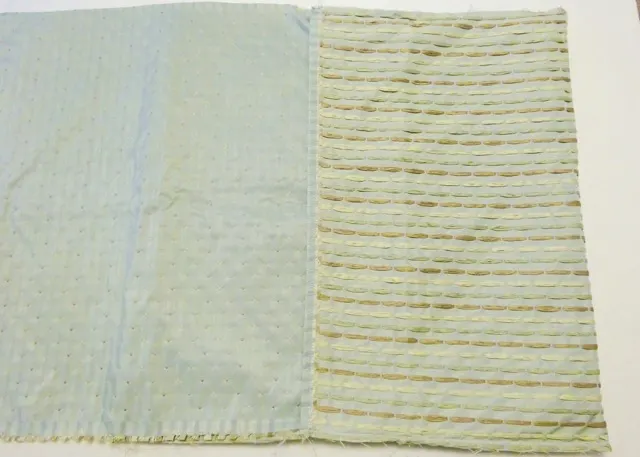
Fabric – For an 18″ pillow form, you will need about 2/3 yard of 44″ wide fabric
Scissors or rotary cutter
Ruler
Iron
Sewing machine (even a surprisingly tiny sewing machine will do!)
Directions
1. Measure the pillow

If you buy a pillow form, the dimensions will be on the packaging and you can skip this step.
Common pillow form sizes are:
16″ X 16″
18″ X 18″
20 X 20″
If you are using one of your own pillows, here’s how to measure the size of your throw pillows:
Lay the pillow on top of a ruler or yard stick.
Smoosh it out a little, and eyeball the widest point. It’s OK to under estimate a little. This makes your pillows look plump. (I would call this one 18”)
Measure both length and width.
2. Cut the fabric
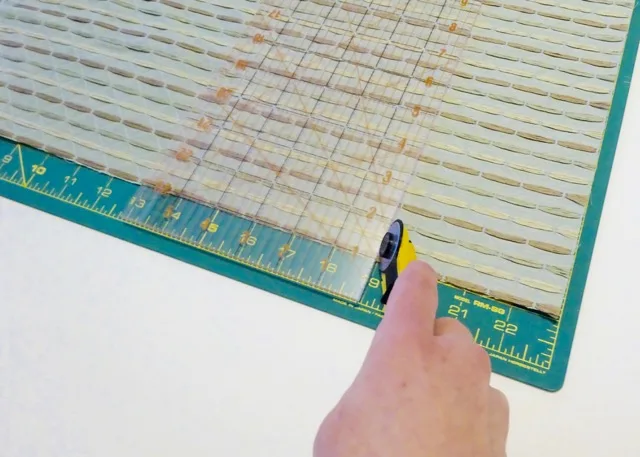
The amount of fabric yardage you will need will depend on the size of your pillow. Here’s how to measure for throw pillow covers.
You will need a single piece of fabric with these dimensions:
1x pillow width + 1”
2x pillow length + 4”
For example, for my 18″ x 18″ pillow, I cut the fabric to 19″ x 40″.
Which means that I took the width of the pillow (18 inches) and added 1 inch to it to get 19 inches. Then I doubled the size of the pillow length (18 inches X 2 = 36 inches) and added 4 inches to get the 40 inches measurement.
3. Finish the short edges
The pillow cover is going to wrap around the pillow. The short edges will overlap and have a finished opening. To make these finished edges:
On one short edge, fold under 1/4” to the wrong side of the fabric.
Fold under 1/4” again, so the raw edge is completely tucked inside the fold. Press with an iron.
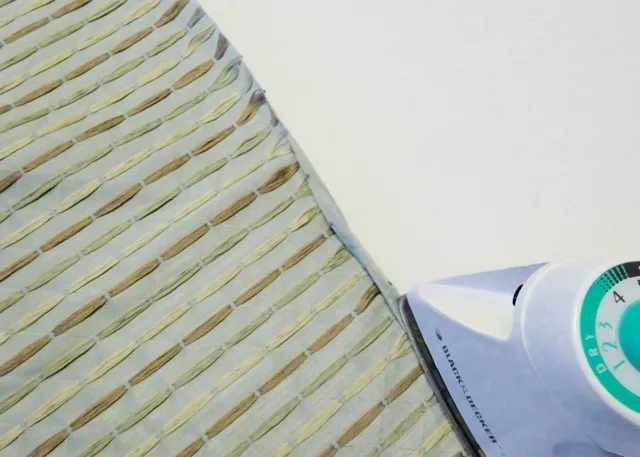
Fold under the raw edge 1/4″, and then fold under again
Stitch close to the inner edge to hold the seam closed.
Repeat on the other short edge.
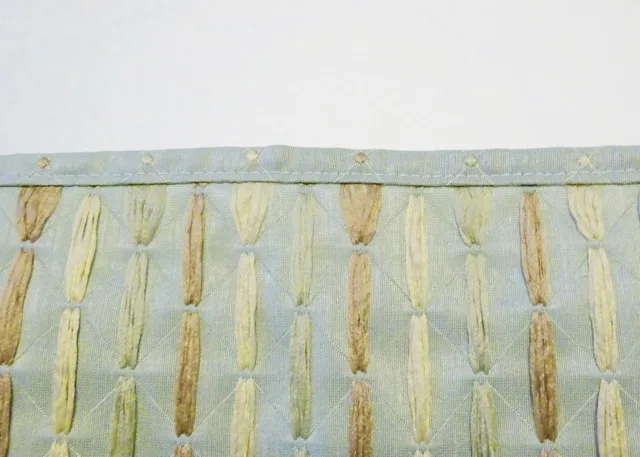
Stitch close to the inside edge, to seal in the raw edge
4. Stitch the long edges
Now it’s time to finish the long edges, to make your removable pillow case.
Lay your fabric out on a flat surface, right side up.
Fold one of the short edges in toward the center, so the wrong side of the fabric is now facing out on that end.
Fold one short edge to the center
Use your ruler and the measured length of the pillow to determine where to fold the other side. The short edges will overlap at the back by a couple inches. For my example pillow, I measured 18″ from the first fold to know where to make the second fold. The length of the fabric between the folds will match the length of your pillow form.
Overlap the second short edge, wrong side facing out
Pin the long (unfinished) edges in place.
Stitch along both sides, 1/2″ from the edge. Back stitch at the places where the short edges meet to add a little reinforcement.
Turn the cover
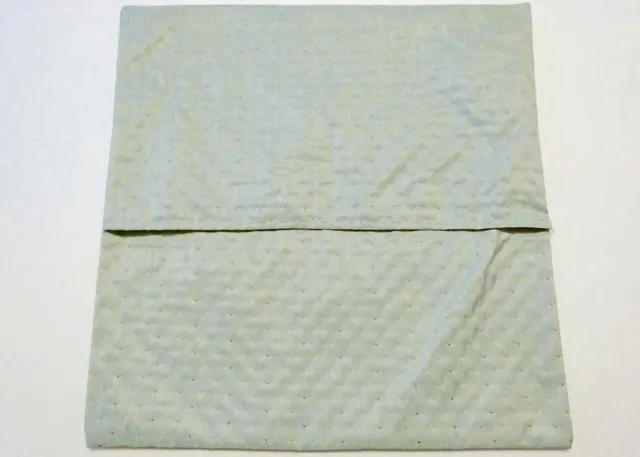
A throw pillow cover like an envelope is easy to put on and take off.
Once the final edges are sewn, you’re ready to flip the cover right side out. Use your fingertip to push out the corners.
This cover will now slip easily on and off your pillow like an envelope. No zippers or buttons required, just a bit of squishing to get it to fit.
No comments
Write a comment