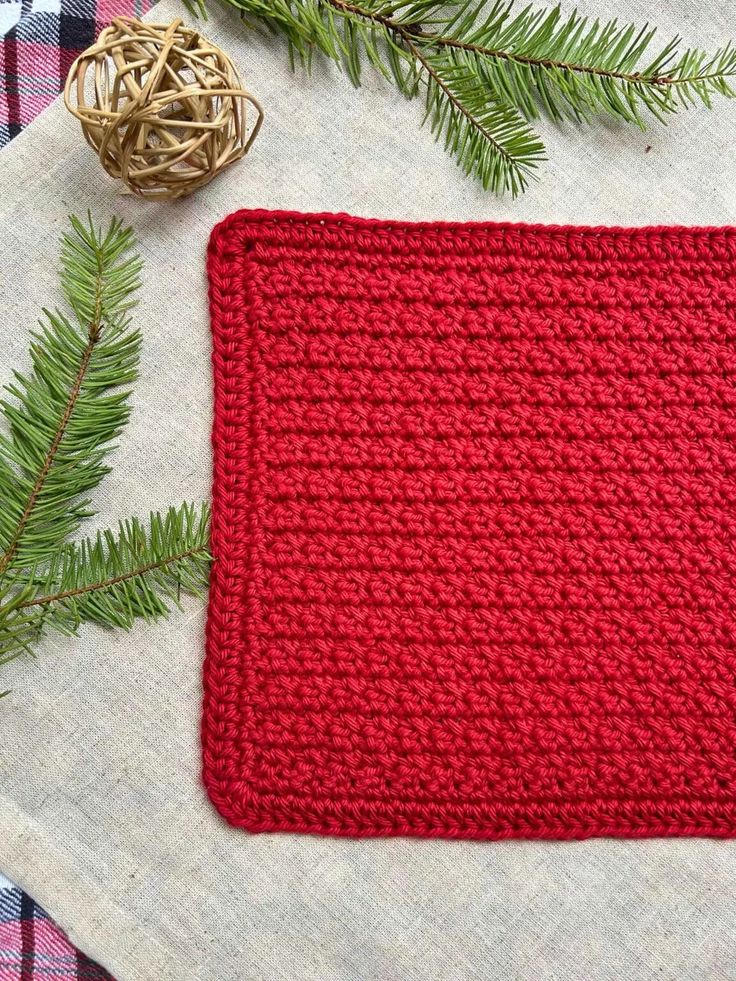
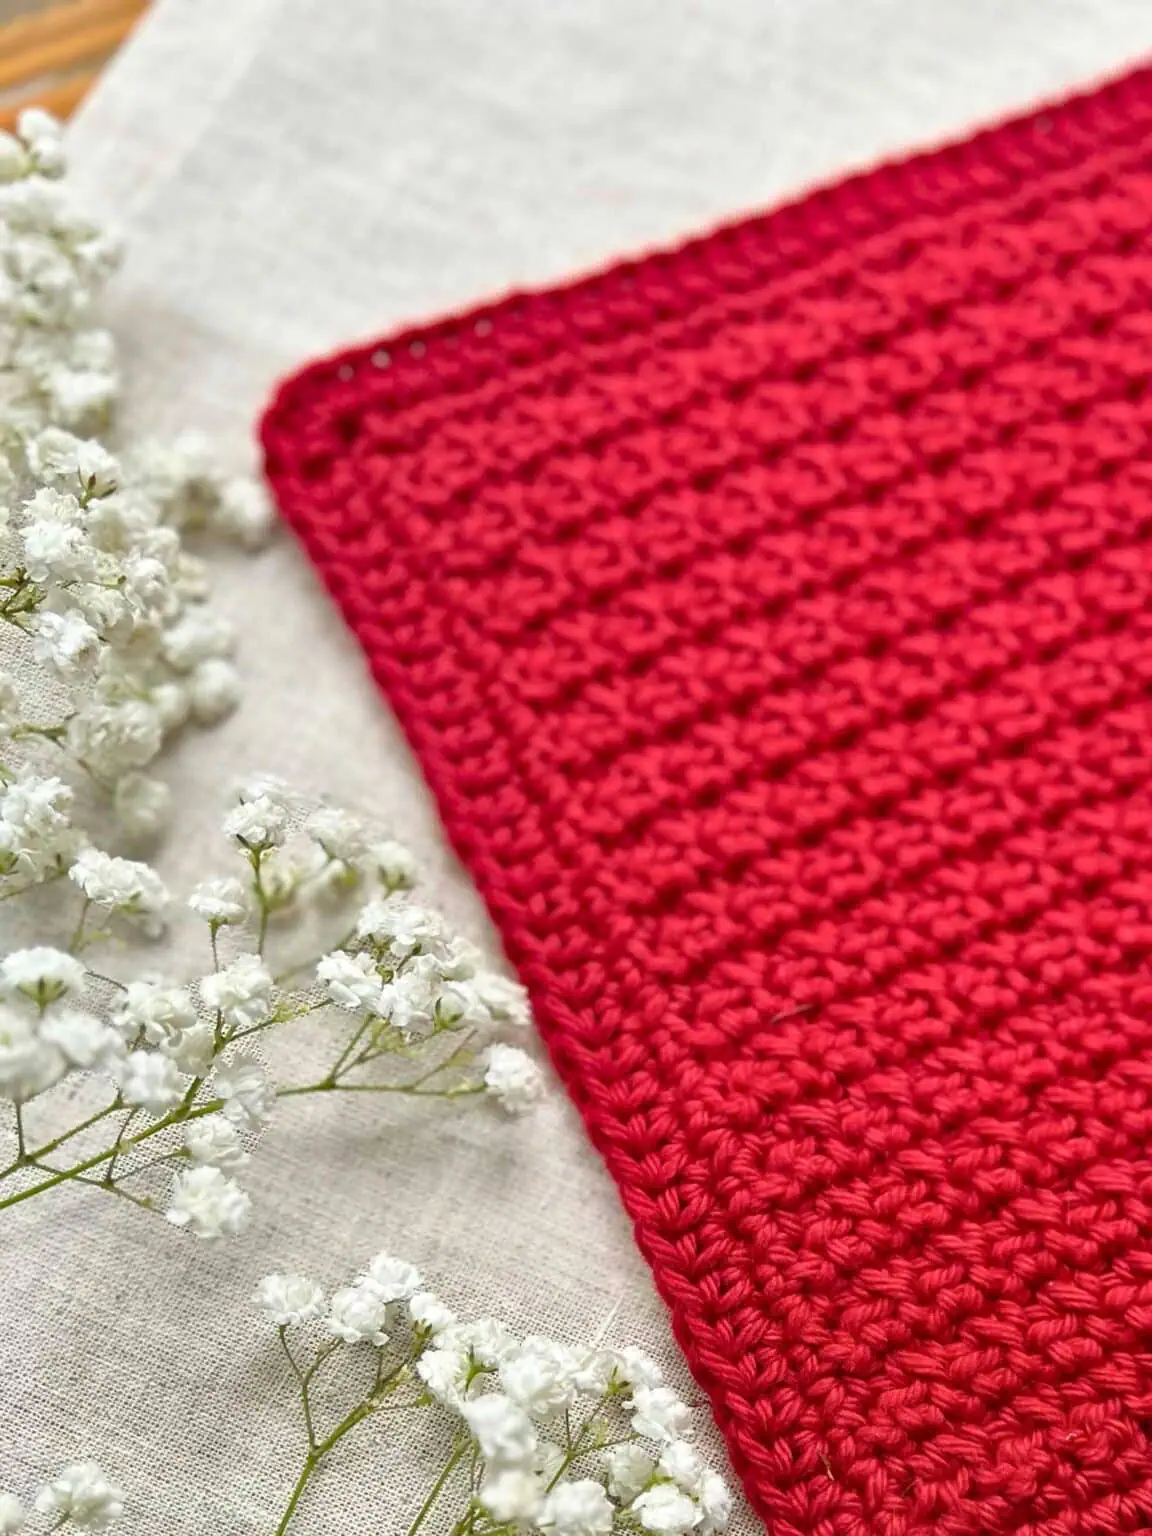
Crochet Cobblestone Creek Dishcloth
The Crochet Cobblestone Creek Dishcloth is a wonderful addition to any kitchen, adding a touch of charm and handmade love to your daily routine. This beautifully textured dishcloth not only looks delightful but also provides excellent functionality for all your cleaning needs. Whether you're wiping down countertops or drying dishes, this cozy and durable dishcloth is sure to brighten up your kitchen with its intricate pattern and soft feel. Crafted with care and attention to detail, it's the perfect way to add a personal touch to your home while also being practical and eco-friendly. Happy dishwashing!
Pattern Details
Skill Level
Easy
Materials
92 yards, size 4 cotton yarn. I used 1 skein of I Love This Cotton yarn <3.5 oz/100 g> <180 yds/165 m> in the Burnt Sienna colorway
US size H/8 crochet hook (5.00 mm)
Scissors, yarn needle
Stitch markers
Gauge
15 stitches x 16 rows = 4″ square
Pattern used for gauge: rows of sc
Finished Size
Approximately 9″ w x 9″ h
Stitch Abbreviations
US Crochet Terminology
ch(s) – chain(s)
hdc – half double crochet
sc – single crochet
sc2tog – single crochet 2 stitches together
sk – skip
sl st – slip stitch
sp – space
st(s) – stitch(es)
yo – yarn over
Special Stitches
sc2tog
sc2tog – insert hook into indicated st, yo and pull up a loop, insert hook into next indicated st, yo and pull up a loop, yo and draw through all three loops on hook.
Pattern Notes
The ch-1 at the beginning of each row does not count as a st.
When working the sc2tog in Row 2 and repeats of Row 2, work into the ch st, not the ch-1 sp that is created.
How to Make This Easy Textured Dishcloth
Part 1: Dishcloth Body
Ch 34
Row 1: sc2tog over 2nd and 3rd ch from hook, ch 1, [sc2tog over next two chs, ch 1] 15 times, sc in last ch, turn <16 sc2tog, 16 ch, 1 sc>
Row 2: ch 1, [sc2tog over next st and next ch, ch 1] 16 times, sc in last st, turn <16 sc2tog, 16 ch, 1 sc>
Rows 3 – 30: repeat Row 2 28 times
At the end of Row 30, do not fasten off. Proceed to border.
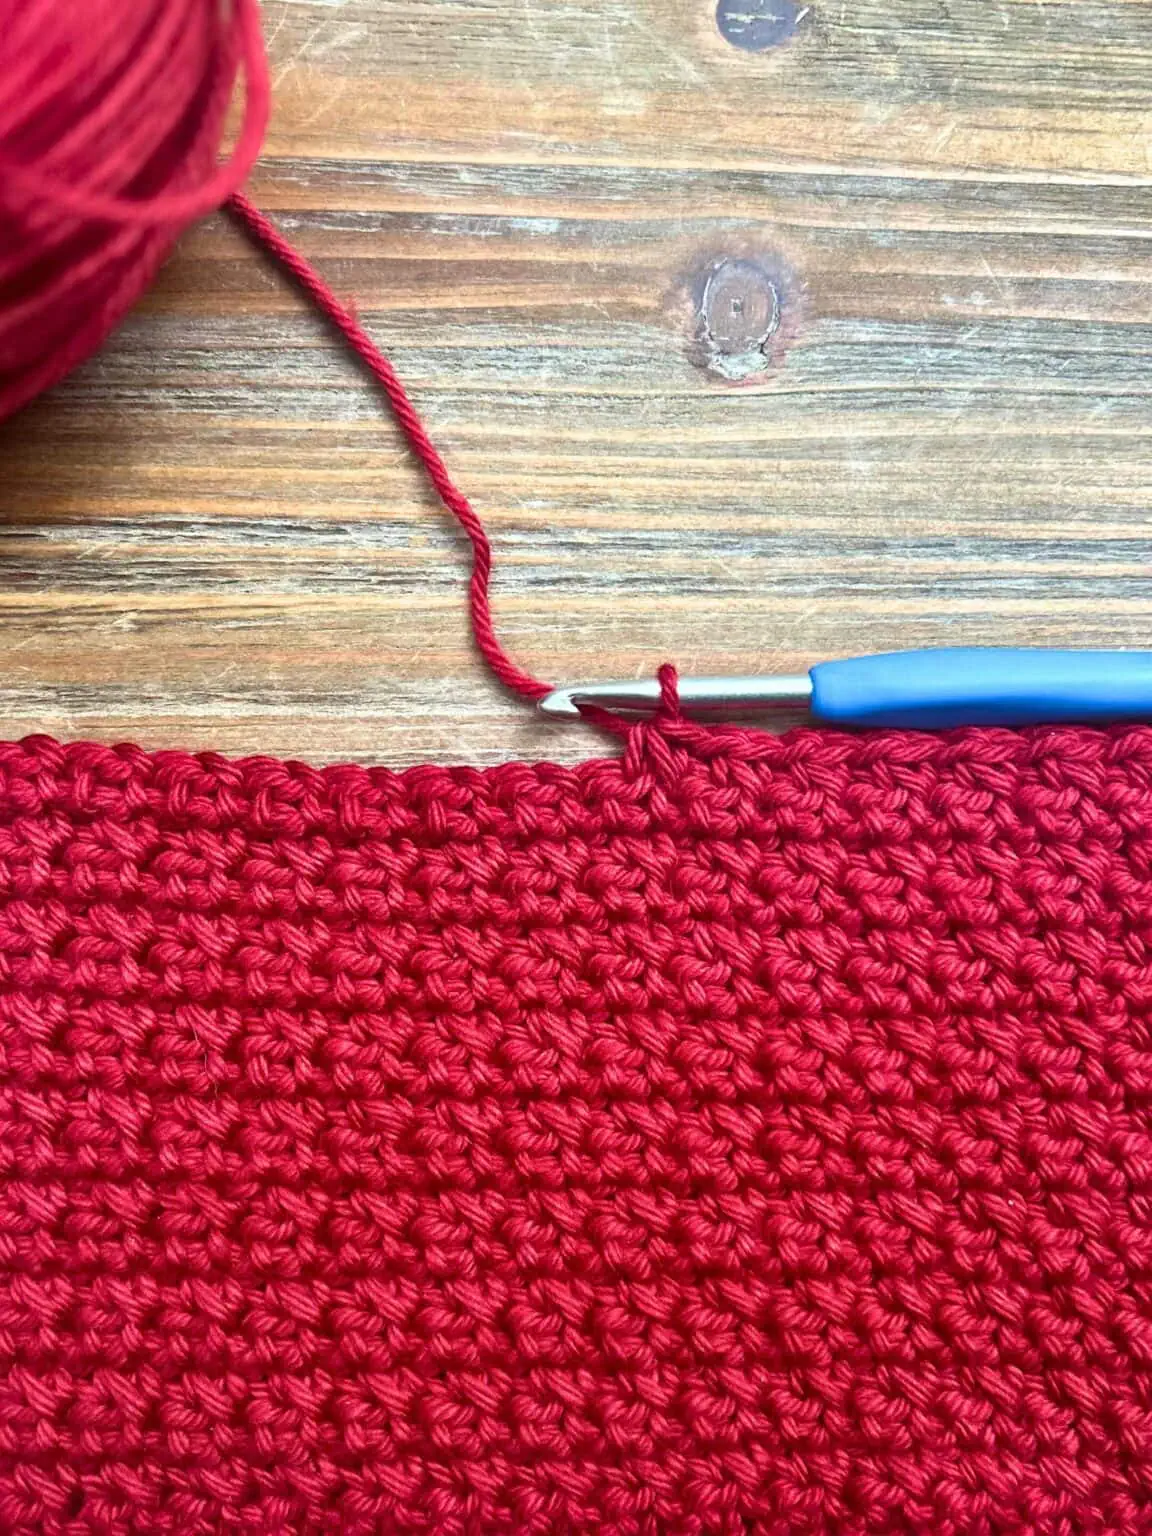
Part 2: Border
Notes:
The border is worked in Rounds. The side you’re working in is clearly identified in the instructions for Rnd 1 as you lay the foundation for the border.
The ch-2 at the end of each side of Rnd 1 will be referred to as the corner sp in Rnd 2
Rotate 90 degrees.
Rnd 1:
Left side: ch 1, work 30 sc evenly along the left side of the dishcloth by placing 1 sc in the end of each row, ch 2, rotate 90 degrees. <30 sc>
Bottom: 1 sc in each of next 33 chs, ch 2, rotate 90 degrees. <33 sc>
Right side: work 30 sc evenly along the right side of the dishcloth by placing 1 sc in the end of each row, ch 2, rotate 90 degrees. <30 sc>Top: 1 sc in each of next 33 sts, ch 2, sl st in top of sc to join. <33 sc>. Do not turn.
Top: 1 sc in each of next 33 sts, ch 2, sl st in top of sc to join. <33 sc>. Do not turn.
Rnd 2: ch 1, hdc in same st and in each of next 29 sts, 4 hdc in corner sp, hdc in next 33 sts, 4 hdc in corner sp, hdc in next 30 sts, 4 hdc in corner sp, hdc in next 33 sts, 4 hdc in corner sp, sl st in top of hdc to join. <142 hdc>
Fasten off and weave in ends.
No comments
Write a comment