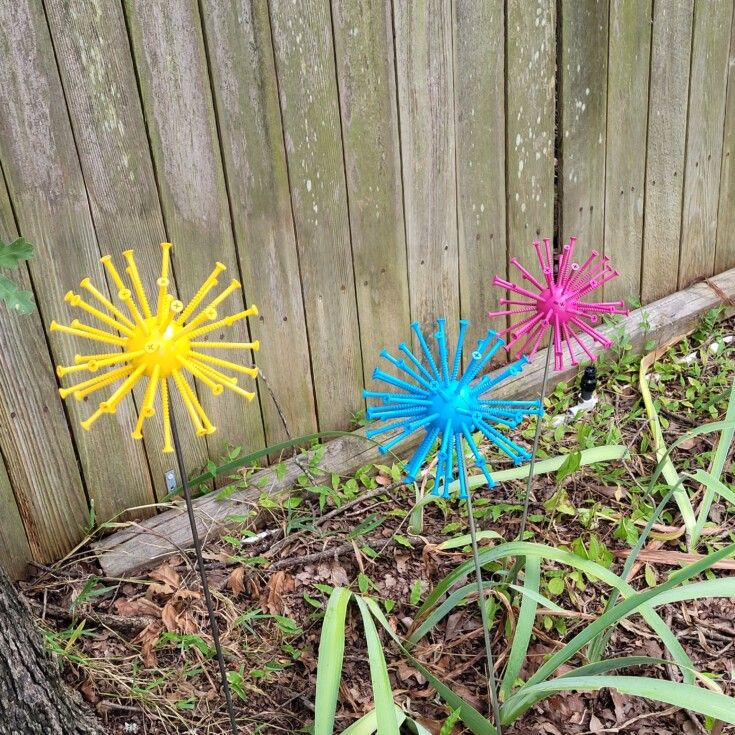
Diy Screwball Flowers
Creating DIY screwball flowers is a fun and simple way to add a quirky touch to your home decor or gifts for loved ones. Let your creativity bloom as you mix and match colors and patterns to make each screwball flower truly one-of-a-kind. Whether you're a crafting novice or a master crafter, this project is sure to bring a smile to your face and brighten up any space with its whimsical charm. So grab your supplies, unleash your imagination, and enjoy the process of making these delightful DIY screwball flowers!
Supplies:
Start by drawing a line around the wood ball. Then turn and draw another line, repeating this will divide the ball into sections for drilling the holes.
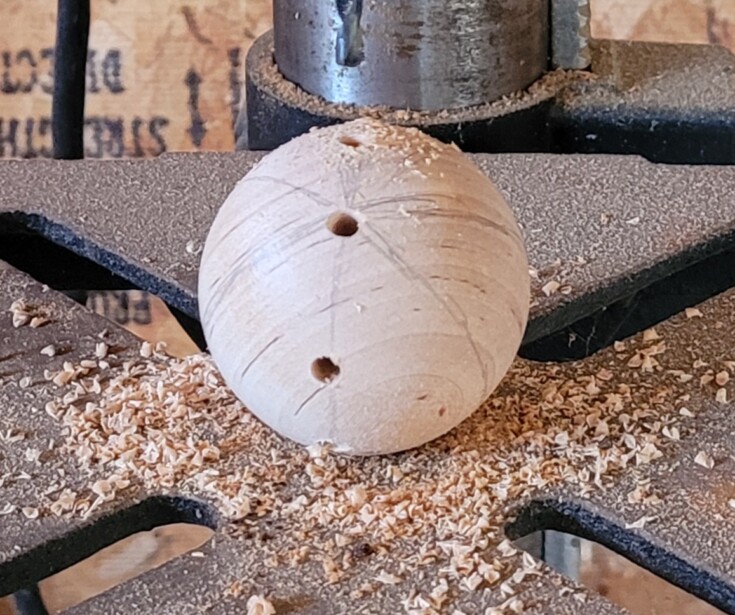
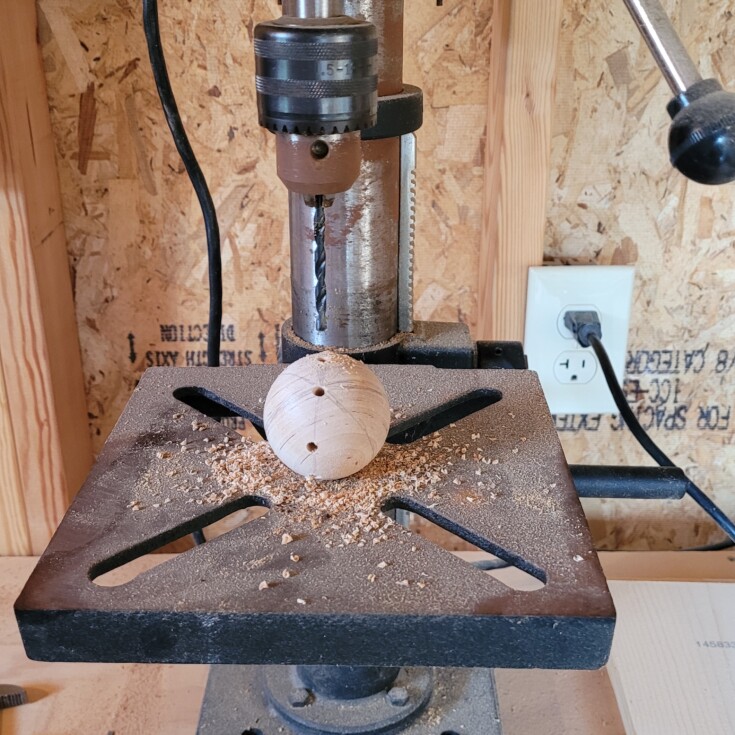
The last hole needs to be a little large to accommodate the metal rod that will be holing the screwball flowers up.
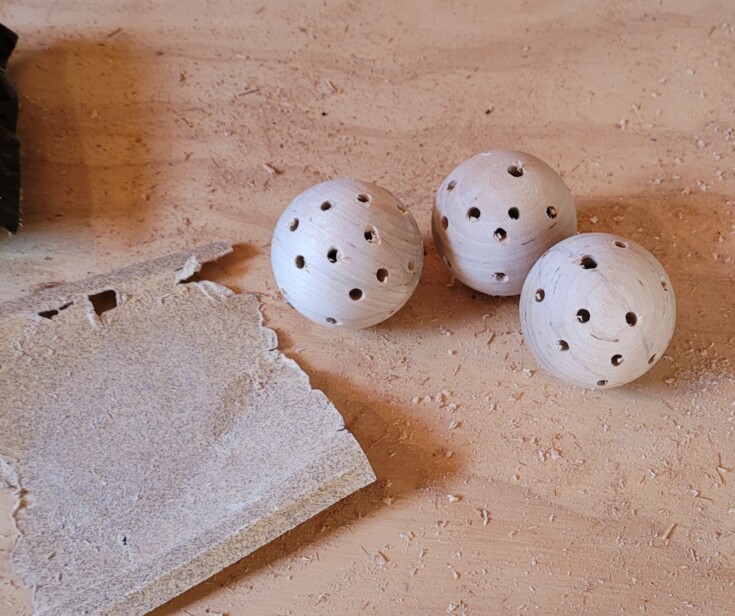
Give each wooden ball a quick sanding.
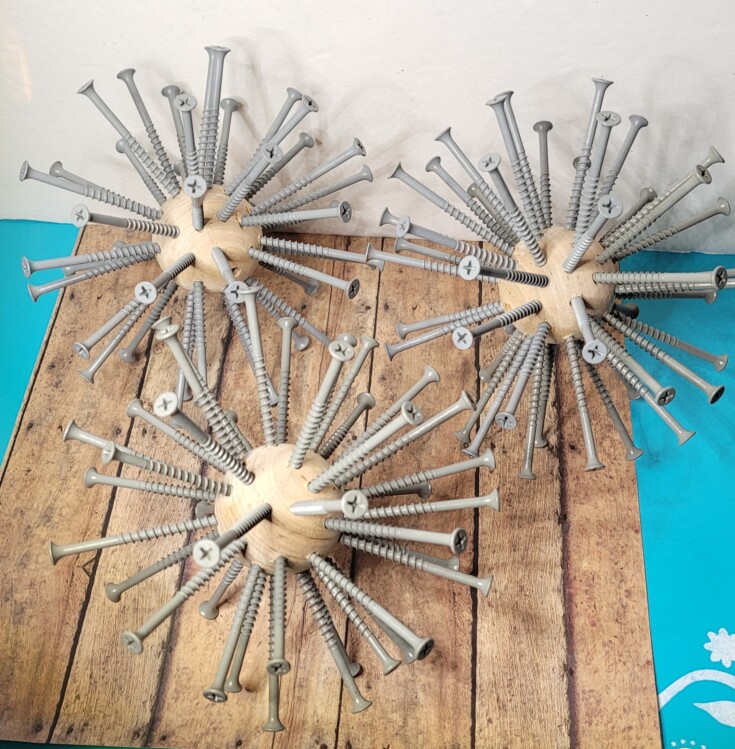
Now for the fun part! Screwing all the wood screws into the wooden ball.
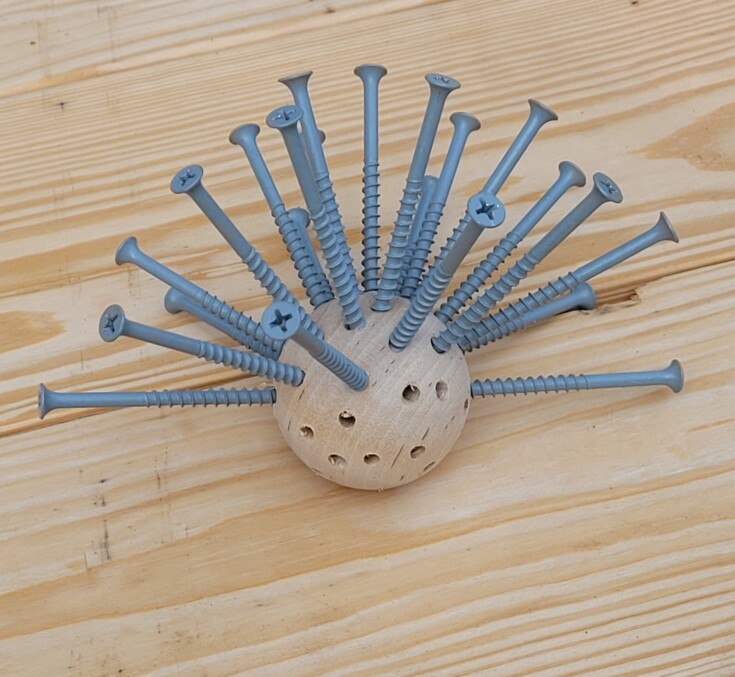
I went through two boxes of wood screws and still was about five short. So, I just used some screws that I had on hand even though they were a little shorter. Once done your really couldn’t tell the difference.
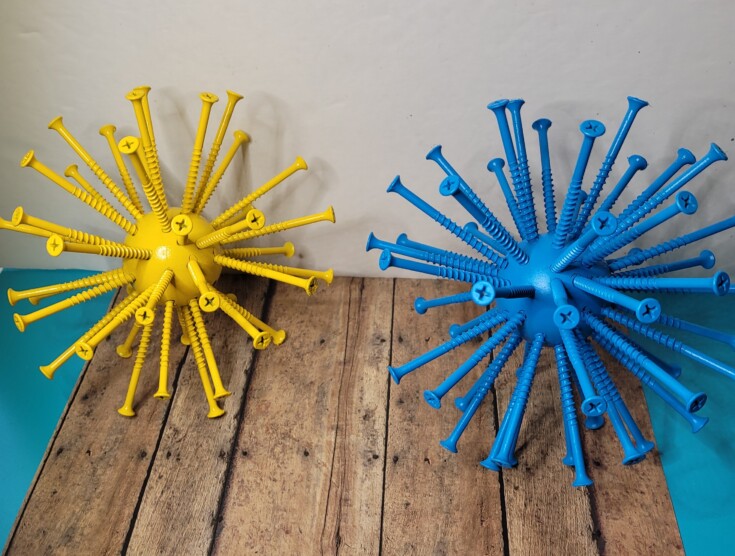
When all the screws are in place paint each flower, a different color using spray paint.
Once all 3 diy screwball flowers are dry take the metal rods and hammer them into the ground at different heights and place the flowers on top of the rod in the larger hole.