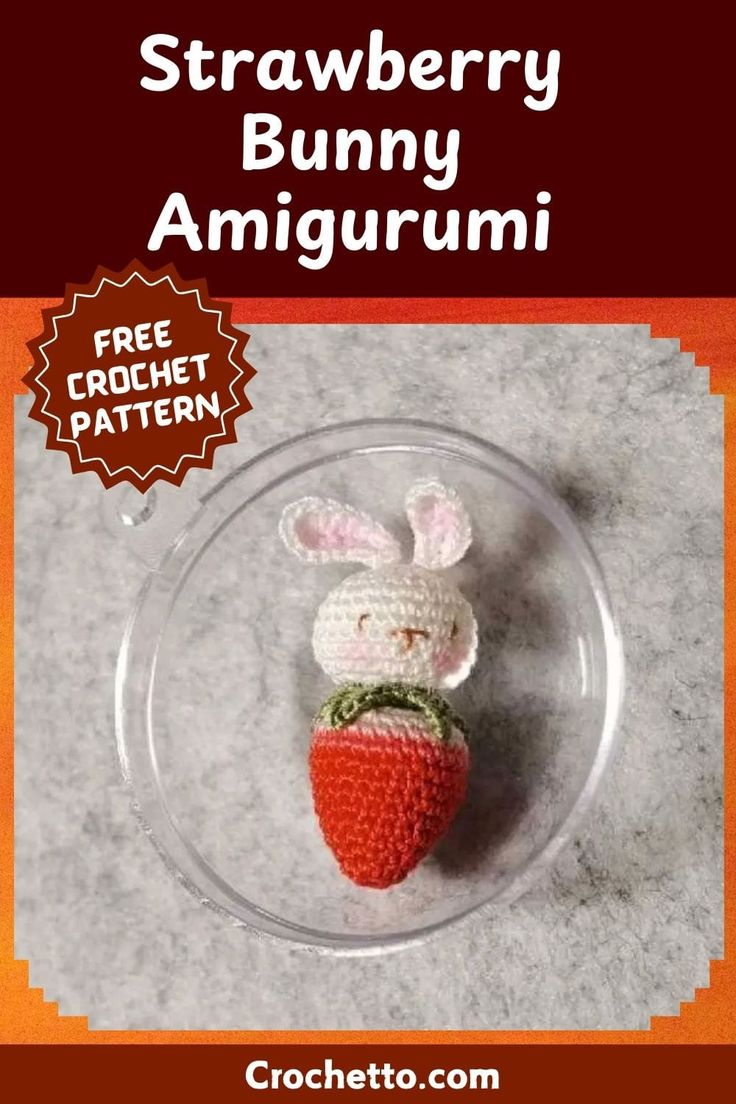
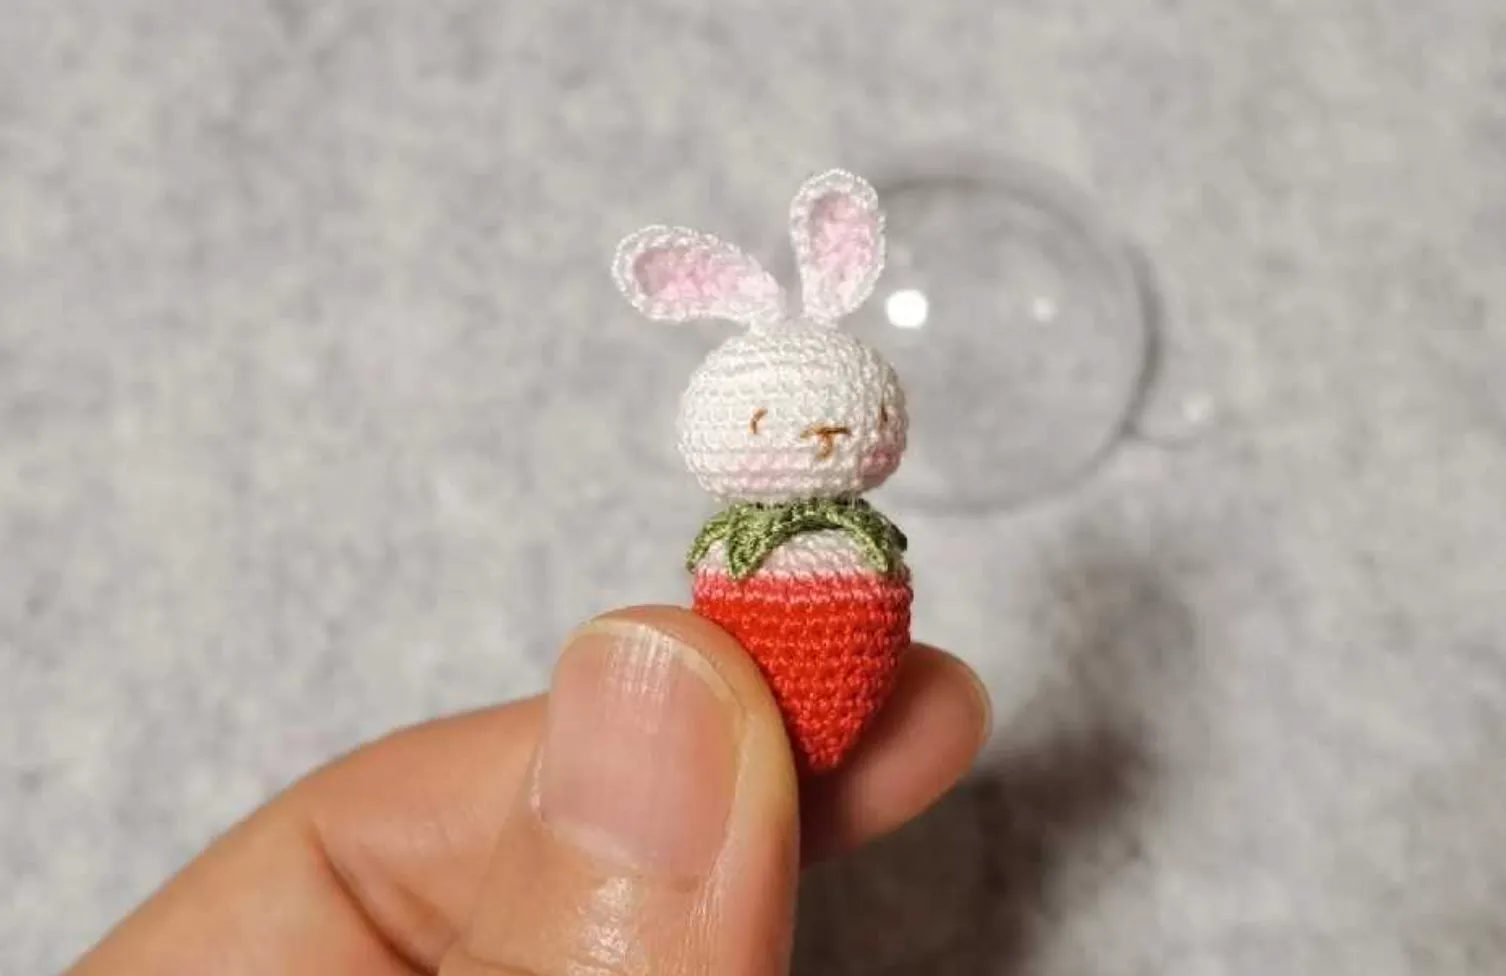
Crochet Strawberry Bunny Amigurumi is an adorable and whimsical creation that brings smiles to anyone who sets eyes on it. With its charming design and vibrant colors, this cuddly bunny is the perfect addition to your amigurumi collection. The sweet strawberry details give it a unique and playful touch, making it an irresistible companion for both kids and adults. Creating this little cutie with your own hands can be a fun and rewarding experience, allowing you to unleash your creativity and bring a touch of charm to your space. So, grab your yarn and hook, and let's crochet away to craft a delightful Crochet Strawberry Bunny Amigurumi that will surely steal hearts!
Yarn: You’ll need some sport weight yarn. The original pattern uses milk cotton yarn, which is a soft and great option, but you can use any light weight yarn you prefer. You’ll need red for the strawberry body, white for the bunny head, a little bit of green for the leaves, and pink for the bunny ears
Crochet Hook: A 2.0 mm crochet hook is recommended for this project. If you are using different yarn, choose the hook size that fits the yarn you chose.
Other Supplies: You’ll also need a tapestry needle, stitch markers (so useful!), a pair of scissors, and some stuffing for the bunny.
Understanding the Pattern
The pattern is broken down into three main parts: the strawberry body, the green leaves, and the bunny head. The pattern uses common crochet abbreviations, but if you are new to crochet here is a quick guide:
R: Round
sc: Single crochet
inc: Increase (2 single crochet in one stitch)
dec: Decrease (single crochet two stitches together)
sl st: Slip stitch
ch: Chain
dc: Double crochet
tc: Triple crochet
(…) * n: Repeat the instructions in parentheses n times
Let’s Get Crocheting!
Strawberry Body
We’ll start with the juicy strawberry part.
R1: Make a magic ring and single crochet 6 stitches into it. (6 stitches)
R2: Increase in each stitch around. (12 stitches)
R3: (Single crochet, increase) repeat 6 times. (18 stitches)
R4: (Single crochet 2, increase) repeat 6 times. (24 stitches)
R5: Single crochet in each stitch around (24 stitches)
R6: (Single crochet 3, increase) repeat 6 times. (30 stitches)
R7: Single crochet in each stitch around. (30 stitches)
R8: (Single crochet 4, increase) repeat 6 times. (36 stitches)
R9: Single crochet in each stitch around. (36 stitches)
R10: Single crochet in each stitch around. (36 stitches)
R11: Single crochet in each stitch around. (36 stitches)
R12: (Single crochet 4, decrease) repeat 6 times. (30 stitches)
R13: (Single crochet 3, decrease) repeat 6 times. (24 stitches)
R14: (Single crochet 2, decrease) repeat 6 times. (18 stitches)
R15: Change to White yarn. (Single crochet, decrease) repeat 6 times (12 stitches).
R16: Single crochet in each stitch around.(12 stitches)
Fasten off and weave in your ends.
Green Leaves
We will now crochet 5 leaves and then stitch them to the body of the strawberry.
R1 Make a magic ring and single crochet 5 stitches in it. (5 stitches).
R2 Increase in each stitch around (10 stitches).
R3 chain 5, skip the first chain, double crochet in the next stitch, triple crochet, double crochet, single crochet, slip stich into the round.
repeat R3 4 more times to have 5 leaves and fasten off, sew in ends, and sew the leaves on the top of the strawberry.
Bunny Head
Now, let’s make that adorable bunny head! We’ll use our white yarn for this part.
R1: Make a magic ring and single crochet 6 stitches into it. (6 stitches)
R2: Increase in each stitch around. (12 stitches)
R3: (Single crochet, increase) repeat 6 times. (18 stitches)
R4: (Single crochet 2, increase) repeat 6 times. (24 stitches)
R5: (Single crochet 3, increase) repeat 6 times. (30 stitches)
R6-R9: Single crochet in each stitch around. (30 stitches)
R10: (Single crochet 3, decrease) repeat 6 times. (24 stitches)
R11: (Single crochet 2, decrease) repeat 6 times. (18 stitches)
R12: (Single crochet, decrease) repeat 6 times. (12 stitches)
R13: Decrease 6 times. (6 stitches)
Fasten off, leaving a long tail for sewing. Stuff the head firmly and weave the yarn through the front loop of the last stitches and pull it tight to close the opening.
Bunny Ears (Make 2)
Let’s crochet the bunny’s cute ears with white yarn and some pink inside.
R1: Chain 7, starting from the second chain from hook, slip stitch, single crochet, double crochet, triple crochet, double crochet, single crochet, slip stitch.
R2: Repeat R1 again in pink color.
Fasten off, and leave a tail to sew into the bunny’s head.
Assembly Time
Now that all the pieces are done, let’s put our little bunny together!
Sew the Head: Place the bunny head on the top of the strawberry body and sew it securely.
Attach the Ears: Sew the ears on either side of the head.
Finishing Touches: Use your black yarn to embroider two small eyes and a little mouth on the face. Weave in all the loose ends, and you are done.
Tips and Tricks for Success
Stitch Markers are Your Friends: Use stitch markers to keep track of your rounds, especially when increasing or decreasing.
Consistent Tension: Try to maintain consistent tension throughout your work. This helps your amigurumi keep the same shape.
Stuff as You Go: It’s easier to stuff your work as you go, instead of trying to stuff it fully when it’s almost finished.
Don’t Be Afraid to Experiment: Feel free to change yarn colors or add your own unique touches!
Why This Project is Great
This crochet strawberry bunny is a fantastic project for several reasons:
Skill Building: It’s a great way to practice basic crochet stitches and learn how to shape amigurumi pieces.
Cute and Charming: The final result is absolutely adorable, making it a perfect gift or a cute desk companion.
Customizable: You can easily switch up colors and make it your own!
Relaxing: Crocheting is a great way to unwind and relax.