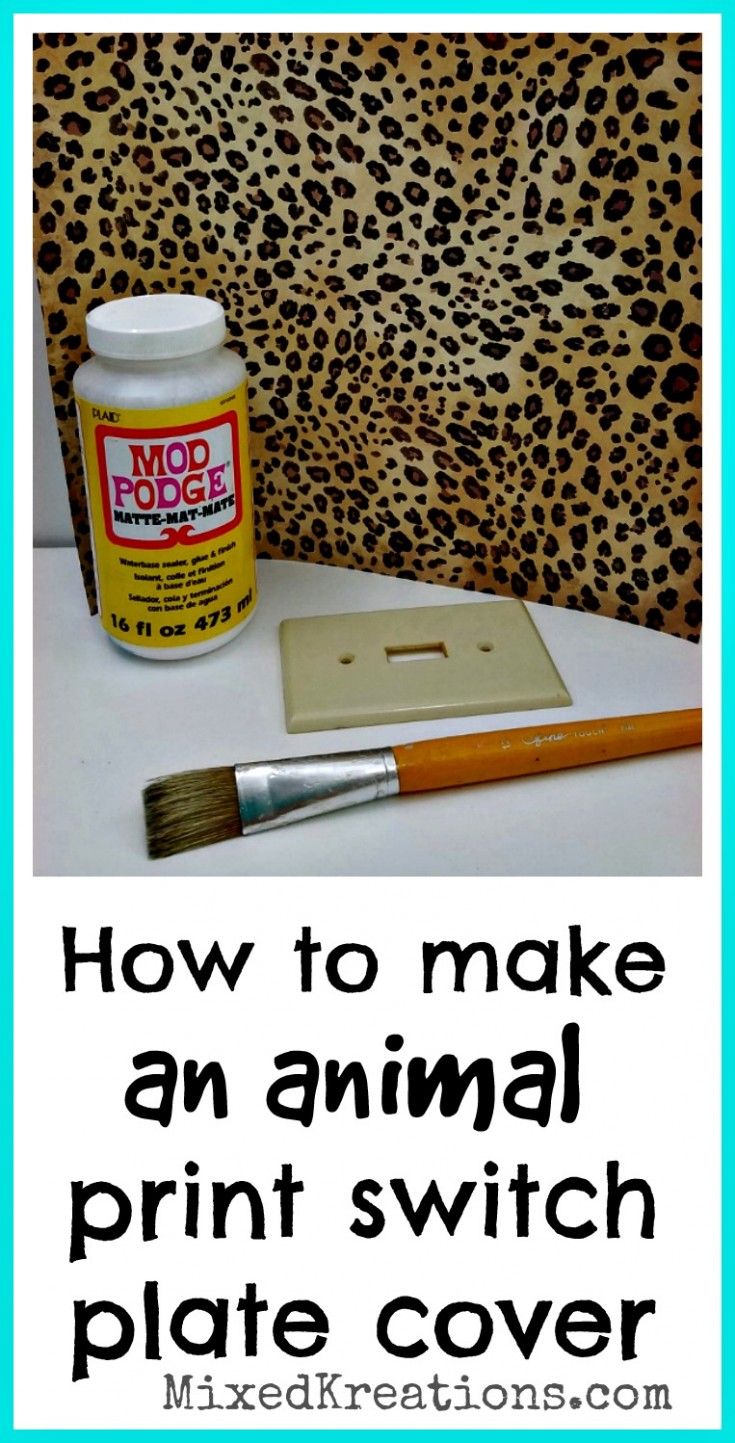
DIY Animal Print Switch Plate Covers
Looking to add a touch of wild style to your home decor? Why not try making some DIY animal print switch plate covers! It's a fun and easy project that can bring a pop of personality to any room. Whether you're a fan of leopard spots, zebra stripes, or snake skin patterns, the options are endless when it comes to animal prints. Just grab some plain switch plate covers, your favorite animal print fabric or paint, and get creative! With a little bit of crafting, you can transform your boring switch plates into statement pieces that are sure to liven up your space. Have fun unleashing your inner decorator!
Supplies Needed For This Project
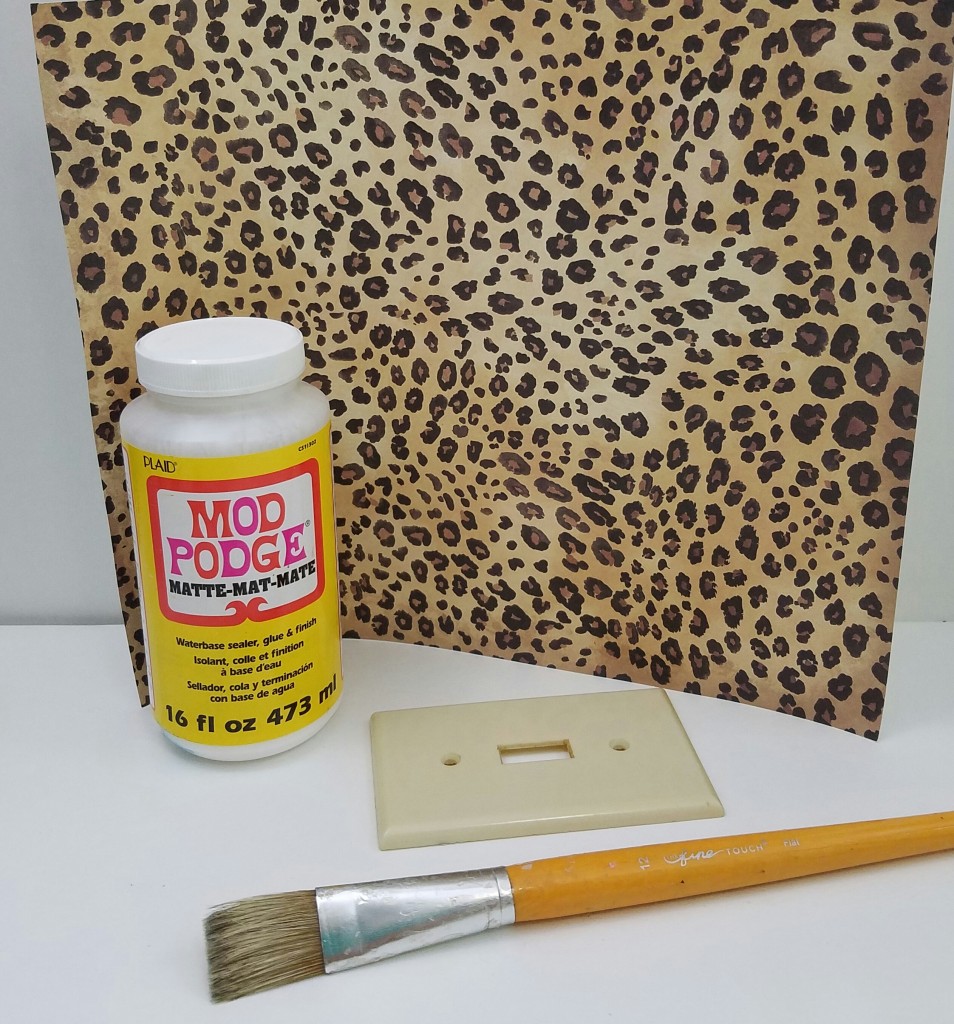
First you will need some switch plate covers. You can either buy some cheap one at Home Depot or even Walmart, or just remove the ones that are already covering your switches like I did.
Choose the animal print scrapbook paper that you are going to use
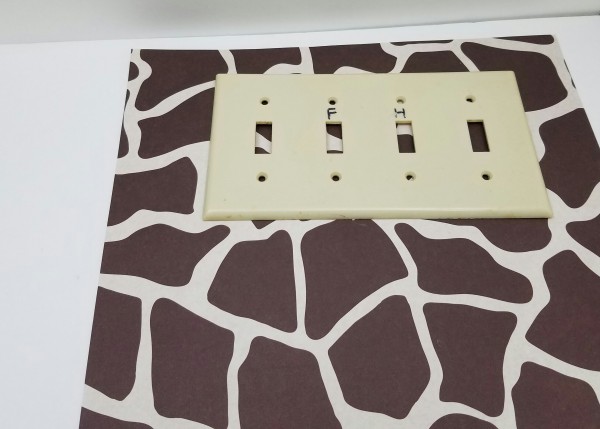
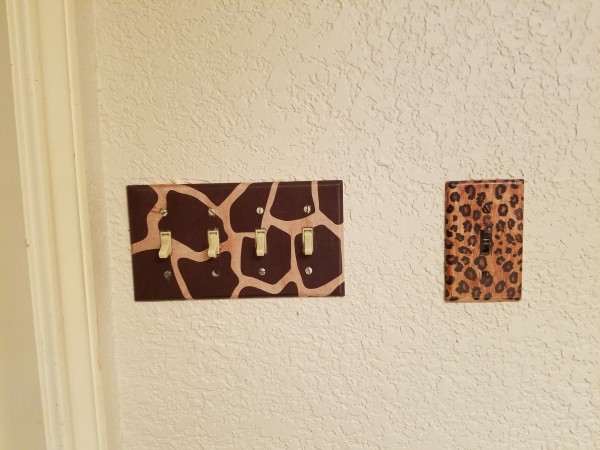
As you can see in the photo’s I have two switch plates that I am going to cover, and one electrical plug cover plate.
Now cut your scrapbook paper just a little bit larger than the switch plate or plug cover that you are going to cover.
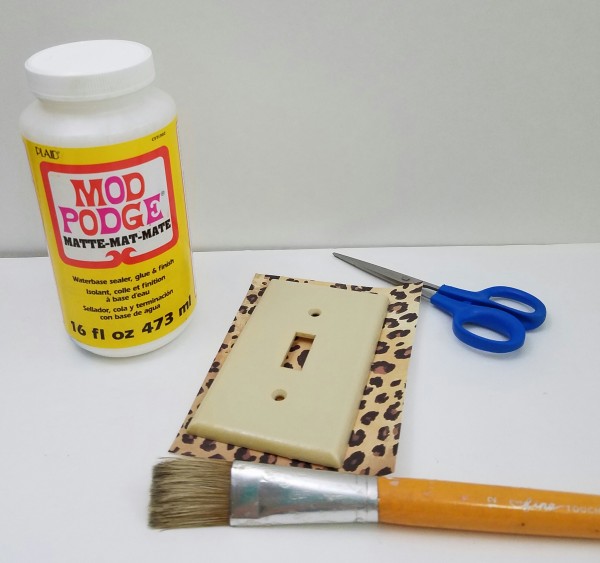
Using your paint brush add the mod podge to the top of your switch plate cover, do not paint the curved edges of the switch plate yet. Lay the scrapbook paper face down and the position your switch plate onto the paper. Let dry.
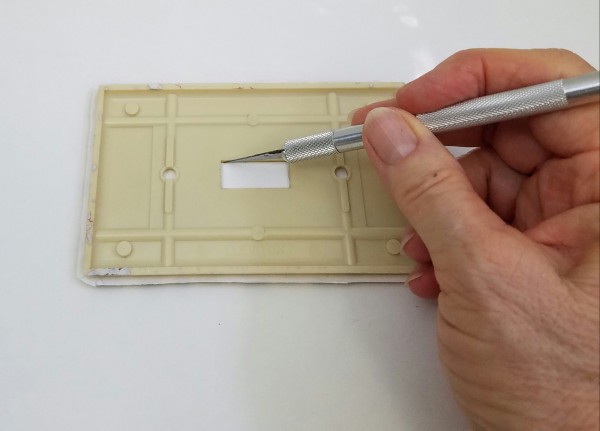
Taking your x-acto knife and using the cutting board to lay the switch plate on face down. Start cutting out the switch opening and the two small hole openings carefully.
Looking at the photo below, take the switch plate and roll it up onto the edge so that the paper is flat on the cutting board. Keep it in this position while using the x-acto knife to trim off the extra scrapbook paper.
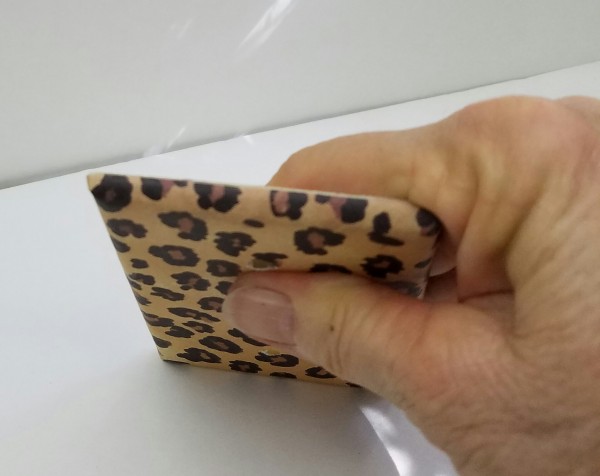
Go around and repeat on all sides, and do the same for the corners because they are rounded.
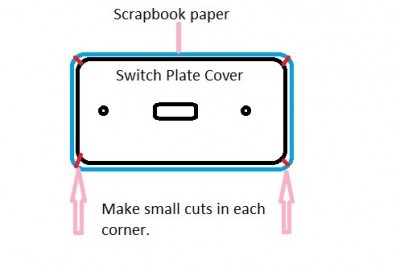
Looking at the example picture above made a small cut at each corner on the scrapbook paper. The small red lines are the cuts. This is to help the scrapbook paper lay flat once glued down.
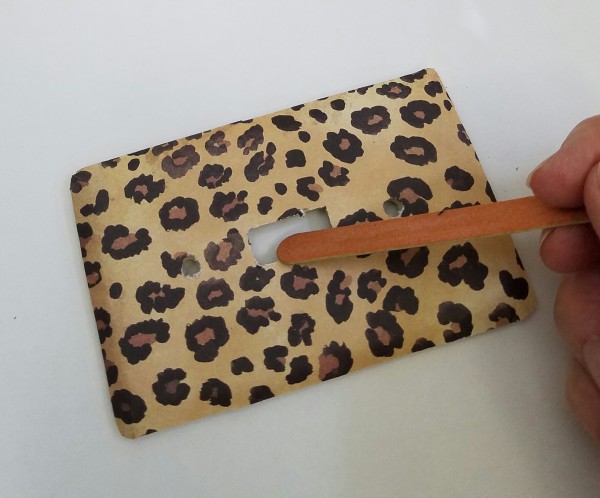
Now go around the edges adding mod podge then use the same rolling to the edge method to glue the edges down smoothly.
Once the mod podge is dry go around and sand the edges with an emery board to remove any excess paper, and smooth the edges.
Next I added the antique medium to darken the animal print. Let dry.
Then I brushed mod podge over the tops of each animal print switch cover to seal and protect each cover plate.
Once dry you can attach the animal print switch plate covers back in place on the wall
That’s all there is to making animal print switch plate covers that will bring a smile to anyone that sees them.