DIY Wood Coasters
Looking to add a touch of rustic charm to your home decor? DIY wood coasters are a fun and easy project that you can personalize to match your style! Whether you prefer a natural wood look or want to get creative with colorful designs, making your own coasters allows you to unleash your inner artist. Not only are they a practical addition to your living space, but they also make for thoughtful handmade gifts for friends and family. So grab your wood scraps, paint, and sealant, and get ready to craft your way to a stylish and functional set of coasters that are sure to impress!
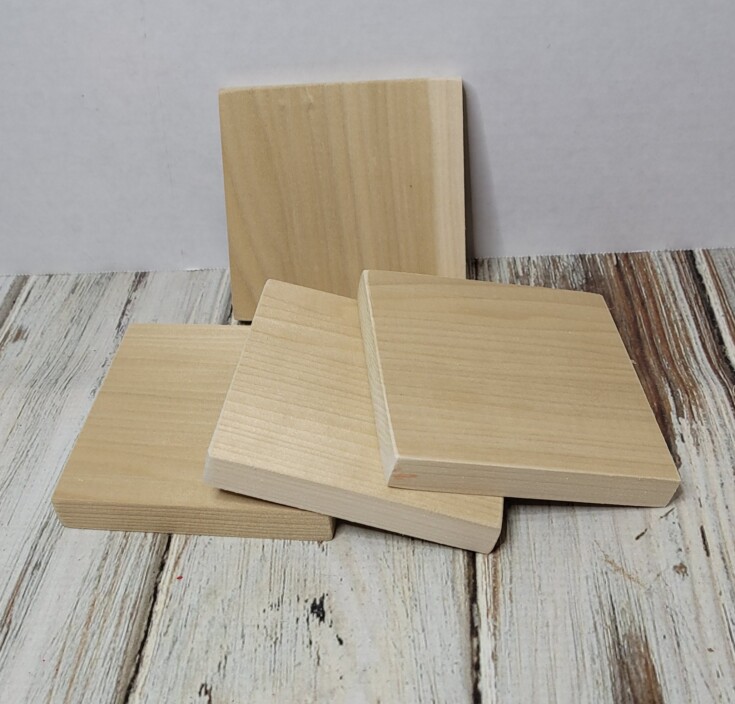
Supplies For Coasters
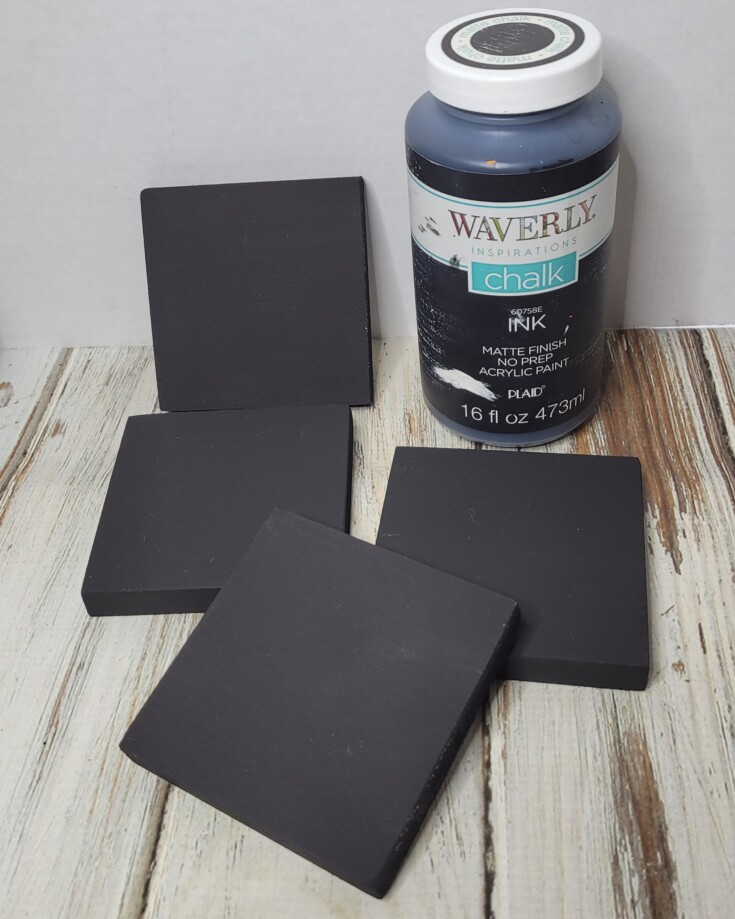
Then I gave each piece two coats of chalk paint. Letting each coat dry thoroughly.
Once all were dry, I distressed each piece heavily on the edges with a craft sander.
Next, dust them off and give each wood coasters two coats of clear Rust-Oleum Engine enamel spray paint. It resists heat up to 500 degrees.
Let dry 24 hours then use wood glue to glue on four small super sliders to the bottom of each coaster.
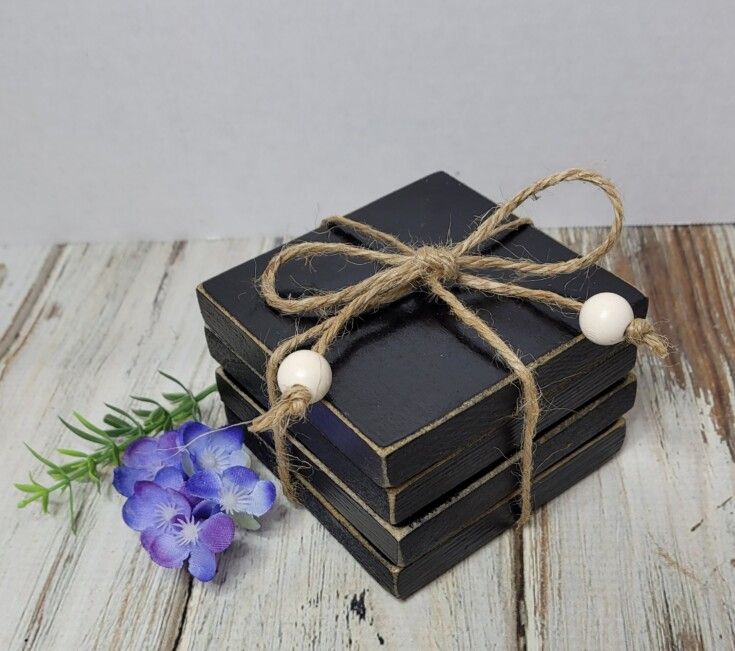
Tie them up with some twine or pretty ribbon and that’s it for these super easy DIY wood coasters.