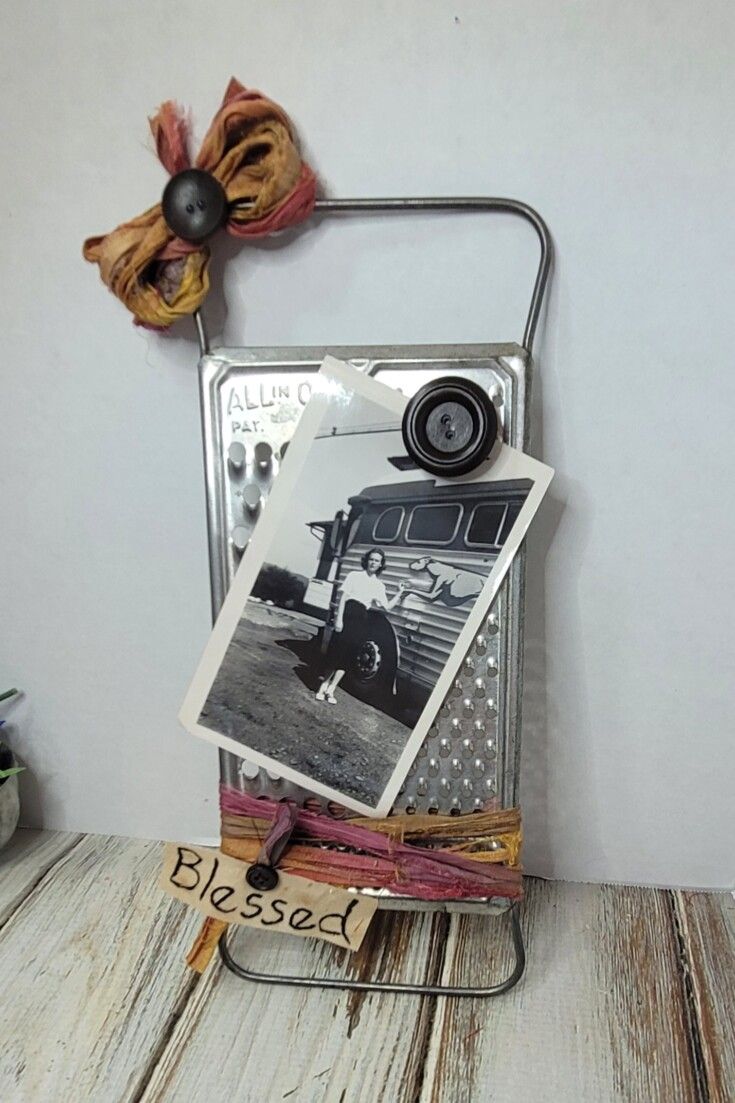
Vintage Photo Display
Creating a vintage photo display is a delightful way to add character and charm to your space! Whether you're showcasing old family photos or capturing memories in a nostalgic manner, arranging them in a vintage style can turn any room into a cozy haven. Consider using ornate frames, rustic hanging clips, or even a whimsical clothesline to bring your cherished moments to life. The beauty of a vintage photo display lies in its ability to evoke warmth and sentimentality, making it a wonderful addition to any home decor. So, get creative, mix and match your favorite snapshots, and let your unique personality shine through your personalized vintage photo display!


Then I took a small 3” x 1” piece of muslin that was dipped into a mixture of water and instant coffee that was set aside to dry.
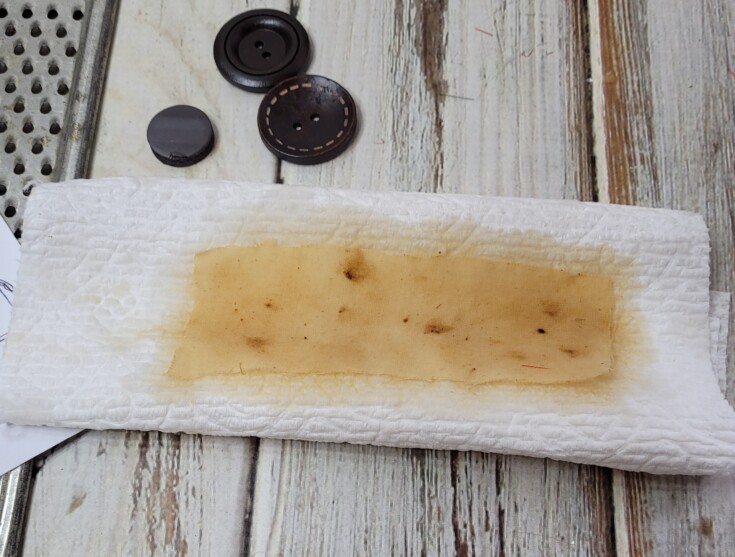
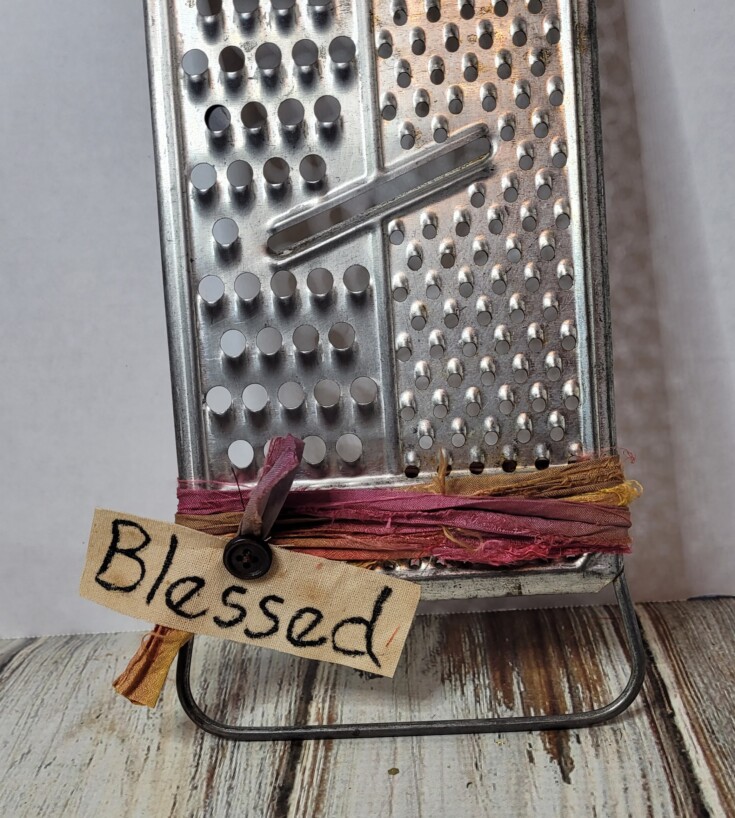
Using a black paint marker and writing Blessed onto the stain muslin.
The muslin was attached to the Vintage Photo Display with thread, topping it off with a small wood button.
For the bow on the top, I used some more sari yarn and wrapped it around four fingers.
Using another piece to tie around the middle, then around the top of the grater. Again, leaving the ends hanging loose.

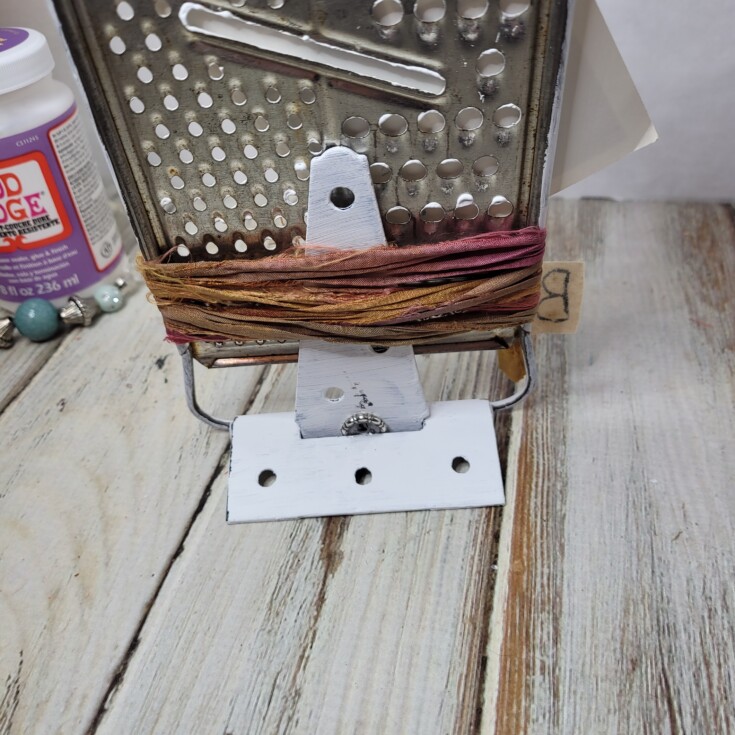
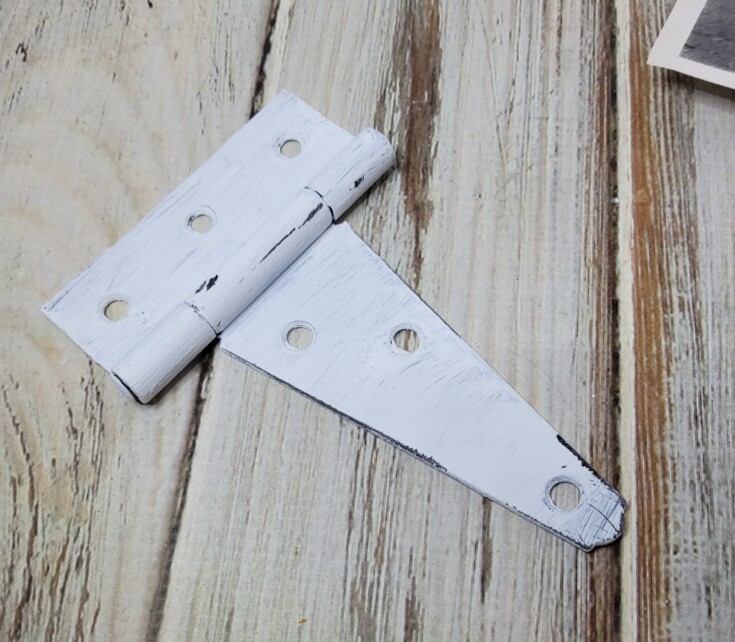
The hinge was painted white and then distressed.
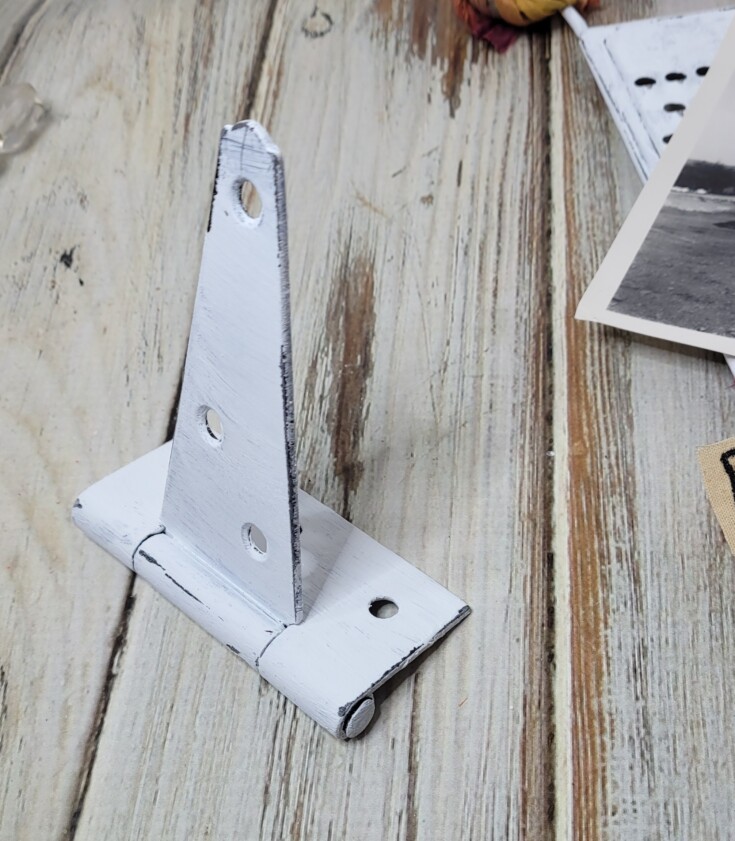
Now for the stand to work correctly make sure it is turned where it stands up on it’s own like this.
Since the cheese grater was top heavy when I put it on the stand I had to make a minor adjustment by adding a metal ring (Washer would probably work as well) in the gap on the back of the hinge. This made the hinge stand up straighter preventing the photo display from toppling over backwards. A little E-6000 glue helped to hold the ring in place.
Slide the hinge through the back of the ribbon so that it will stand. If you want you can use some more E-6000 to attach the hinge to the back of the grater as well to secure it in place. But mine stood perfectly fine without.