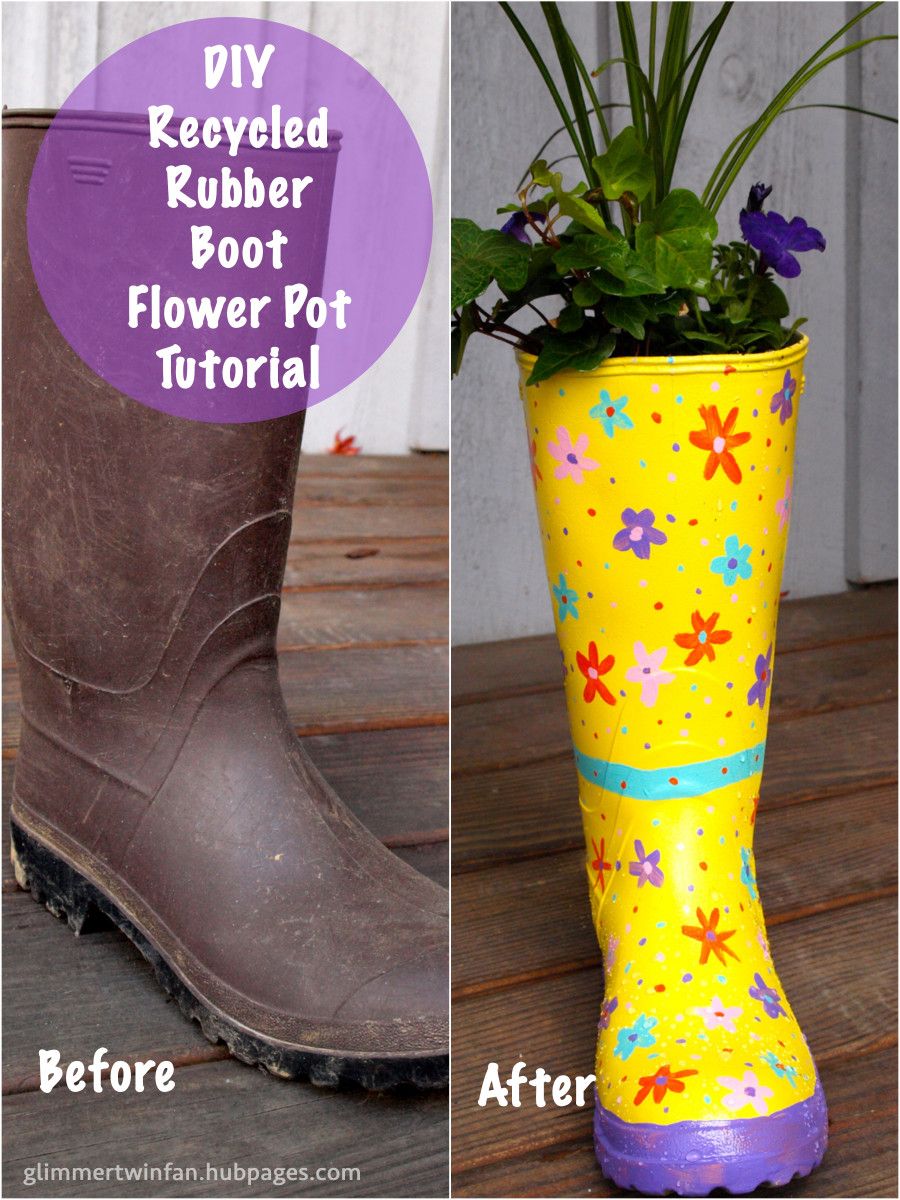
DIY Flower Pot Out of Rain Boots
Isn't it just delightful to upcycle old rain boots into charming DIY flower pots? Not only does it add a splash of color to your garden, but it's also a fun and eco-friendly way to breathe new life into something old. Simply drill a few drainage holes in the sole, fill them with soil, and plant your favorite flowers or herbs to watch them bloom in these adorable repurposed planters. It's a creative and budget-friendly way to add a touch of whimsy to your outdoor space while giving your old rain boots a new purpose. Go ahead and give it a try - your garden will thank you with a burst of blooming beauty!
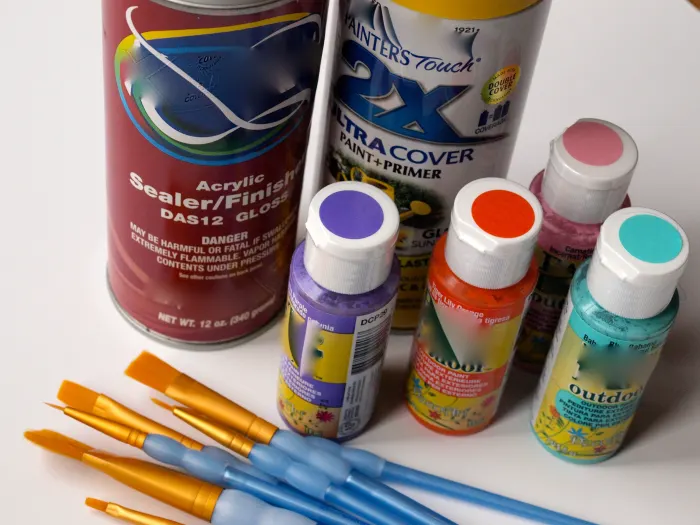
Supplies You'll Need
Spray paint: primer (if needed) and color of your choice. You'll want to use a product that works on plastic and is suitable for outdoor use.
Outdoor acrylic paints in a variety of colors. Make sure they work on plastic and are suitable for outdoor use.
Paint brushes
Clear acrylic sealer that is suitable for outdoor use
Paper towels
Protective covering for the work surface
Step 1: Clean Up the Boots
Clean the boots with water and a scrub brush. Depending on how dirty they are, you may need to use a little dish soap. These boots are pretty sturdy so they took a hard scrubbing to remove all of the mud with no problem at all.
Rinse off any soap residue and set aside to dry completely.
Remember to clean out the inside too. These boots were sitting in the garage for a long time so there were a couple of spiders crawling around. I just took a damp paper towel and wiped around the inside.
Don't forget to poke holes in the bottom of your boot flower planter for water drainage.
Step 2: Make the Drainage Holes
Because the bottom of this boot had split, I did not need to make a drainage hole, but chances are good that you will need to.
You can use a screwdriver to make a fews holes or, if it's easier, a power drill works too.
I suggest making three holes in the foot area of the boot, with at least one close to the toe area. This will allow the water to drain out.
Some boots have liners in them. These need to be removed.
Look how much better the base coat looks using spray paint.
Look how much better the base coat looks using spray paint.
Step 3: Apply the Base Coats of Paint
Once the boot is clean and dry, it's time to apply a base coat of paint to cover up the brown. Of course, if you like the color, then this step can be skipped.
The first time I tried this, I used the outdoor acrylic craft paint and a brush. The results are in the first and second photos and it was a big failure!
The brown showed through, and the paint was streaked, even after three coats.
So after a trip to the local hardware store and a can of outdoor spray paint that worked for plastics, the base coat was finally applied.
It's important to note that this step should be done outside in a well-ventilated area. Put newspaper or another protective covering over the surface where you'll be spray painting. Spray paint travels a long way, so put down lots of paper. Spray the boot until it is evenly colored and none of the original color shows through.
I can't believe the difference a can of spray paint made. It looks so much better.
Set aside to dry overnight.
Step 4: Add a Painted Design
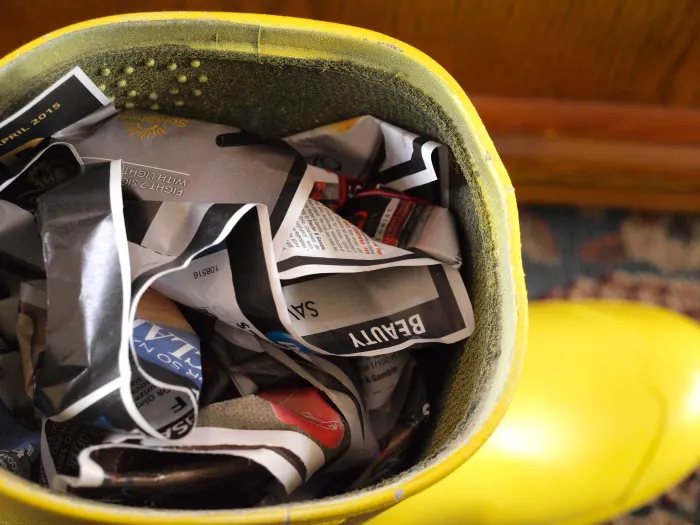
Once the base coat is dry, it's time to add the design of your choice. Before you do that though, you have one more thing to do.
For some stability while painting, fill the boot with old paper before adding your design.
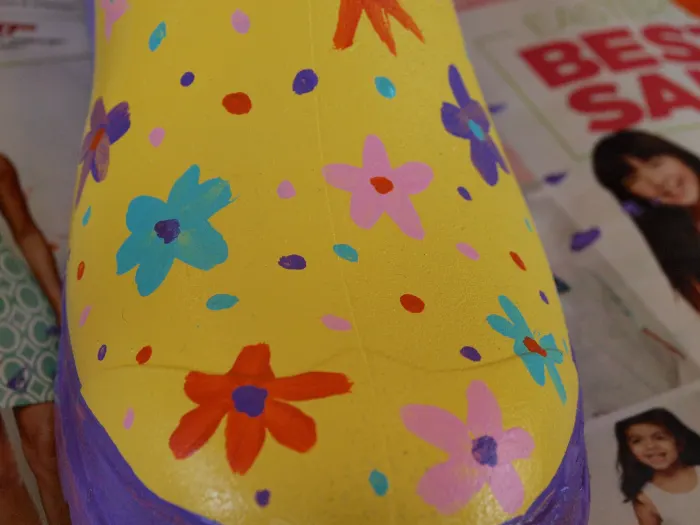
Paint whatever design you'd like. I'm not a painter, but had loads of fun painting flowers and polka dots on my boot!
This is the fun part! Using the brushes and outdoor patio paints, draw whatever you'd like. You may want to lightly sketch something out on the boot, but depending on how dark you draw your lines, it may show through.
Set aside to dry overnight.
Use an acrylic sealer to seal the paint. This ensures a longer life of the design.
Step 5: Seal the Design
After your design has completely dried, use a clear paint sealer that is suitable for outdoor use and spray it over the entire painted area.
I applied a generous amount since this planter will be outside. I also suggest re-applying sealer once a year to keep your design protected for years to come.
This step should be done outside, in a well-ventilated area. Use plenty of newspaper to protect the surface you will be working on.
Kids love this project!
Step 6: Plant Flowers in Your New Rubber Boot Planter
After a couple of days, or once the boot is completely dried, it's time to fill the boot with some pretty plants, but don't just fill it with dirt. You need to prepare the boot first.
Add some rocks and sand to the bottom of the boot for stability and drainage.
Add Stability and Dirt
Put a handful or two of small rocks in the bottom of the boot. You may want to add some sand as well. Not only does this help with drainage and keep the roots of your plants out of standing water, it helps weigh down the boot. This is important because once planted, the boot gets top heavy and can tip over.
Fill the boot with good potting soil. Leave about 4 - 5 inches on the top without dirt so you can add your plants.
Plant Your Flowers
Flowers ready for a recycled rubber boot planter.
Planting Tip
Don't cram too many plants into the boot. They will fill in over time.
Water thoroughly when done and fertilize as needed.
Planting Suggestions
To get the most from your boot flower pot use some beautiful plants. Here are just a couple of ideas:
Use one type of plant in one color: When in full bloom, a solid mass of one color of flower looks striking.
Plant 3 different types of plants: For visual interest, plant one plant for height, one for color and one that is trailing.
Forget the flowers: Flowers are beautiful, but so is interesting foliage. Find three non-flowering plants that have different looks.
Edible plants: If the boot is big enough, try an edible plant that doesn't get too big. Herbs would also be a fun and useful choice.
Seeds: Plant your boot with seeds. This is especially fun with kids. They can see how the plants grow.
No comments
Write a comment