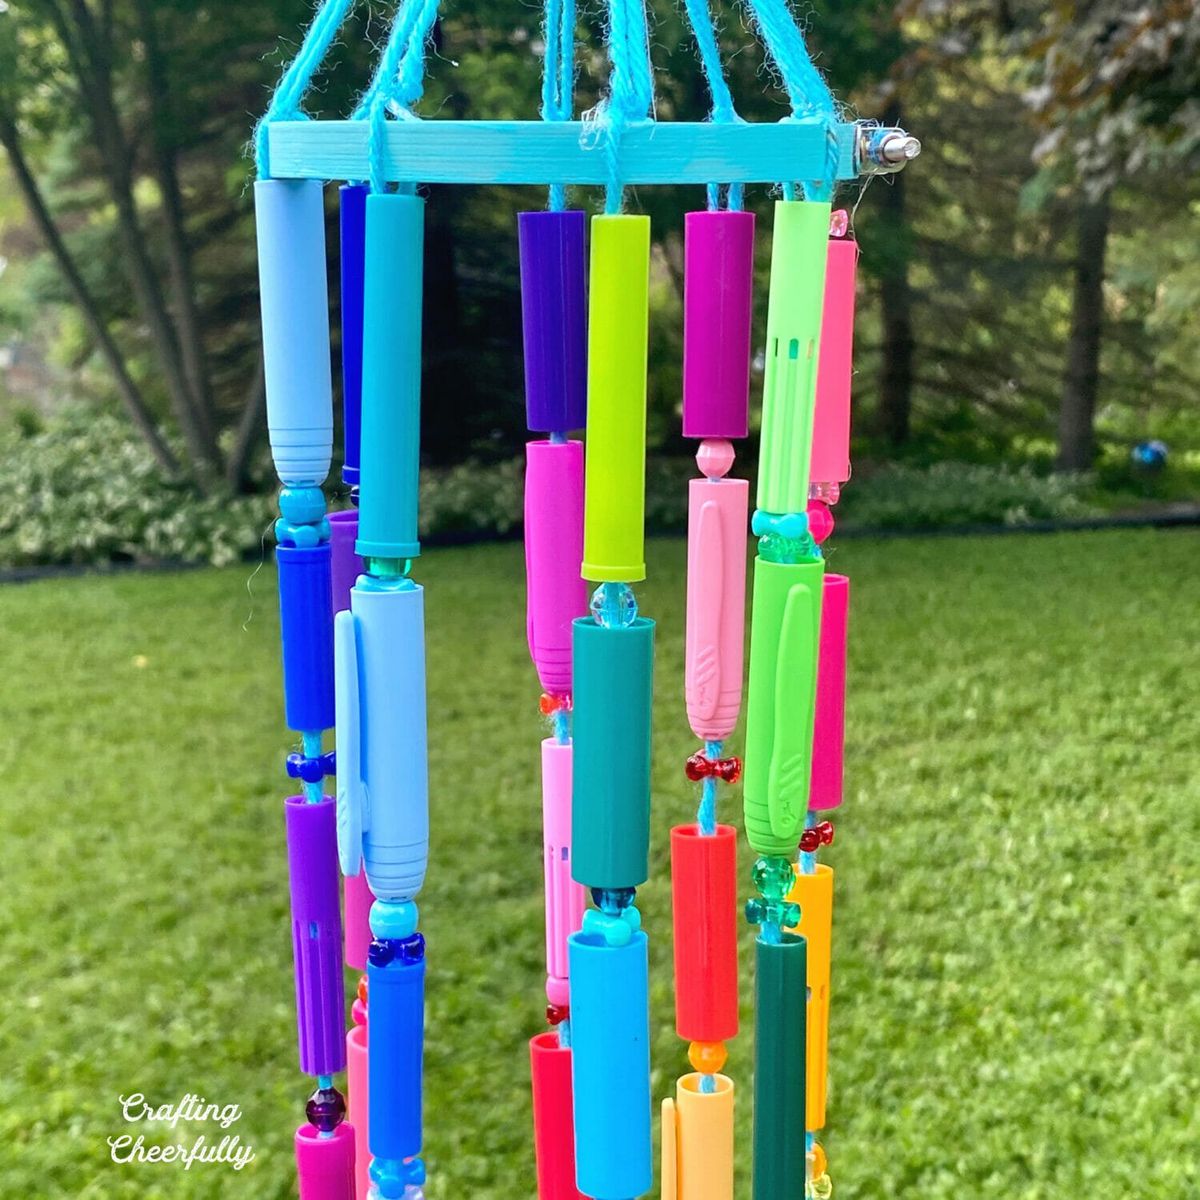
DIY Wind Chime Made From Recycled Marker Caps
Creating a DIY wind chime using recycled marker caps is a fantastic way to combine creativity with sustainability! Not only does it give a new life to those caps that would otherwise end up in the trash, but it also adds a whimsical charm to your outdoor space. Imagine the soothing sound of chimes swaying in the wind, all made from materials you already have at home. It's a fun and eco-friendly project that anyone can enjoy, so gather those caps, get tinkering, and let the melodies of your upcycled wind chime fill your backyard with music and smiles!
Supplies Needed
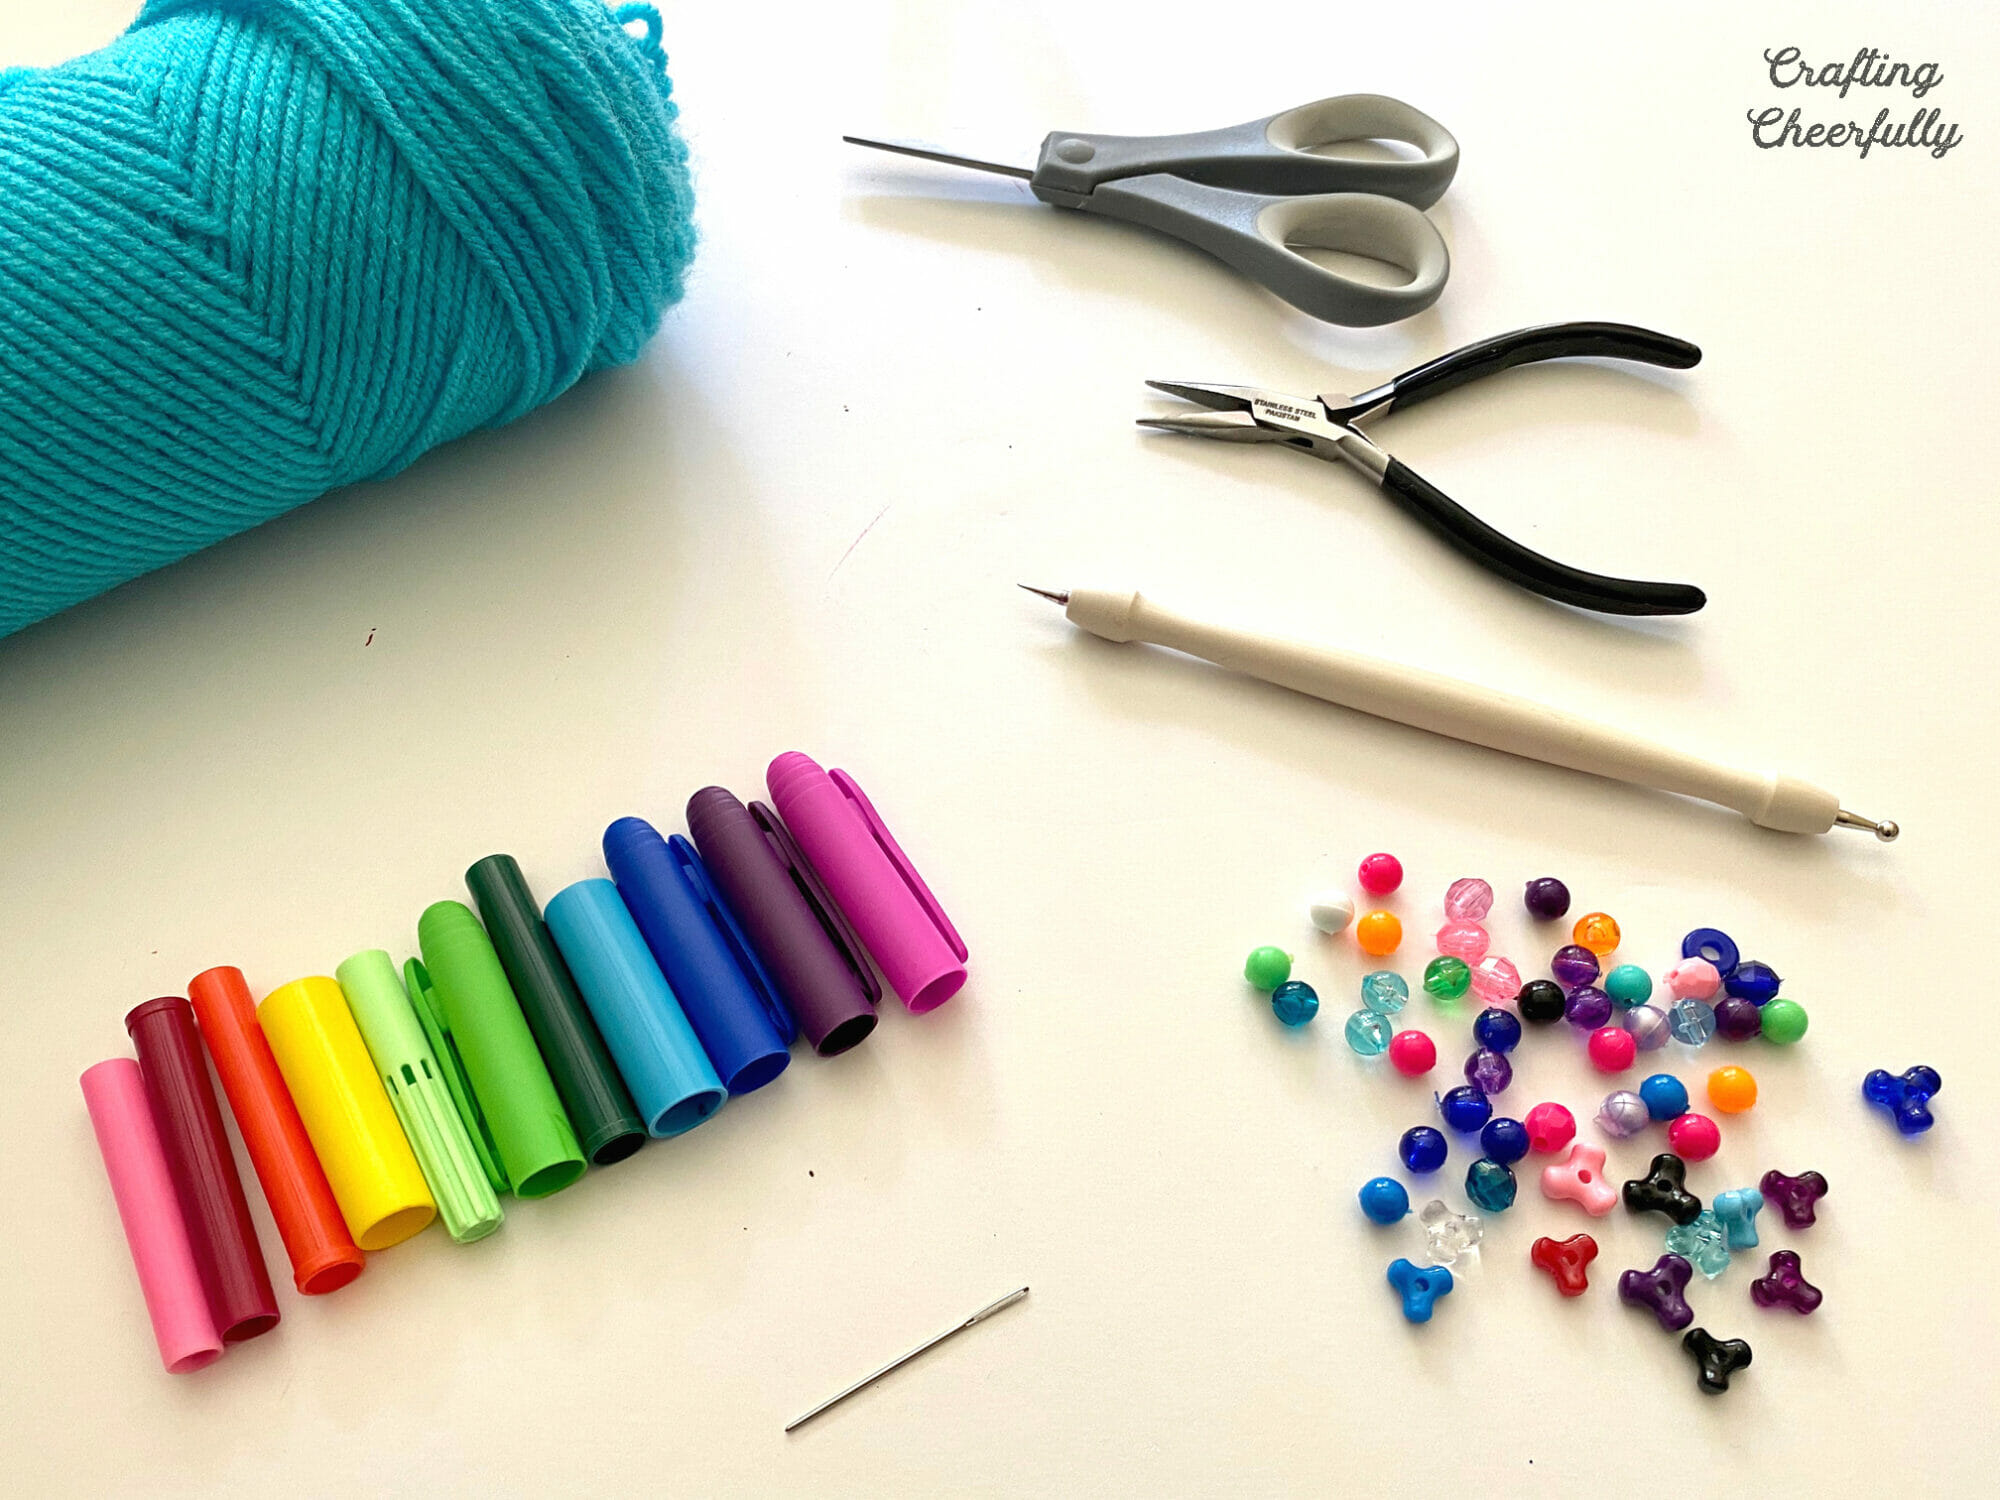
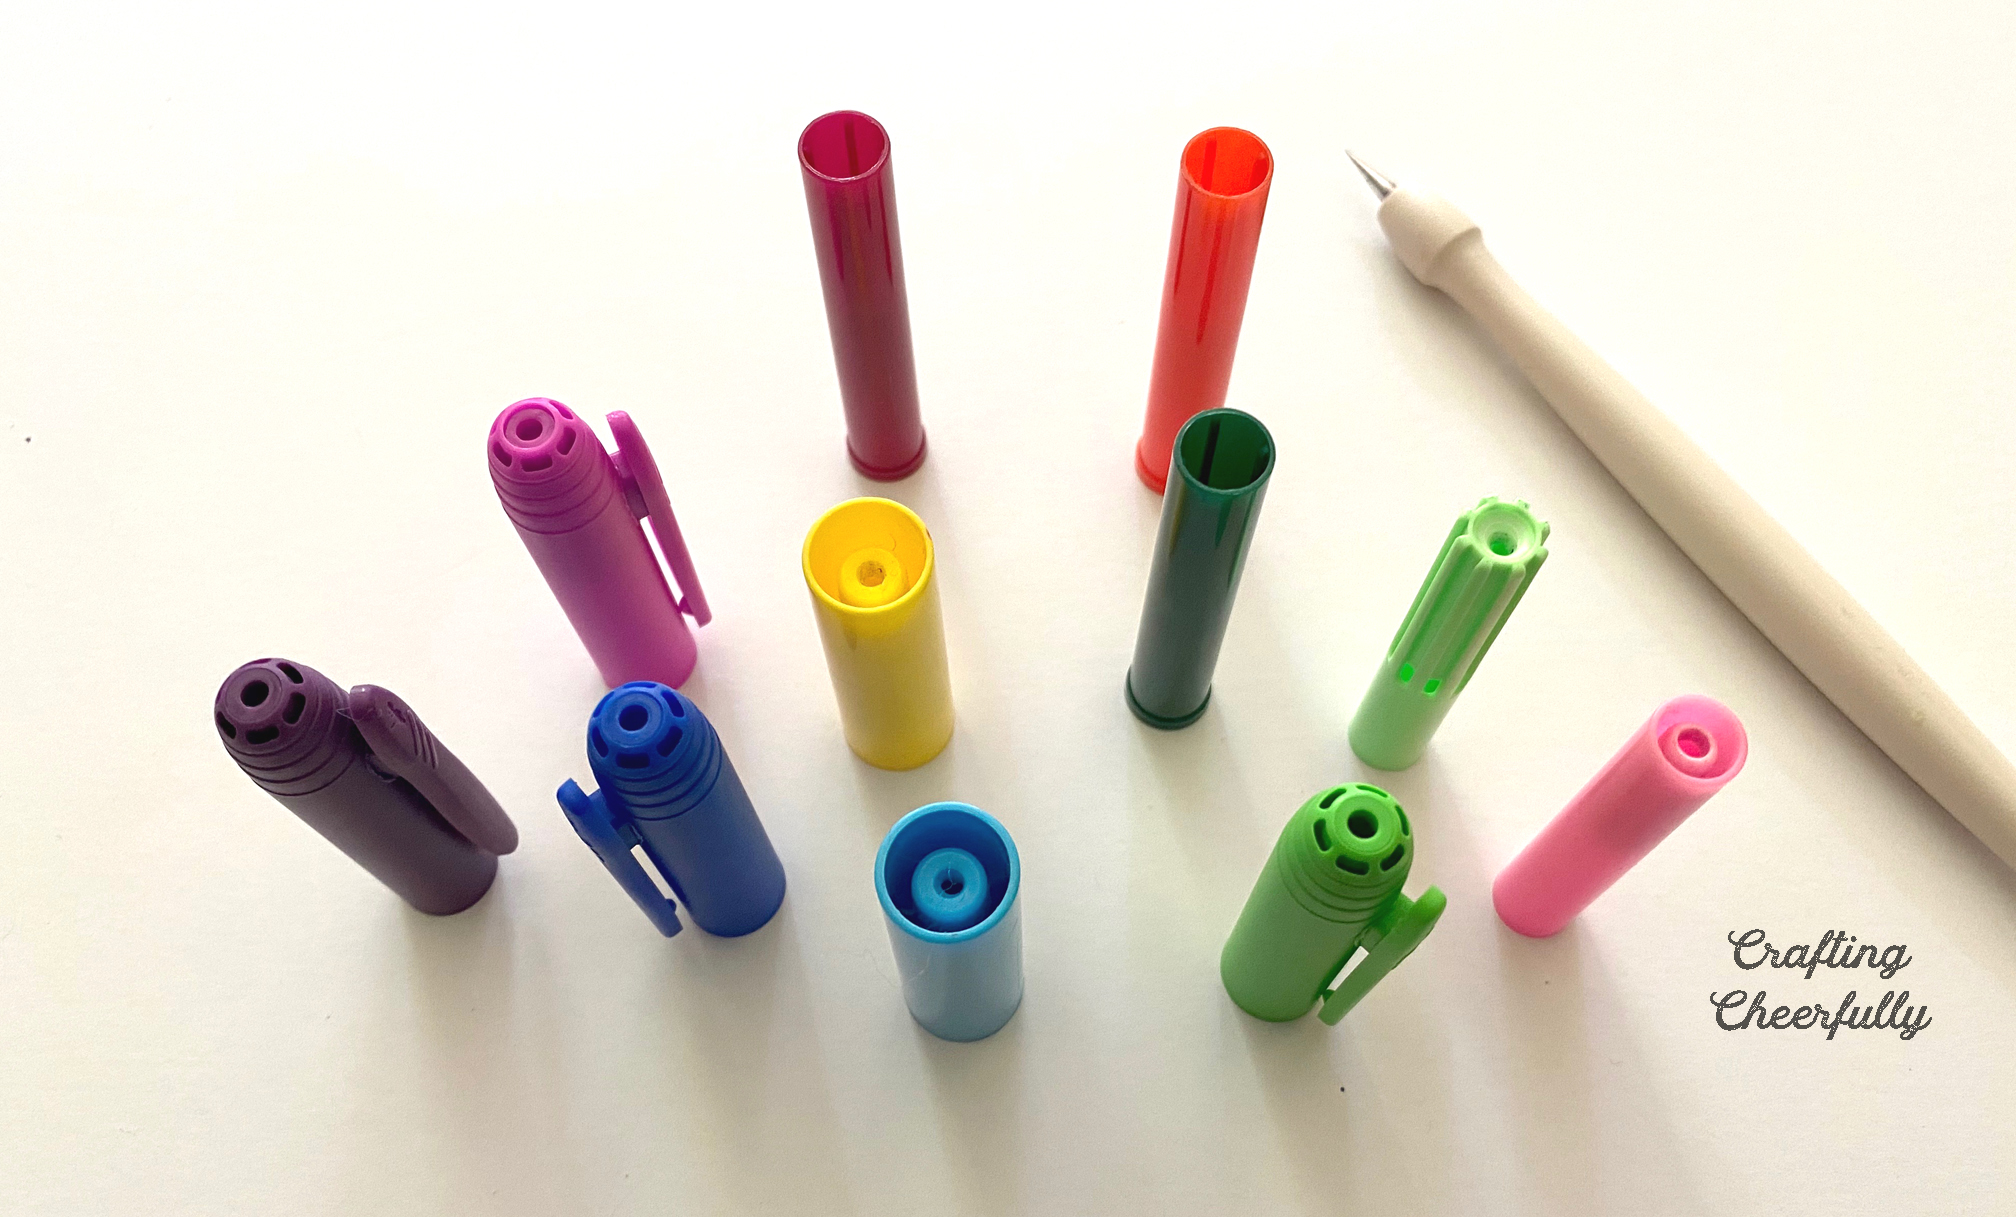
Step One: First poke a hole in the top of each marker cap that doesn’t already have a hole. I used the sharp end of a stylus to carefully poke the plastic. Sort your marker caps to decide on a design for each strand. My chime used 8 strands with 11 caps per strand. I organized them in rainbow order and shifted the pattern down one cap each time. So, for example, if my first strand started “pink-red-orange-yellow….and ended with purple” the second strand started with “purple-pink-red-orange…and ended with Blue”.
Step Two: Cut a long length of yarn double the length you of want your strand to be. Place a bead in the center of the yarn and tie double knot the yarn.
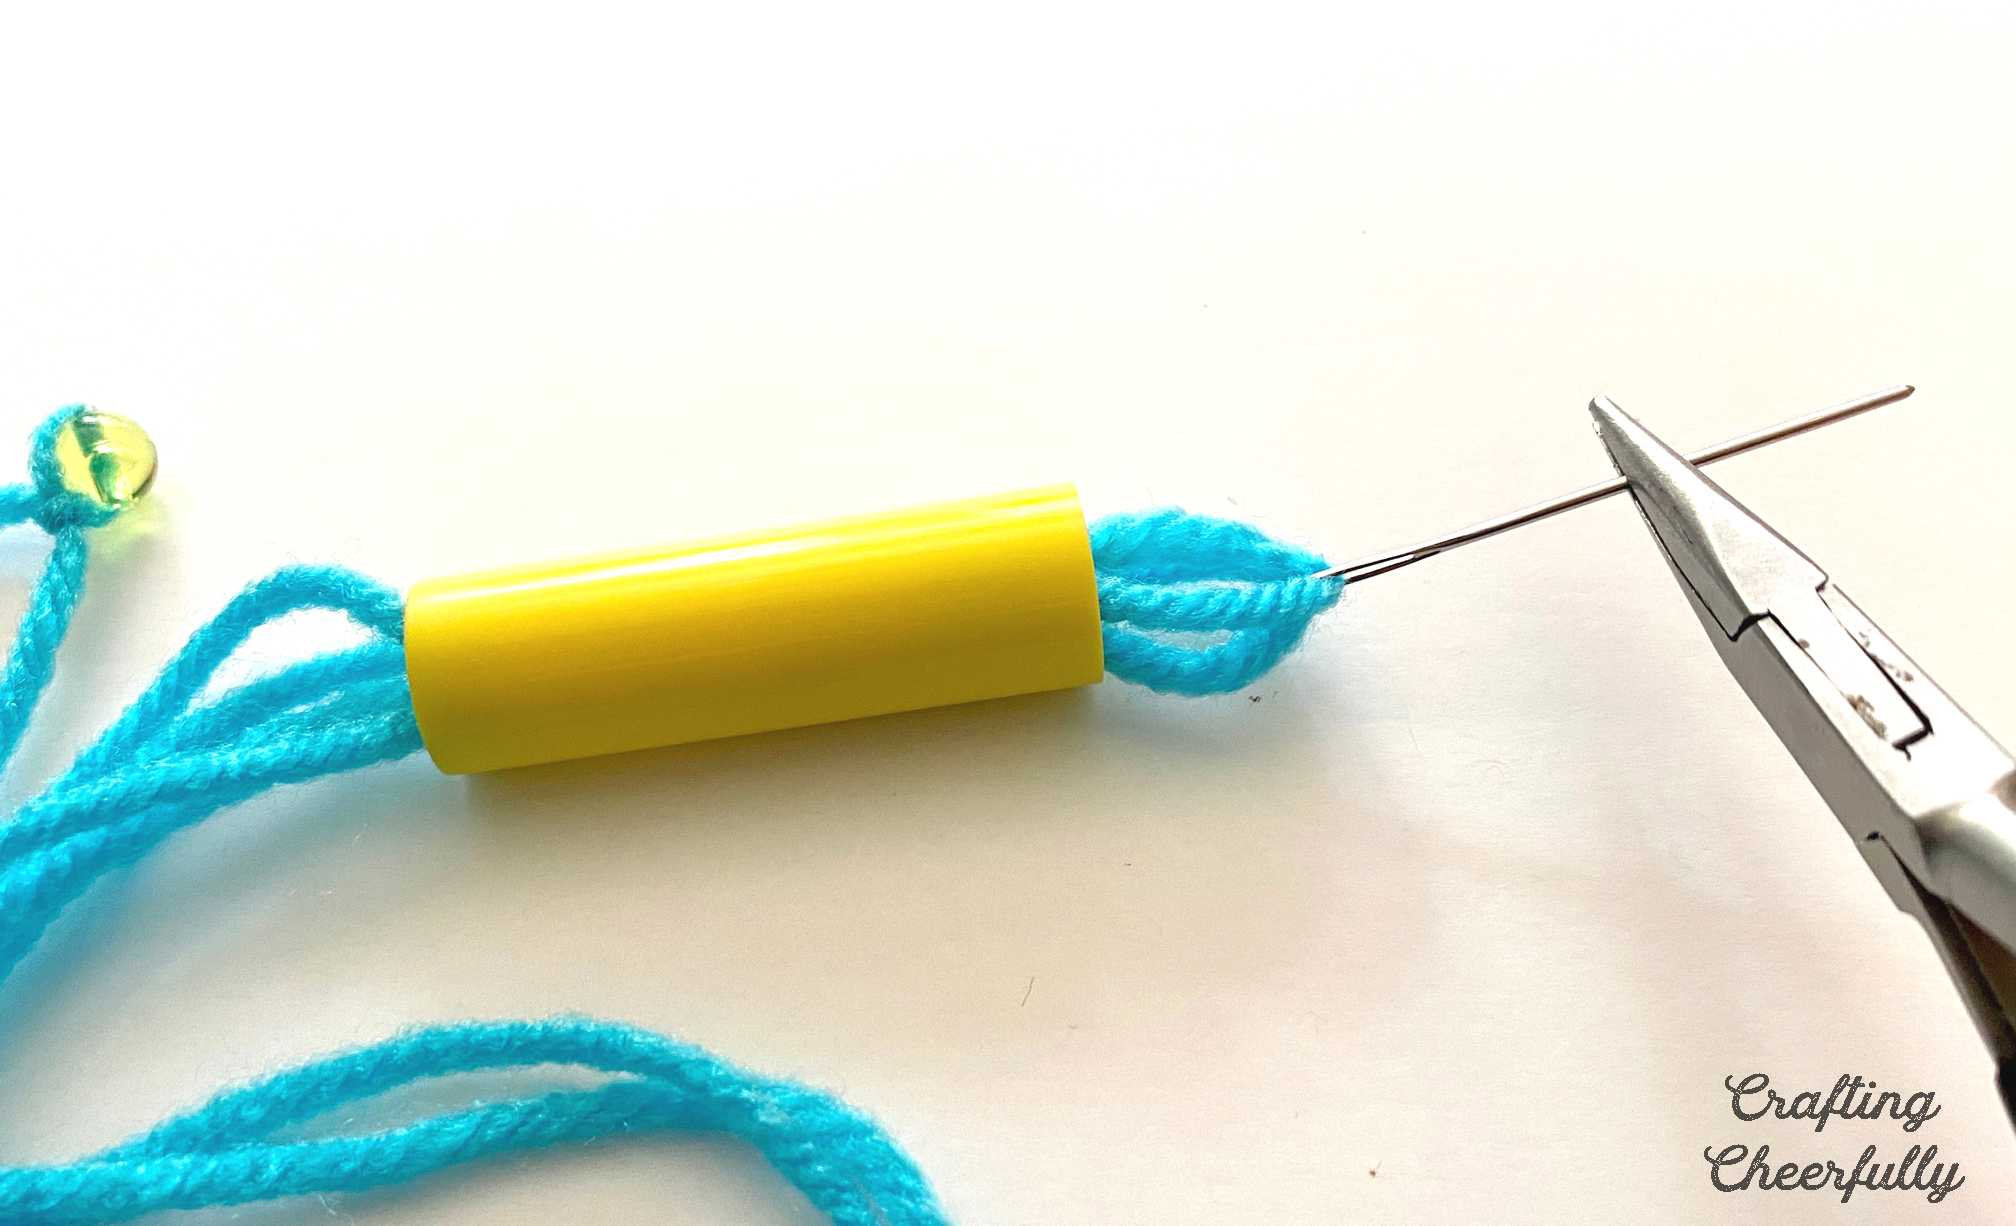
Next, thread the marker caps working from the bottom of the chime to the top. Add beads in between the marker caps for extra sparkle!
Step Three: I found it was difficult to push and pull the needle through the marker caps with my fingers. My needle nose jewelry pliers was perfect for grabbing the needle from inside the marker cap and pulling it out.
Continue adding marker caps and beads until you complete a strand. Set it aside and repeat for all strands.
Step Four: Paint a wooden hoop with acrylic paint. I used a 4″ embroidery hoop and painted it blue using Deco Art outdoor Patio Paint in Bahama Blue. Cover with a layer of sealant, outdoor varnish or outdoor Mod Podge.
Step Five: Finally, tie the strands to the hoop spacing them out evenly. I secured them at the top with a small amount of hot glue at first and then went back with a little Guerilla Glue that is water proof.
Bring all of the yarn strands up and tie a piece of yarn around them to secure them all together. It worked best for me to hold all 8 strands (16 pieces of yarn) evenly and my husband tied yarn around them. Secure the knot with glue and then attach key chain rings or a metal hook for hanging!
The wind chimes are finished!! It is so bright and colorful. Outside the beads sparkle in the sunlight and the wind makes it spin. The wind chimes make a really soft noise but you could always add bells to the bottom of each strand instead of a bead.