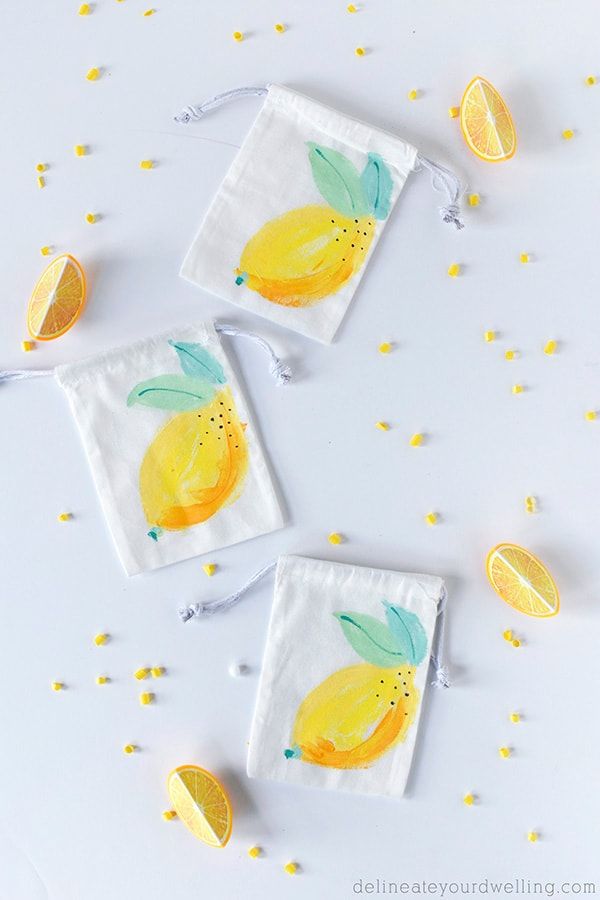
DIY Painted Lemon Bag
Creating your own DIY painted lemon bag is a fun and creative way to add a pop of color to your accessories! Feel free to get artistic and add some leaves or even tiny blossoms for that extra touch of detail. Once your masterpiece is dry, you'll have a unique and cheerful lemon bag to brighten up any outfit or make a thoughtful gift for a friend. So, put on your favorite tunes, get those creative juices flowing, and let's paint some sunshine onto your bag!
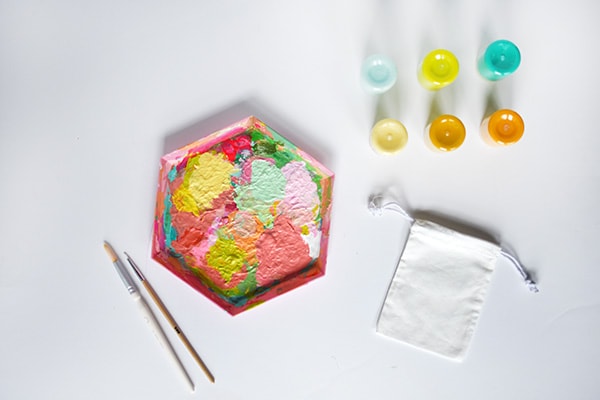
What supplies do you need to paint muslin lemon bags?
Acrylic Paints – roughly 3 to 4 shades of yellow
Small Muslin Bags
Paint Brushes
Pencil
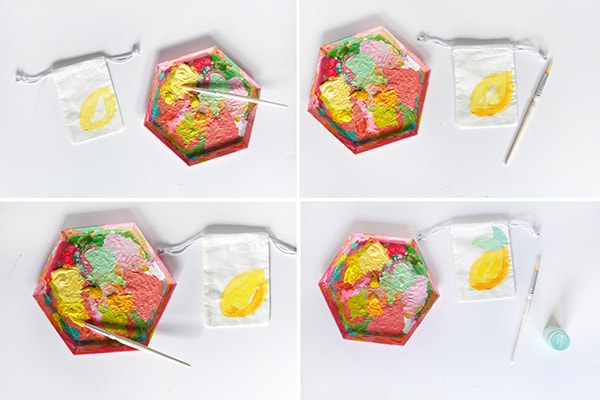
How to do a lemon painting on a bag:
Using your lightest yellow paint color (a lemon ice yellow paint), loosely paint a lemon shape in the bottom corner of your bag. I just painted the basic outline, there is no need to fill it in yet.
Next, using your darkest yellow color (I went with almost an ochre color), create a shaded area on the bottom of your lemon on just one side.
Next, using your cheeriest shade of yellow, fill in the lemon’s center. NOTE: Do not worry about filling in every single spot with paint, a more loose and abstract lemon is easier to paint than one that is perfect and precise.
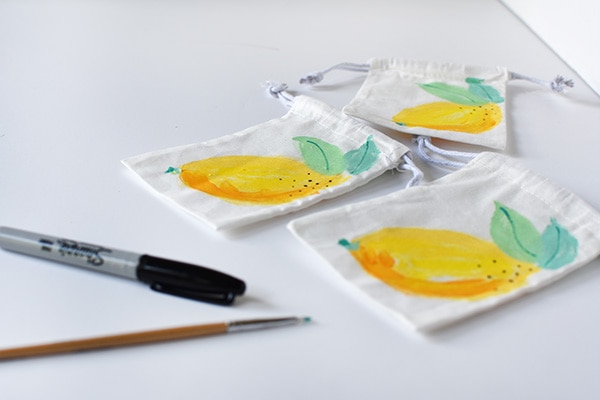
The leaves are next, which I think really make these lemon bags stand out! I used two different shades of green, but you could easily go with a more standard leaf green color – a light mint green and an almost robin egg blue/green color.
After the paint has dried, I used a simple black sharpie to add some simple detail. I added small black dots on the upper corner of the lemon… because nuetral black makes all things better, in my opinion.
Notes
Do not worry about filling in every single spot with paint, a more loose and abstract lemon is easier to paint than one that is perfect and precise.
No comments
Write a comment