Crochet Chicken Amigurumi Toy is a delightful and charming creation that brings joy to both children and adults. This adorable toy, skillfully crafted with soft yarn and a crochet hook, is the perfect addition to any toy collection or home decor. Its intricate details, from its fluffy feathers to its tiny beak, make it a unique and lovable companion. Whether displayed on a shelf or given as a gift, this handmade amigurumi toy is sure to bring a smile to anyone's face. So grab your hook, choose your favorite yarn colors, and get ready to create your very own crochet chicken amigurumi toy that will brighten up your day with its whimsical presence.
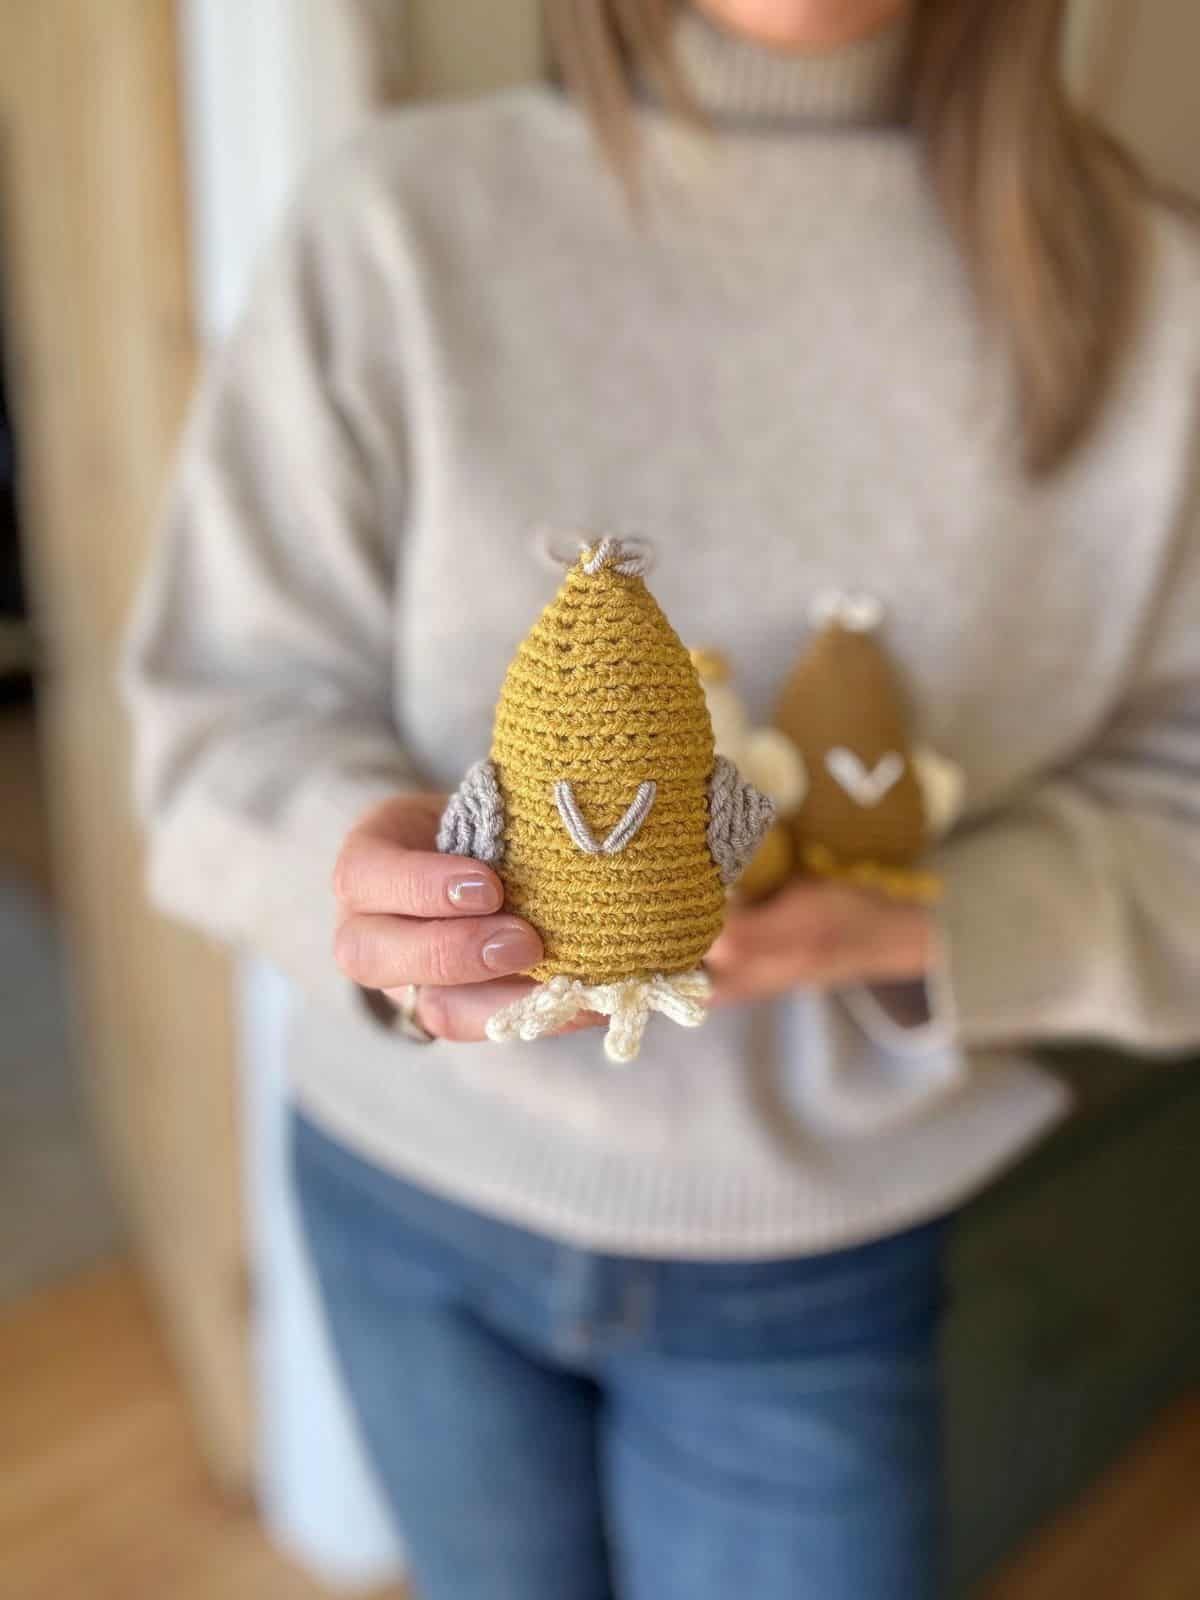
I used Bee Pollen, Dijon, Ivory and Satellite for my worsted weight chickens. I also used a 3.5mm(E) crochet hook with worsted weight yarn.
Approximate Sizing
Width:
Fingering Weight: 1.75″/4.5cm
Worsted Weight: 2.5″/6.5cm
Bulky Weight: 4.5″/11.5cm
Total height:
Fingering Weight: 3.25″/8cm
Worsted Weight: 4.5″/11.5cm
Bulky Weight: 8″/20cm
How much yarn do I need to crochet the chicks?
You can make at least 2-3 chickens from each ball of yarn.
You will need approximately 50yds (fingering weight), 65yds (worsted weight), 75yds (bulky weight) for each chicken which includes a contrast yarn colour for the Wings and features.
You can use any weight of yarn that you would like but be sure to adjust your hook size accordingly. You’ll need to use a hook size at least 2 sizes smaller than recommended on the ball band to ensure tight stitches.
Other Materials
Along with your yarn and corresponding hook, you will need the following:
Scissors
Tapestry Needle
Stitch Marker
Toy Stuffing
Beans (Optional)
The Chicken is made by creating the Body to begin with using single crochet stitches in the back loop only.
We work from the top down in continuous rounds, increasing to get the desired size.
The bottom of the Body is then closed by decreasing (unless you would like to leave it open and use as an egg cover).
The Wings are made and secured to the sides of the Body.
If desired, you can then make 2 legs and secure them underneath the Body.
Lastly, you can add any face detail that you like.
Crochet Terms You’ll Need to Know
Glossary and Abbreviations
beg – beginning
blo- back loop only
ch(s)-chain(s
ch-sp(s) – chain space(s)
flo – front loop only
rep – repeat
RS – right side
sp – space
ss/sl st – slip stitch
st(s) – stitch(es)
WS – wrong side
Yoh – yarn over hook
Stitches
The pattern is written in standard US terms and uses the following crochet stitches:
sc – single crochet (UK dc – double crochet)
hdc – half double crochet (UK htr – half treble crochet)
dc – double crochet (UK tr – treble crochet)
Special Stitches
This pattern really only uses the basic crochet stitches to create your chicken with just a couple that you may not know about.
back loop only: To work the back loop only, turn your work so that the top is facing you to see the front and back loops. Work into the back loop by inserting the hook into the loop furthest from you.
sc2tog – single crochet 2 together
Insert hook into stitch and pull up a loop. Insert hook into next stitch and pull up a loop. Yarn over, pull through all 3 loops on hook.
The pattern is worked in continuous rounds for the Body and Wings.
A ch1 at the beginning of a row does not count as a stitch.
Read through the entire pattern before beginning.
Before you start, go through the pattern and highlight/mark the stitch and row counts that you might find helpful.
Make sure that you are familiar with all of the stitches in the abbreviations list before you begin.
Stitch counts are given in [ ] at the end of each row. If no stitch count is given, then the count is the same as the previous row.
Pattern Gauge
Gauge: Not essential for this project
BODY
Work all sc into the back loop only throughout the pattern.
Work in continuous rounds unless indicated otherwise.
Using chosen colour, make a Magic Ring.
Round 1: RS: 4sc into Magic Ring. [4]
Round 2: 2sc in each st around. [8]
Round 3: (sc in next st, 2sc in next st) 4 times. [12]
Round 4: (sc in each of next 2 sts, 2sc in next st) 4 times. [16]
Round 5: (sc in each of next 3 sts, 2sc in next st) 4 times. [20]
Round 6: (sc in each of next 4 sts, 2sc in next st) 4 times. [24]
Round 7: (sc in each of next 5 sts, 2sc in next st) 4 times. [28]
Rounds 8-9: sc in each st around.
Round 10: (sc in each of next 6 sts, 2sc in next st) 4 times. [32]
Rounds 11-12: sc in each st around.
Round 13: (sc in each of next 7 sts, 2sc in next st) 4 times. [36]
Rounds 14-19: sc in each st around.
Round 20: (sc in each of next 4 sts, sc2tog) 6 times. [30]
Create an Egg Cover!
If you’d like to create an egg cover instead then you can stop working here rather than close the bottom of the Chicken. Just weave in your end and move to the Outer Ears to continue.
If you find that your chicken isn’t tall enough for your egg (they come in all shapes and sizes!) then you can continue to work rounds of a sc in each st until you reach the height you need.
Round 21: (sc in each of next 3 sts, sc2tog) 6 times. [24]
Stuff with your desired filling before continuing. This can be either toy stuffing, beans or a mixture of both.
Round 22: (sc in each of next 2 sts, sc2tog) 6 times. [18]
Round 23: (sc in next st, sc2tog) 6 times. [12]
Round 24: (sc2tog) 6 times. [6]
Fasten off, leaving a long tail to weave in.
Thread onto tapestry needle and gather the last round to close the hole.
WINGS
Make 2
Using chosen colour, make a Magic Ring.
Round 1: RS: 4sc into Magic Ring. [4]
Round 2: 2sc in each st around. [8]
Round 3: (sc in next st, 2sc in next st) 4 times. [12]
Round 4: (sc in each of next 2 sts, 2sc in next st) 3 times, hdc in next st, dc in next st, (dc, hdc) in next st, ss to first sc. [12 sc, 2 dc, 2 hdc]
Break yarn.
Sew in place on Body.
TUFT
All Sizes
Using your contrast colour, sew a small tuft to the top of the chick by sewing 3 – 5 loops of the same thread through Round 1 of the Body.
Be careful not to pull too tight and close the loops. The video tutorial shows this step in detail.
OPTIONAL LEGS
Make 2
Foundation chain: ch26.
Row 1: ss in second ch from hook and in each of the next 2ch, *ch4, ss in second ch from hook and in each of the next 2ch, ss back into foundation ch; rep from * once more. Break yarn.
Tie the 2 legs together at the top and sew to the centre front of the Body on the underside.
OPTIONAL FEET
Make 2
Row 1: using chosen colour, *ch5, ss in 2nd ch from hook and next 3chs; rep from *2 more times, ss in 1st ch to finish. Break yarn and sew to desired place on chicken.
OPTIONAL FACE FEATURES
You can add as may or as few facial features to your Chicken as you like!
Embroider 2 eyes and a beak as you would like them.