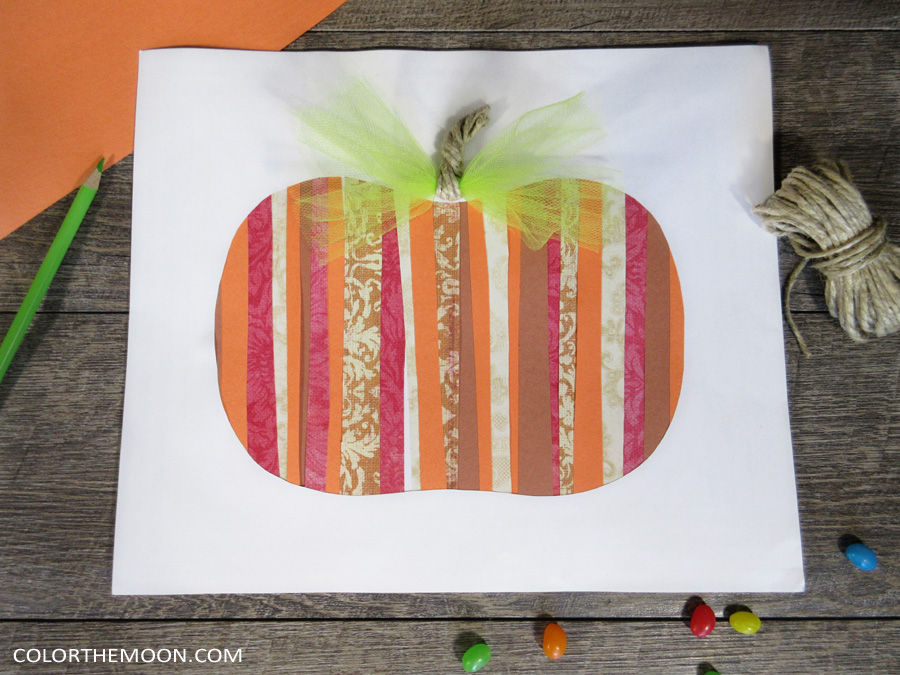
Paper Strips Pumpkin
Creating a Paper Strips Pumpkin is a fun and easy crafting project that is perfect for fall! This cute and festive decoration will surely add a touch of charm to your home during the autumn season. Enjoy making your Paper Strips Pumpkin and have a delightful time crafting!
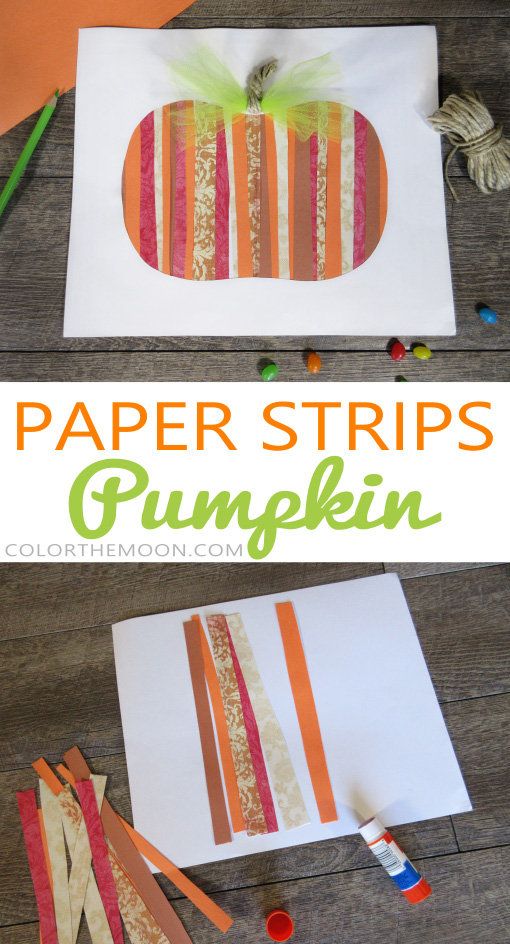
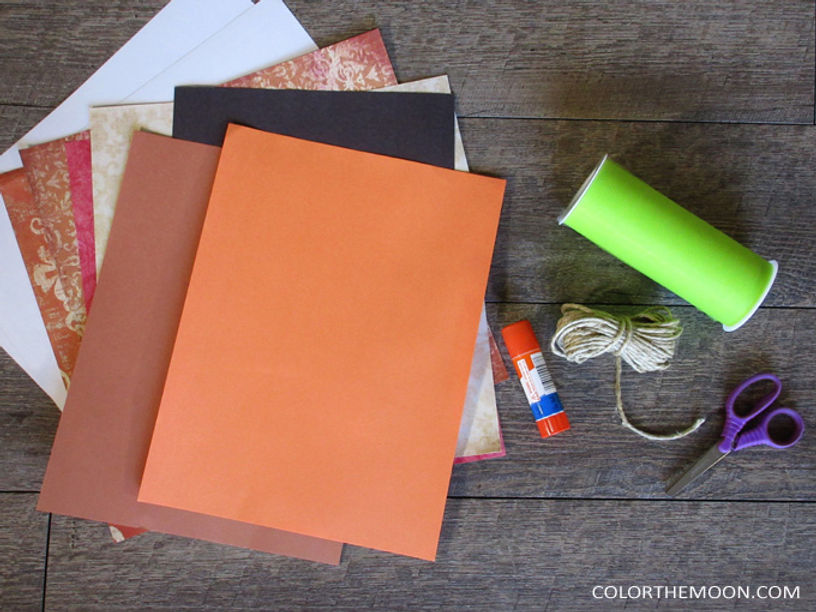
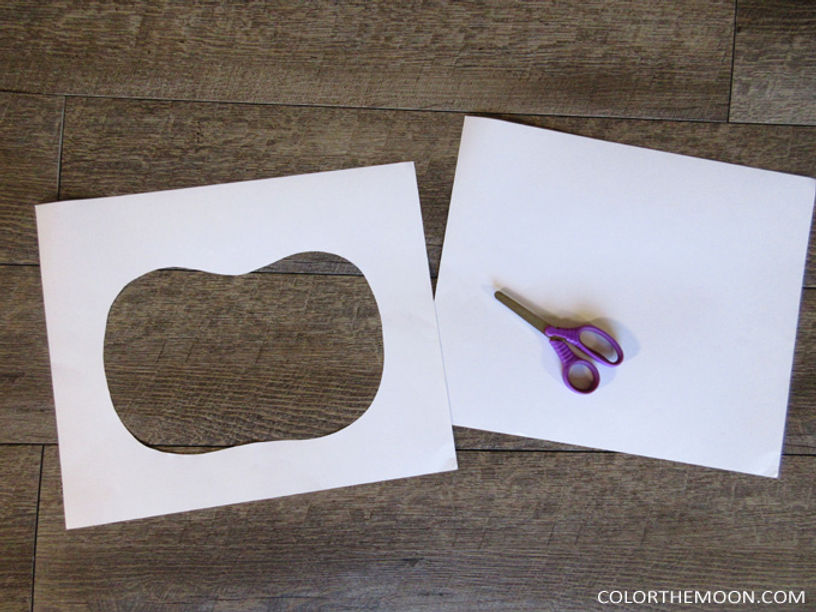
Next, cut several strips of colored paper. We used some paper with patterns on it, which gave our pumpkin some added texture. But if all you have is solid color paper, that works too!
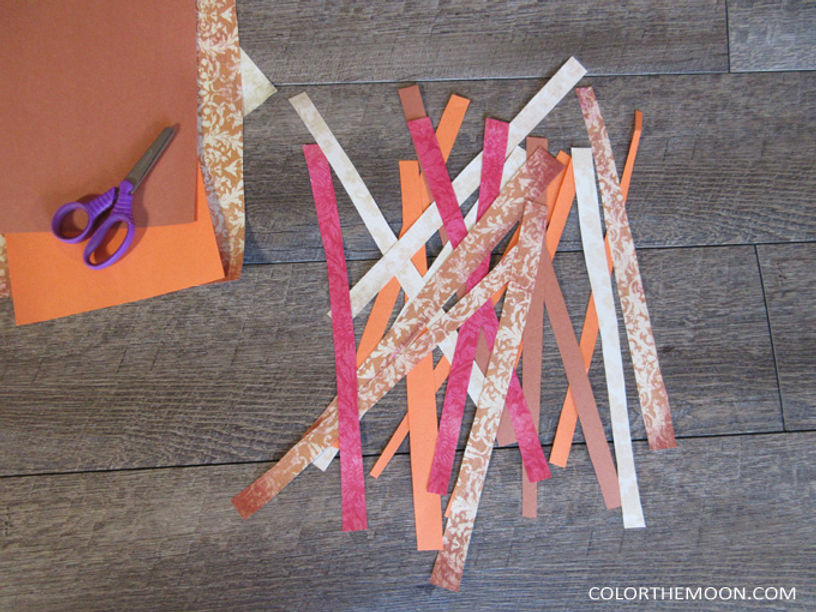
Once you have all your strips of paper cut, use a glue stick to paste them onto the second sheet of white paper.
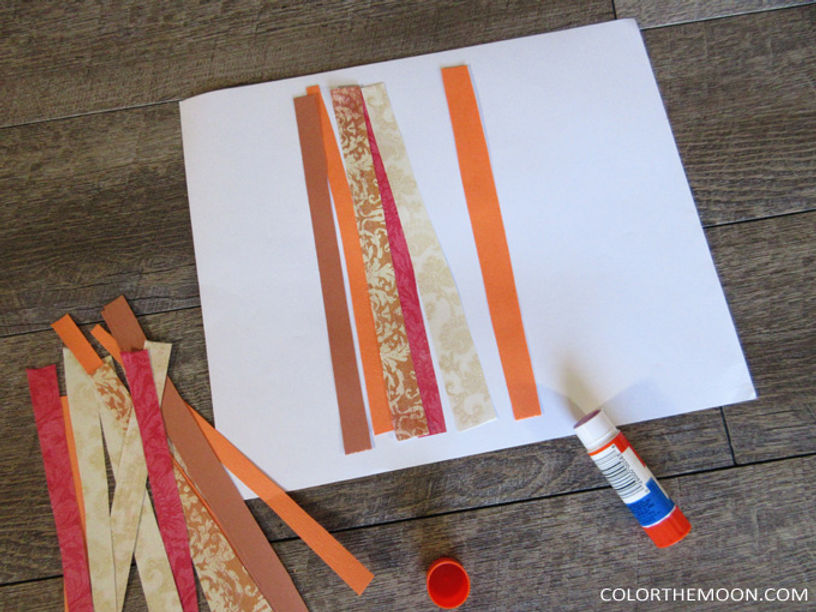
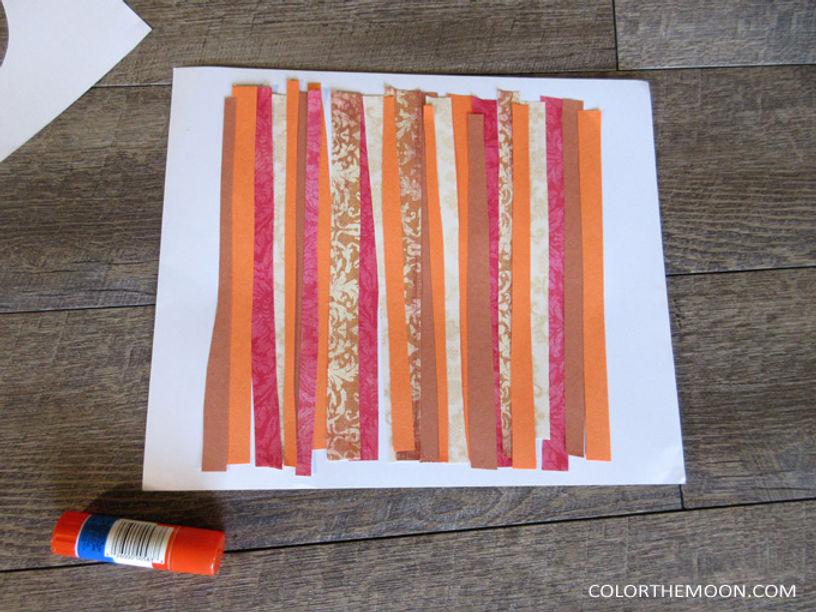
Lay the strips side by side or overlap them until the entire area where the pumpkin will be is filled.
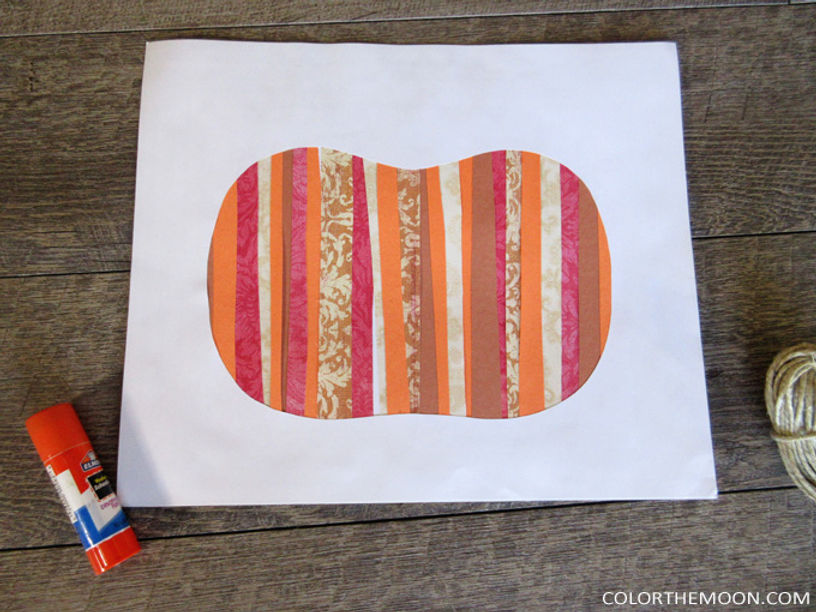
Paste your pumpkin cutout over top of the strips of paper.
To make the leafy area cut a few pieces of of green tulle, about 6 inches long, and tie them together in the center with a knot.
To make the stem, start by hot gluing one end of a piece of twine to the back side of the knot in the center of the tulle. Loop the twine around the knot, leaving about two inches of slack.
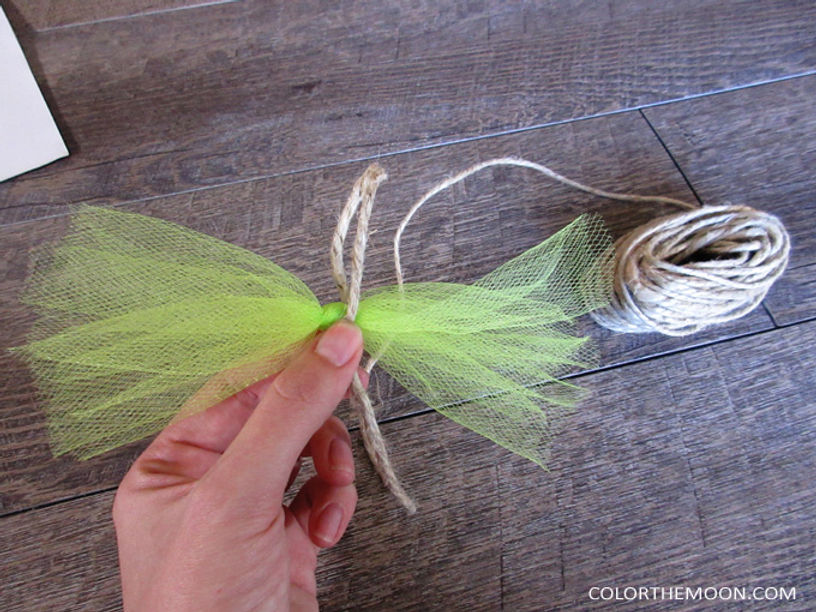
Make four loops with the twine and hot glue the end to the back side of the tulle.
Hot glue only the base of the stem onto the paper at top of the pumpkin.
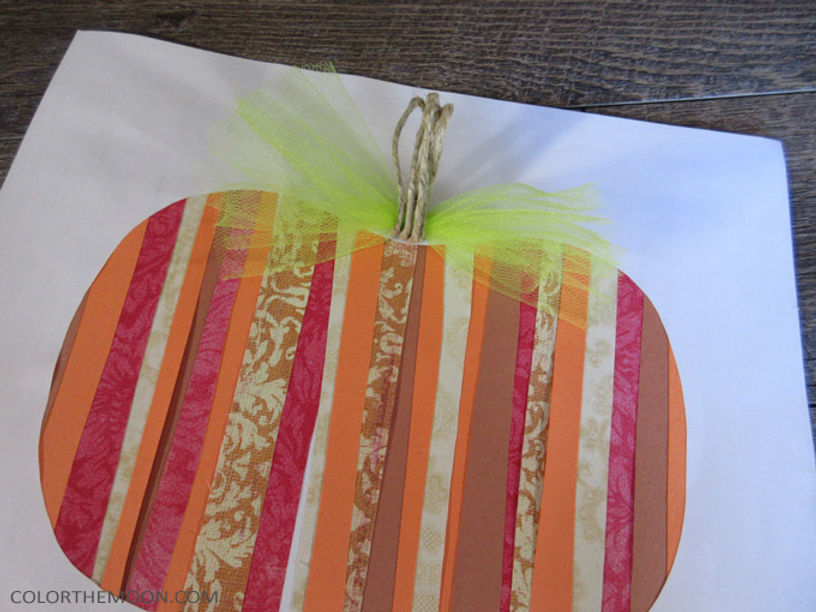
Twist the twine around to make it into a stem shape.
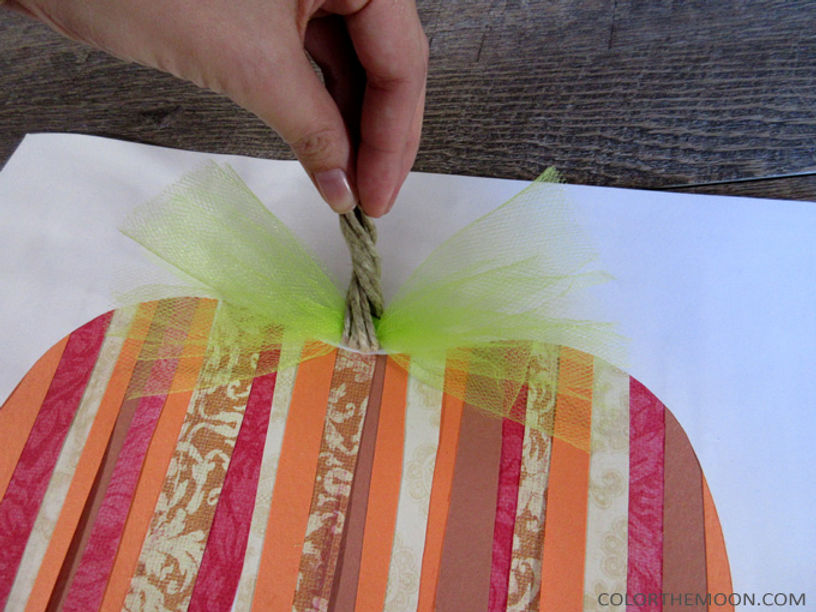
Then glue the stem onto the paper with hot glue.
And that’s it! You’re paper strips pumpkin is all finished!