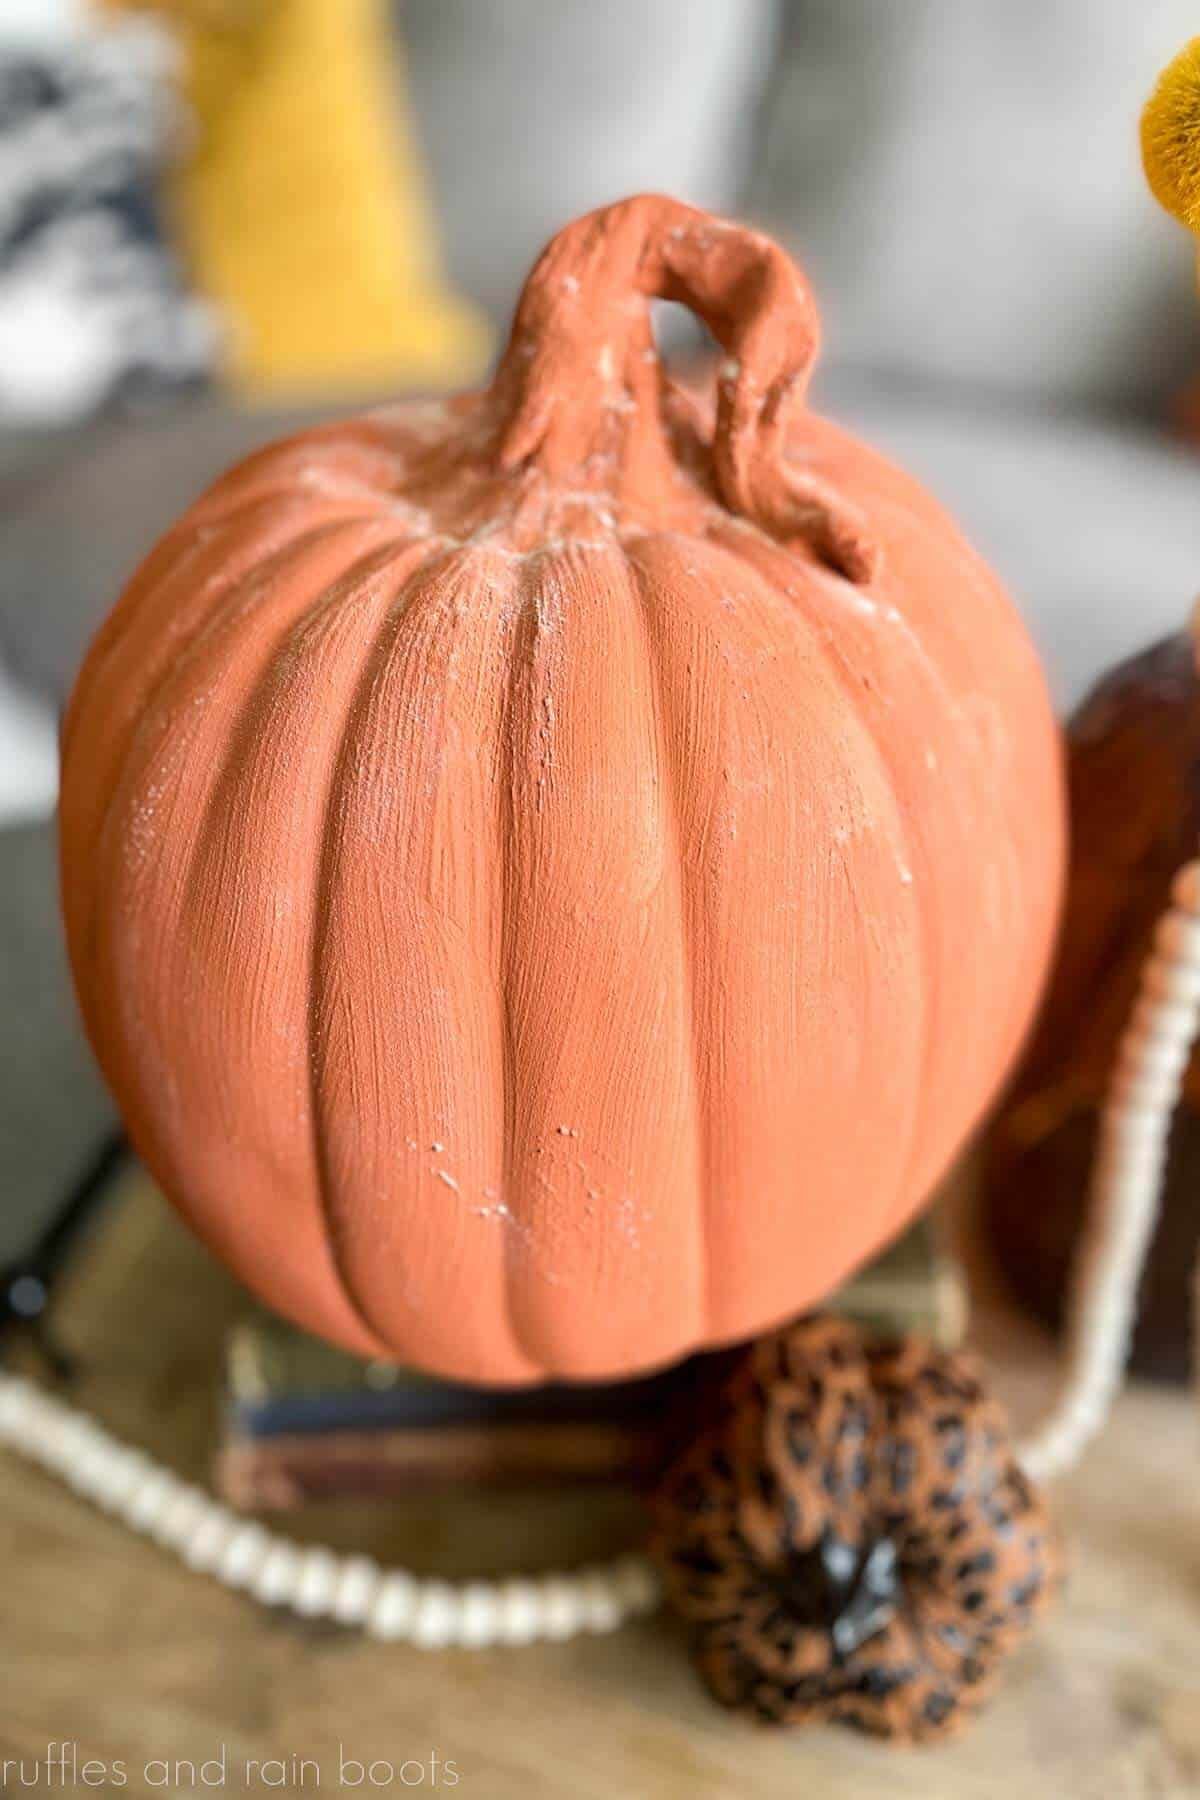
DIY Terra Cotta Pumpkins
If you're looking to add a festive touch to your fall decor, why not try making DIY Terra Cotta Pumpkins? These adorable crafts are not only easy to create but also make a charming addition to any autumn-themed display. Once your pumpkins are dry, stack them up in a cute little arrangement or place them around your home for a touch of seasonal cheer. Have fun getting crafty and enjoy the cozy vibes these DIY Terra Cotta Pumpkins bring to your space!
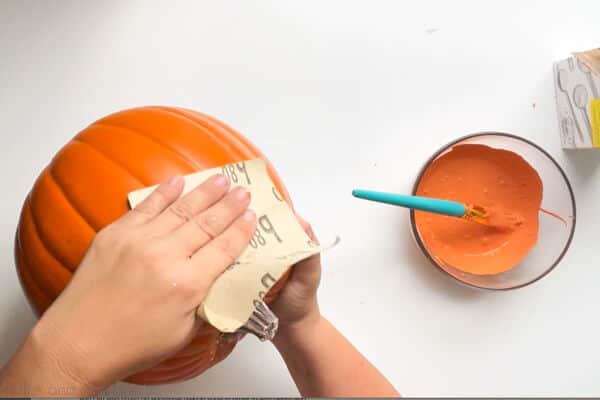
Use the sanding sponge on the clean faux pumpkin to rough up the exterior. Wipe off to remove waste.
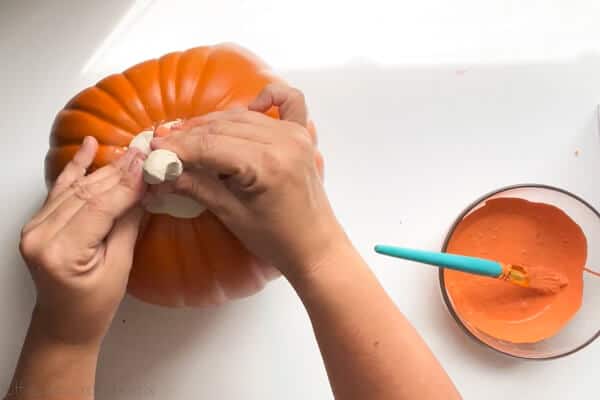
Use the air dry clay to form a stem with a twisting vine look and let dry per the package instructions. If you do not want to wait on the stem to dry before painting, mix acrylic paint into the Model Magic® before forming and let dry.
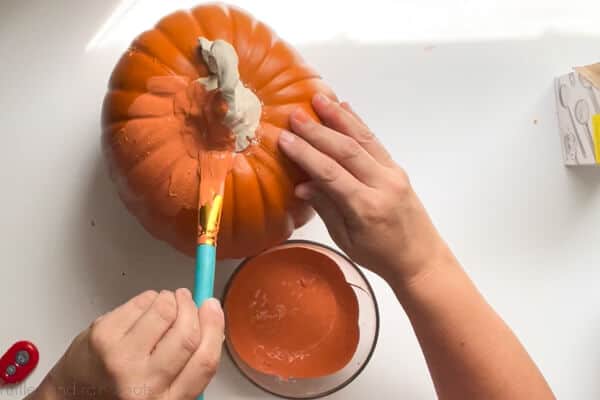
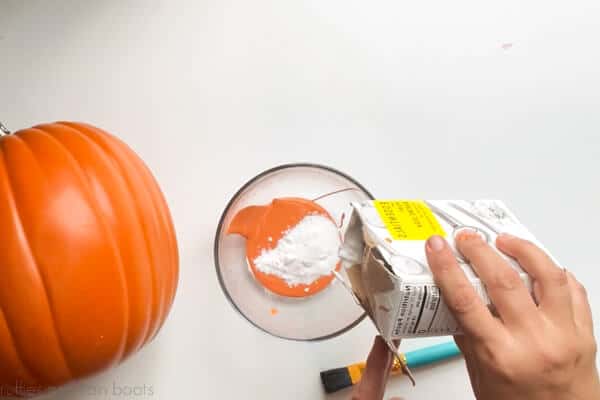
Add the acrylic paint to the bowl and slowly add baking soda, stirring with the paintbrush. You can add more to increase the textured look of the pumpkin, just be sure to fully incorporate each addition.
Paint the baking soda mixture onto the pumpkin (and stem, if desired), building it up where you want the most texture. Before the paint dries, you can also brush on additional baking soda in order to add depth and dimension. Seal and display.