Easy DIY Stacked Eggs Bunny — Cute Easter Decor Using Dollar Tree Eggs
Looking for a simple, kid-friendly Easter craft? The DIY Stacked Eggs Bunny is an adorable and inexpensive decor project you can make in under an hour using stacked plastic eggs, a bunny ear headband, and a few basic craft supplies. Perfect for a mantel, table vignette, or as a handmade gift.
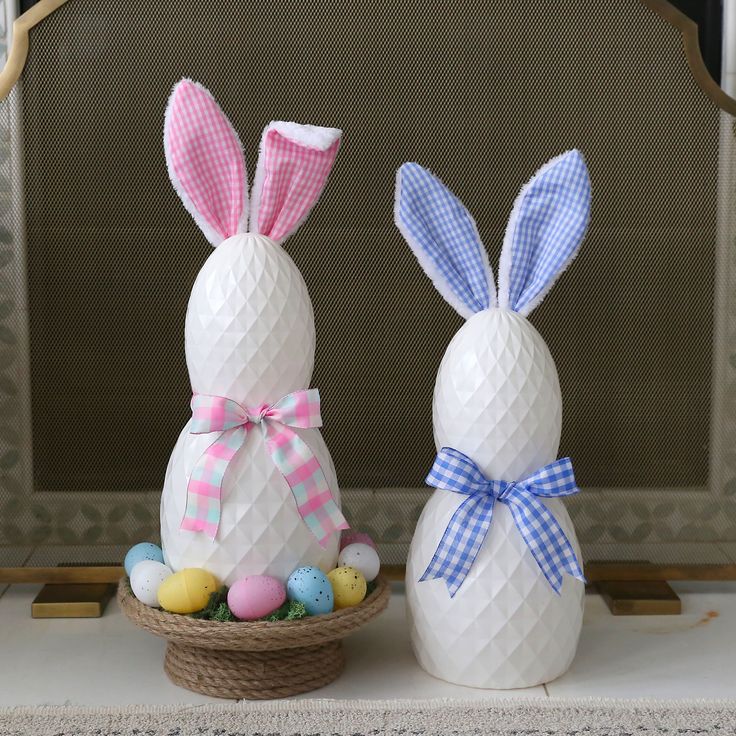
Finished stacked eggs bunny, ready for display.
Supplies:
Here’s what you’ll need to make one of these cute bunnies:
Stacked Geometric Eggs from Dollar Tree: these are a Dollar Tree Plus item and it costs $5 for the set of three eggs. I only used the top two eggs. I used the white version – if you can only find the colored version you could paint them white. This is a popular item so if you are having trouble finding it your best bet may be to ask an employee when they get shipments in and then check the next day.
Bunny Ears Headband: I got cute checked bunny ears headbands at Hobby Lobby, but I have also seen them at Dollar Tree and Walmart in years past.
Ribbon: I used 1.5 inch wide ribbon that coordinates with the bunny ears (also found at Hobby Lobby). You can use any ribbon you like.
White Felt: You will need two small squares of white felt
Optional, for display: rope tray, moss, plastic Easter eggs.
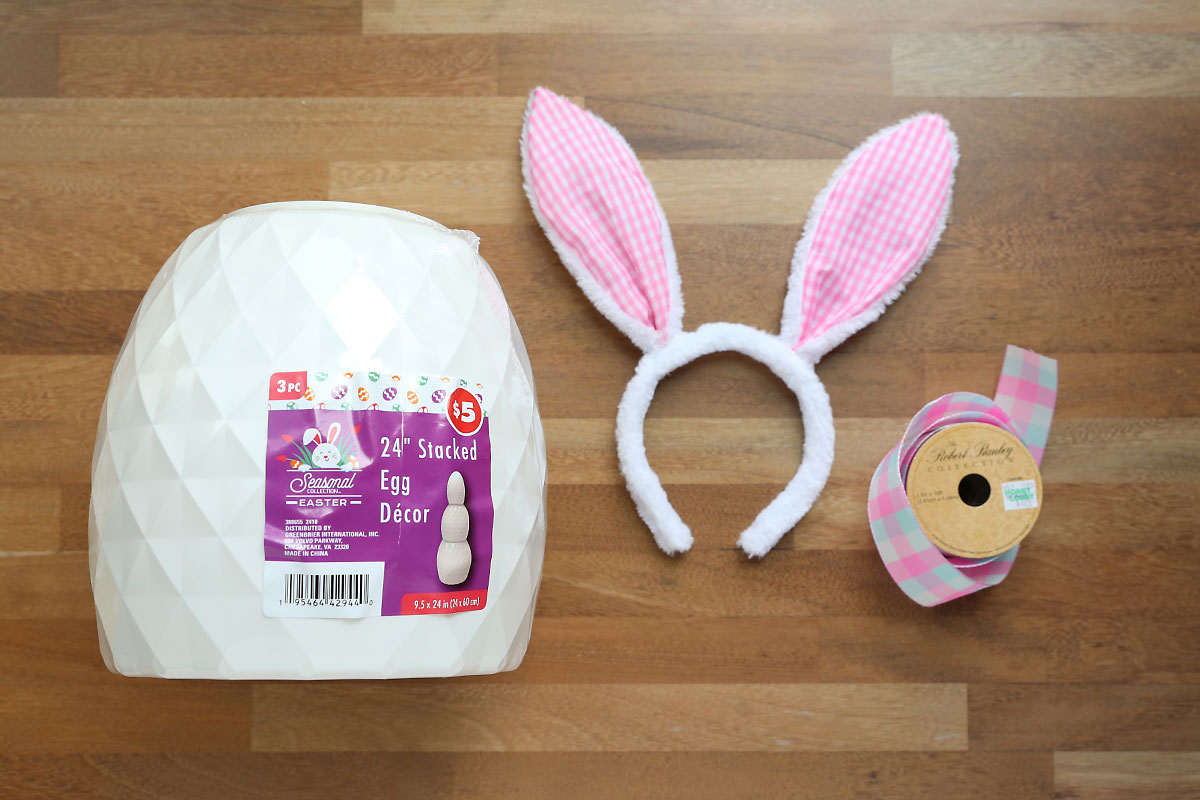
Main supplies: stacked eggs and a bunny ears headband.
How to Make Stacked Egg Bunnies
Step 1 — Cut the Ears off the Headband
To begin, you’ll need to cut the ears off the headband. The fabric of the ears is attached to the headband, and inside the fabric are wires that are also attached to the headband. First, use scissors to snip the fabric, working around the wires, until you can slide the fabric up and see the wires.
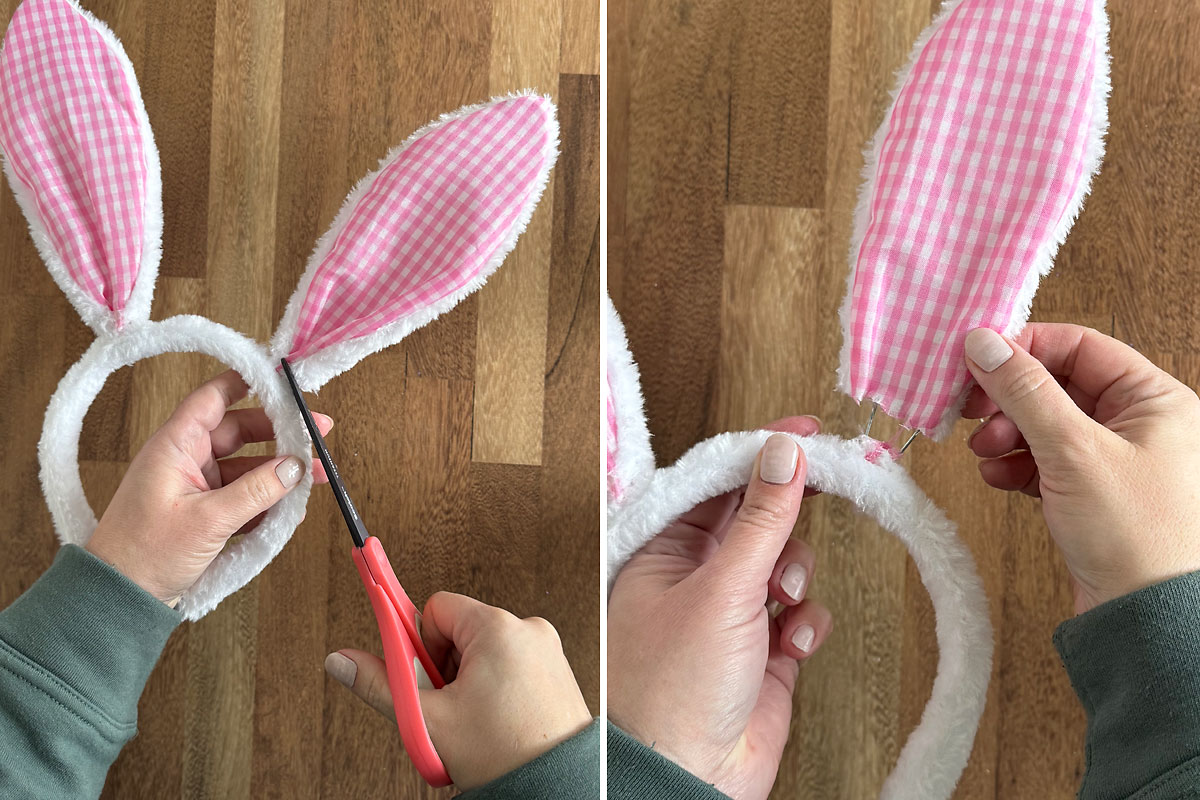
Snip the fabric around the ears to expose the internal wires.
Next, use pliers with snips or wire cutters to cut the wires close to the headband. Repeat for the other ear. If the fabric of the ear is no longer gathered at the bottom, use some hot glue and pinch it to gather it back up. Make sure the wires can still extend past the fabric.
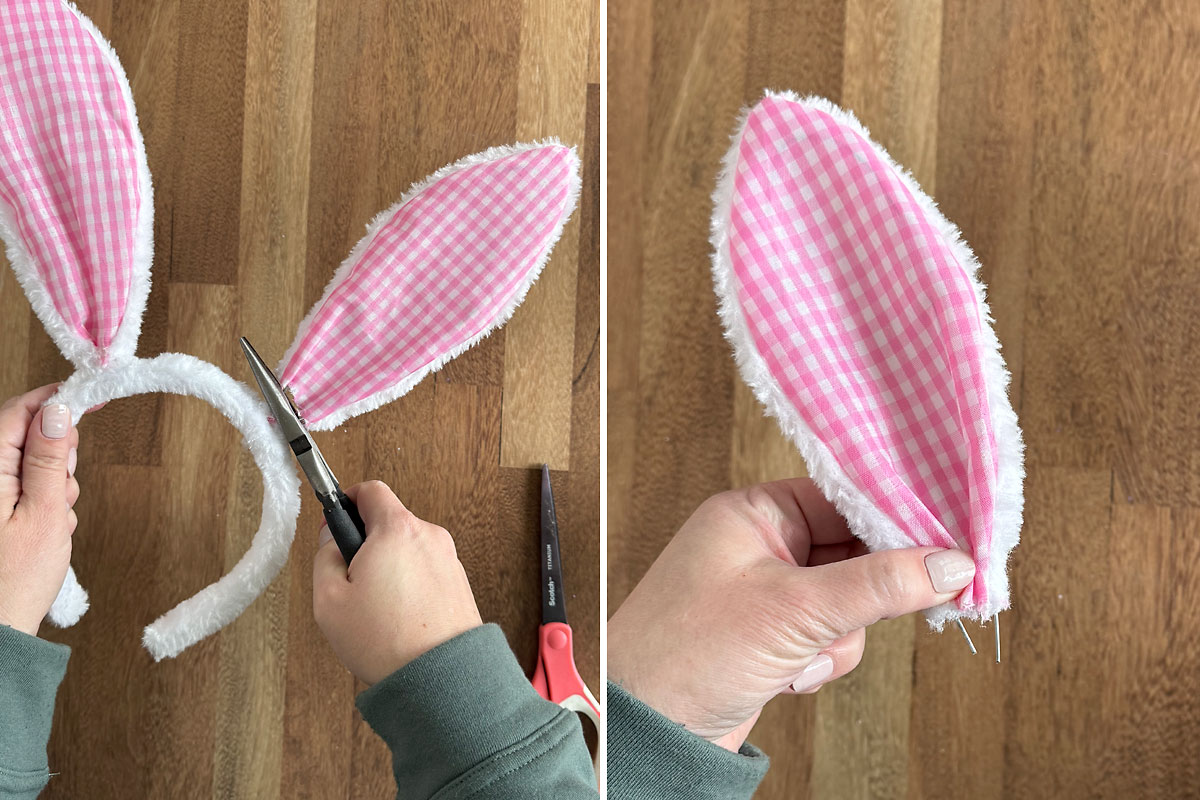
Use pliers or wire cutters to remove the ear wires from the headband.
Once you have both ears cut off the headband, grab the smallest (top) plastic egg from the set. You will also want to cut two one inch squares from white felt.
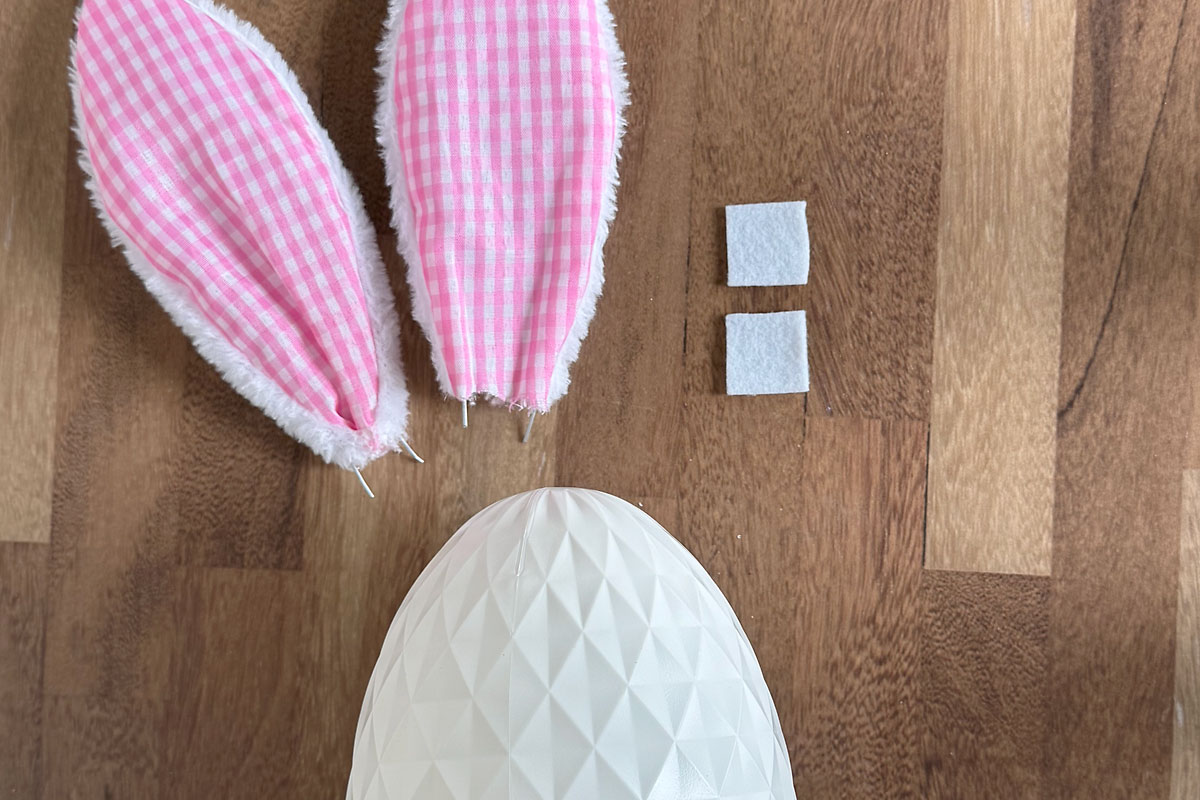
Prepare the top egg and small felt squares for attaching ears.
Step 2 — Glue Ears to Egg
You will glue both ears to the back of the egg, a couple inches down from the top. Hold one ear against the back of the egg, making sure the wires extend out from the fabric – you need to make sure you are gluing the wires to the egg so the ears will stand up. Place a good amount of hot glue over the wires, then immediately place one of the felt squares over the wires and press down. Hold the felt while the glue cools and hardens.
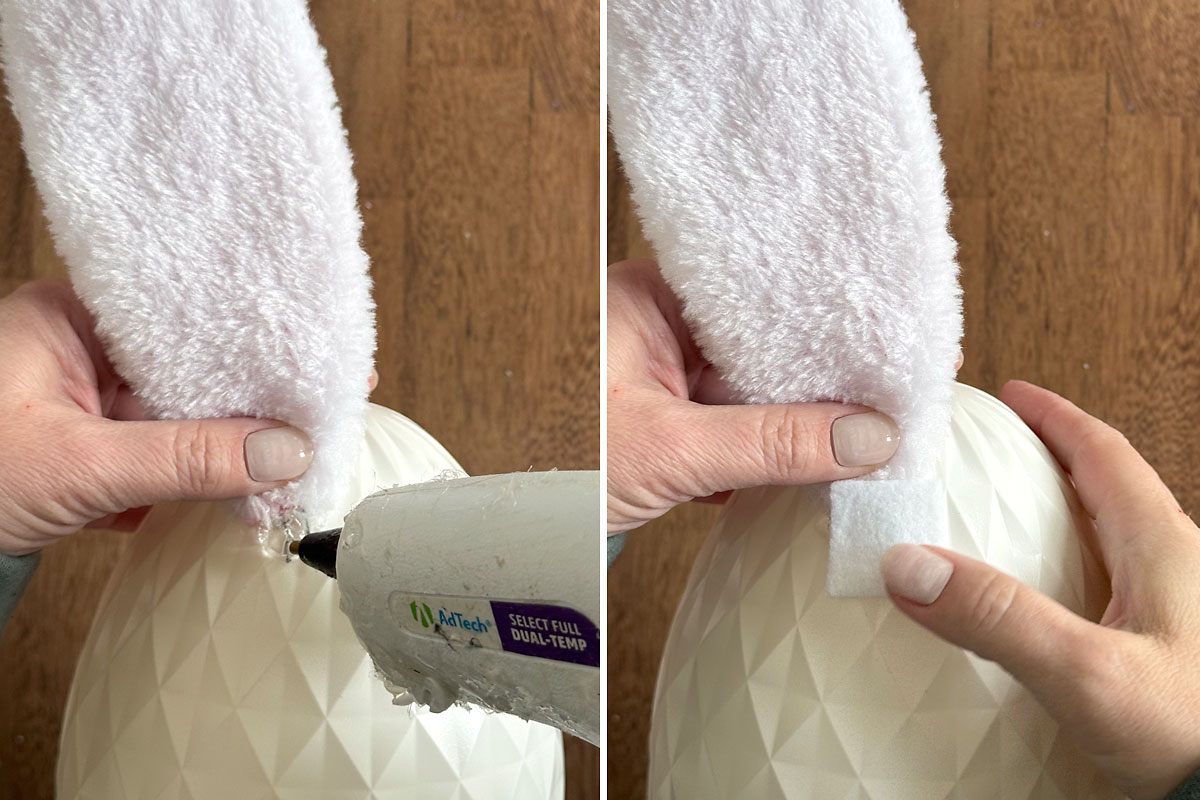
Hot glue the ear wires to the back of the egg and cover with felt for a clean finish.
Repeat with the second ear, placing it next to the first ear.
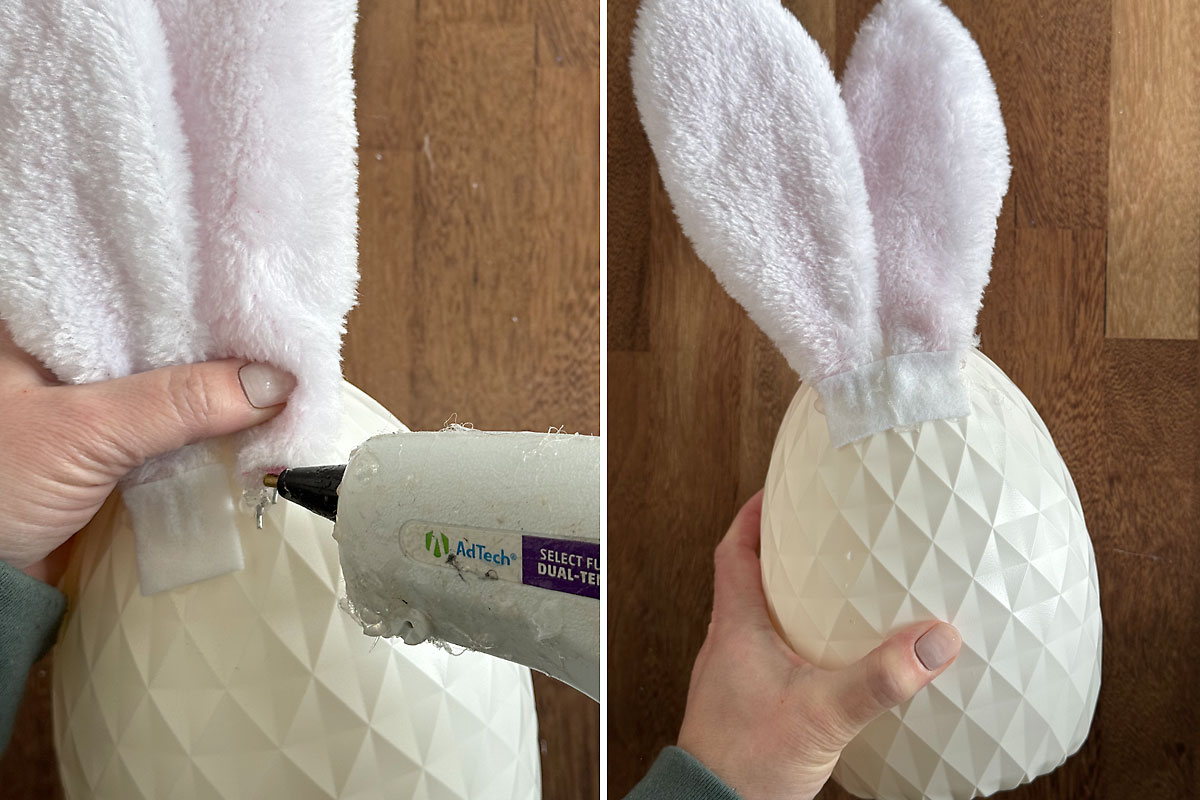
Both ears attached; add glue at the front if needed and shape the wires.
At this point, turn the egg over so you can see the front of the ears. Add more hot glue along where the front of the ears touch the egg to make sure they are securely attached. Once the glue has cooled and hardened completely, you can manipulate the wire inside the ears to shape them as you like.
Step 3 — Assemble and Decorate
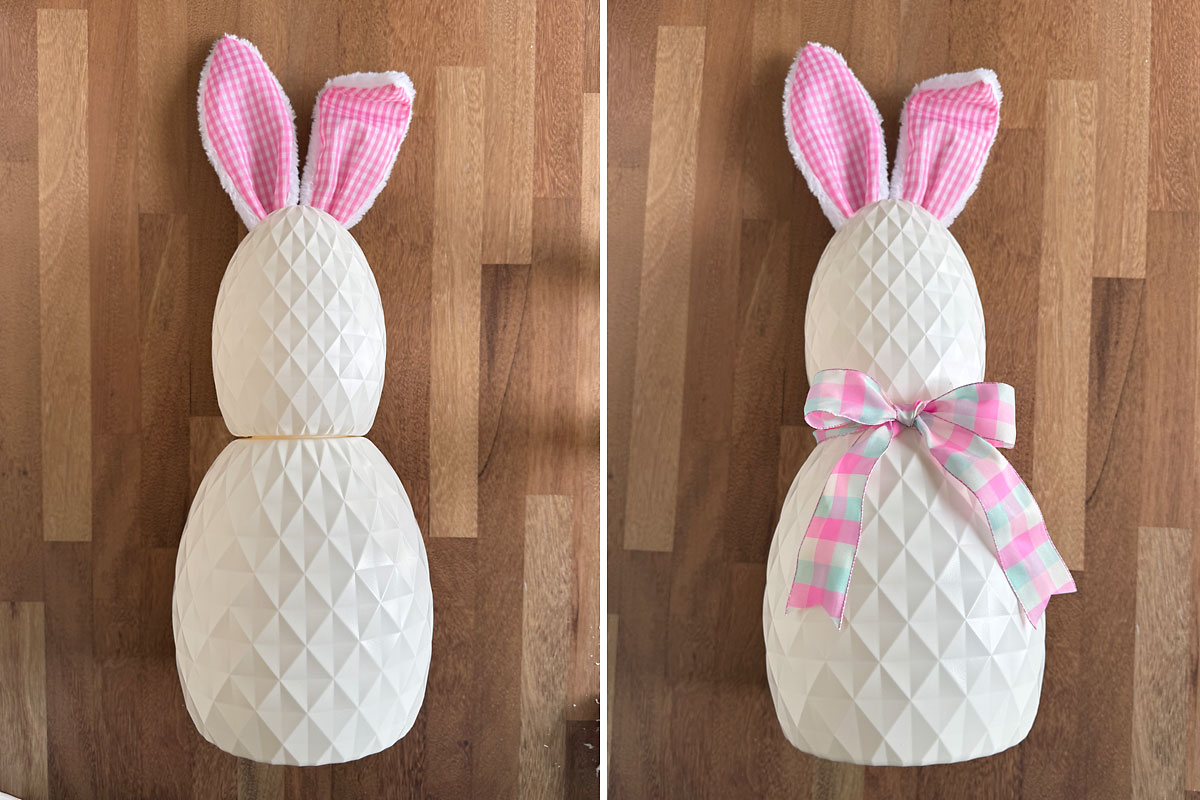
Once the glue is completely dry, snap the top egg onto the middle egg. You can use some hot glue to secure the two eggs together if you like (or not if you want to be able to take them apart for storage). Cut about a yard of ribbon and tie it in a bow around the bunny’s neck, then trim the tails.
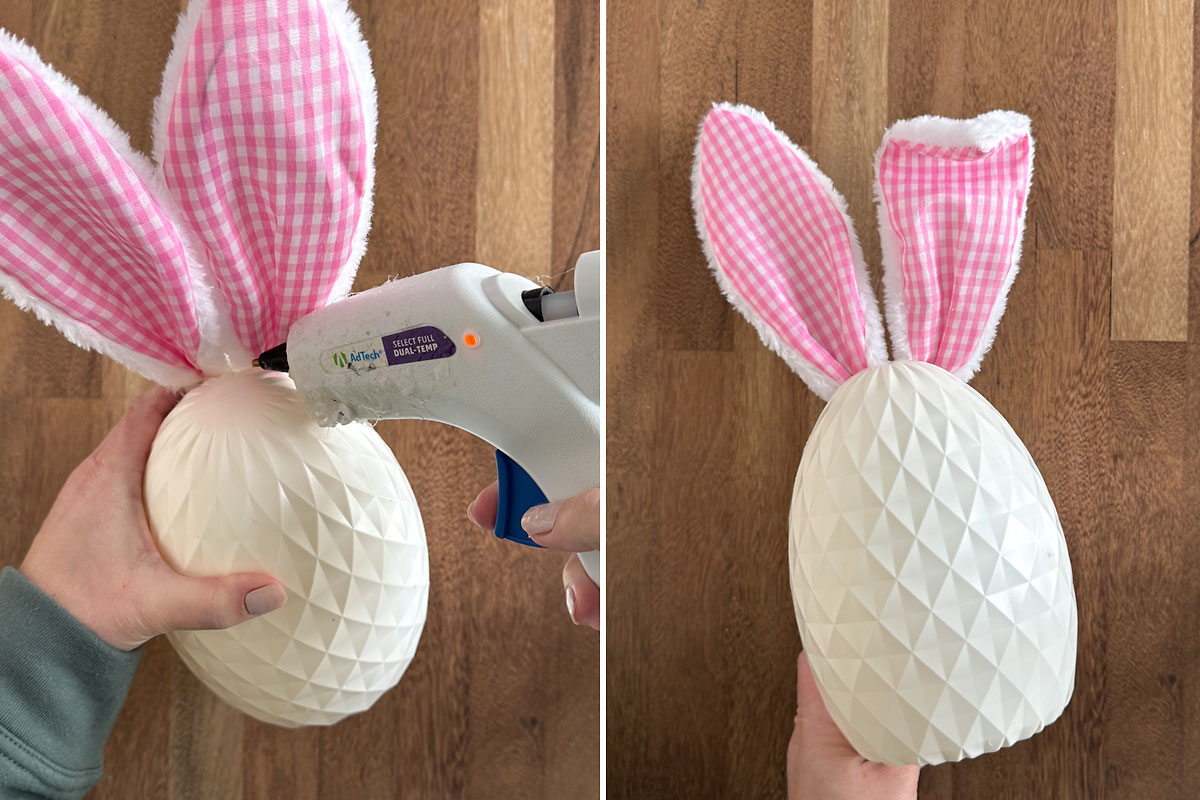
Stack the eggs and add a ribbon bow for personality.
Optional: place your finished Stacked Eggs Bunny on a rope tray with moss and a few plastic Easter eggs to create a seasonal vignette.
Optional display idea: place the bunny on a rope tray with moss and pastel eggs.