DIY Buffalo Check Mason Jars — Easy Rustic Decor Tutorial
Give plain mason jars a cozy, farmhouse look by covering them in buffalo check fabric. This simple DIY uses basic supplies—fabric, Mod Podge (or clear spray), ribbon, and a felt pad—to create durable, decorative jars for storage, centerpieces, or gifts.
Materials used in this project: mason jars, buffalo check fabric, Mod Podge (gloss or matte), black ribbon, felt, glue. Optional: clear spray sealer for extra protection.
I cut the fabric pieces a bit longer than the jars for full coverage. You could just do it to the jar edge if you wanted to.
Fabric pieces cut a bit longer than the jars for full coverage.
I wrapped the fabric around the jar to check fit before adhering. Leaving a little extra at the edges makes tucking and finishing easier.

Cut fabric partially wrapped around a mason jar—allow extra at edges for tucking.
I covered the jars with Mod Podge and wrapped the fabric so the seam was on the back of the jar. I am covering the seam with black ribbon.

Wrapping the fabric with Mod Podge applied; seam placed at the back of the jar.

Cover the seam at the back with black ribbon for a clean finish.
I covered the bottom with glue and folded around the jar like you would upholstery to get it as even as I could.

Bottom of the jar coated with glue and fabric folded under for a smooth base.
I then added in a piece of felt to cover it. I coated the whole jar with gloss Mod Podge. You could use matte if you wanted or even a clear spray paint to protect the fabric depending on the use.

Felt added to cover the folded fabric at the jar bottom for a neat finish.
You don't have to coat it. I did it to make them long lasting and was for her kitchen to prevent grease, dust, etc from wrecking the fabric.

The jars received a protective coat—gloss Mod Podge shown here (matte or spray sealer also works).
Here they are drying. I am adding the lids and tucking the fabric under it.

Jars left to dry—coating protects against grease and dust for kitchen use.
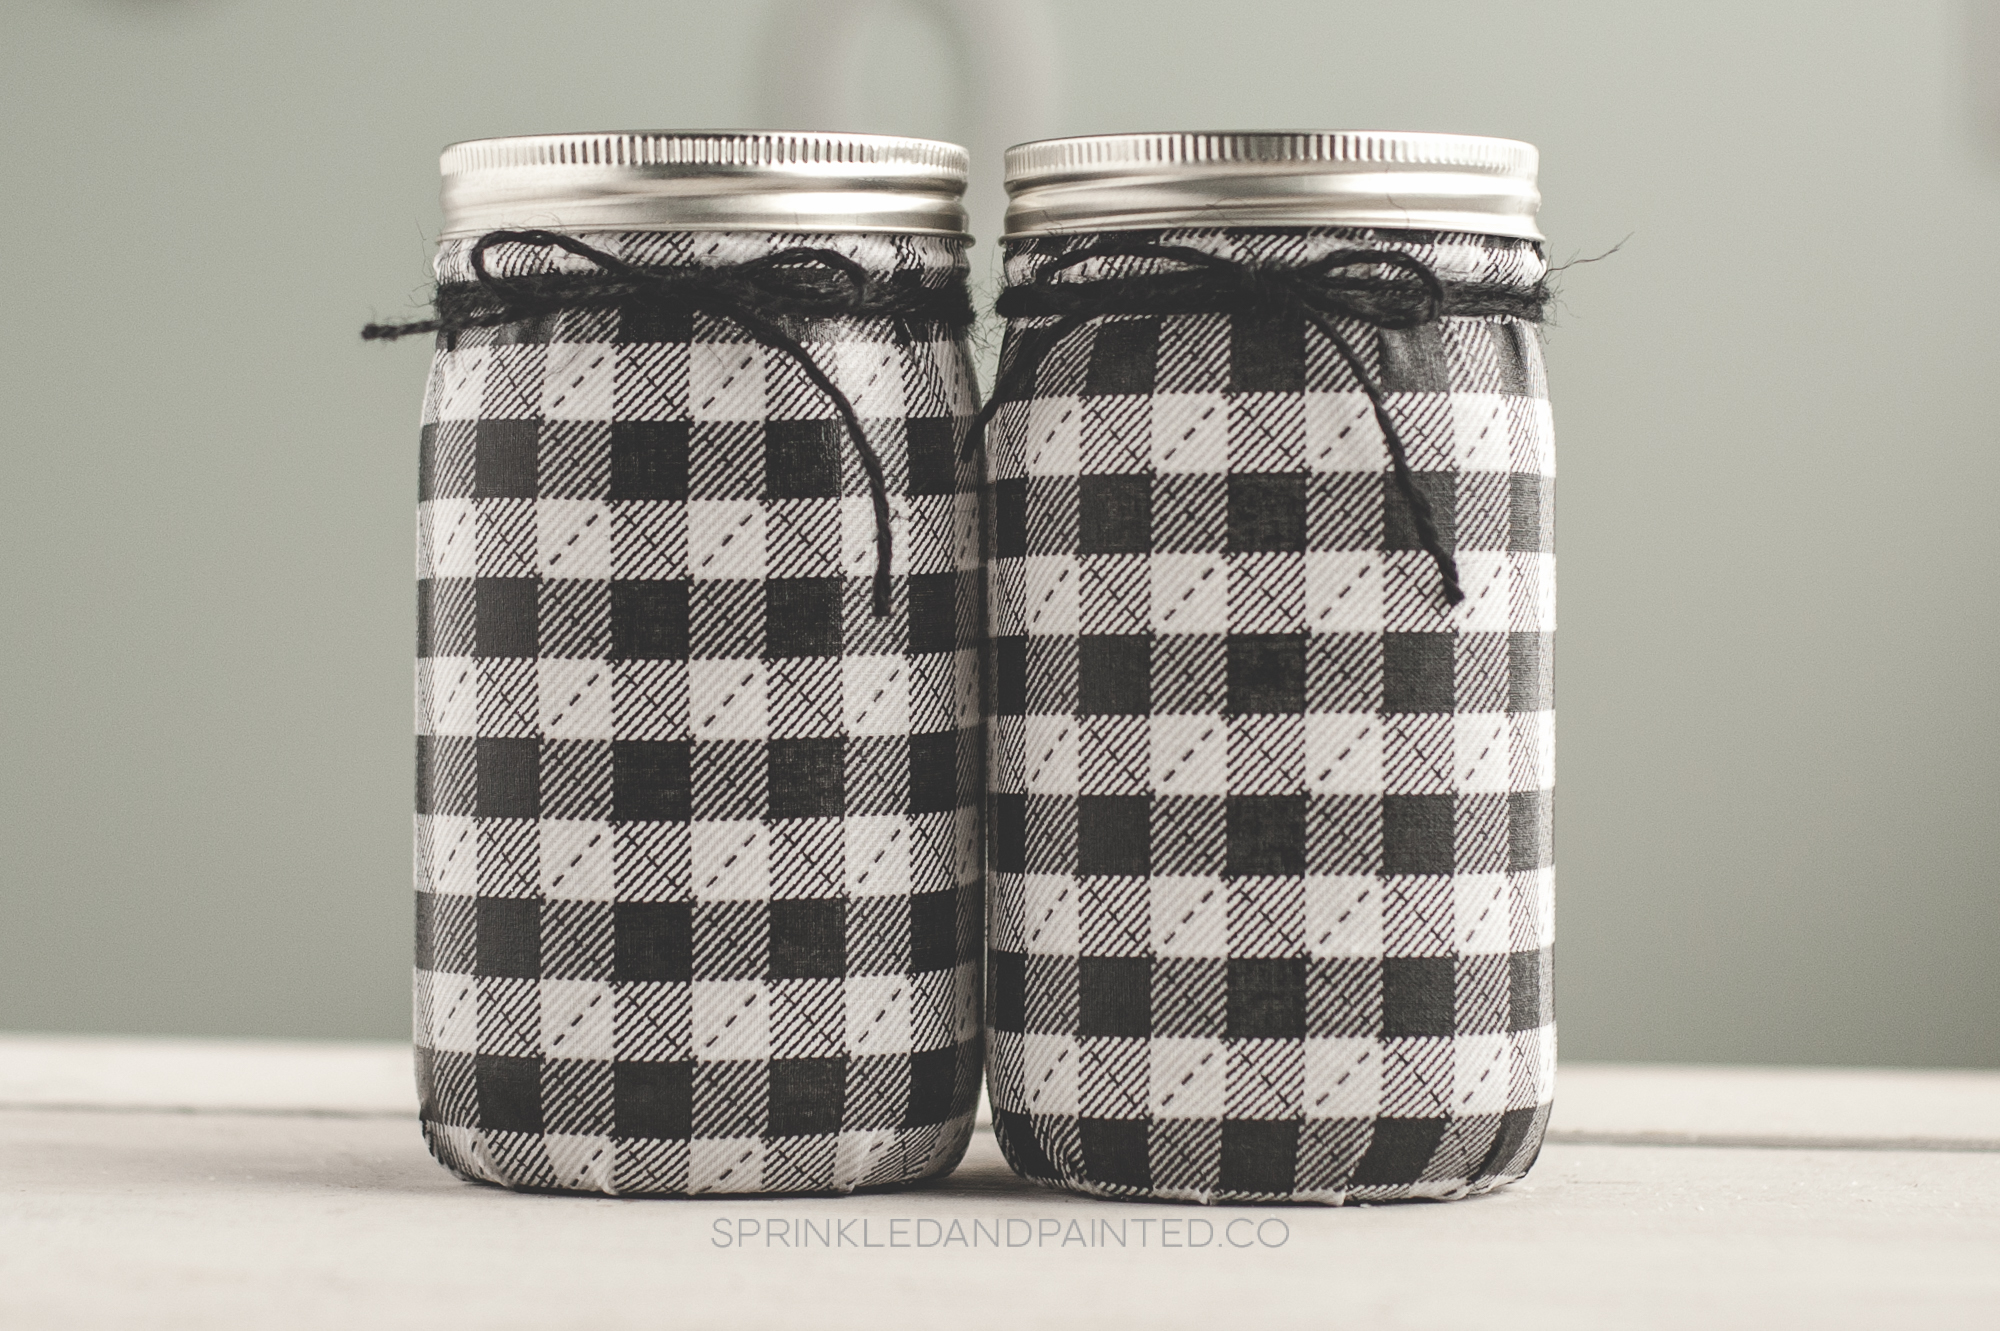
All done.

Finished buffalo check mason jars with lids and tacked fabric—ready to use.