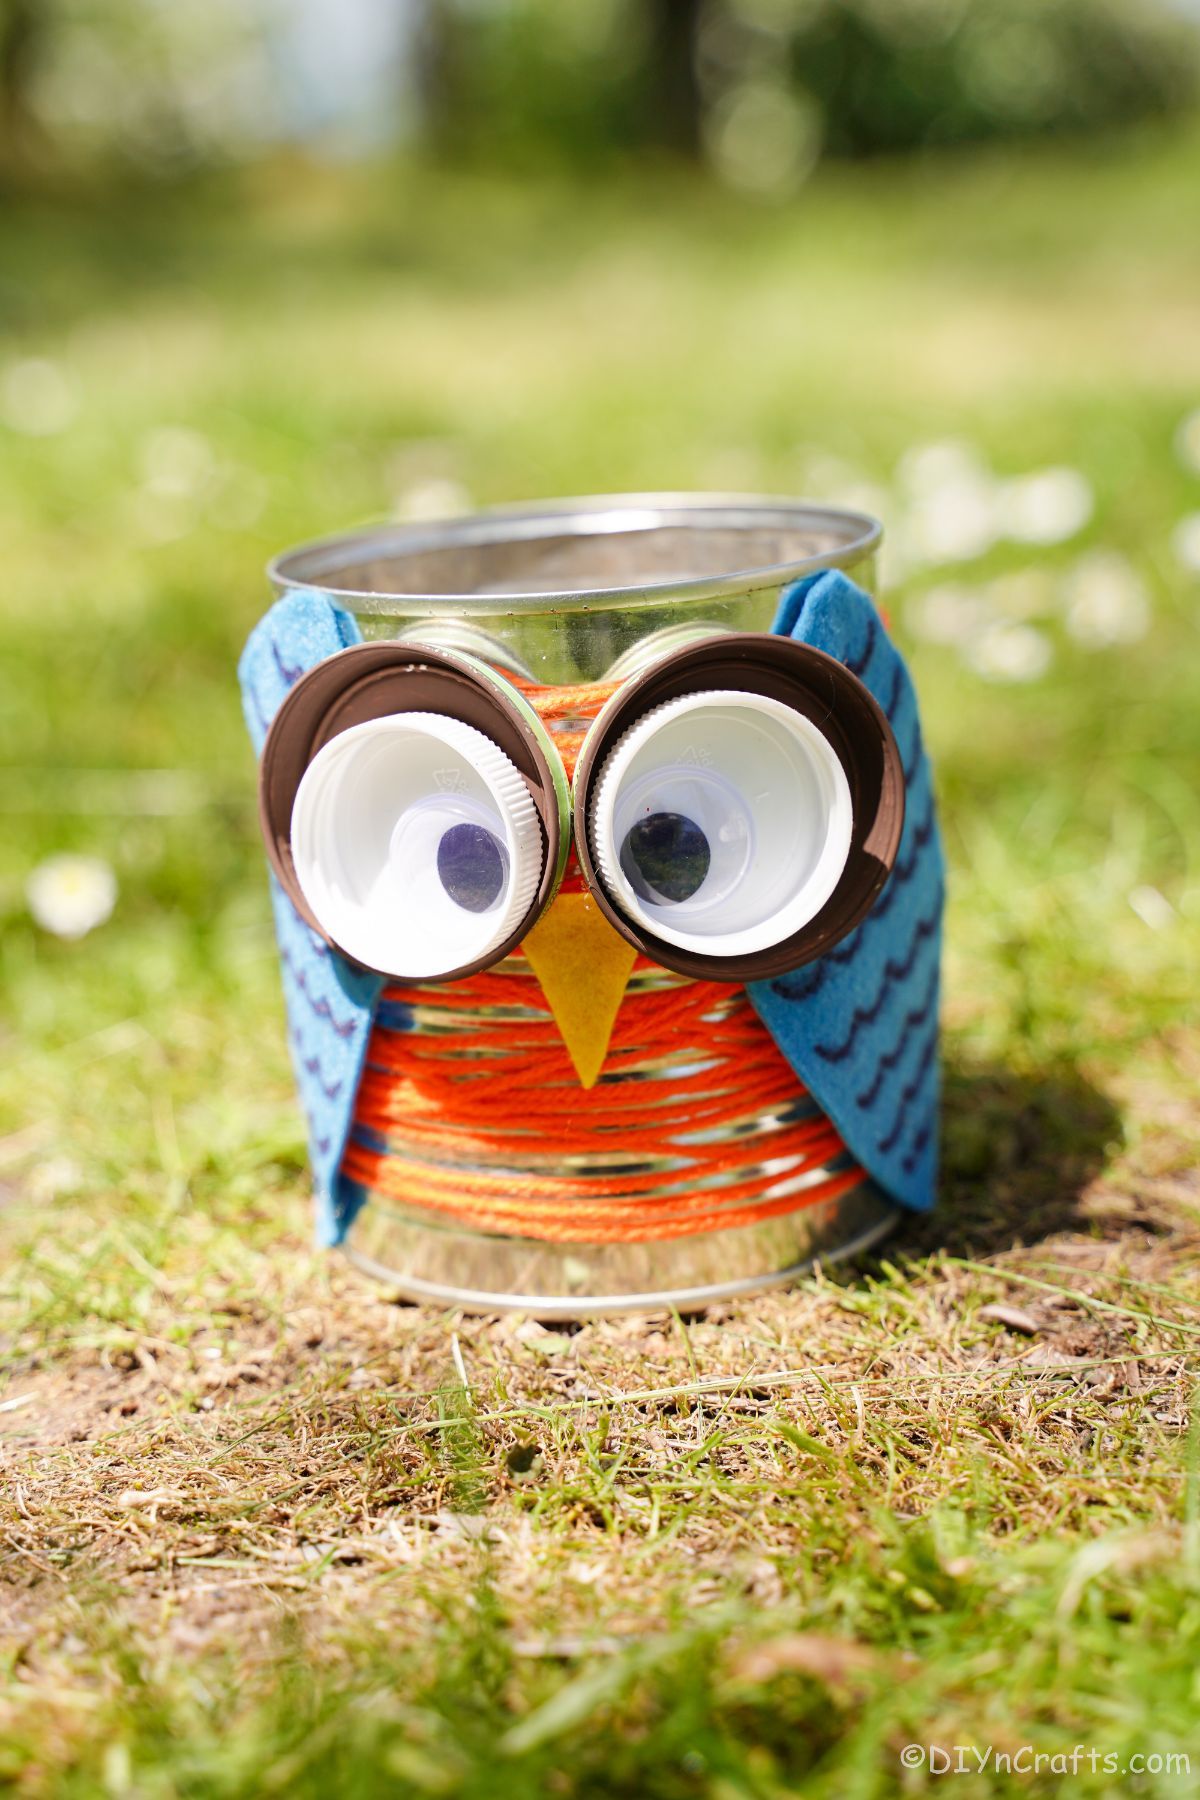
Turn a Tin Can into a Cute Owl Pencil Holder — Easy Upcycle DIY
Turn a plain tin can into a whimsical owl pencil holder with just a few simple supplies. This quick upcycle project adds personality to your desk, makes a great craft for kids (with adult supervision for hot glue and scissors), and repurposes materials you might otherwise toss.
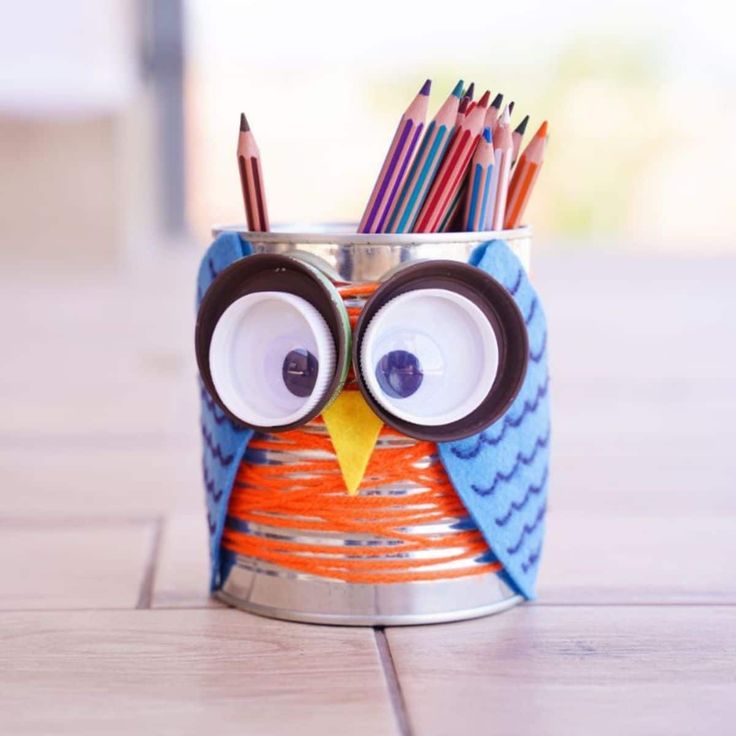
This step-by-step guide shows how to wrap a cleaned tin can with yarn, add foam-paper wings, assemble bottle-cap eyes, and finish with a felt or foam beak — resulting in a functional and charming organizer for pencils, pens and brushes.
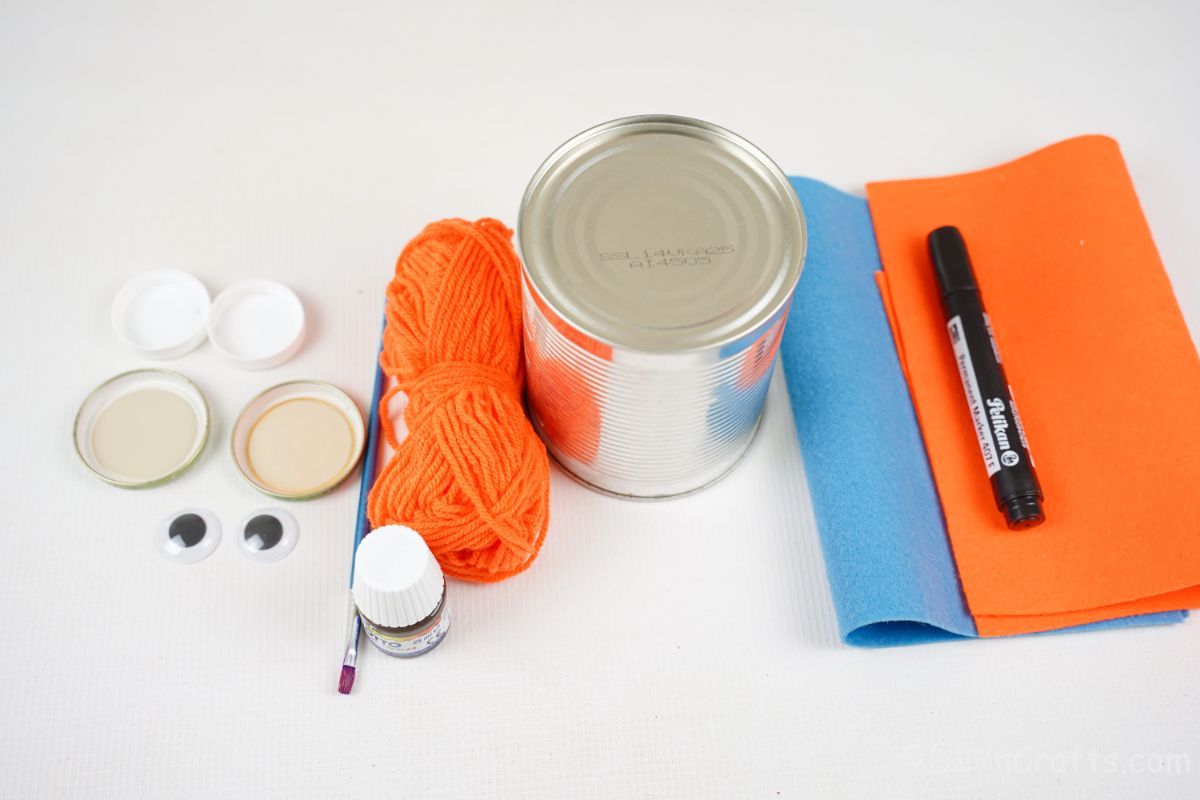
Supplies Needed
Tin can
Yellow foam paper
Blue foam paper
Orange yarn
Brown craft paint
2 large bottle caps
2 medium bottle caps
Googly eyes
Black marker
Hot glue gun
Hot glue sticks
Scissors
How to Make a Tin Can Owl
1. Prepare the can: Remove any labels from the tin can and wash it thoroughly. Let it dry completely.
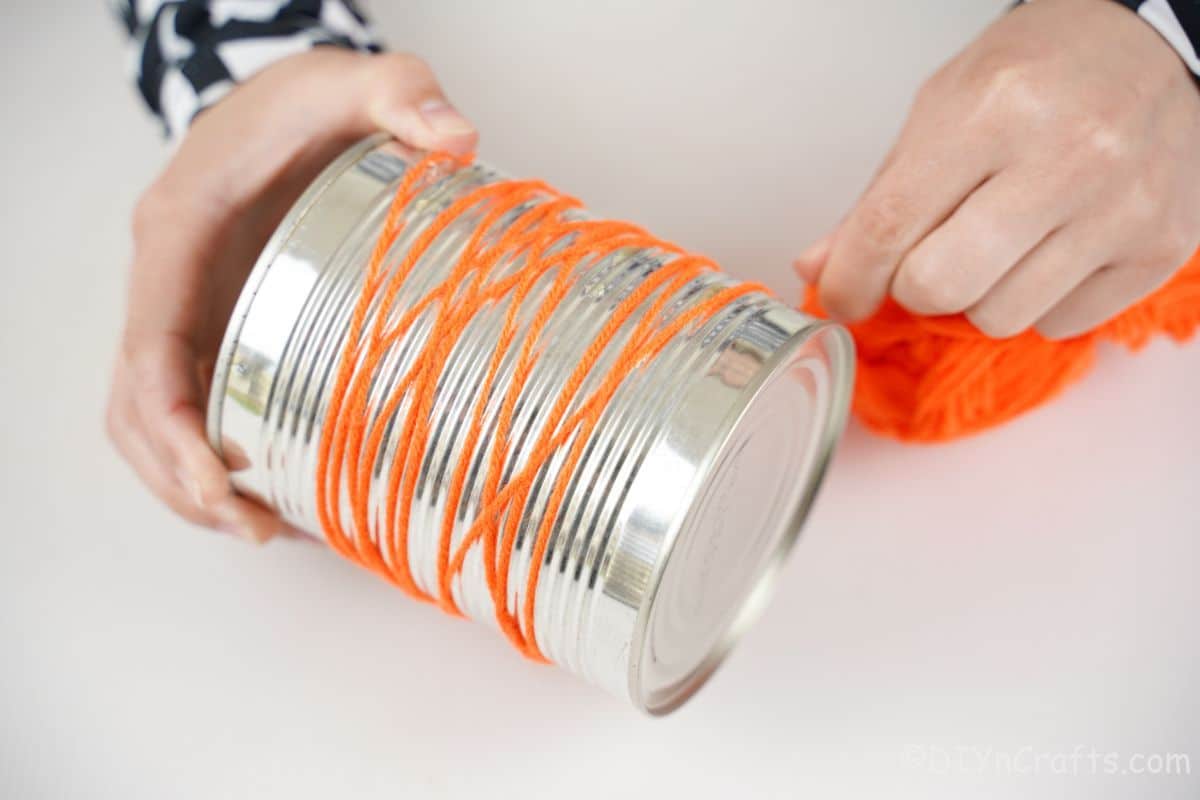
2. Wrap with yarn: Begin wrapping orange yarn around the can. Keep the yarn slightly loose with small gaps between threads — it doesn't need to fully cover the metal; the gaps add texture and charm.
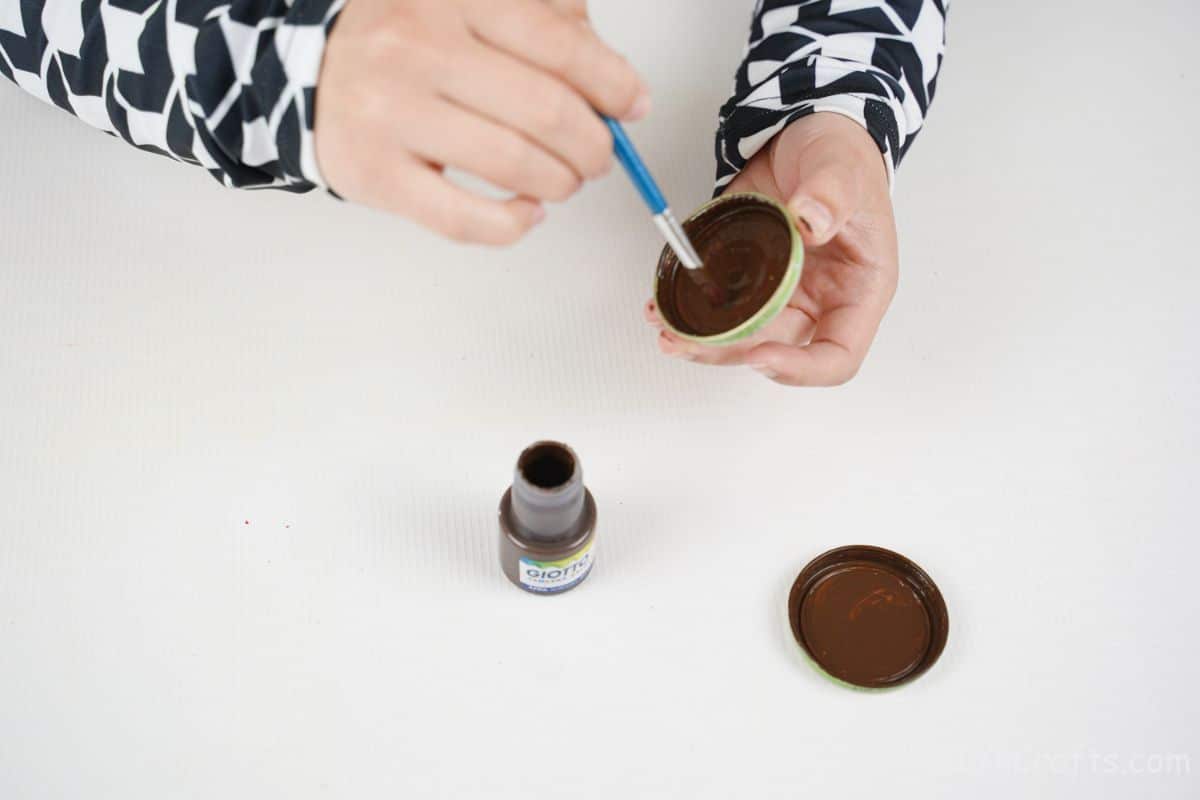
3. Paint the eyes: Paint the two larger bottle caps with brown craft paint and set them aside to dry. You will later mount the smaller caps inside these to form layered eyes.
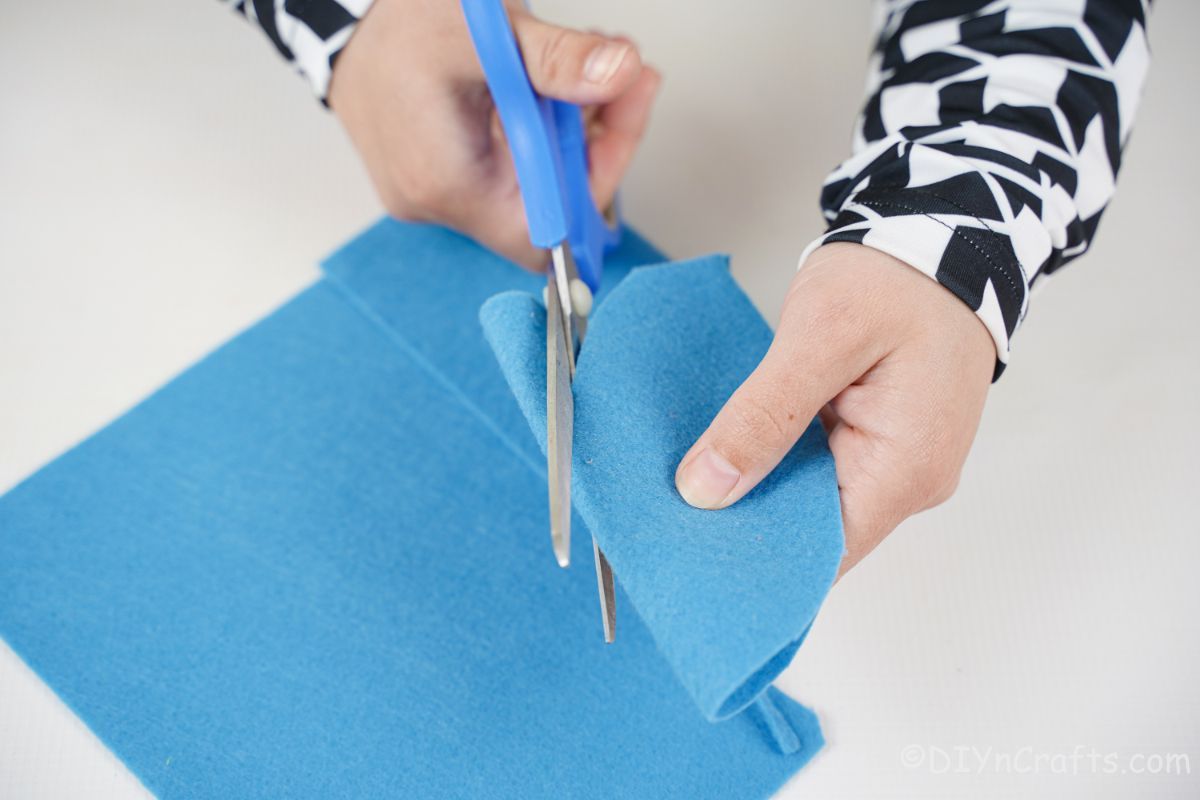
4. Cut the wings: Fold the blue foam paper in half and trace a simple wing shape. Cut out the wing, then separate the two halves along the fold so you have a left and right wing.
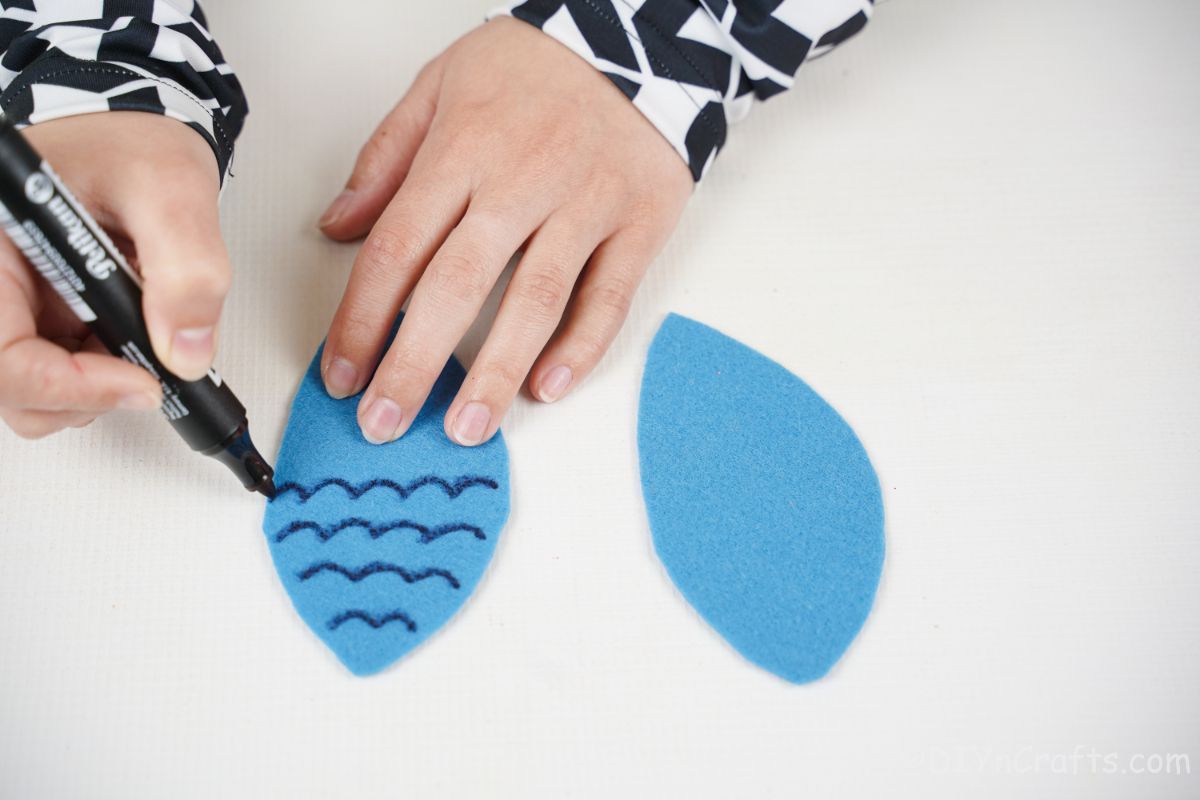
5. Add feather detail: Use a black marker to add squiggly lines or short strokes on each wing to suggest feathers.
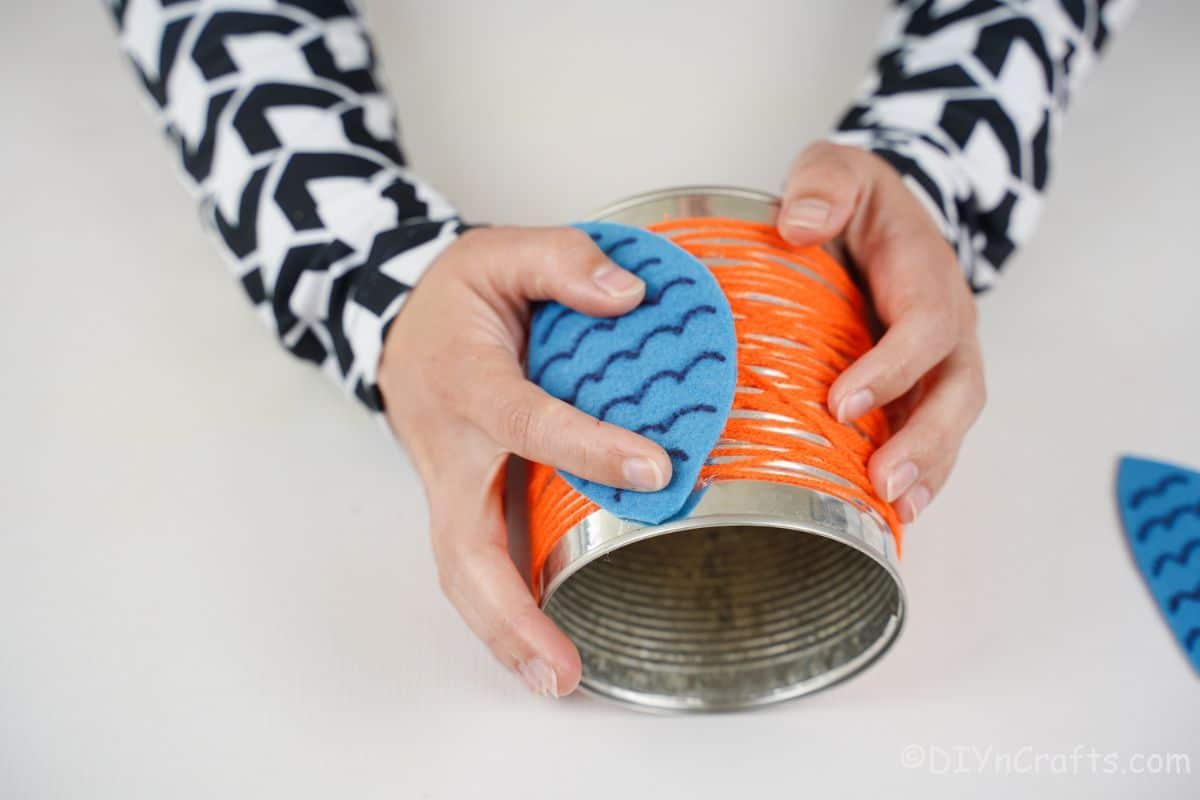
6. Attach the wings: Use hot glue to secure the wings to the sides of the yarn-wrapped can. Press firmly and allow the glue to set.
7. Assemble the eyes: Glue a medium bottle cap into the center of each dry, painted larger bottle cap. Then glue a googly eye into the small cap so the googly eye sits slightly recessed.
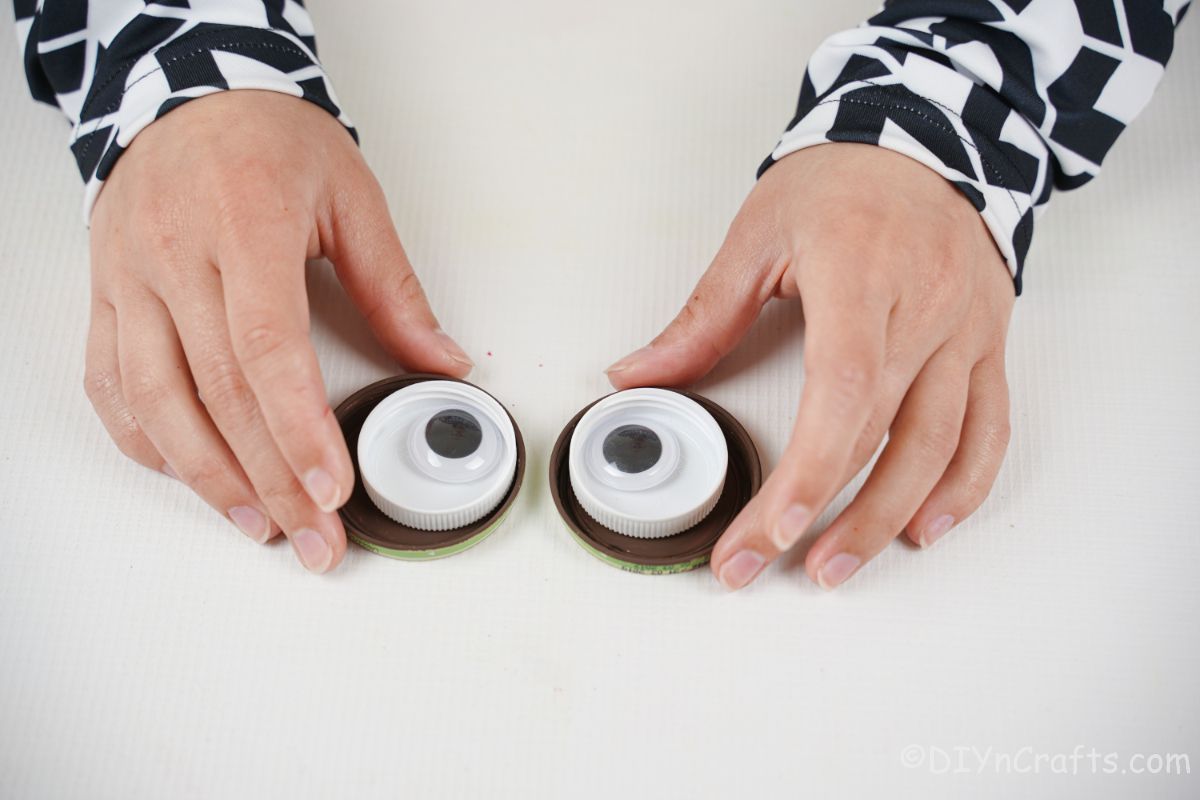
8. Create and attach the beak: Cut a small triangle from yellow foam paper (or felt) and glue it below where the eyes will be to form the beak. Then glue the assembled bottle-cap eyes to the top edge of the can so they sit above the beak.
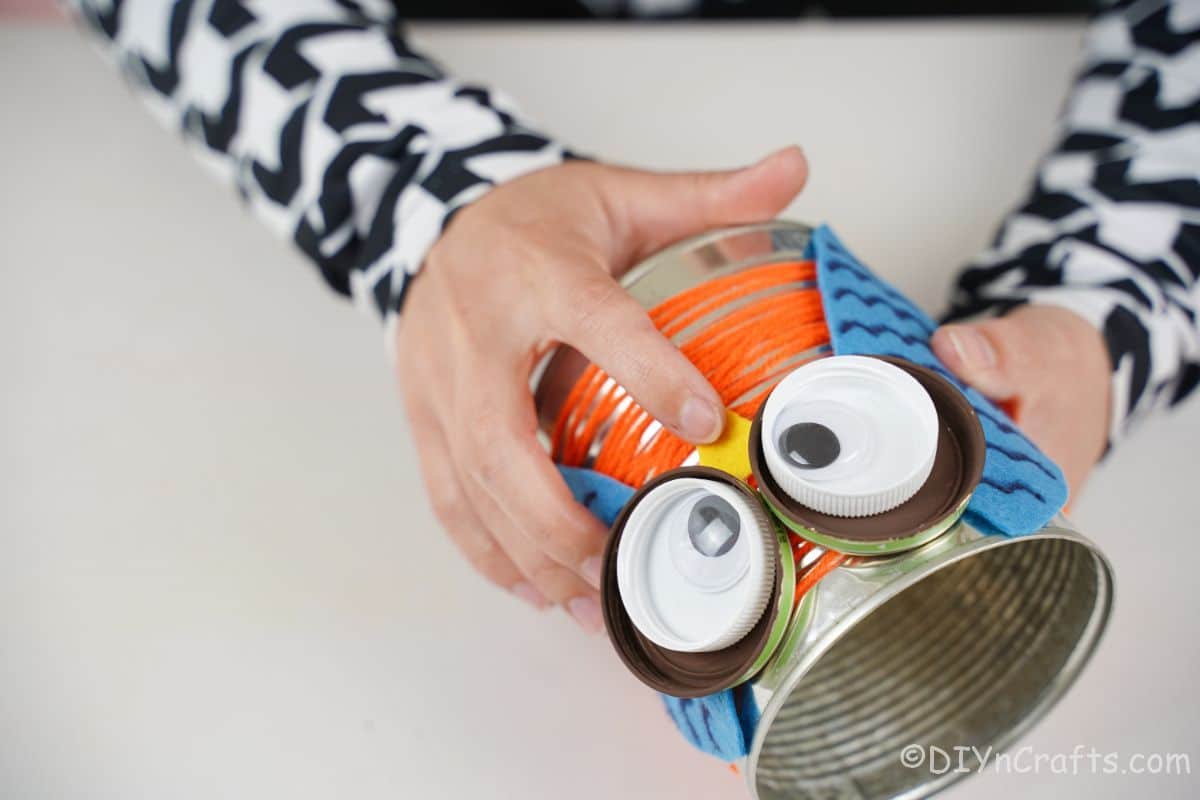
9. Finish and display: Once all glue and paint are dry, fill your owl with pencils, pens or paintbrushes and display on your desk or craft area.