Cute Crochet Strawberry Pouch Market Bag — Free Step-by-Step Pattern
Crochet market bags that fold into a compact strawberry-shaped pouch are a fun, eco-friendly accessory for shopping or everyday carry. This easy-to-follow pattern uses lime cotton yarn and simple stitches to create a small pouch that converts into a roomy net market bag. Below you'll find materials, the base-to-net pattern, assembly tips and finishing touches to make your own strawberry pouch.
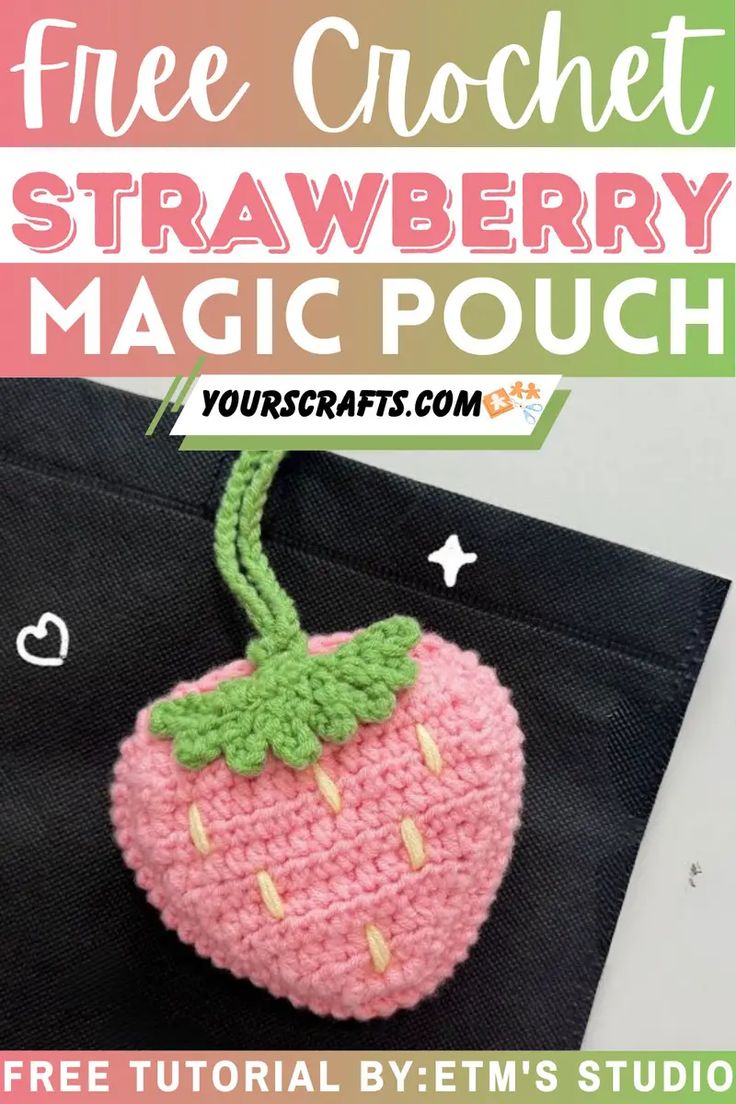
Finished strawberry pouch that converts into a net market bag.
Materials
- Five lime cotton yarn, approximately 100 g (use more yarn for a larger net bag)
- 4 mm crochet hook
- Stitch markers
- Scissors
- Yarn needle
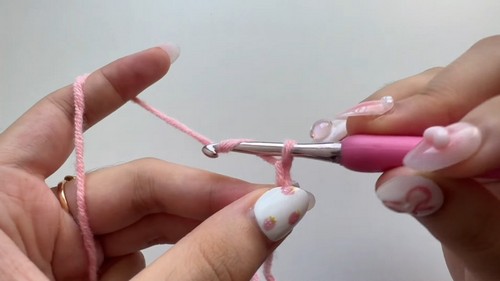
Pattern diagram showing increases for the pouch base.
Base of the Strawberry Pouch (worked flat)
- Start with a slip knot and chain 5.
- Row 1: Skip two chains. In the third chain make a half double crochet (HDC), make two HDCs in this same chain, one HDC in the next chain, then two HDCs in the last chain.
- Row 2: Chain 2 and turn. Make two HDCs in the first stitch, one HDC in the next three stitches, and two HDCs in the last stitch — you should have seven HDCs total.
- Rows 3–7: Continue a similar increase pattern each row to expand the base. The pattern described finishes Row 7 with 17 HDCs.
- Rows 8–9: Work one HDC in each stitch around (no increases), maintaining 17 HDCs.
- Row 10: Chain 2. Make decreases at the ends by working a two-stitch decrease (yarn over, insert into first stitch, pull up a loop, insert into next stitch, pull up a loop, yarn over and pull through all four loops) to reduce the stitch count at the edges.
- Row 11: Repeat similar decreases, finishing Row 11 with 13 HDCs.
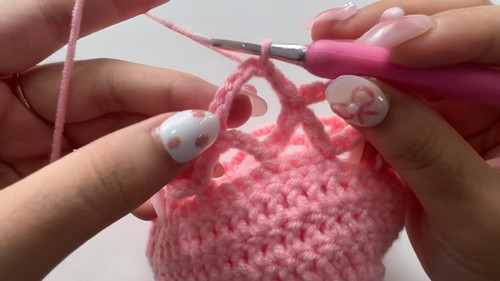
Oval base after increases and early decreases.
Transition to the Net Bag
After completing the base, work a single crochet border around the piece — the exact stitch count is not critical here. Then begin rounds of back-loop-only double crochets to start forming the net section.
Single crochet border and the first back-loop double crochet rounds to form the bag body.
Creating the Mesh for the Net Bag
To form the mesh, work repeated chain-and-skip rounds. The pattern notes:
- Common mesh repeat: chain 7, skip 3 (adjust the chain length or skip number for a bigger or denser net).
- Continue the chain/skip pattern around each round until the bag reaches the desired depth.
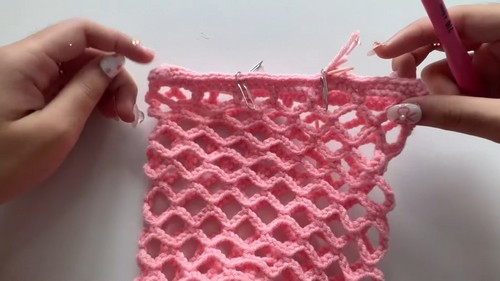
Mesh rounds forming the open net pattern for the market bag.
Sewing the Pouch and Finishing
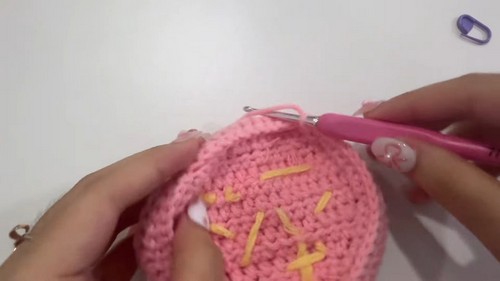
- Sewing seeds: Use yellow yarn to stitch small vertical seed-like accents on one side of the pouch to evoke a strawberry look.
- Joining the sides: With right sides together, join the pouch by crocheting around the edges, leaving an opening for the pouch interior.
- Leaf and strap: Crochet a short chain and leaf shape, then attach it at the top to form a handle/strap that also resembles a strawberry leaf.
- Transforming into a net bag: Flip the pouch inside out or expand the mesh to reveal a handy market bag when needed.
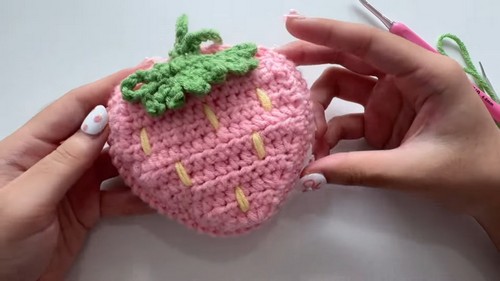
Finished pouch with yellow seed stitches, leaf and strap — flips out into a market bag.
Tips
- Use a stitch marker to mark the beginning of rounds when working the net.
- Add more yarn if you want a larger bag — increase chain lengths in the mesh rounds or add extra mesh rounds for depth.
- Weave in all ends securely; use a yarn needle to sew the seed accents neatly.
This pattern creates a charming, reusable bag that’s both decorative and practical for quick shopping trips. Enjoy crocheting your strawberry pouch market bag!