DIY Essential Oil Air Fresheners: Easy Custom Scented Stars for Home, Car & Closet
Make your own personalized essential oil air fresheners in minutes using simple craft supplies. These lightweight paper ornaments let you control the fragrance, style and intensity — perfect for closets, cars, drawers or any small space that needs a fresh scent. This project is quick, customizable and a great way to use your favorite essential oil blends.
Creating your own DIY essential oil air fresheners is not only fun but can also be a wonderfully satisfying experience. Just a few spritzes or drops of your unique blend can uplift your mood and create a welcoming atmosphere for yourself and your guests. You have the freedom to customize the scents to match your preferences and even experiment with different combinations until you find the perfect one. Get creative, have fun, and enjoy the delightful aroma of your personalized air fresheners!
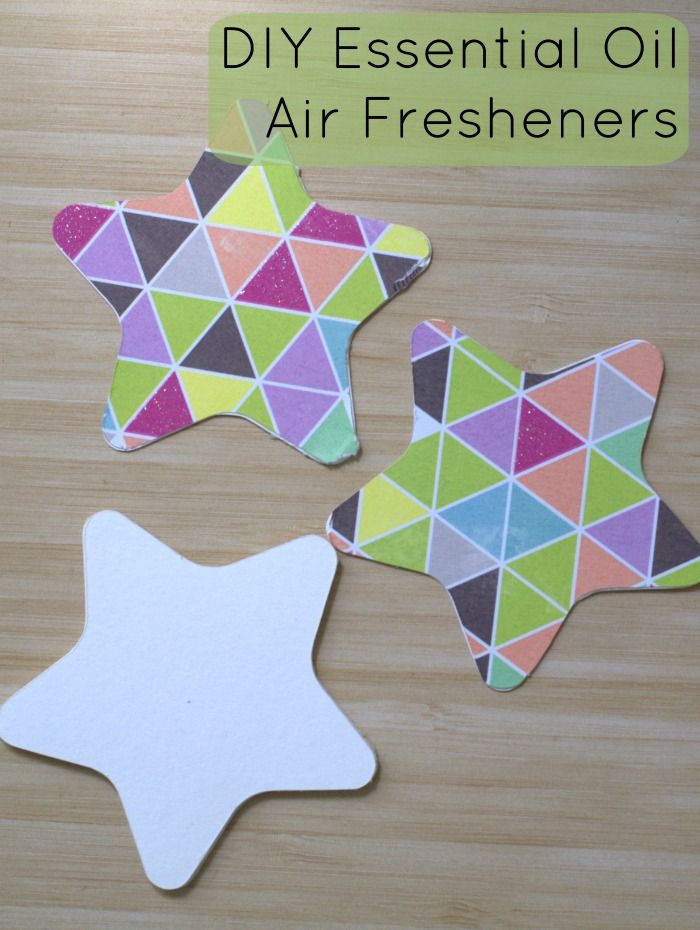
Caption: Finished DIY essential oil paper star air fresheners ready to hang or display.
Materials needed
- Essential oils – example: Lemongrass and Lavender (or your preferred oils)
- Heavyweight paper – e.g., 300 gsm (approx. 140 lb) watercolor paper
- Dry adhesive (permanent tape runner or similar)
- Ribbon
- Decorative paper (scrapbook paper or handmade paper)
- Scissors, X-Acto knife, Silhouette die cutter or other cutting tool
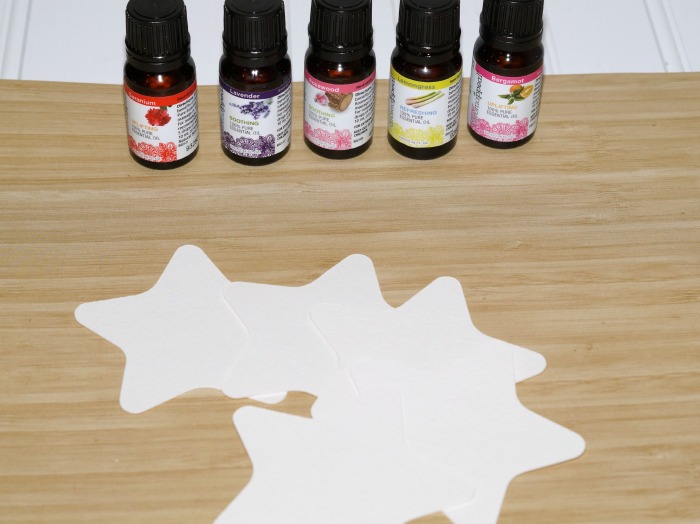
Caption: Basic supplies assembled for cutting and scenting the paper shapes.
Directions
1. Choose the shape you’d like your air freshener to be. You can cut shapes by hand, use a die cutter, or make a template. This tutorial uses a star with slightly rounded points about 3 inches in diameter.
2. Cut several copies of your chosen shape from the heavyweight paper.
3. For each scent you plan to make, set aside one cut shape. Put 3–5 drops of one essential oil onto one cut shape. Repeat for each oil and corresponding shape. Let the oil absorb and dry completely.
4. Construction: Take one plain (unscented) shape and apply dry adhesive across its surface—run 3–5 strips or enough to cover, making sure to get the tips and edges. Layer a scented shape on top and press to adhere, aligning the edges carefully.
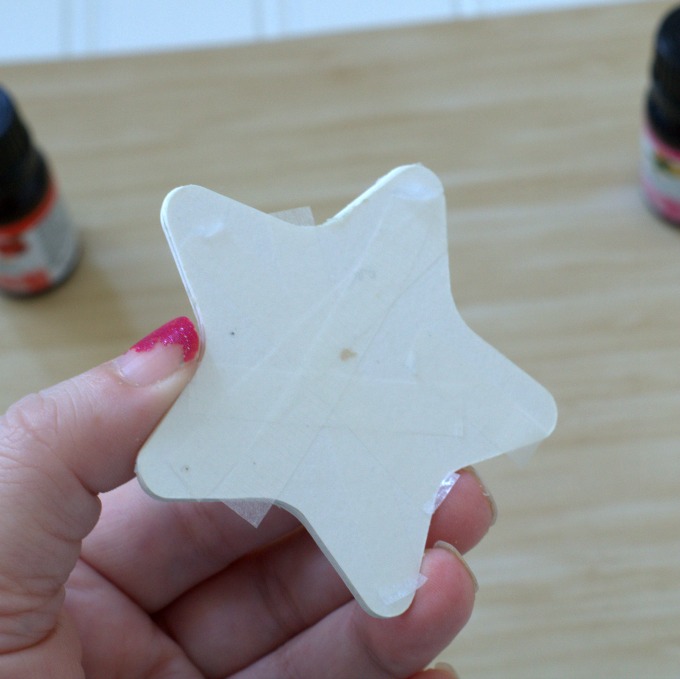
Caption: Layer plain and scented paper shapes with dry adhesive to trap the scent inside.
5. Repeat layering plain and scented shapes until you finish with a plain shape on the outside. If any adhesive overhangs the edges, you can gently rub it off with your finger.
6. Optional decoration: Cut smaller shapes from decorative paper and attach them to the outside layer the same way you attached the layers. This adds color and personality to each air freshener.
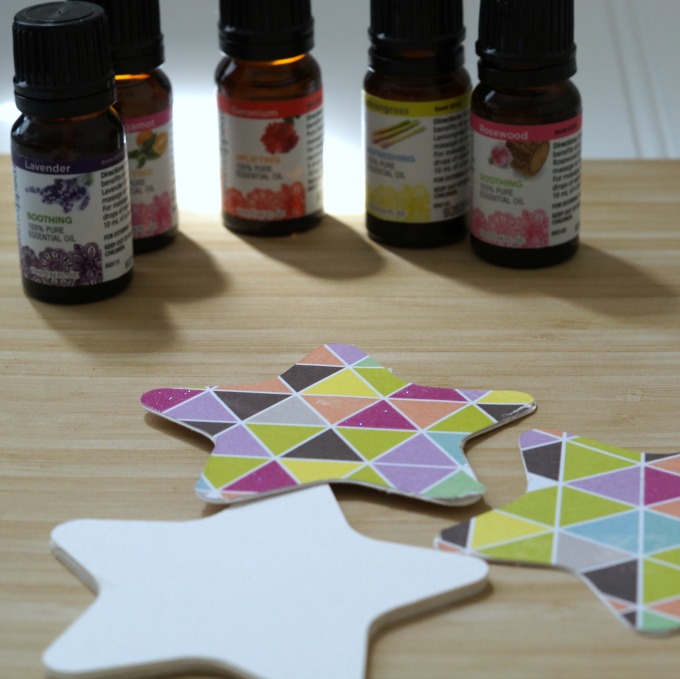
Caption: Punch a hole near the top, thread ribbon through the layers and tie to hang in a closet, car, or small space.
7. If you’ll be hanging the air freshener, punch holes in the shapes before assembling so the holes will line up. Thread ribbon through and tie a knot to hang.
Tips
- Adjust the number of drops to control scent strength — more drops produce a stronger initial aroma.
- Let scented pieces dry fully before sealing them between layers to avoid transferring oil to exterior surfaces.
- Refresh scent by adding a drop or two to the exposed edges when the aroma fades.
- These air fresheners work well in closets, cars, drawers and small rooms — avoid placing directly on delicate fabrics if unsure how the oil will react.