Create a Vivid Pounded-Flower Tote: Easy DIY Natural-Dye Tutorial
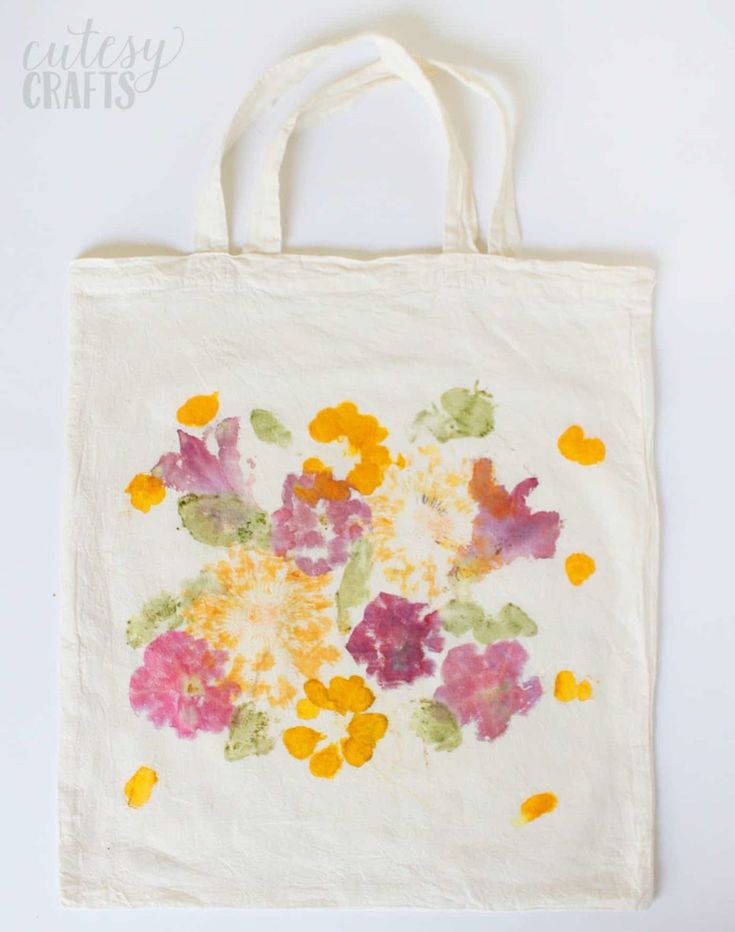
Bring nature to your daily carry with this simple, satisfying DIY: a pounded-flower tote. Using fresh blooms and a few household supplies, you can transfer natural pigments onto cotton for a one-of-a-kind bag. This guide walks you through prepping the tote, arranging and pounding flowers, and heat-setting the prints so your design lasts.
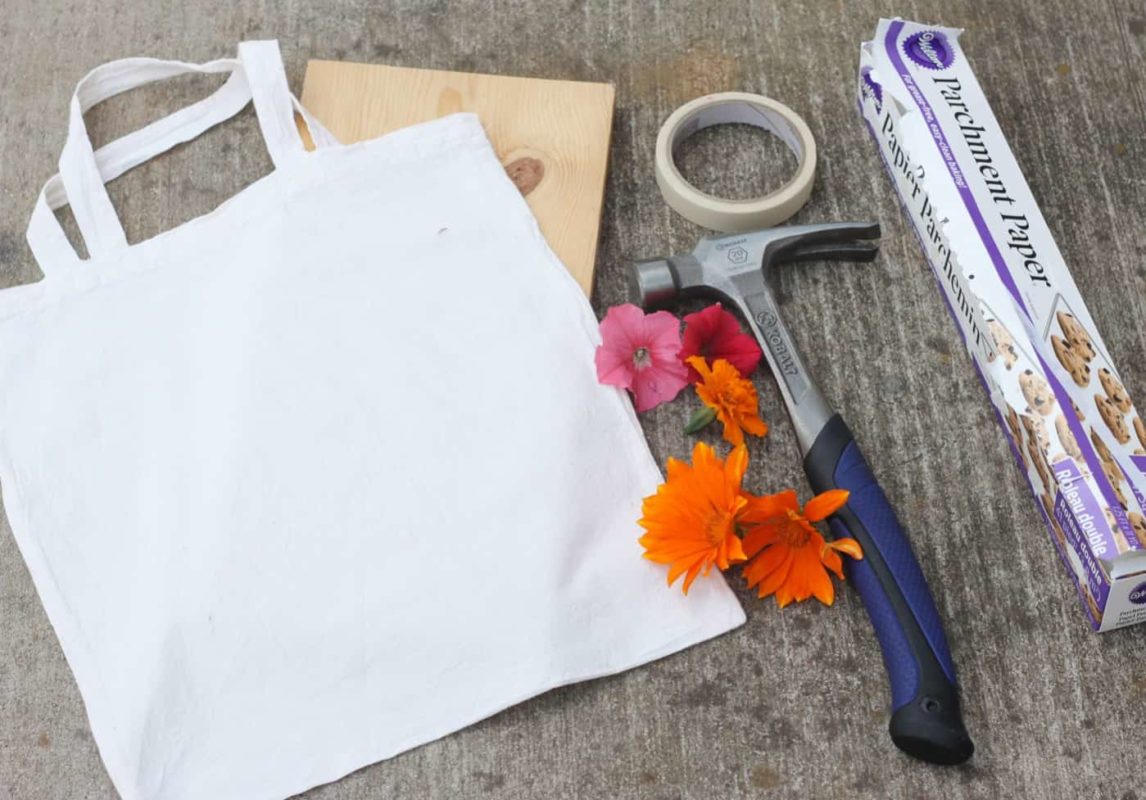
Tools and safety: wear rubber gloves when handling alum and floral juices, work on a sturdy board, and protect surfaces with parchment paper.
Equipment
- Rubber gloves
- Board
- Hammer
Materials
- Cotton tote
- Alum powder
- Parchment paper
- Masking tape
- Fresh flowers and leaves
Instructions
1. Prepare the bag: wash the cotton tote to remove sizing or residue so the dyes can take well.
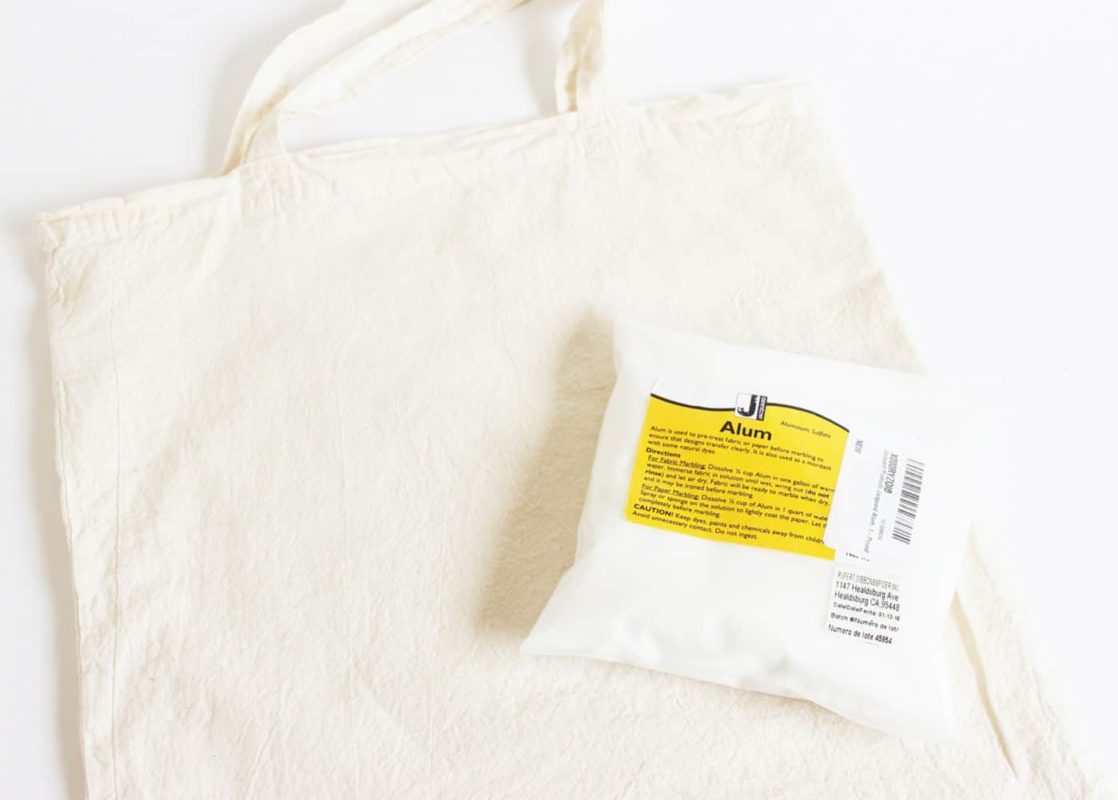
2. Mordant the fabric: dissolve about 1/4 cup alum in two cups of hot water. Soak the bag thoroughly in the solution, wring it out gently, then let it air dry. Iron the tote to remove wrinkles so the floral prints lay flat.
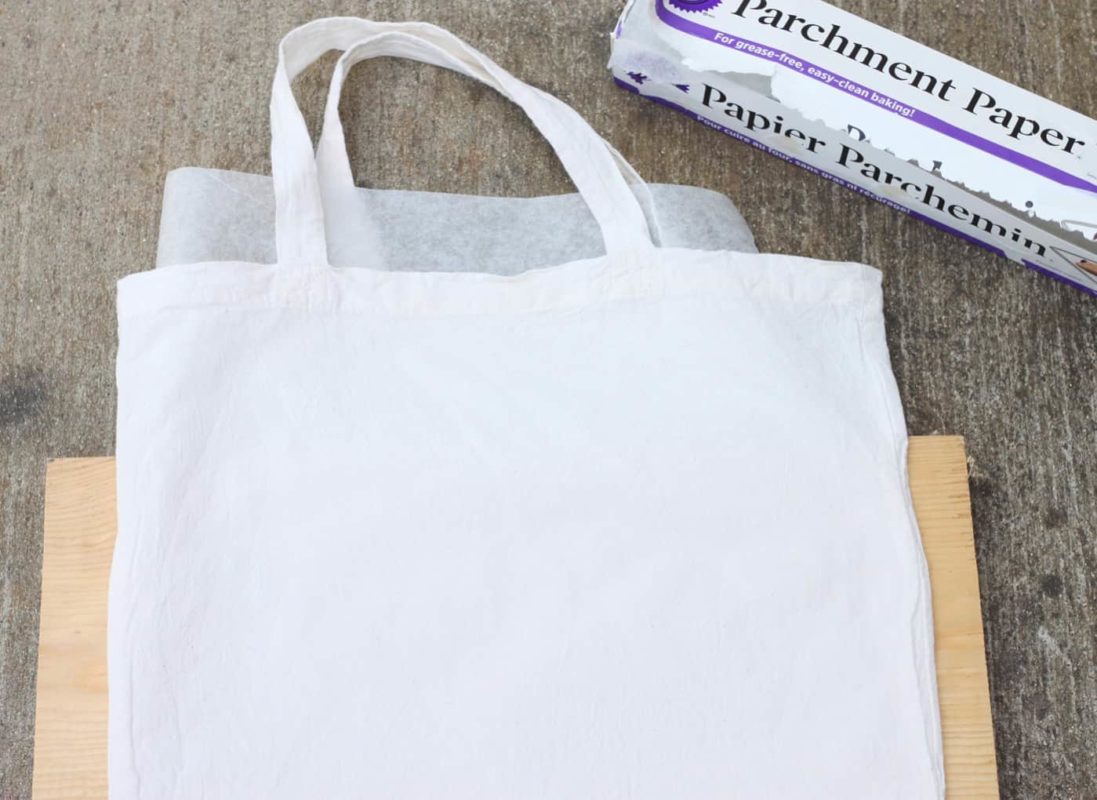
3. Protect the inside: slip a piece of parchment paper inside the tote to prevent dye from seeping through to the other side or into the bag interior.
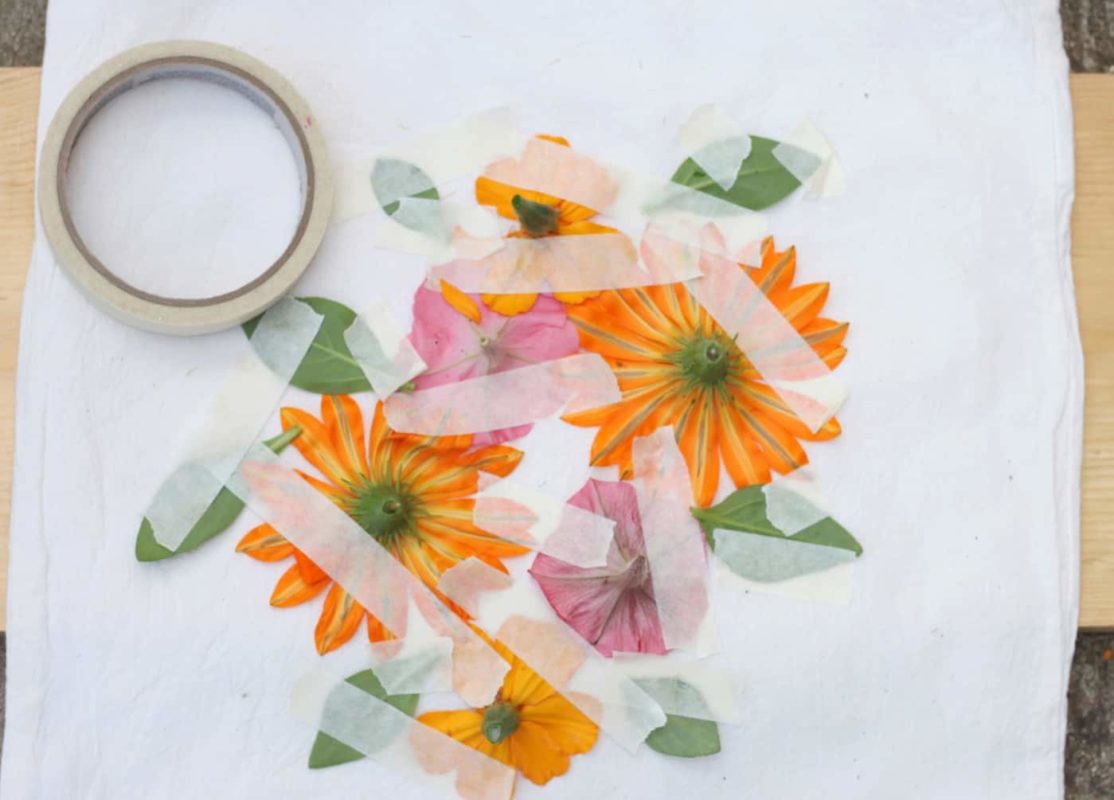
4. Arrange and secure flowers: lay out flowers and leaves on the bag. For very full blooms, remove some inner petals so the print will be clearer. Arrange elements as desired and press them flat with masking tape to keep them from shifting.
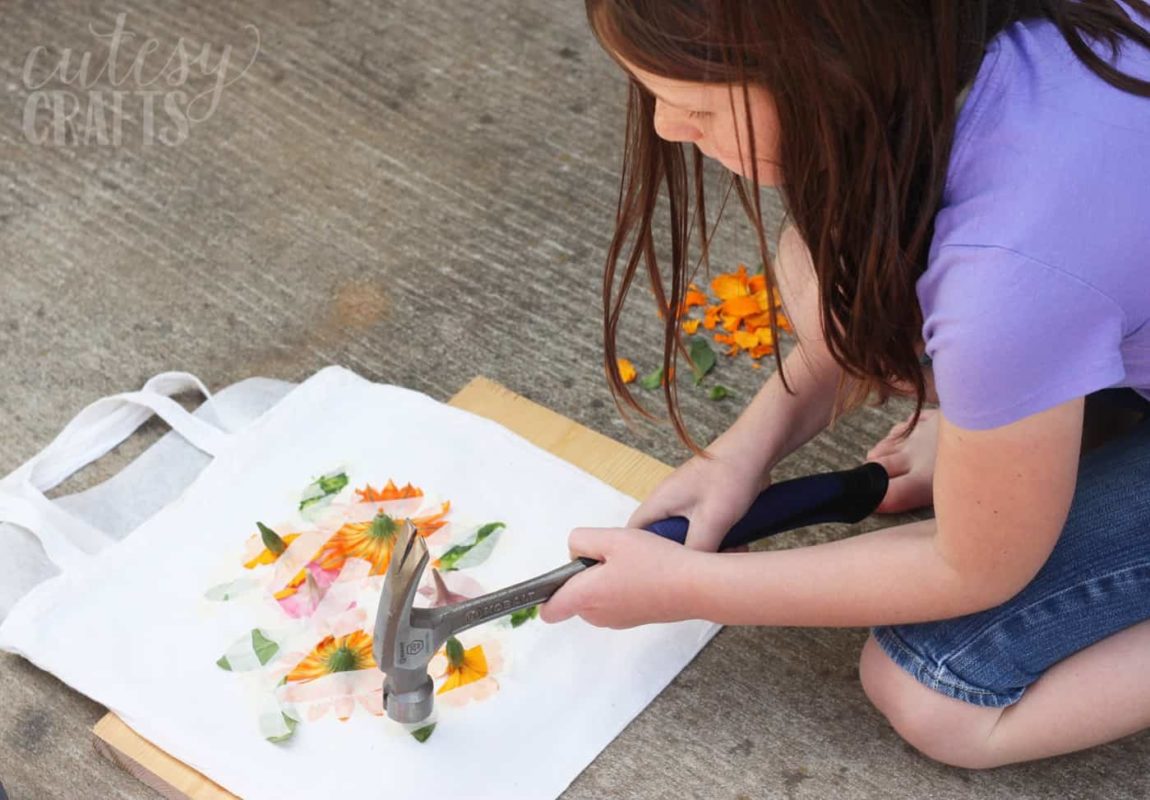
5. Pound the flowers: place the bag on your board and use a hammer to firmly strike each flower so pigments transfer into the fabric. Hit all parts of the blooms, especially centers and petals.
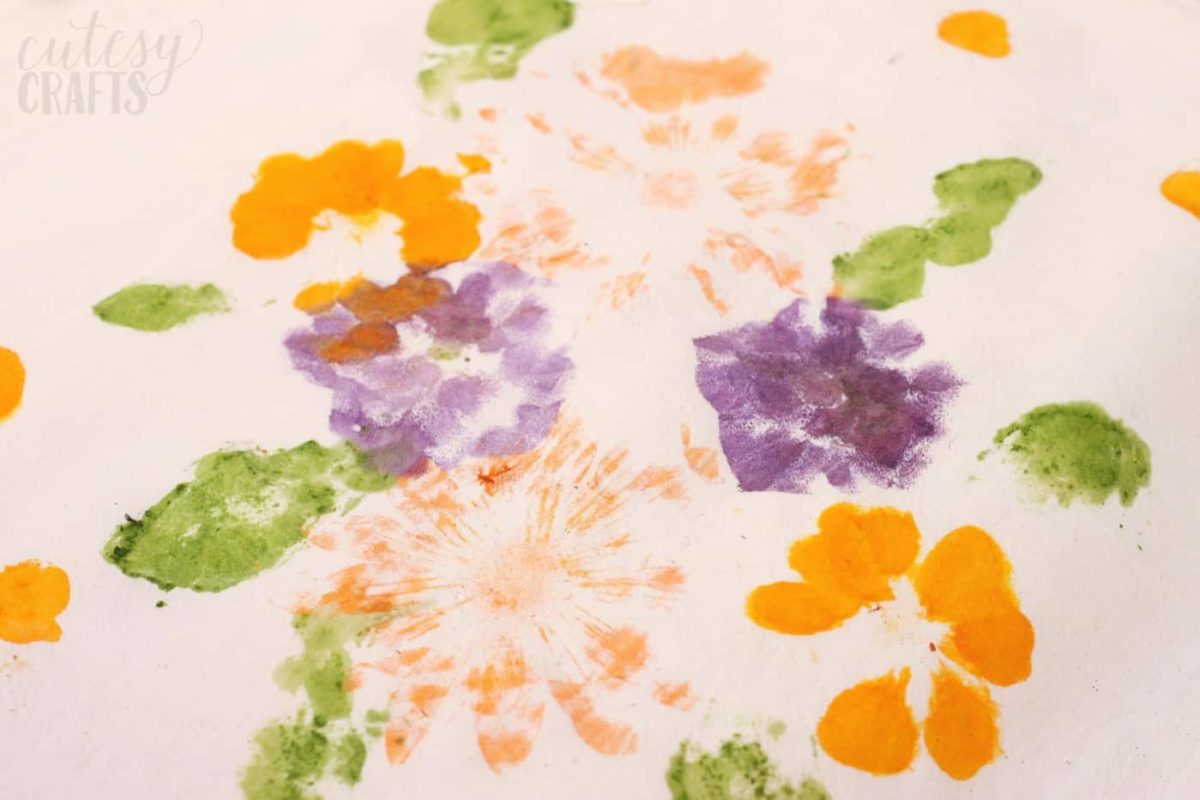
6. Reveal and repeat: carefully peel away the flower bits and tape to check the print. Add more flowers in empty or random areas and hammer as needed until you achieve the coverage and look you like.
7. Heat-set the colors: once satisfied, let the bag dry. Place a fresh piece of parchment paper over the design and iron on a hot, dry setting (no steam) to help set the pigments and reduce fading.
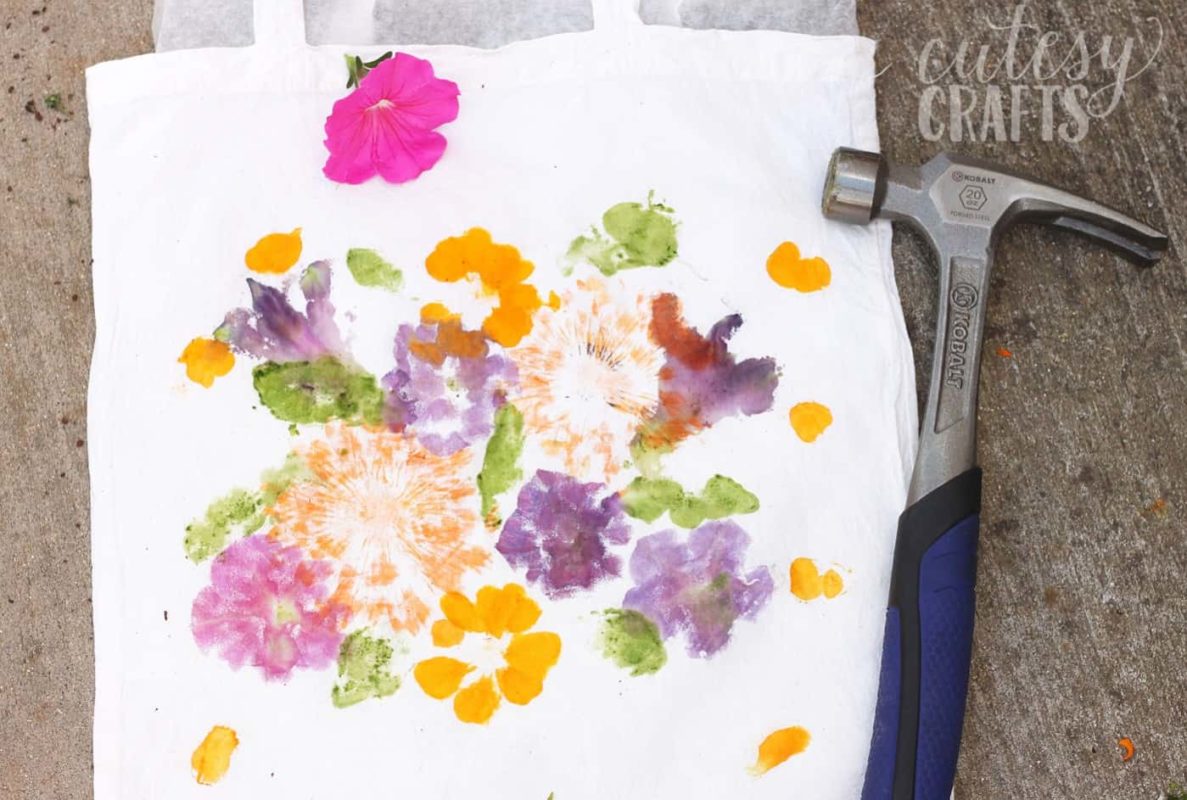
8. Finished look and care: after heat-setting, your tote will display organic, painterly floral marks. Let it rest fully before use.
Notes
The smaller flowers used here included marigolds and petunias; marigolds tended to give the brightest orange pigments. I left some stems attached but didn’t hammer them — removing stems can make fragile blooms fall apart. You may get some prints that look like dots from hammer marks; practice on scrap fabric or paper first to refine your technique.
Washing instructions: machine wash cold without bleach and avoid harsh detergents; air dry or tumble dry low. The colors are natural and may fade slowly over time.