How to Crochet a Mini Button Pouch — Easy Pattern for a Cute Coin & Earbud Case
The Crochet Mini Button Pouch is an adorable, practical accessory that adds a touch of charm to everyday essentials. This quick project uses light DK (weight 2) yarn and a 2 mm hook to create a compact pouch perfect for coins, lip balm, earbuds, or small trinkets. Follow the clear step-by-step pattern below to crochet, assemble, and finish your mini pouch with a sweet button closure.
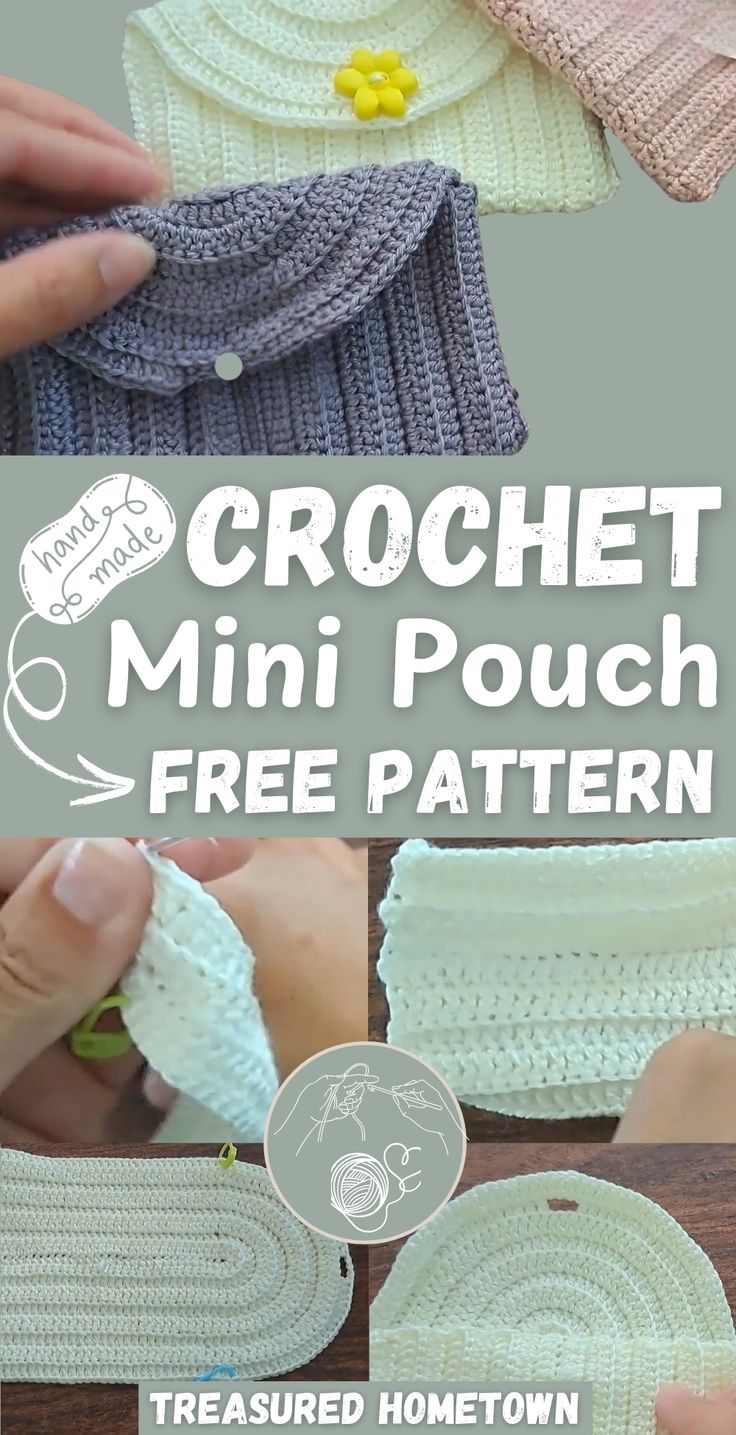
Materials Needed:
Scissors
Darning needle
Two stitch markers
Button
2 mm crochet hook
Weight 2 yarn (light DK)
Base and Body
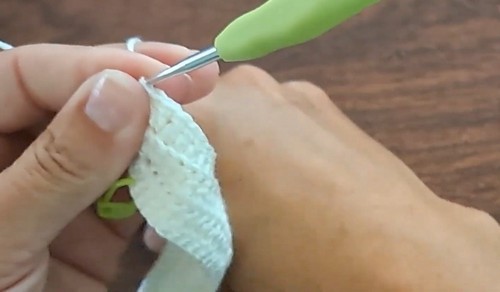
Initial Chain:
Chain 50.
Row 1:
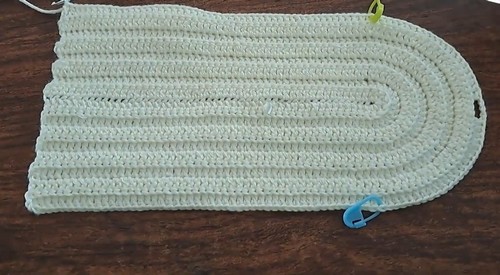
Chain 2. Double crochet into the 3rd chain from hook. Double crochet in each chain (49 total). In the last chain, place 6 double crochets to curve around. Continue with 49 double crochets on the opposite side. Place stitch markers at first and last double crochets of the row.
Body Rows

Row 2:
Chain 2 and turn. Double crochet in the back loops only for the next 49 stitches. At the marker, double crochet twice into each of the 6 curved stitches (12 total). Continue 49 double crochets (back loops only).
Rows 3 to 7:
Repeat Row 2, increasing at the curve stitches as instructed. Maintain back loop only for all straight stitches.
Buttonhole
Row 8:
Work the established pattern until you reach the desired buttonhole location. Chain 4 and skip 3 stitches to create the hole. Continue the row as normal.
Final Row
Row 9:
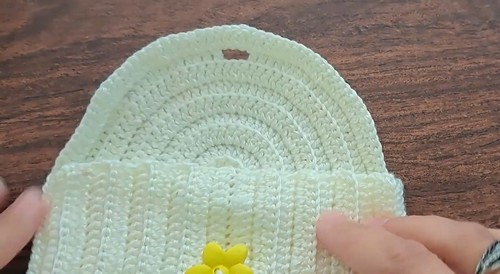
Continue in pattern to complete the body after the buttonhole row.
Assembly
Fold the pouch so the right sides meet and align the sides. Sew or slip stitch the sides closed. Turn the pouch right side out. Attach the button on the opposite side of the buttonhole so the flap secures neatly.
Finishing tip: Weave in ends with a darning needle and block very lightly if desired to even out stitches. This small pouch makes a lovely handmade gift or a practical addition to your own bag.