Popsicle Stick Picture Frame
Craft enthusiasts and DIY lovers, get ready to add a touch of creativity to your home decor with a unique and charming project - the Popsicle Stick Picture Frame! This delightful craft idea allows you to showcase your favorite memories in a personalized and eye-catching way. This craft project is not only a fun way to spend your free time but also a fantastic opportunity to create a thoughtful and heartfelt gift for your loved ones. Imagine the joy on their faces when they receive a handmade Popsicle Stick Picture Frame with a cherished photo inside. So, gather your supplies, let your creativity shine, and enjoy the process of making a one-of-a-kind picture frame that will add a touch of charm to any space.
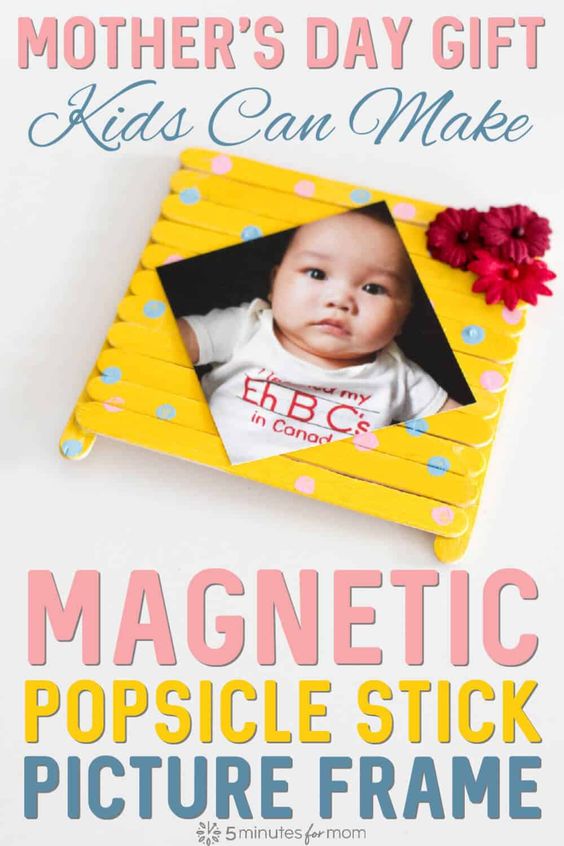
Supplies Needed:
- 13-15 standard-sized popsicle craft sticks
- Acrylic paint, in 3 different colors of your choice
- Foam paint brush
- 2 cotton swabs
- Hot glue gun
- Magnetic sheet with an adhesive backing
- Decorative flower pieces (usually used for scrapbooking)
- Your favorite picture of your little one!
STEP 1 – START PAINTING
The exciting part about this DIY is that the first step is one even the littlest kids can help out with. Choose one of your acrylic paint colors to paint the surface of all of your popsicle sticks.
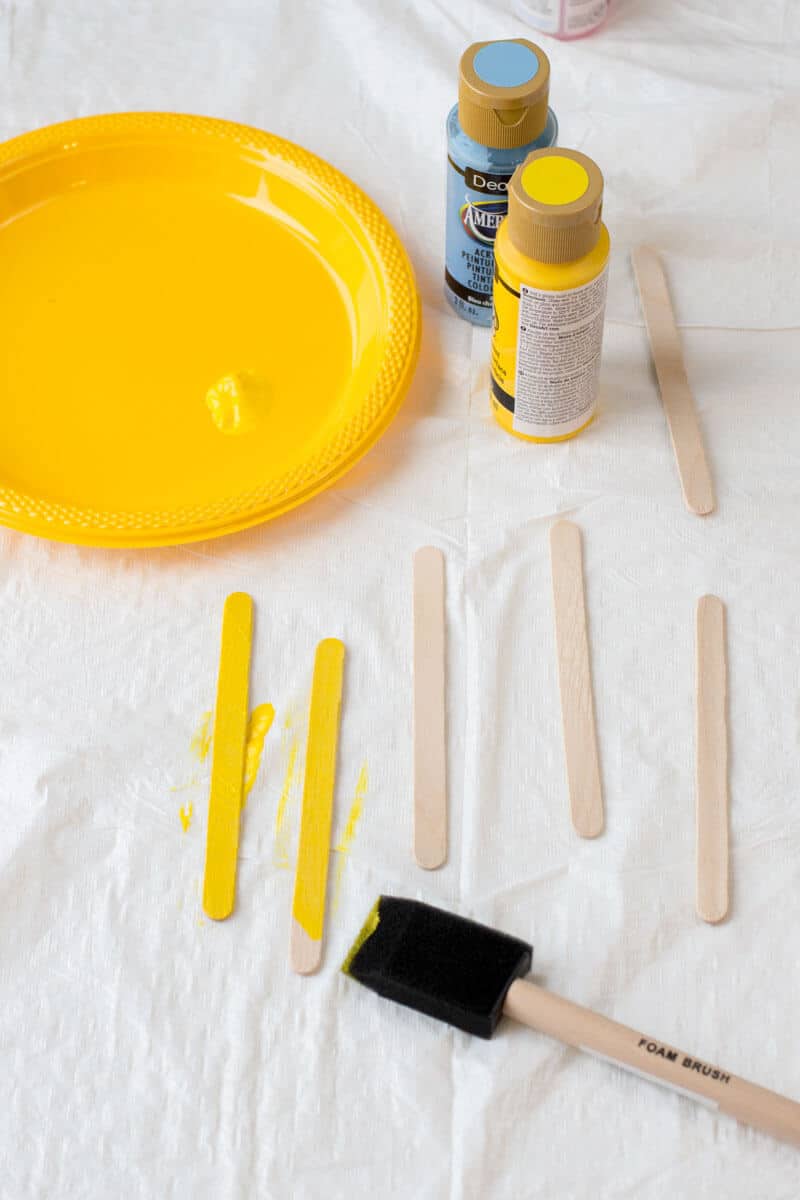
Allow to completely dry before proceeding to the next step.
STEP 2 – CREATE THE FRAME
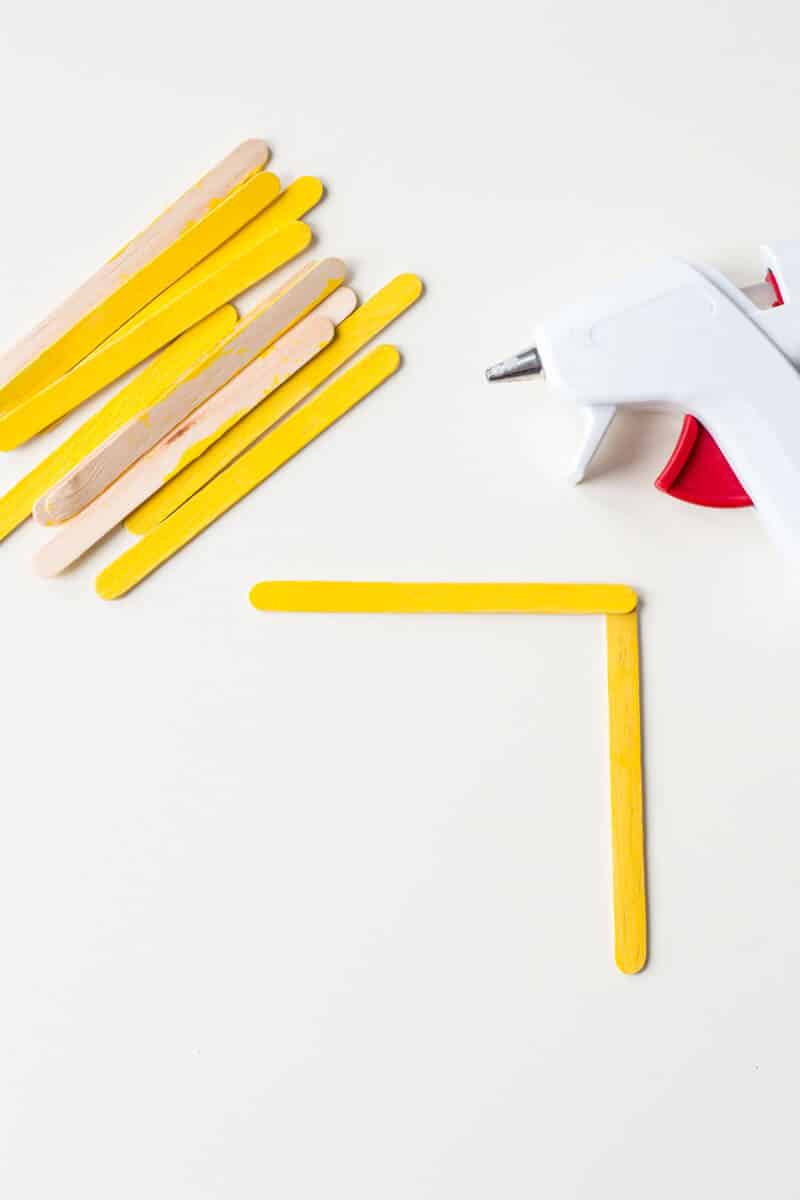
Grown-ups, now it’s your turn to help. Create the shape of the frame by first, adding hot glue to one end of 2 popsicle sticks (you will add glue on the back of one and on the second, on the painted side).
Attach together to create an “L” shape.
STEP 3 – FINISH OFF THE FRAME’S STRUCTURE
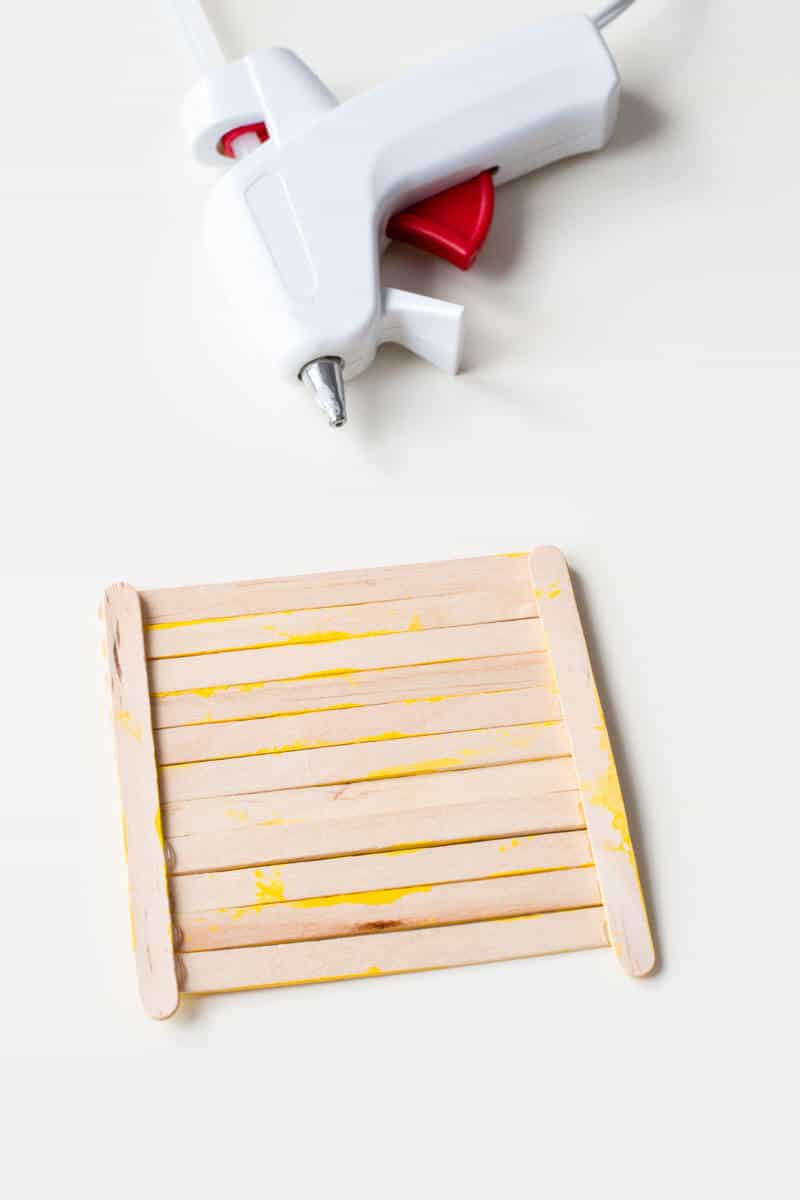
Add glue to one end (on the painted side) of a popsicle stick, and attach it under the horizontal stick.
Continue by gluing the ends of the backside of your remaining popsicle sticks and attach them to your structure. Continue until it’s filled.
STEP 4 – DECORATE WITH PAINT
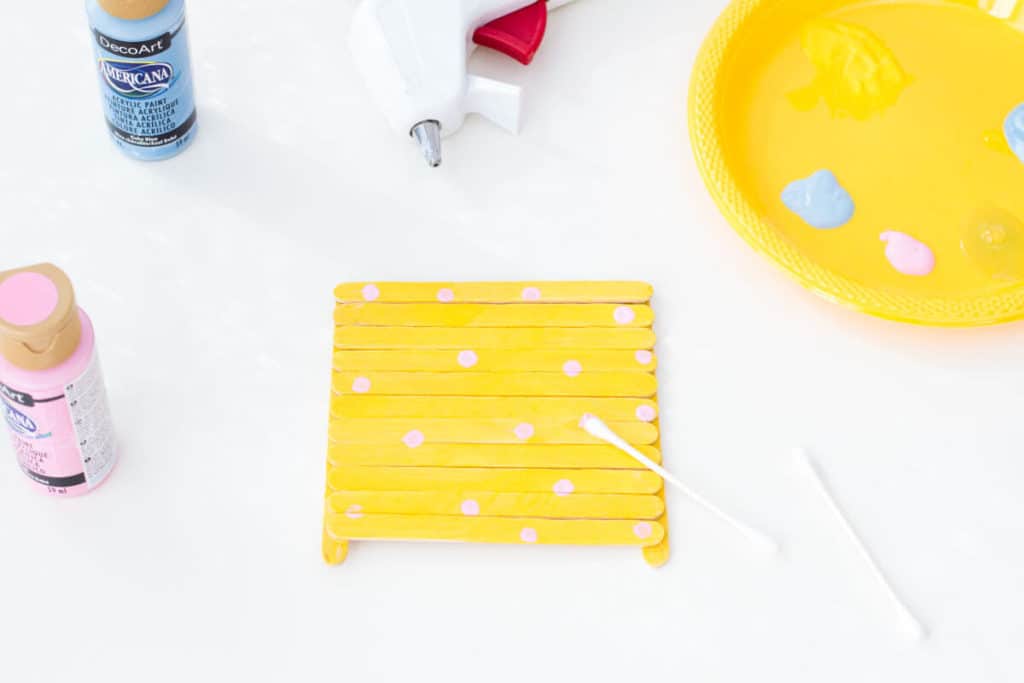
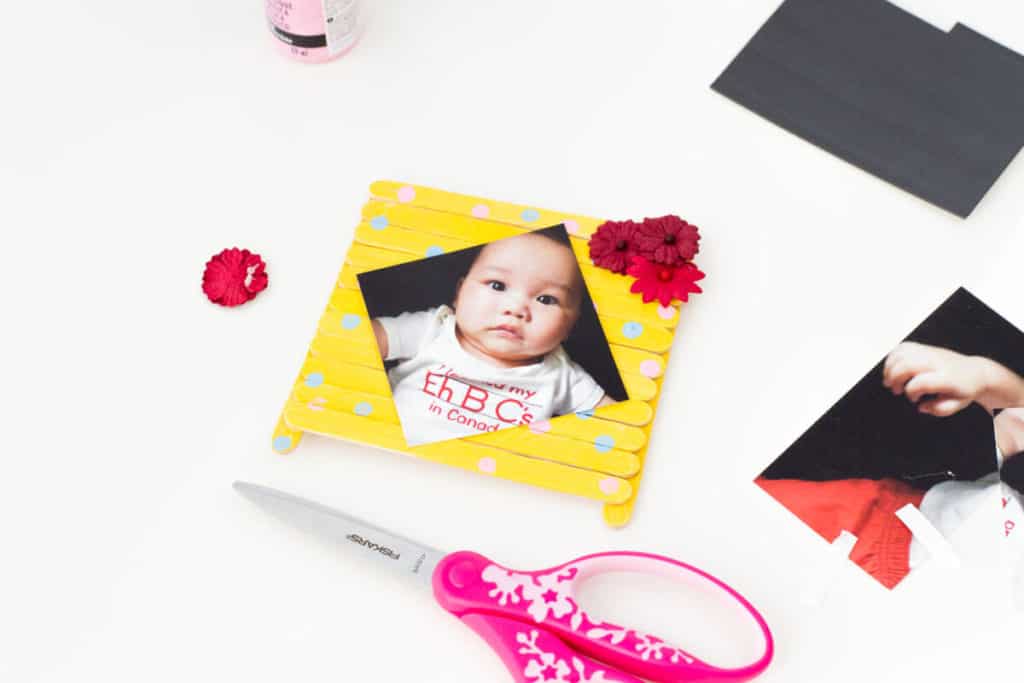
Once the glue has dried, your kiddos can join-in the DIY fun again! Use the 2 cotton swabs to paint polka dots all over the frame. You may use your two remaining acrylic paints to create a colorful piece!
STEP 5 – ADD FLOWER DETAILS
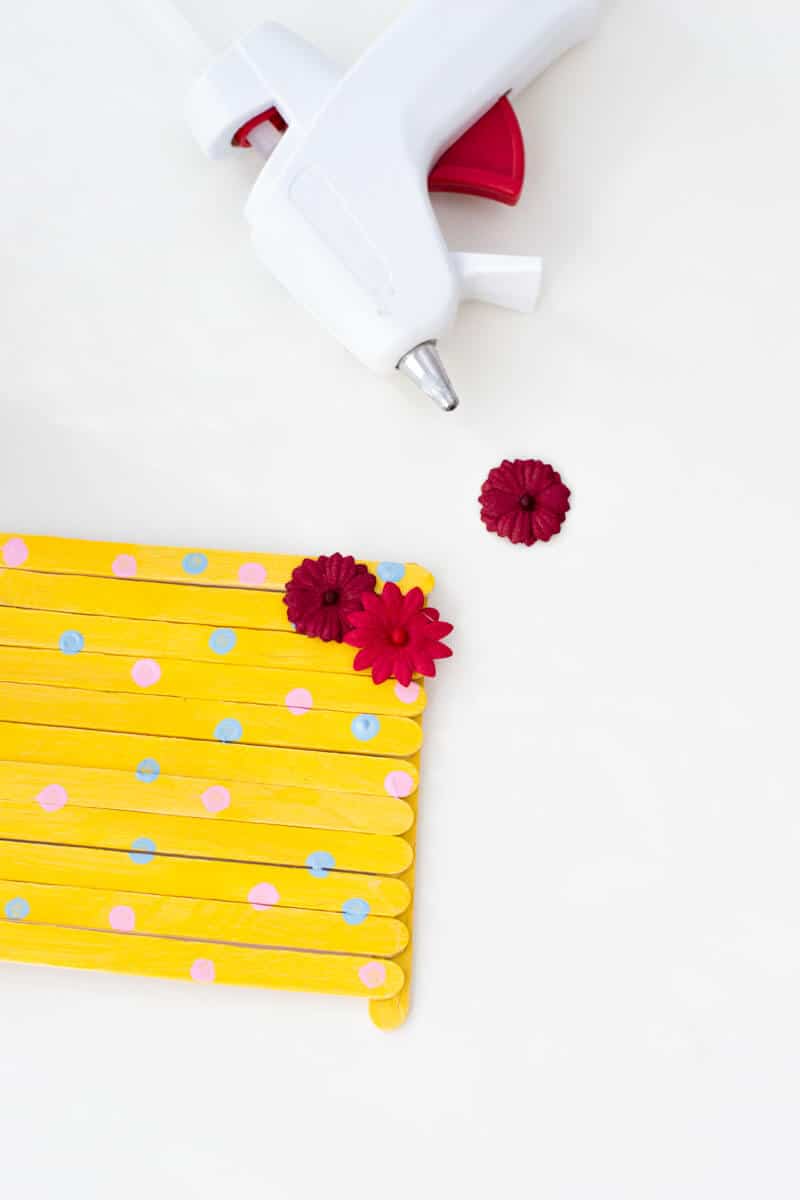
Glue your decorative flower pieces on the corner of your frame.
STEP 6 – MAKE IT MAGNETIC
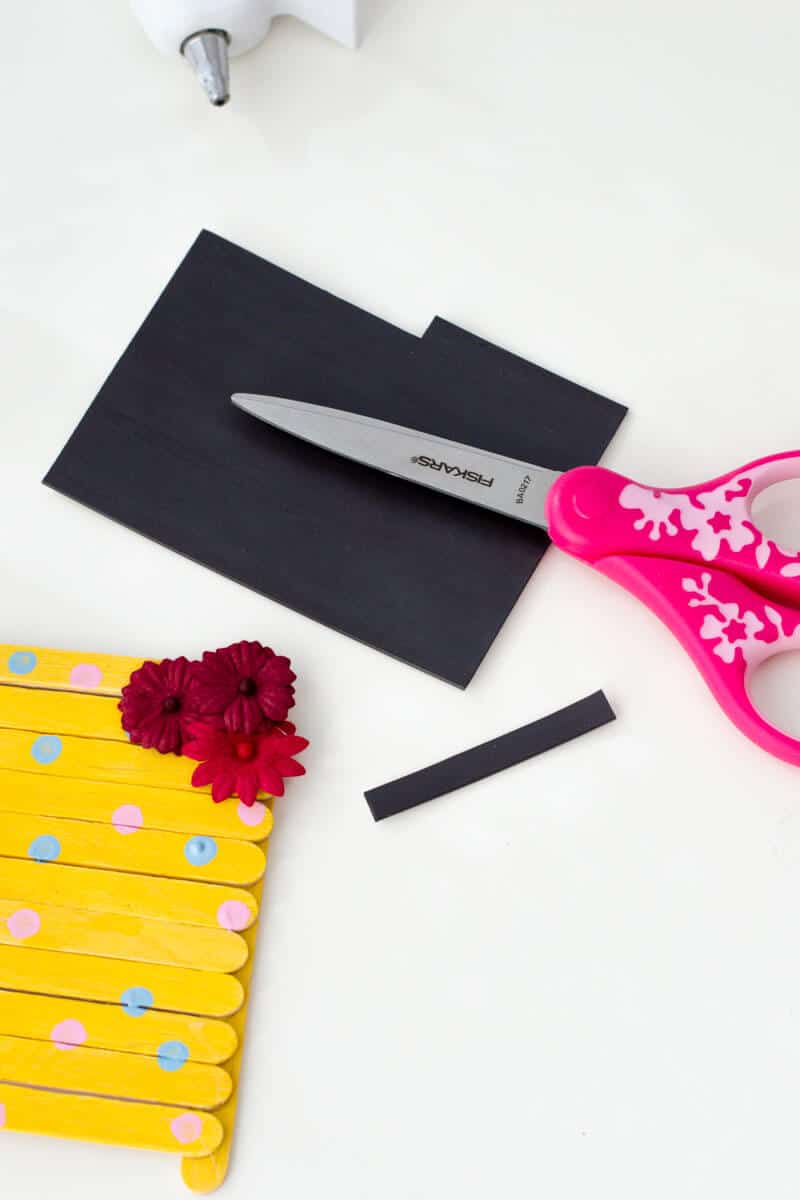
Cut out 2 small pieces of your magnetic sheet and stick it behind the frame.
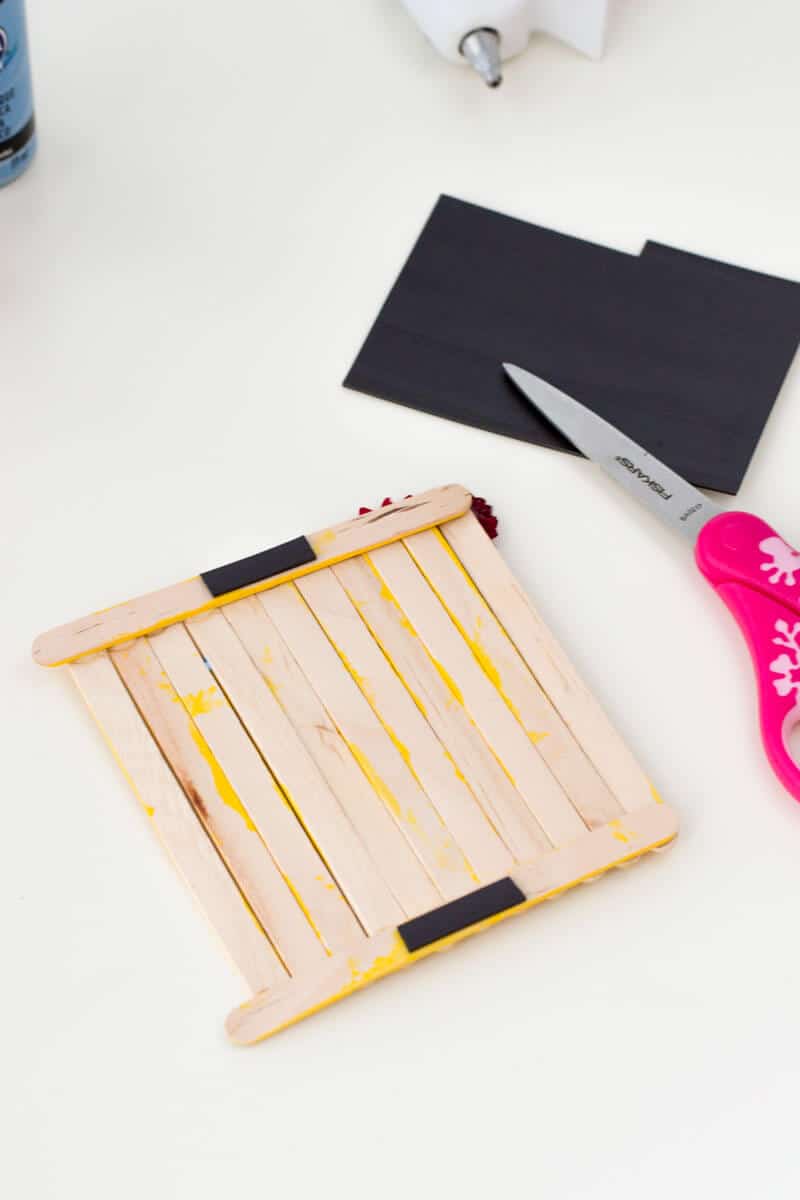
STEP 7 – ADD A PHOTO TO THE POPSICLE STICK PICTURE FRAME
Trim a photo and glue on the front center of your newly-created frame.
That was so easy to make!