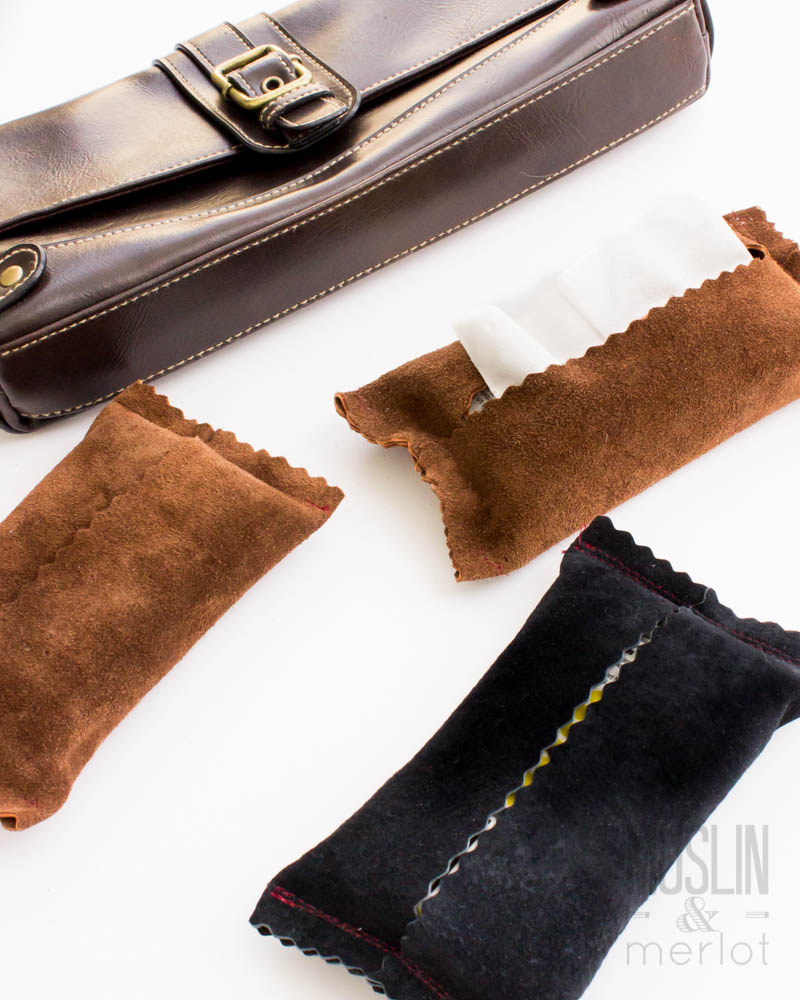
DIY Tissue Pouch
Create your very own handmade tissue pouch with this easy do-it-yourself project. This simple craft allows you to personalize your pouch with your favorite fabric, colors, and embellishments. You can choose a design that matches your style and preferences, making it a unique accessory that you can proudly show off. By following step-by-step instructions, you can easily sew together a functional and stylish tissue pouch that you can use on the go or at home. Whether you're a beginner or an experienced crafter, this project is perfect for anyone looking to create something special. You can experiment with different fabrics, patterns, and sizes to make a pouch that suits your needs. With just a few materials and some basic sewing techniques, you can have a one-of-a-kind tissue pouch that reflects your individuality and creativity. Let your imagination run wild and enjoy the process of making something beautiful and practical at the same time.
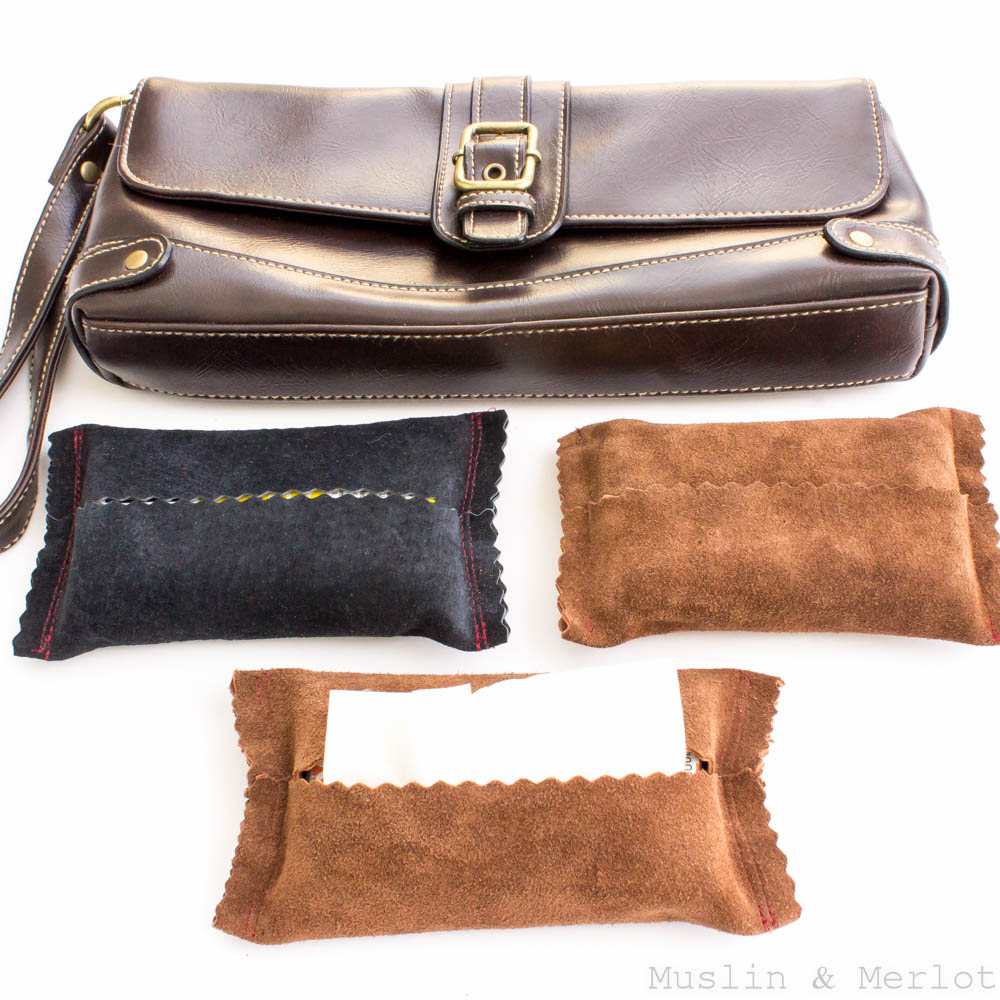
You will need:
- Rotary Cutter with Pinking Blade, Scissors or Pinking Shears
- 6"x7" Rectangle - Crafting Felt, Felted Sweater or Leather
- Sewing Machine & Coordinating Thread or Needle & Thread
- Kleenex Pocket Packs (or whatever brand you prefer!)
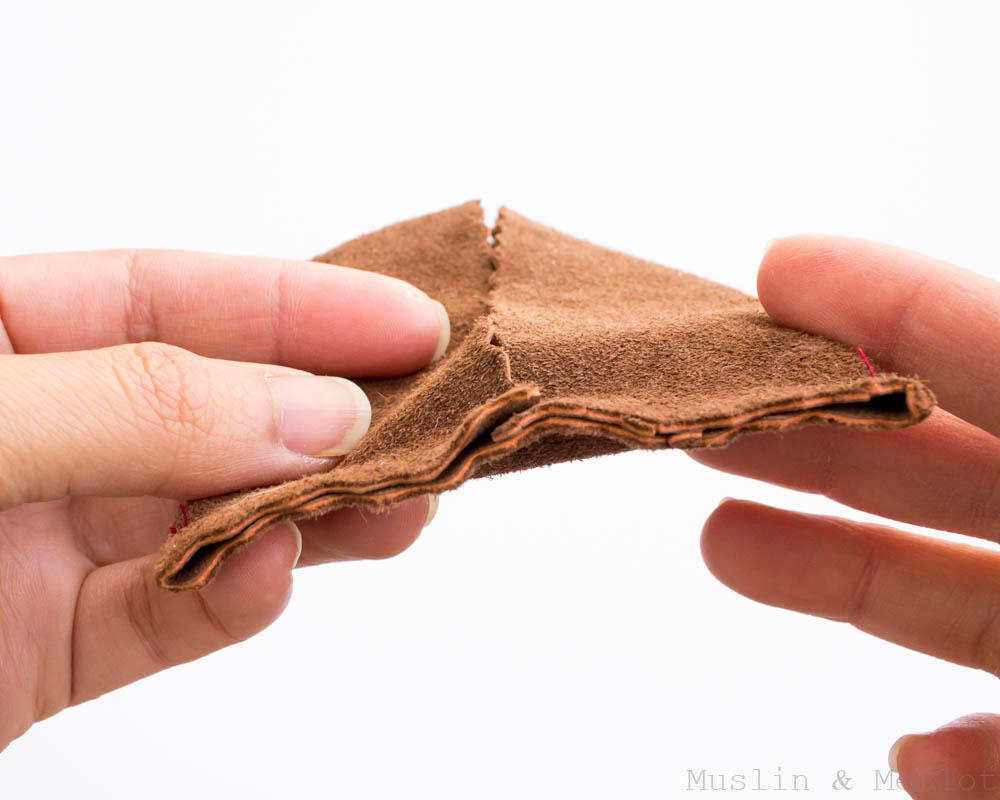
Sew both ends closed with a 1/3 inch allowance. Remember to backstitch! Make another line of stitching 1/8" away from the first seam.
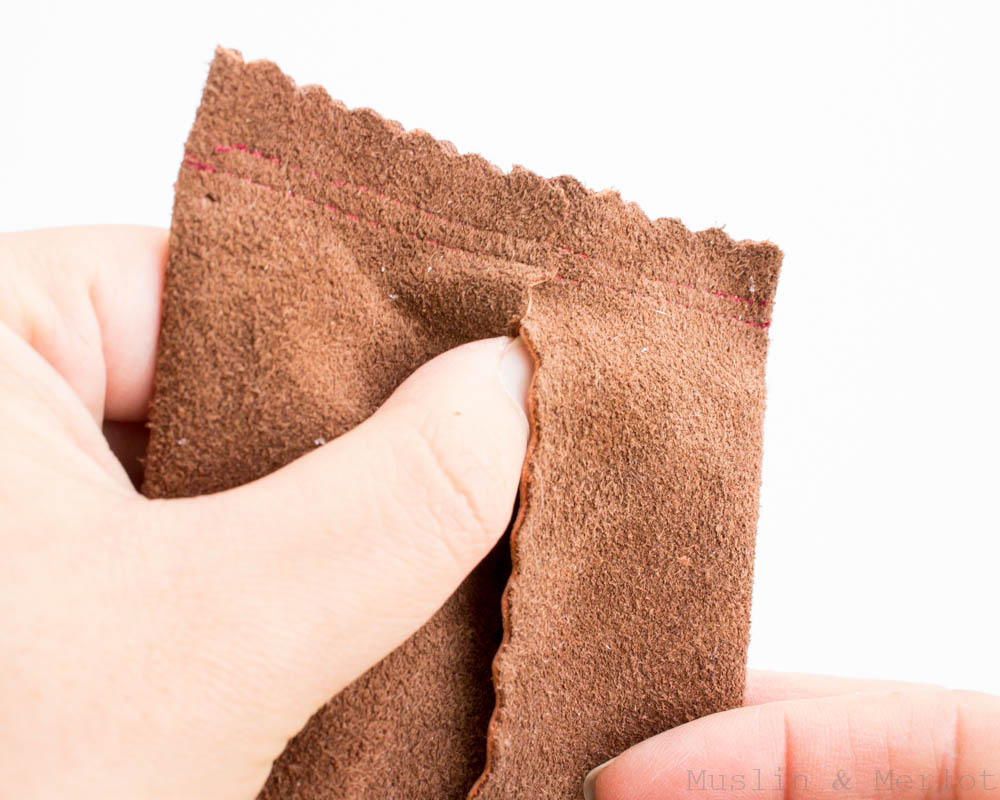
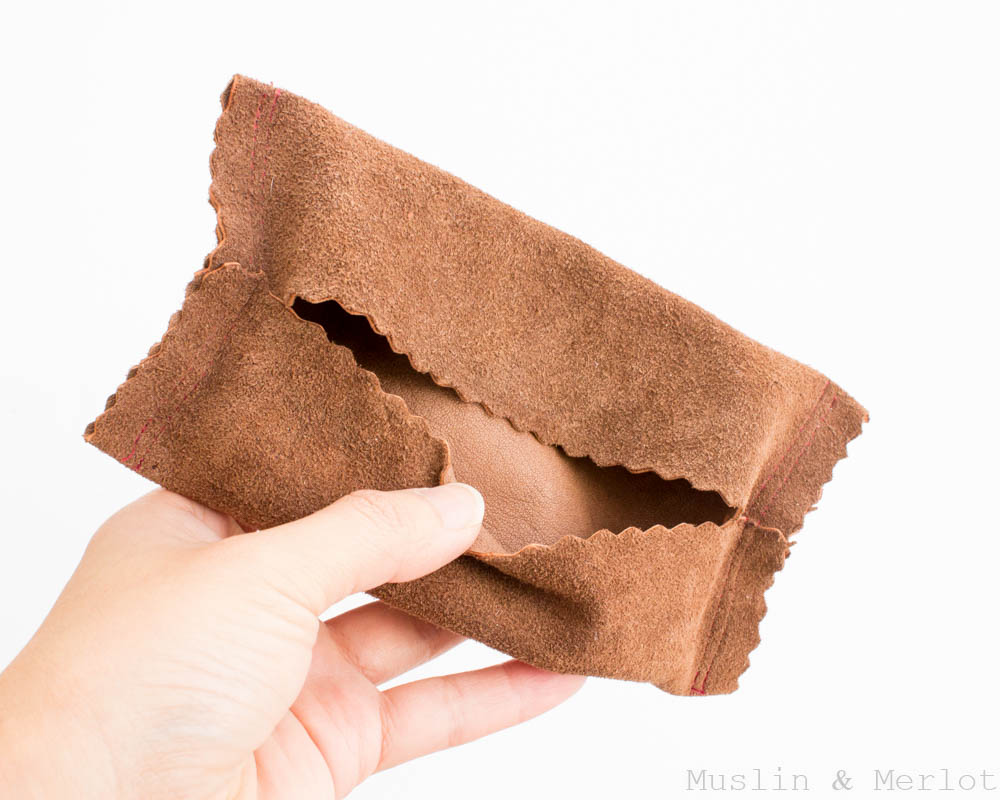
Place the pocket pack of tissues inside the pouch.
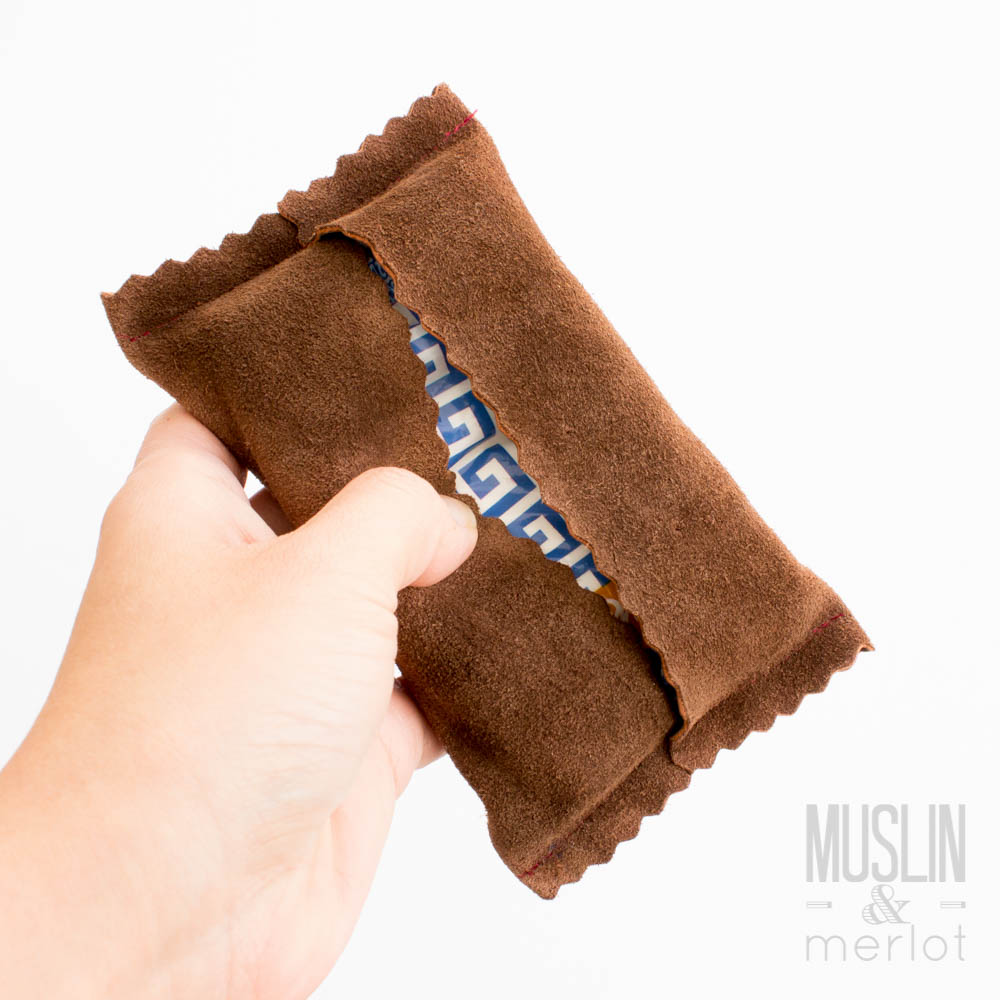
And put it in your purse!