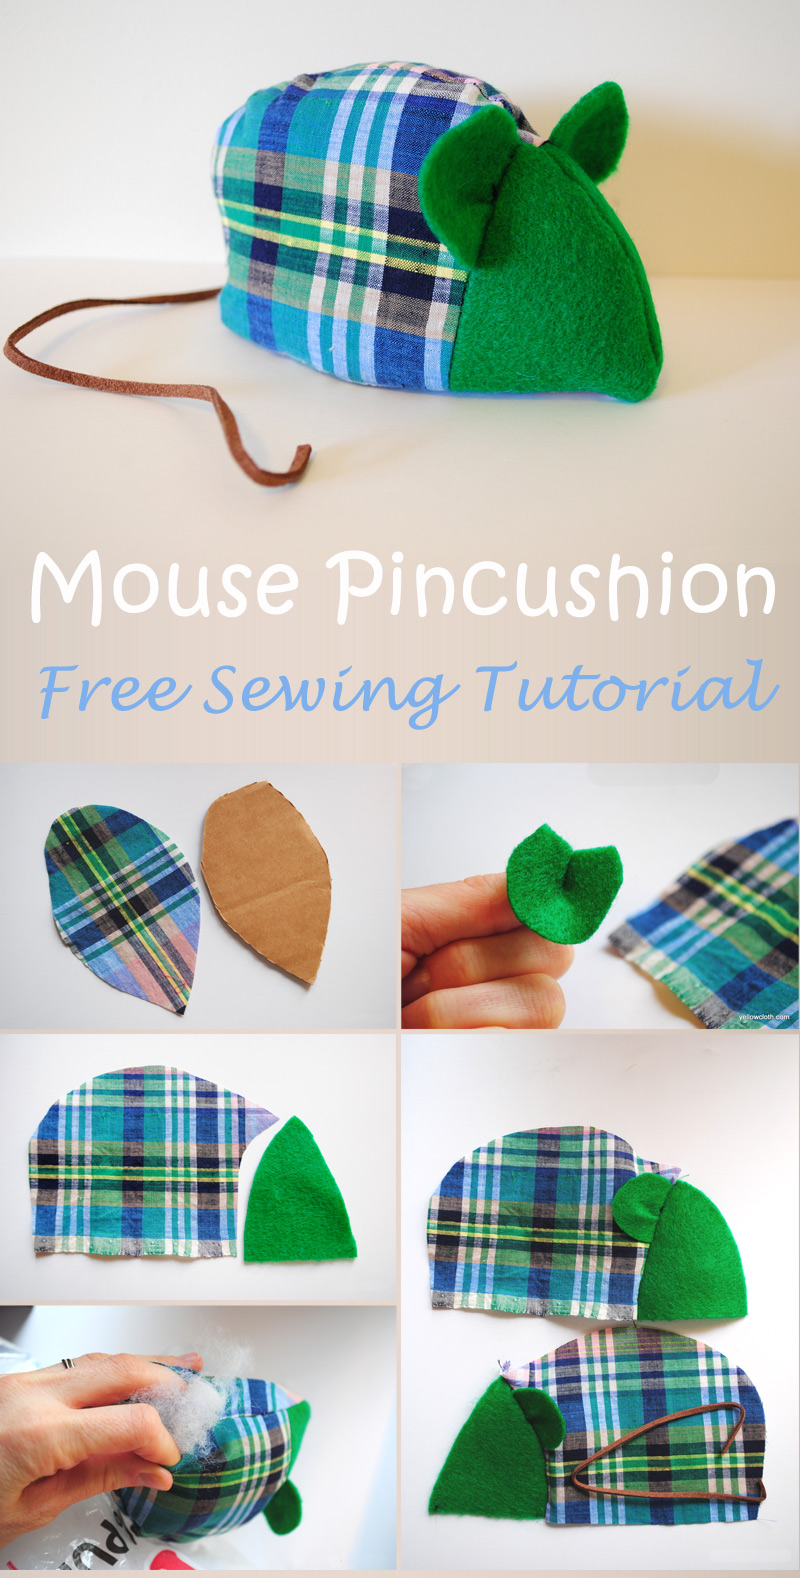
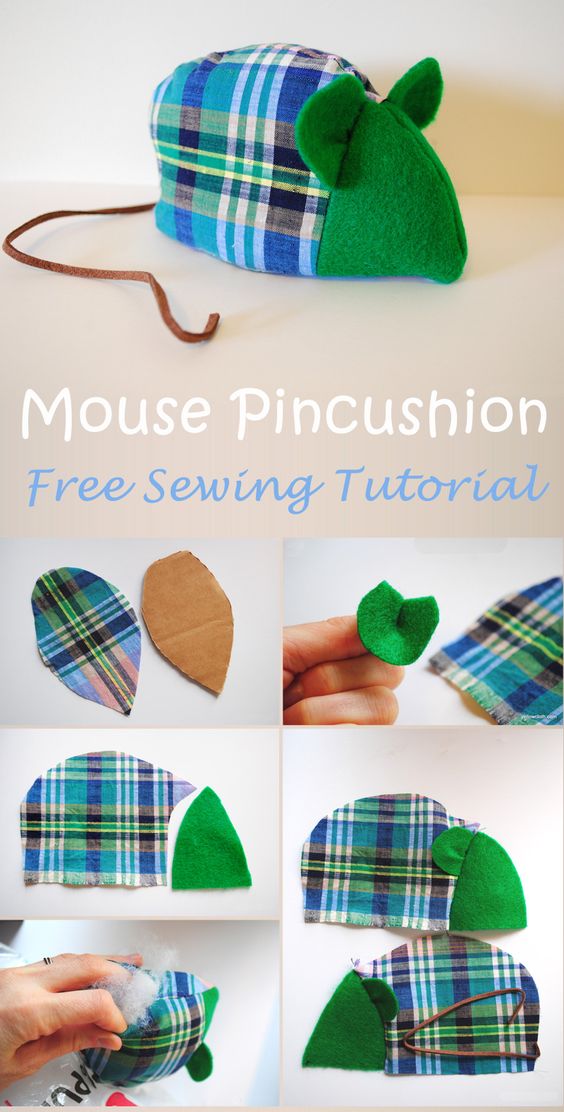
Mouse Pincushion Free Sewing Tutorial
Looking for a fun and creative sewing project? How about trying your hand at making a mouse pincushion? This adorable sewing pattern will guide you through the steps to create a cute and practical pincushion in the shape of a mouse. Perfect for keeping your pins organized and easily accessible while adding a touch of whimsy to your sewing space. Whether you're a beginner or an experienced sewer, this project is sure to bring a smile to your face as you stitch up your very own mouse pincushion. This project is a great way to practice your sewing skills and create a useful accessory for your sewing kit. So gather your materials, follow the step-by-step instructions, and get ready to create a one-of-a-kind mouse pincushion that will make sewing even more enjoyable.
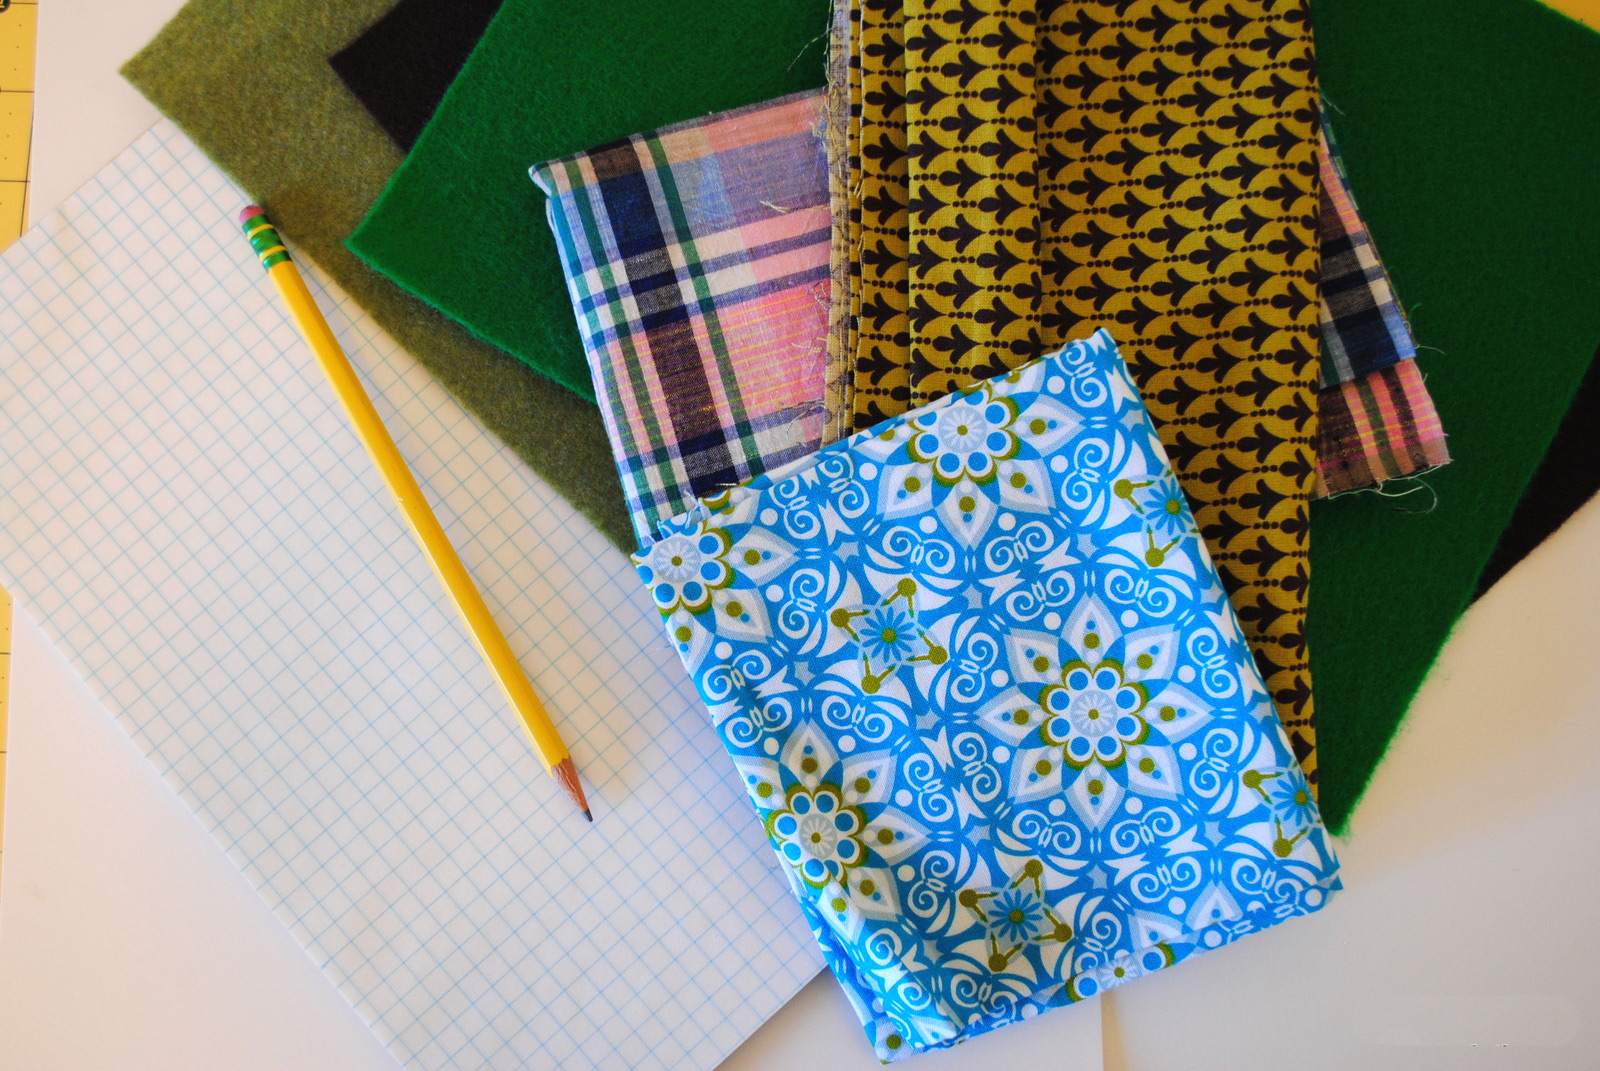
First, gather your materials. You’ll need a couple felt scraps, and a couple scraps of cotton fabric. You’ll need graph paper, a small piece of cardboard, a piece of leather or thin rope for the tail, polyfil, and a utility knife to cut the cardboard. And all your basic sewing supplies.
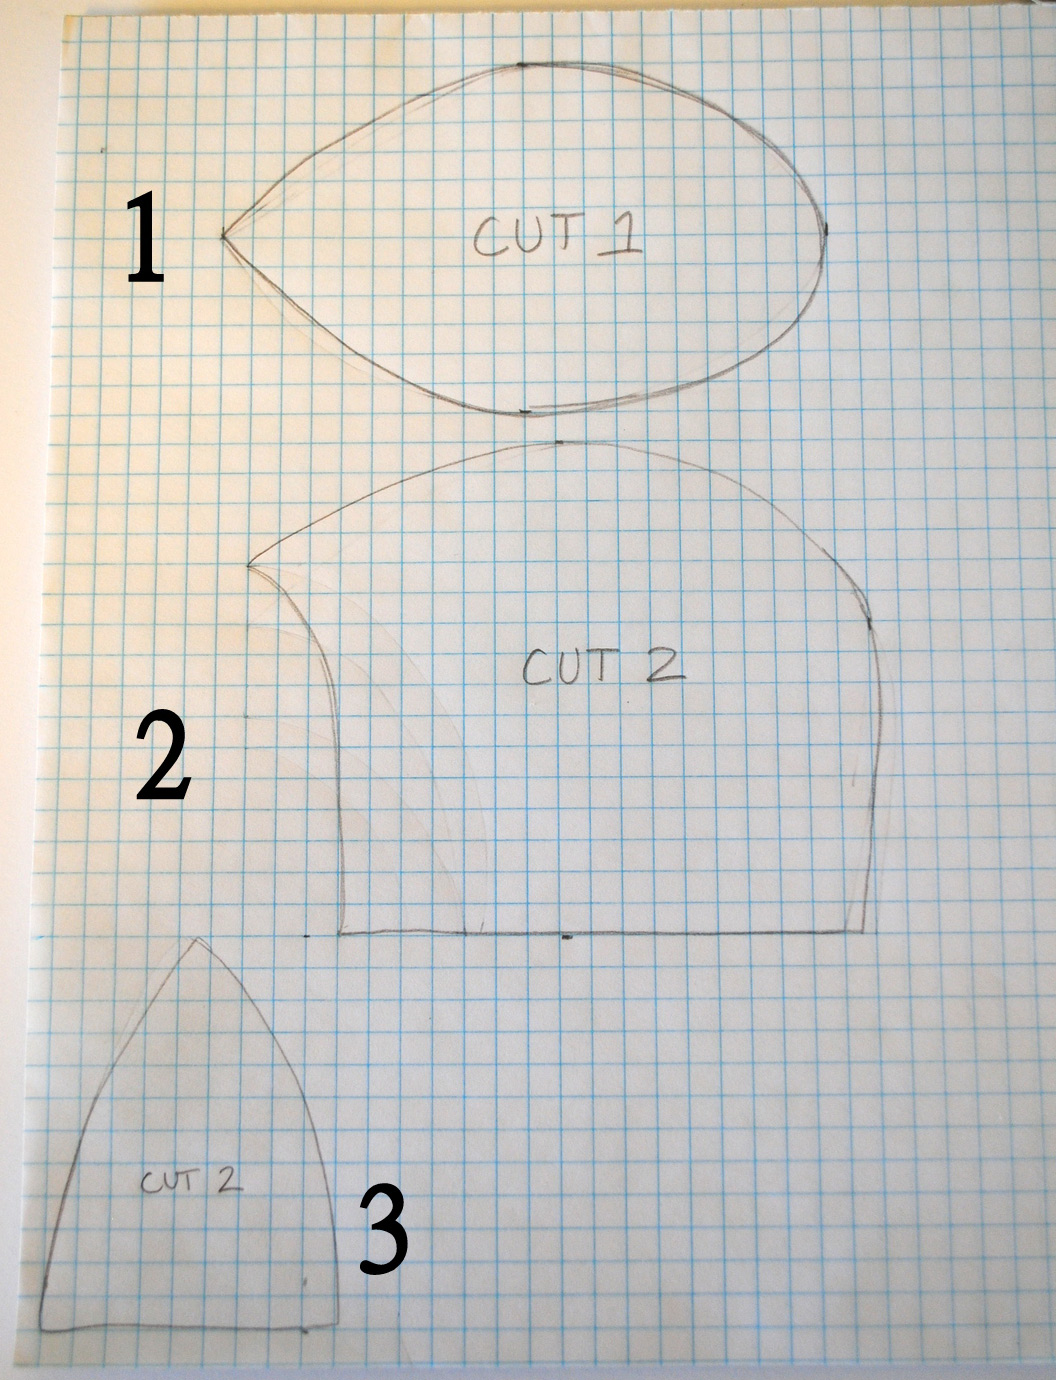
Draw your pieces like so on a piece of graph paper.
Piece 1 measures 3″ high by 5″ wide (cut one out of cotton). This is the base.
Piece 2 measures 3″ high by 5″ wide (cut two out of cotton) This is the body.
Piece 3 measures 3″ high by 2″ wide (cut two out of felt) This is the head.
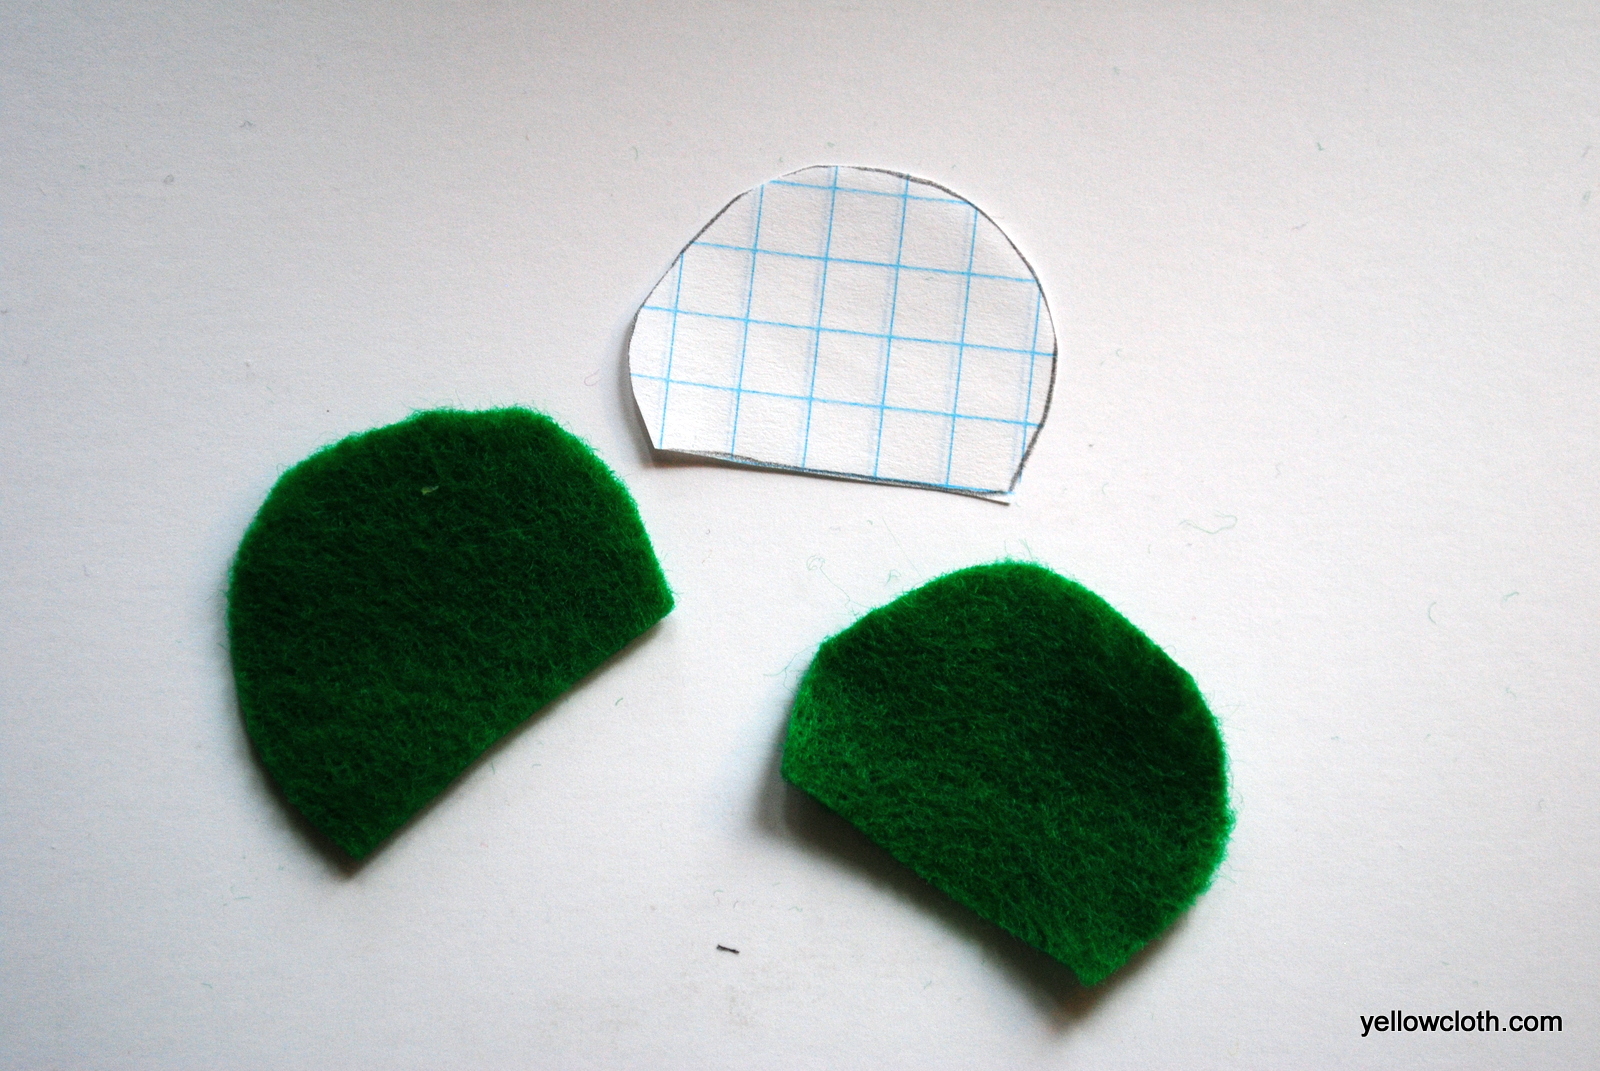
You’ll also need two felt ears.
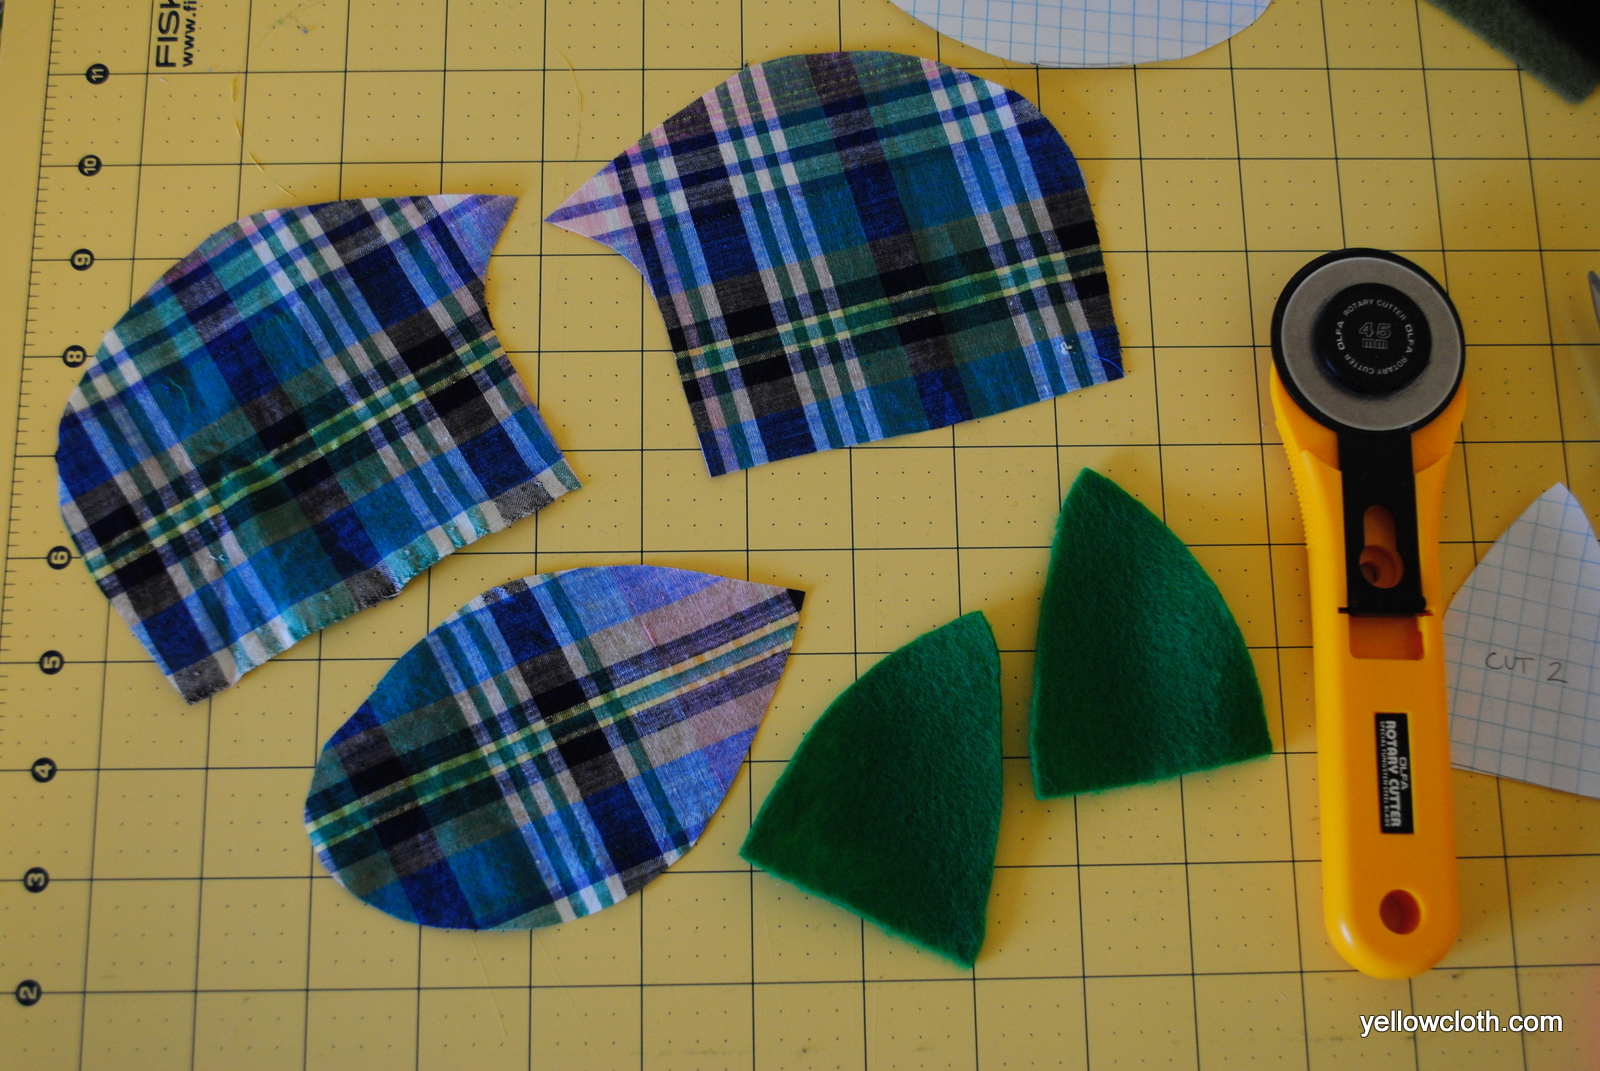
Here are your shapes, cut out.
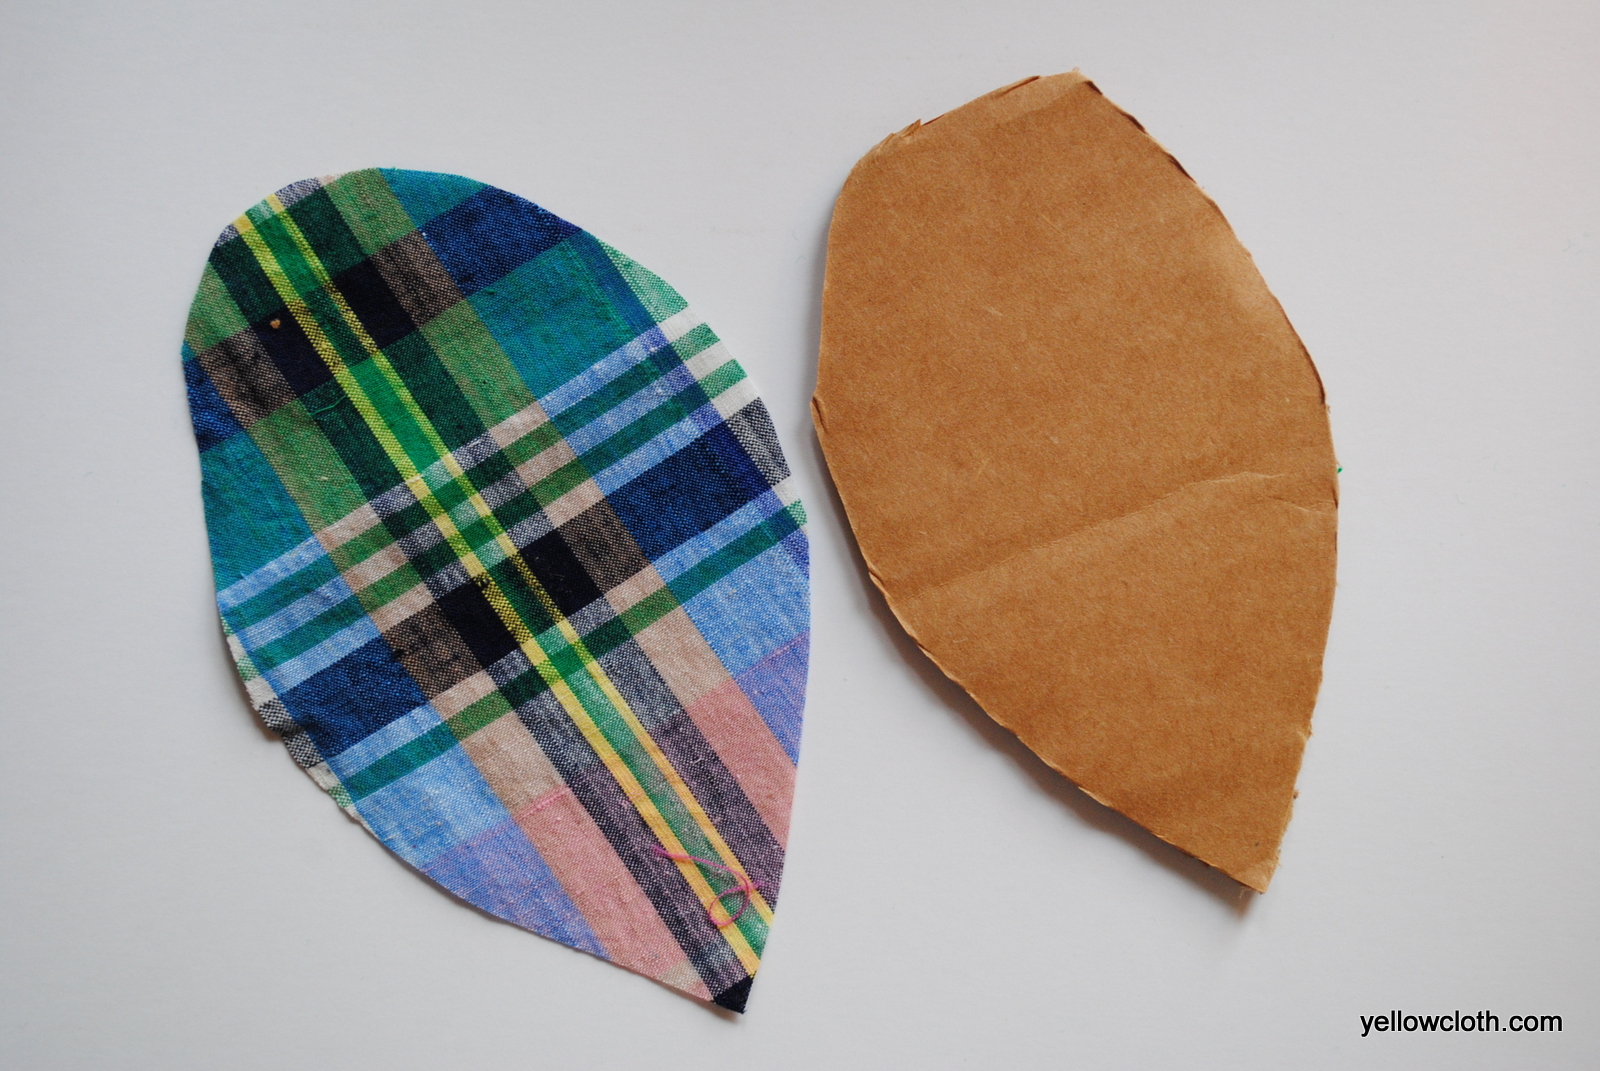
Now cut out your piece of cardboard, about 1/4″ smaller all around than your base piece.
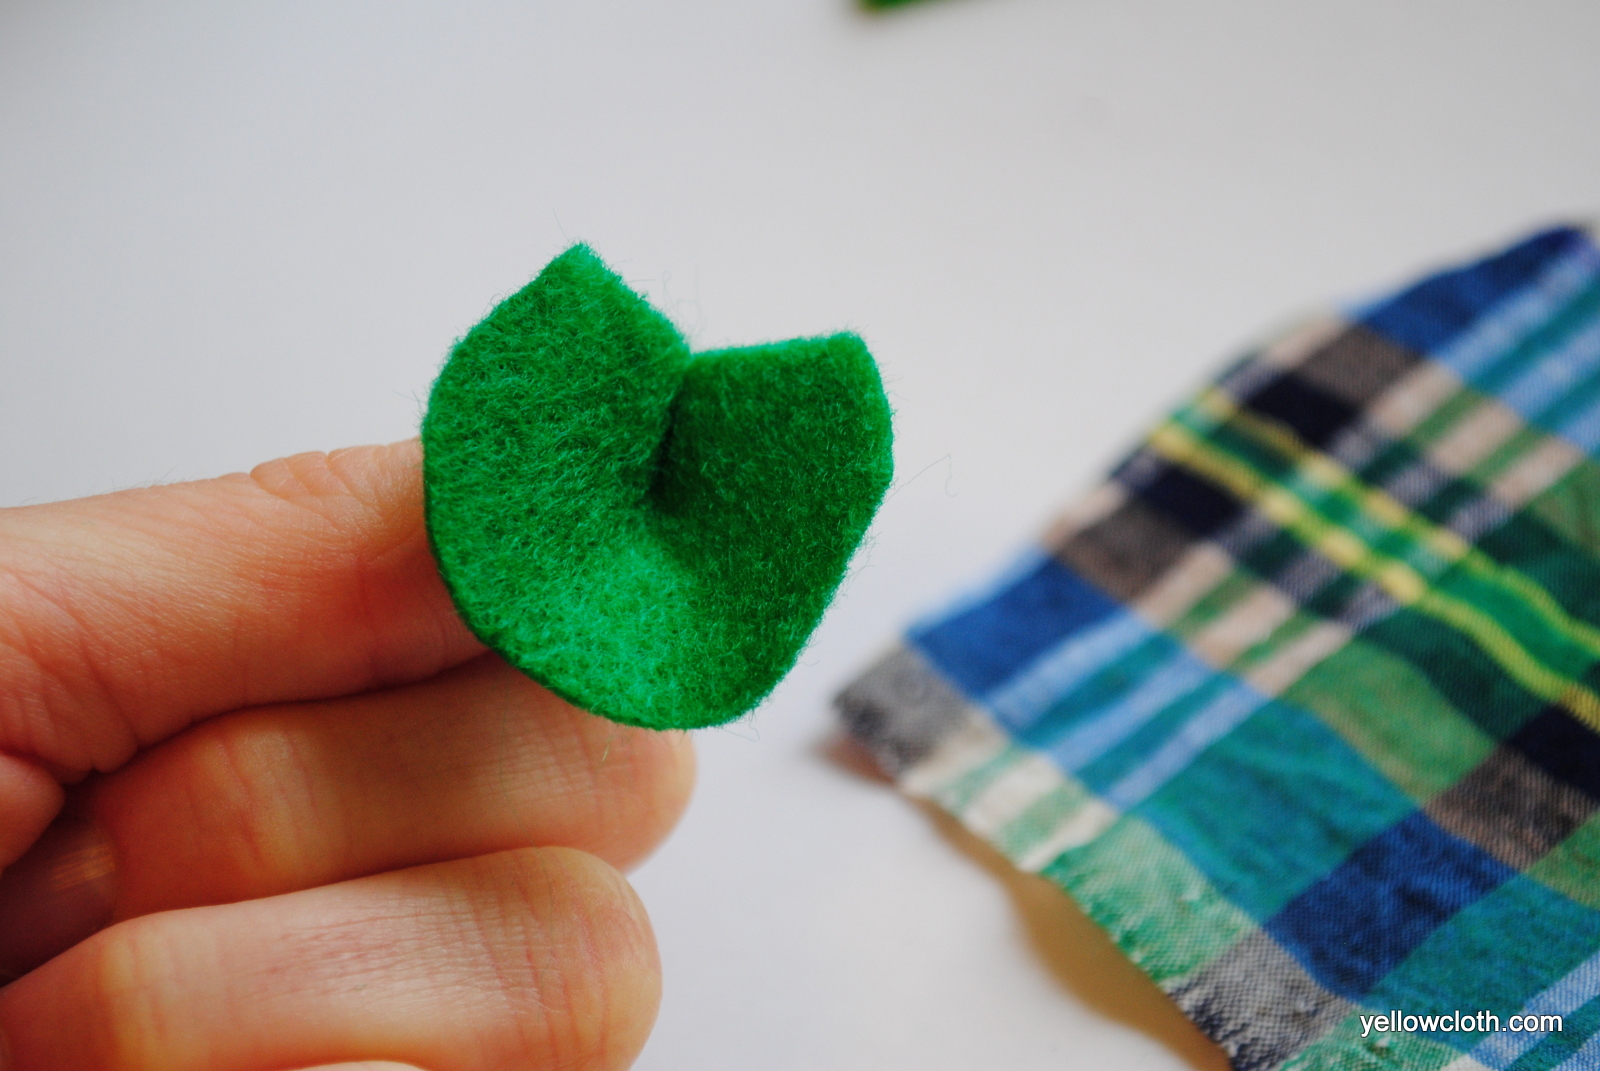
Pinch the ear in the middle and insert near the top of the mouse’s head in between the felt and the fabric, right sides together
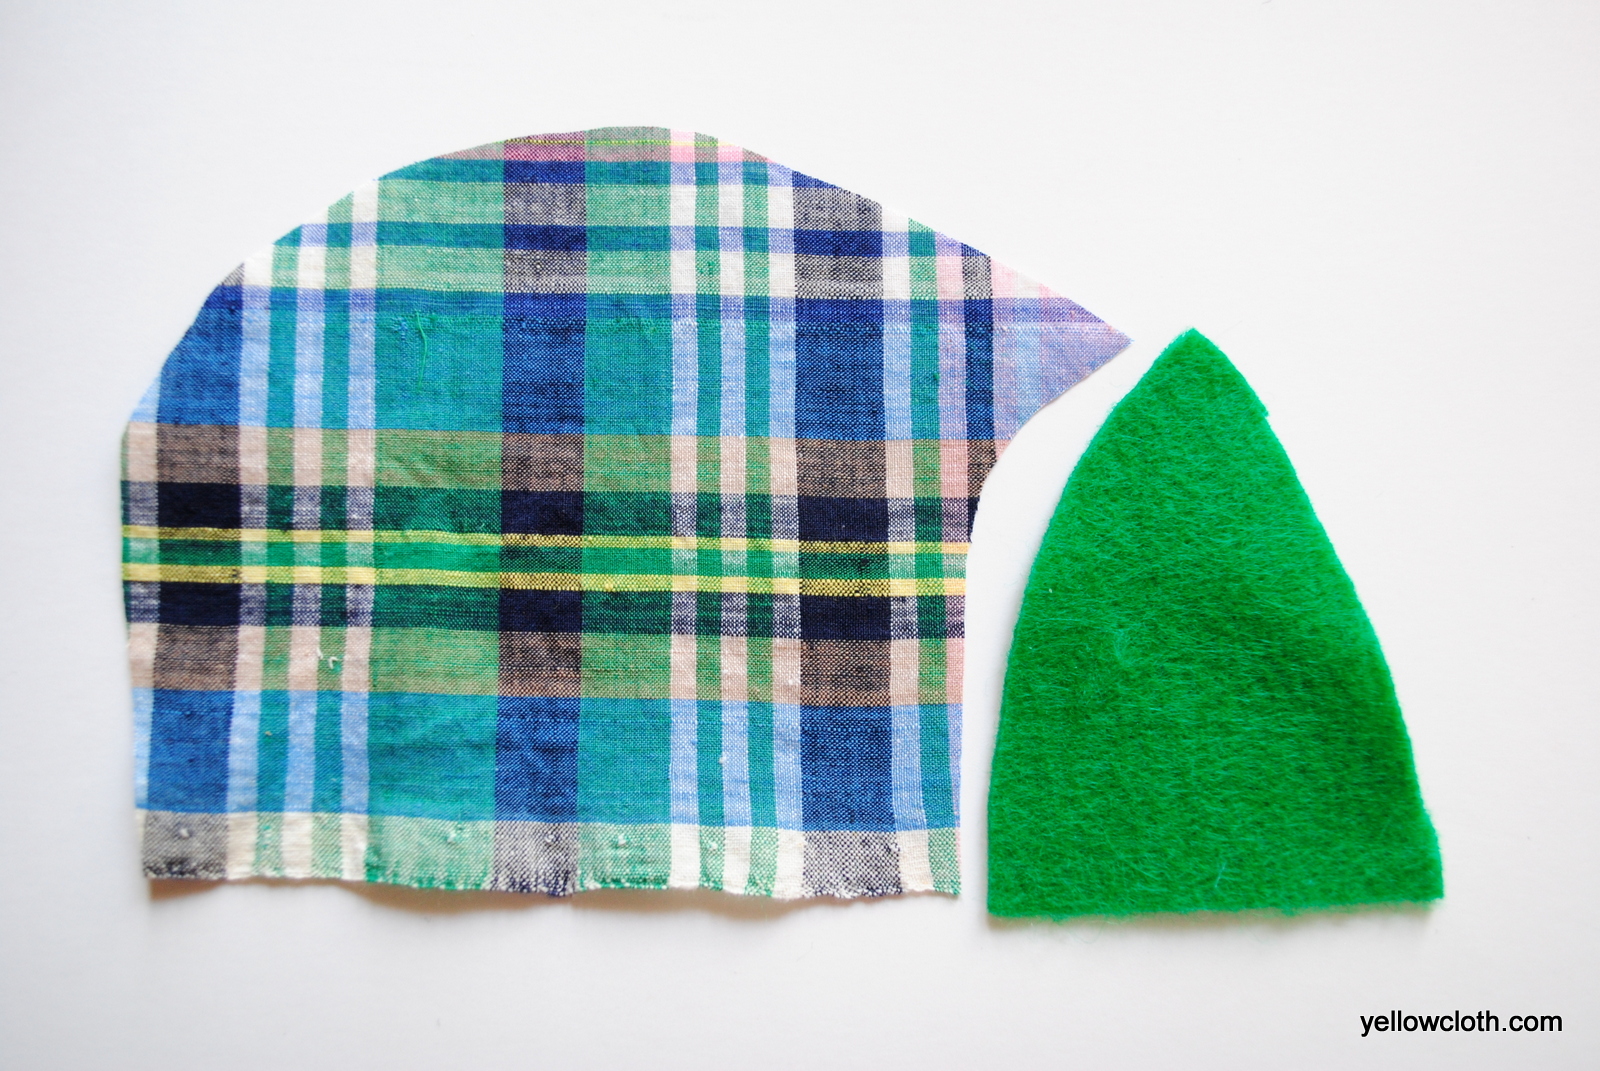
Stitch the body to the head right sides together, like so, making sure your ear is in there! Repeat with other side of body.
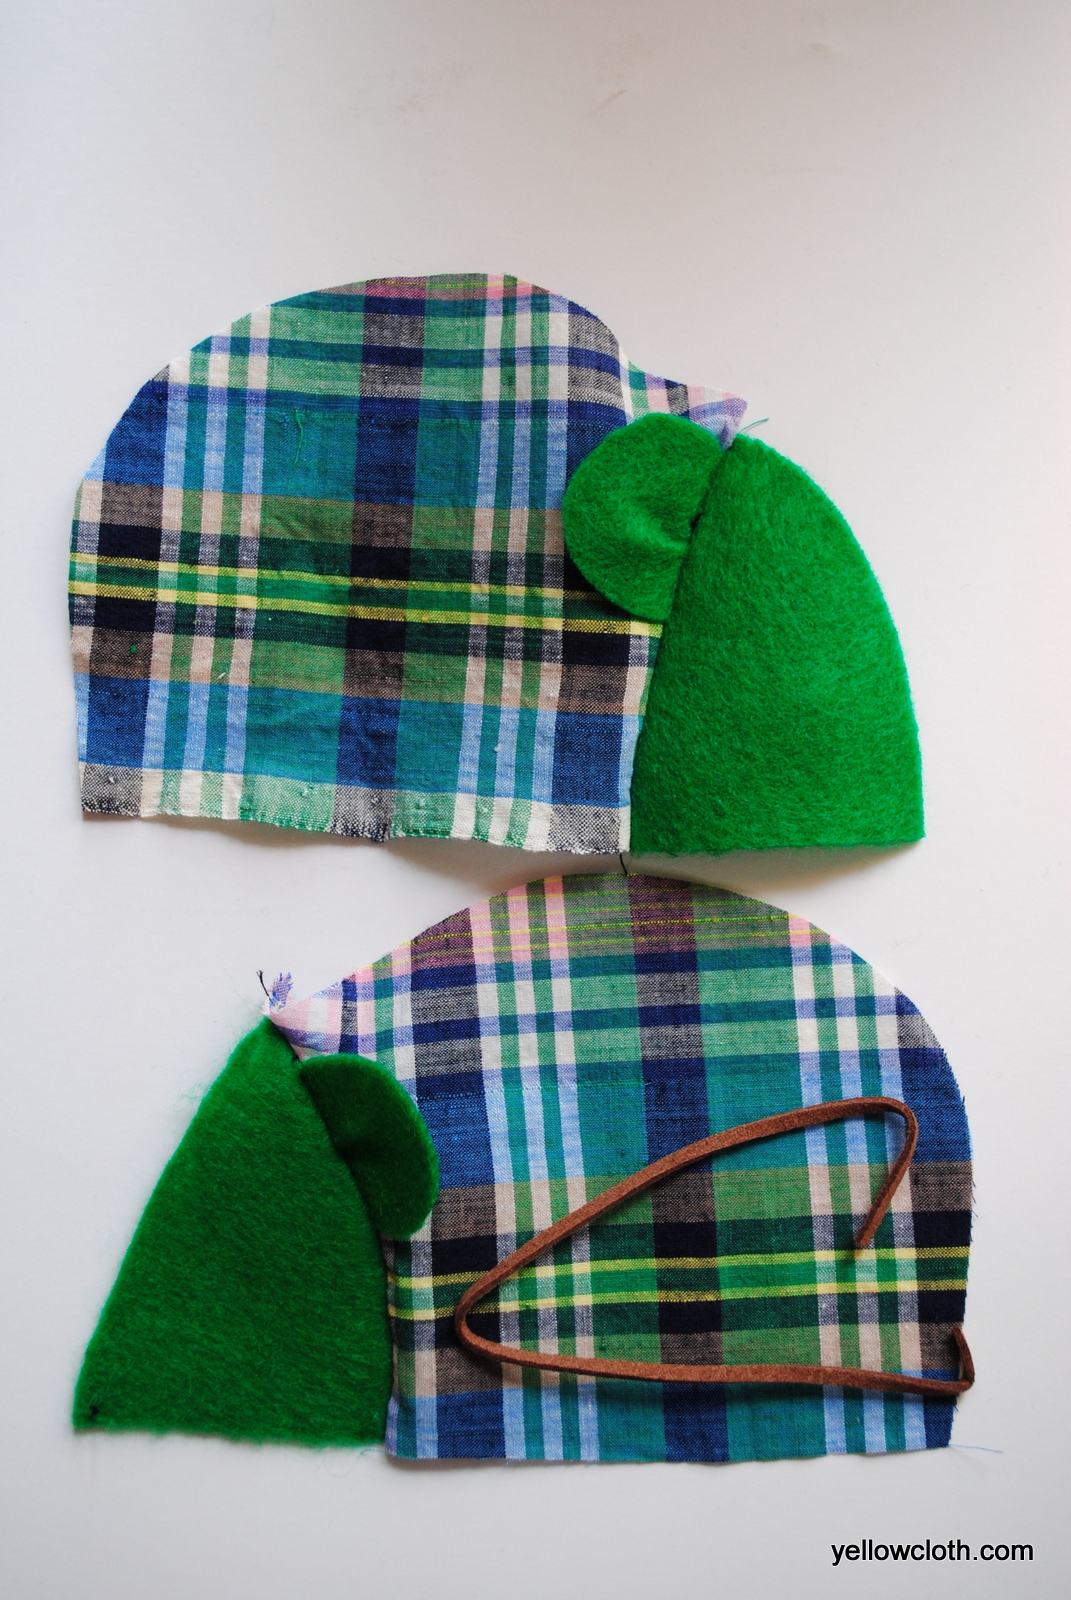
Now your sides should look like this. Insert the tail at the bottom of the body and put body pieces right sides together and, starting at nose, stitch around the head and body, leaving bottom part open. Be sure to catch the tail in your stitches and back stitch a couple times to secure tail, especially if you’re giving this toy to a child or cat.
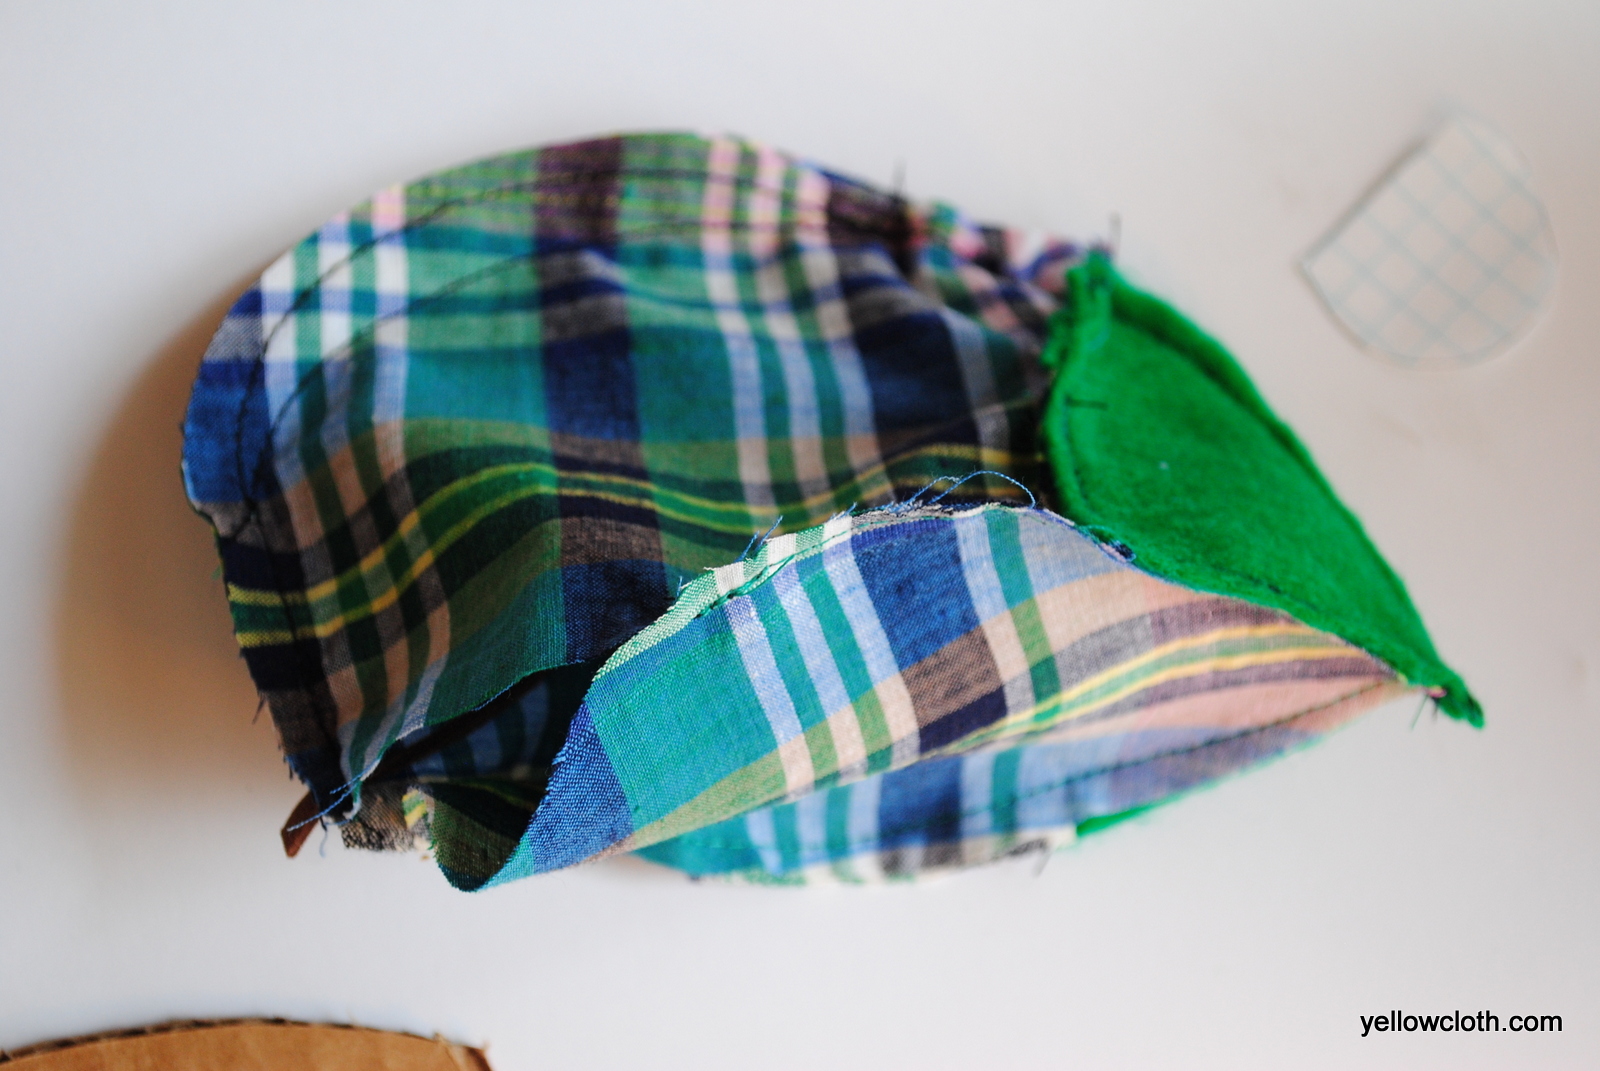
Now align the pointy part of the base with the mouse’s nose and, with mouse body still inside out, stitch base to body, right sides together, starting with the nose. Leave about 1″ open before your reach the tail. Stop sewing and start again at tip of nose, sewing down other side of body, again leaving 1″ open from tail.
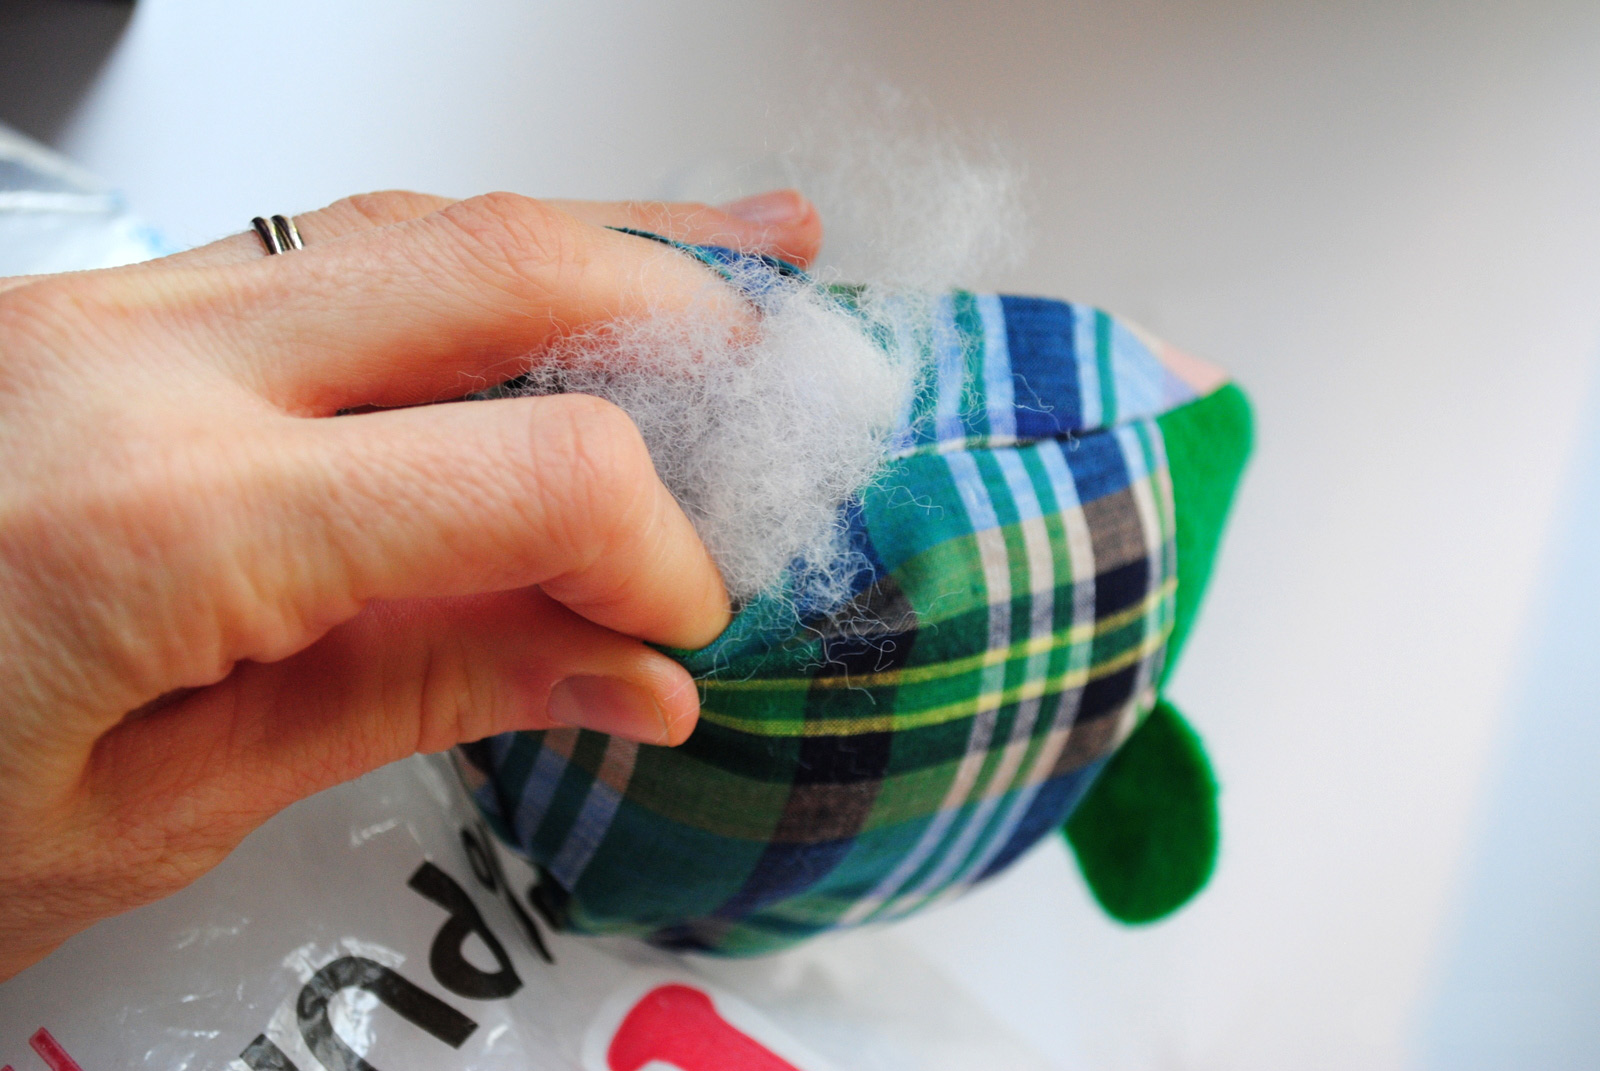
Optional: insert cardboard into base and stuff mouse with polyfil above it.
If you choose not to use cardboard, simply stuff with polyfil. Stitch up opening using your machine if you’re lazy like me, or with a slip stitch if you don’t mind handsewing!