Wooden Spoon Scarecrow
The Wooden Spoon Scarecrow is a delightful and whimsical addition to any garden or porch, adding a touch of charm and character. Crafted with love and creativity, this DIY project is not only fun to make but also serves as a unique way to repurpose old wooden spoons. By painting each spoon in vibrant colors and arranging them in a creative fashion, you can bring a playful scarecrow to life that will surely bring a smile to anyone who sees it. With its quirky and friendly appearance, the Wooden Spoon Scarecrow is a fantastic way to showcase your creativity and spread joy to those around you.
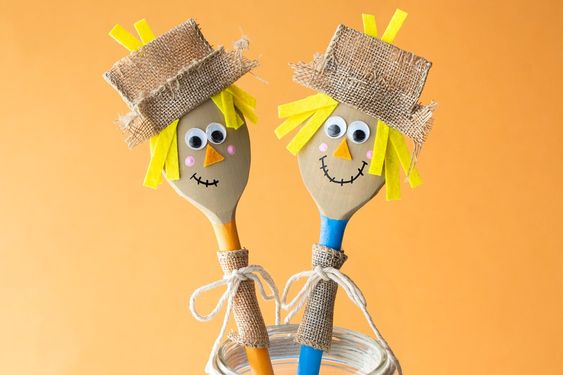
Supplies Needed to Make Wooden Spoon Scarecrows
- Wooden Spoons – we used these wooden spoons.
- Small googly eyes
- Fine point sharpie
- Acrylic Paint – we used light brown, pink, blue and orange
- Felt – we used yellow felt for the hair and orange for the nose.
- Twine
- Burlap Ribbon
- Hot glue – using hot glue will help the hat and other elements stay on better. Adult supervision required.
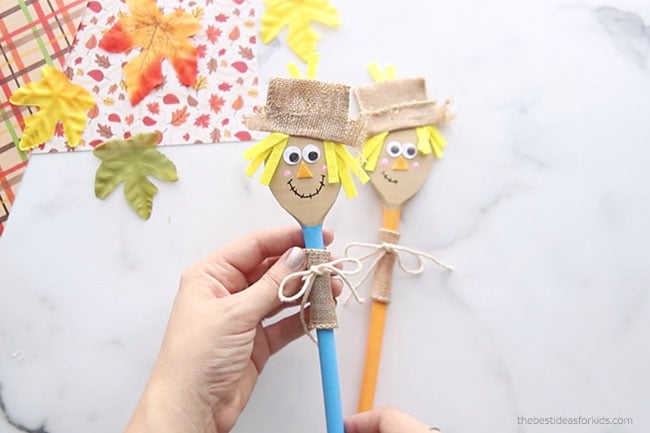
How to Make a Wooden Spoon Scarecrow
1. Start with a plain wooden spoon. You can typically find them at a dollar store. We used these wooden spoons from Amazon.
A 2 inch wide tip of the spoon will give you more space for the hair and facial features of the scarecrow.
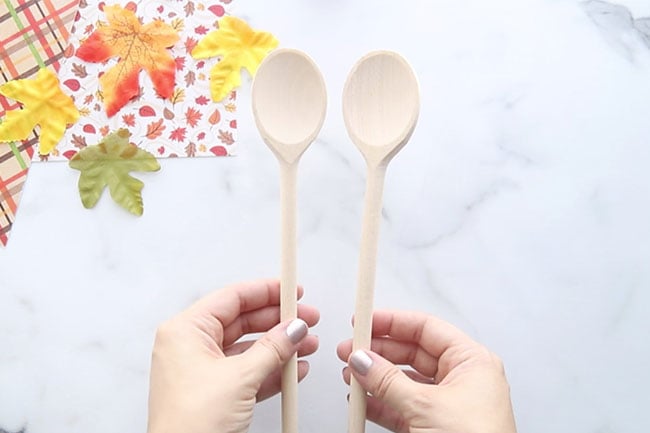
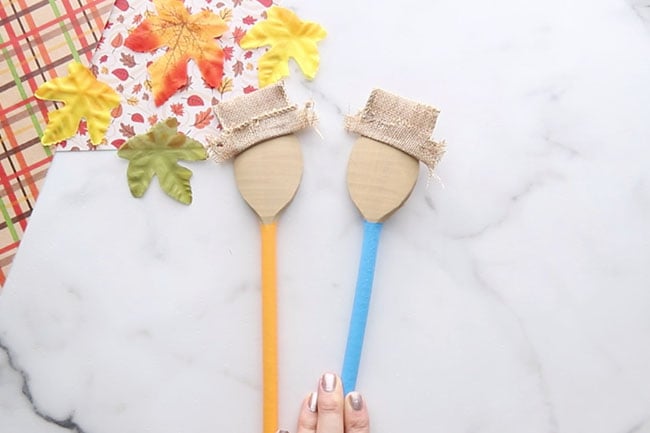
2. Paint the wooden spoon with acrylic non-toxic paint. We used a light brown for the top and painted blue and orange on the bottom.
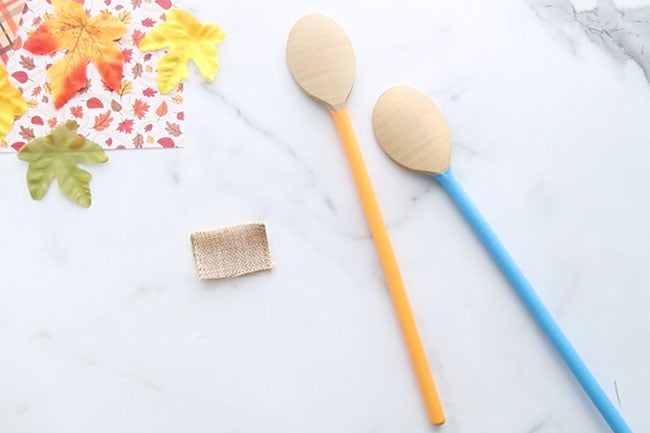
3. Make the scarecrow hat with burlap ribbon:
We used burlap ribbon that was 2.5 inches wide.
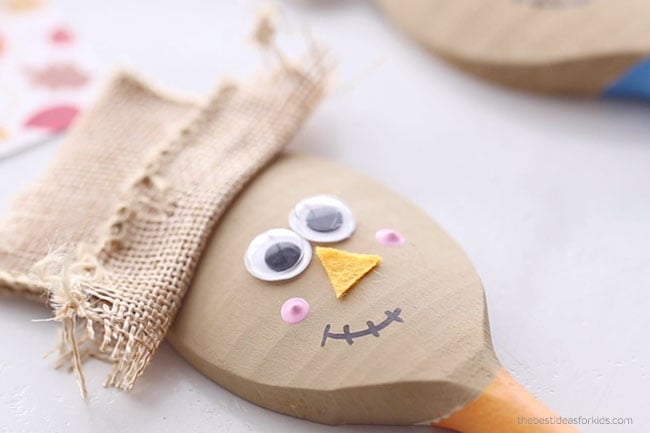
Start by cutting a small piece and folding it over to make the top part of the hat. (Watch the video to see this in action!)
Cut a longer piece for the brim of the ham and fold length-wise.
Glue the 2 pieces together. We then pulled at the ends and made a few cuts to make the hat a little more messy.
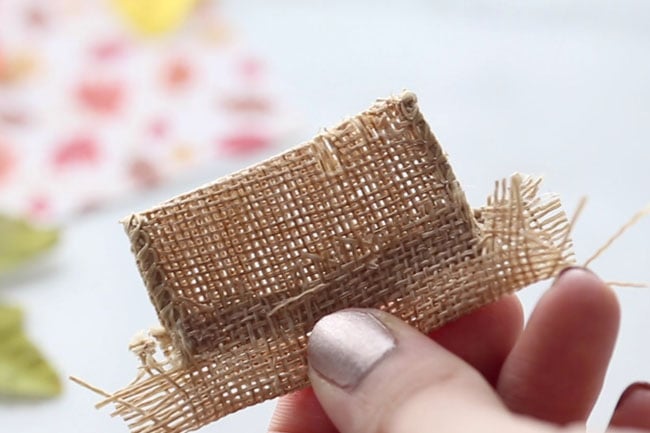
4. Glue the hat to the top of the spoon.
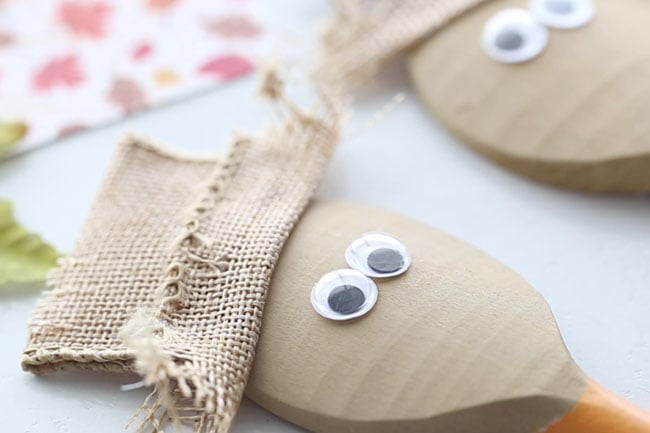
5. Glue on 2 small googly eyes.
6. Add a triangle nose from orange felt.
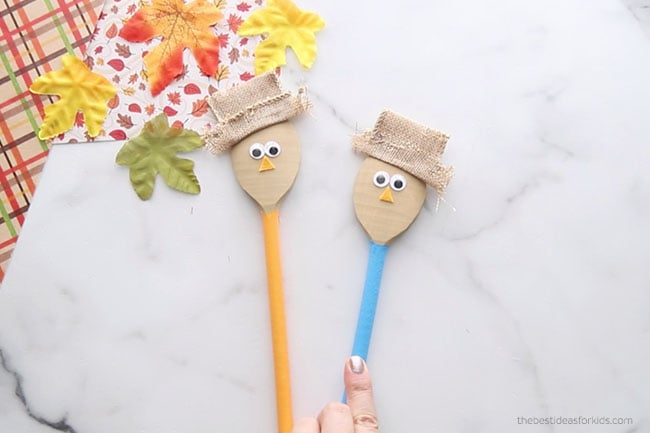
7. Draw the mouth on with a black sharpie.
Note – if you do not paint the face the sharpie may bleed on the wooden spoon. We found painting first helped the sharpie not bleed.
Using the back of a paintbrush, add 2 dots of pink paint for the cheeks.
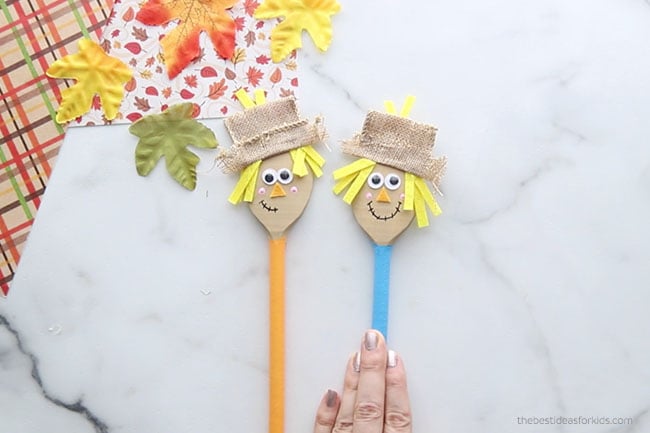
8. For a finishing touch, cut out some small strips of yellow felt for the hair.
Glue the strips to the side of the scarecrow’s face.
We added a few pieces to the top of the hat too.
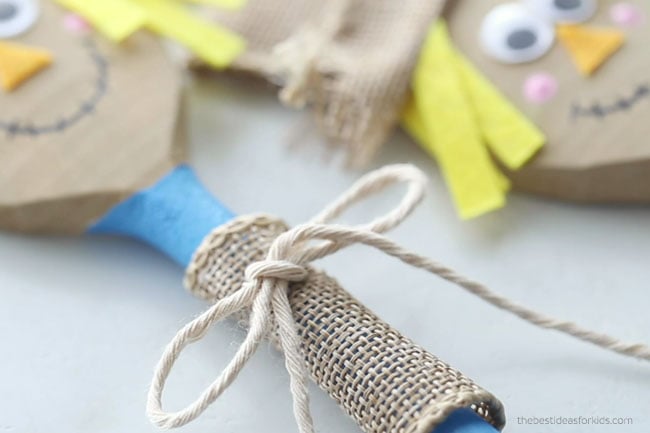
9. Take a small piece of burlap ribbon and glue around the spoon handle, near the top.
Glue a tied piece of twine on top.
9. Your spoon scarecrows are now done!