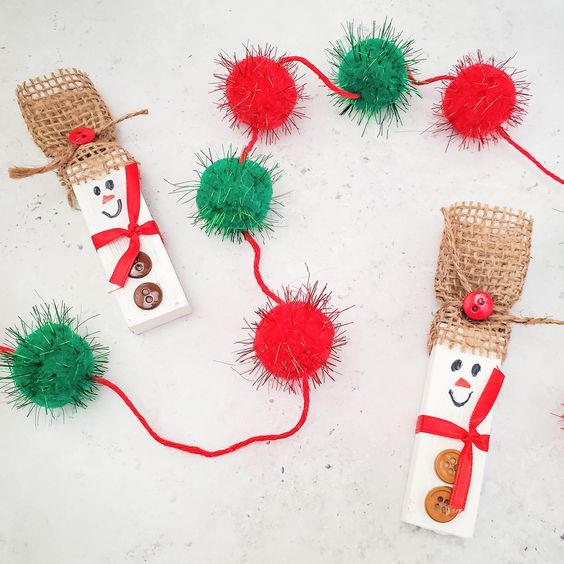
How to Make Jenga Snowmen
Creating DIY Jenga Snowmen is a fun and festive way to bring some winter magic into your home decor. To make these adorable snowmen, start by painting wooden Jenga blocks in white and letting them dry. Then, stack the blocks to form a snowman shape, adding colorful embellishments like buttons, scarves, and pom-poms to give them character. This creative project is perfect for a cozy winter afternoon with friends or family, and the end result will add a touch of whimsy to your home during the holiday season. So grab your paintbrush and get ready to assemble the cutest snowmen ever!
Supplies Needed:
- Jenga game pieces
- 2 1/2″ burlap ribbon
- Twine
- White craft paint
- 1/4″ red satin ribbon
- Red buttons
- Brown buttons
- Black marker
- Orange marker
- Scissors
- Paint brush
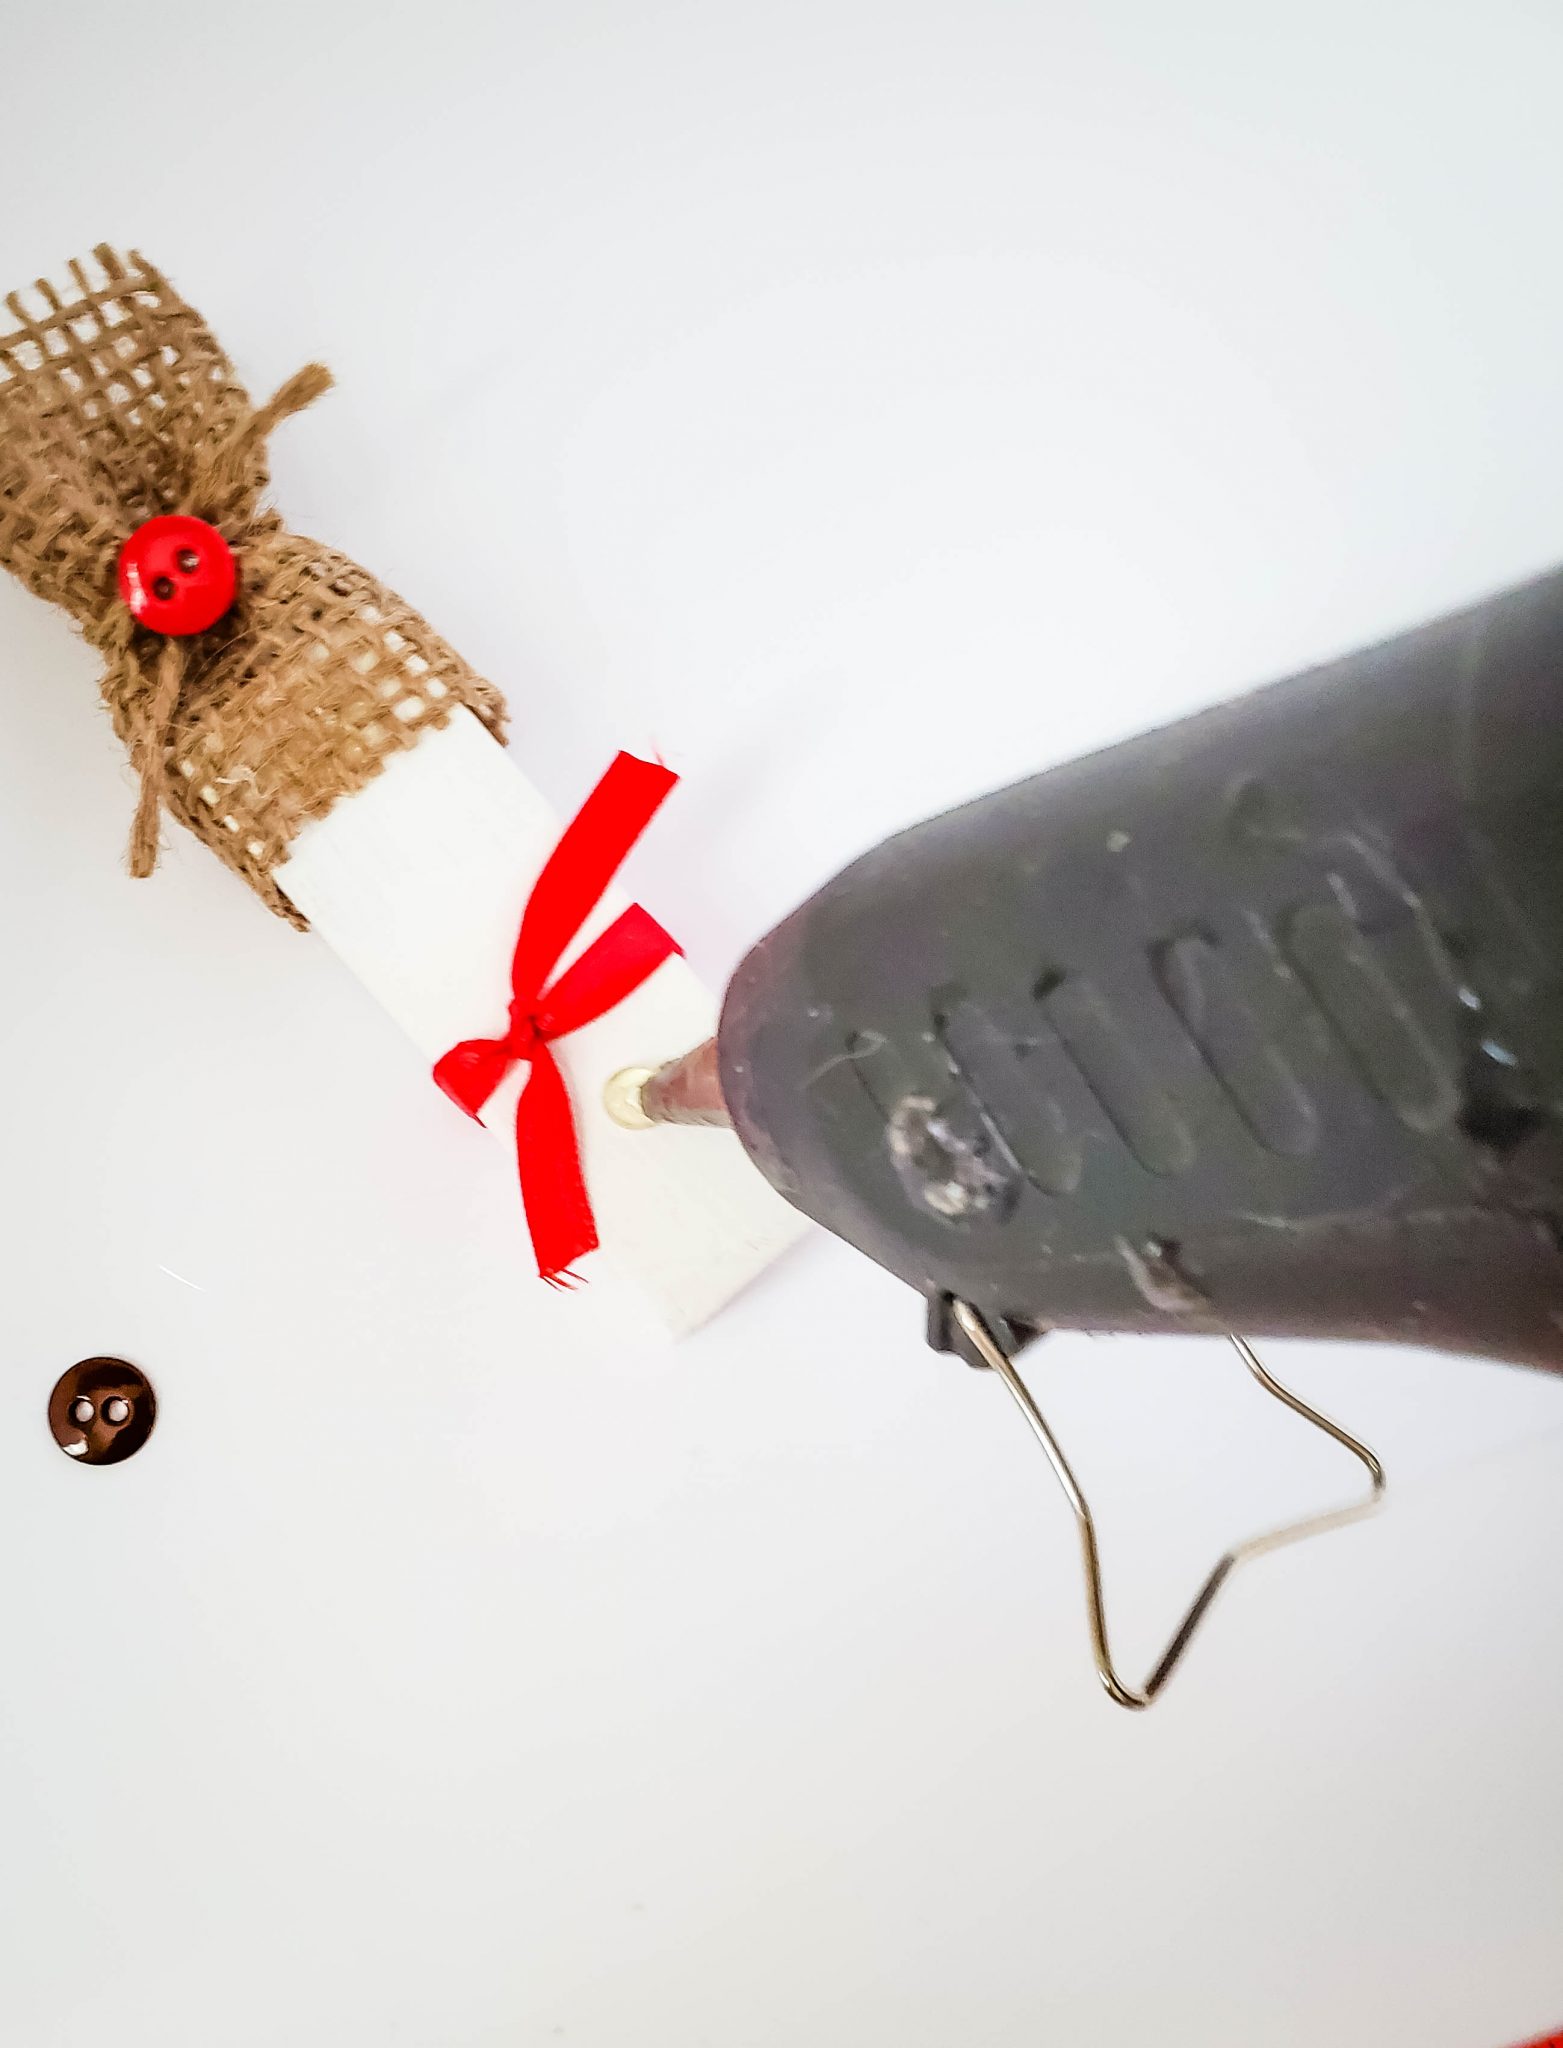
- Hot glue gun
Instructions
Making Jenga snowmen is easy. Kids will love to join you to make these in a craft session.
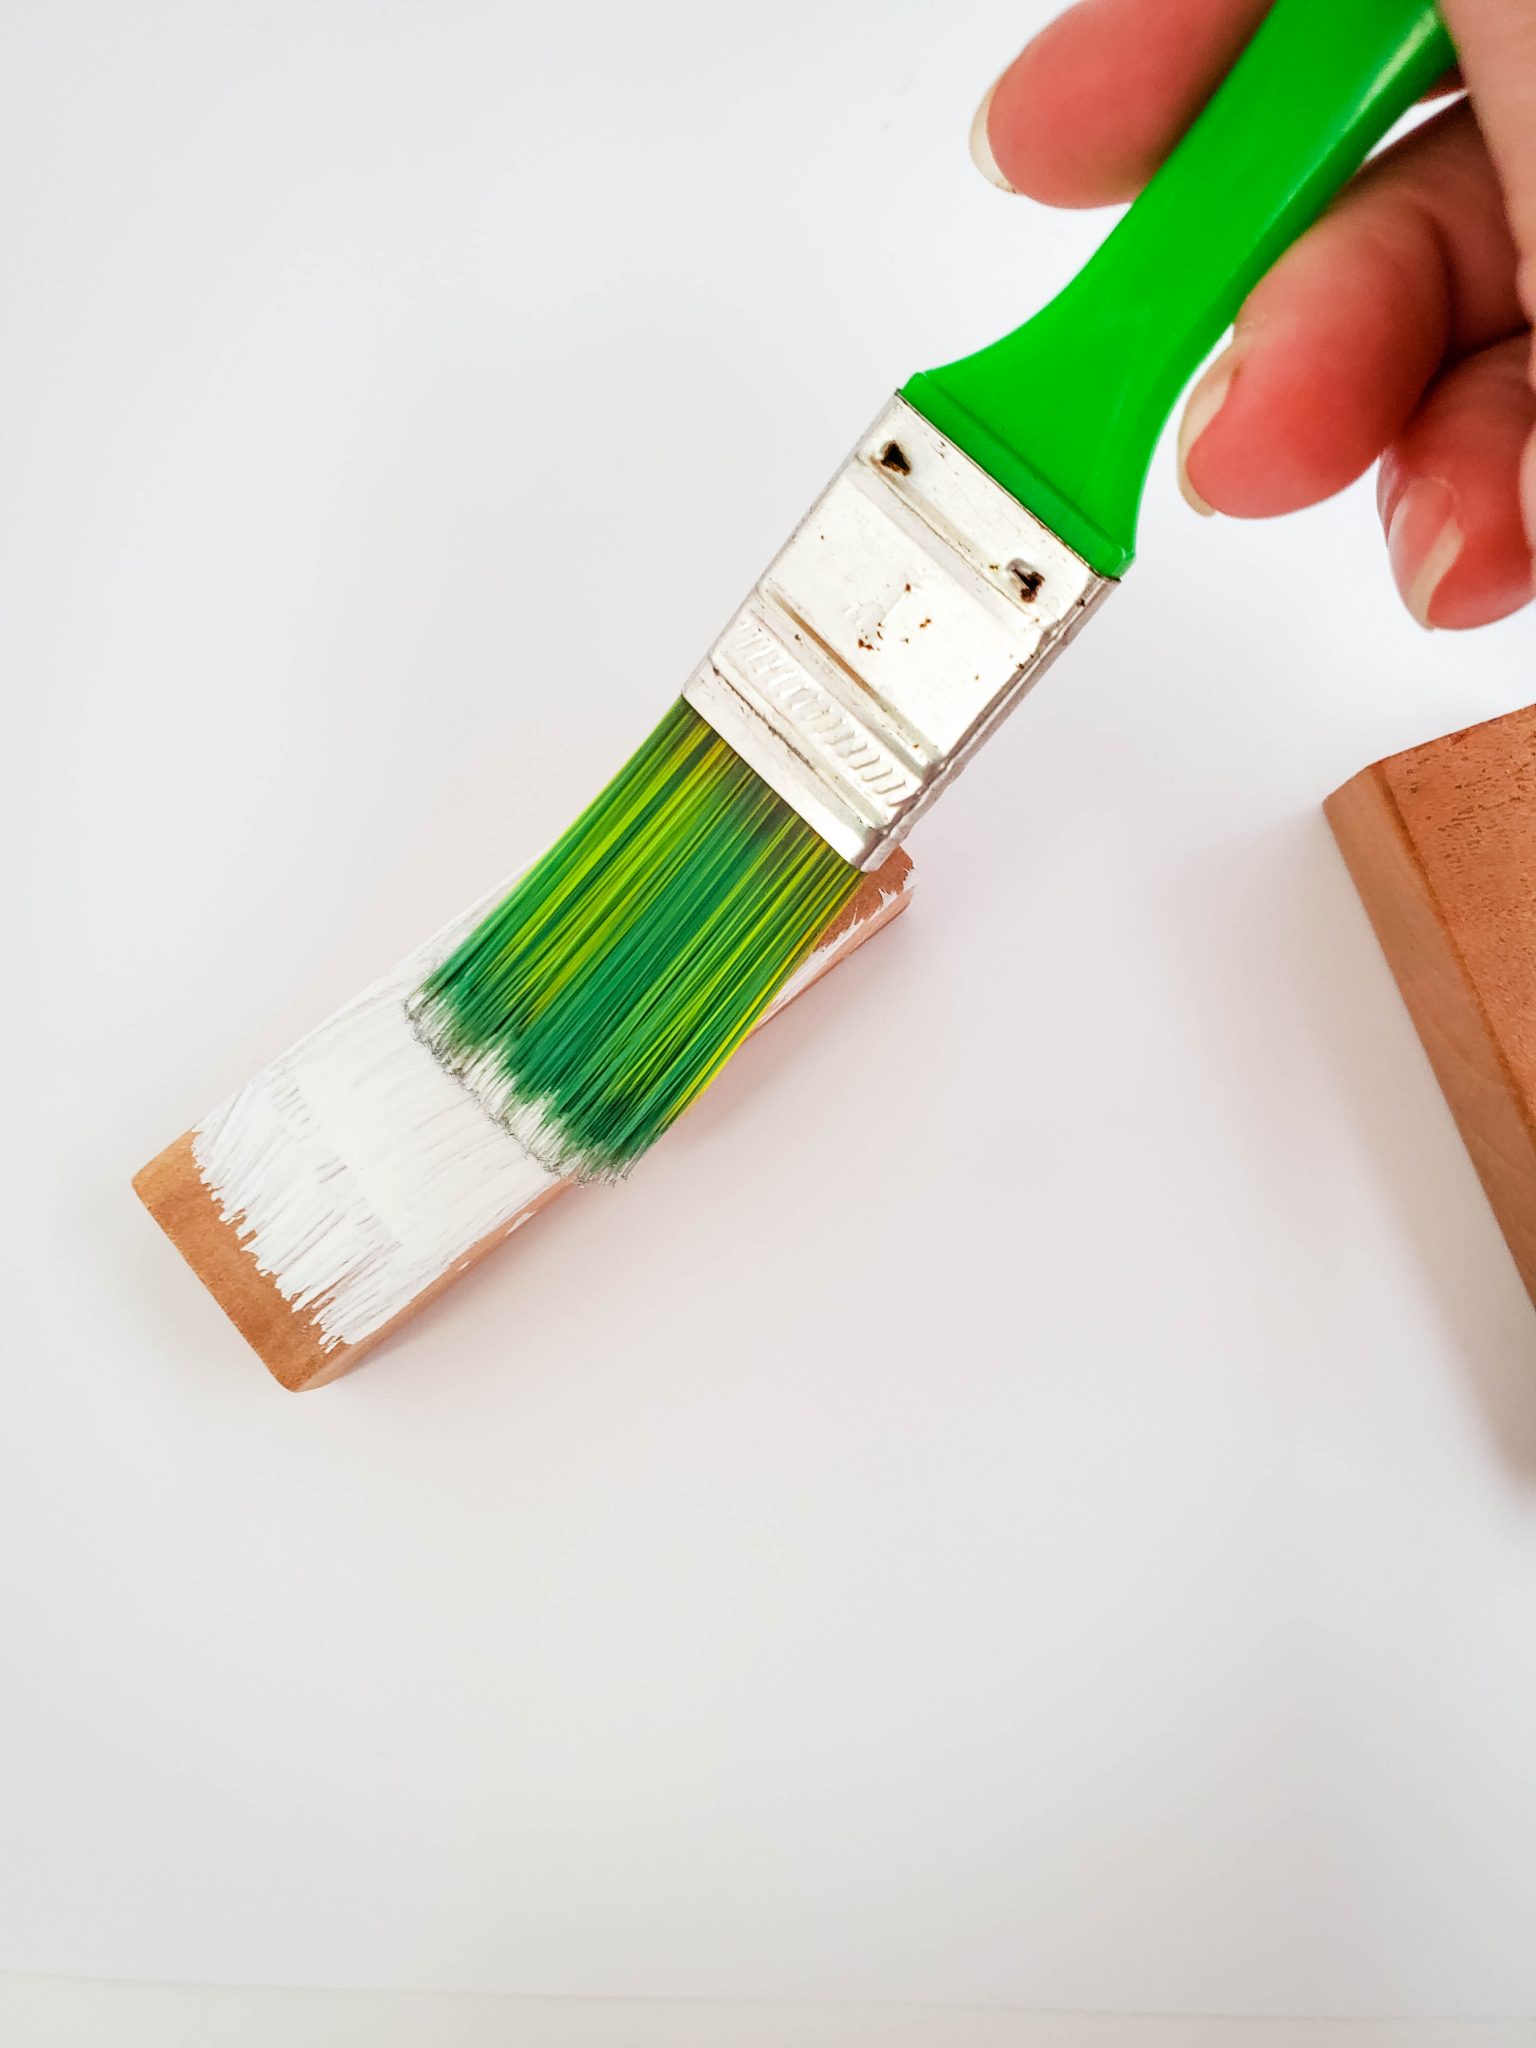
Paint Each Jenga block white
Several coats of paint will be needed to fully cover the wood.
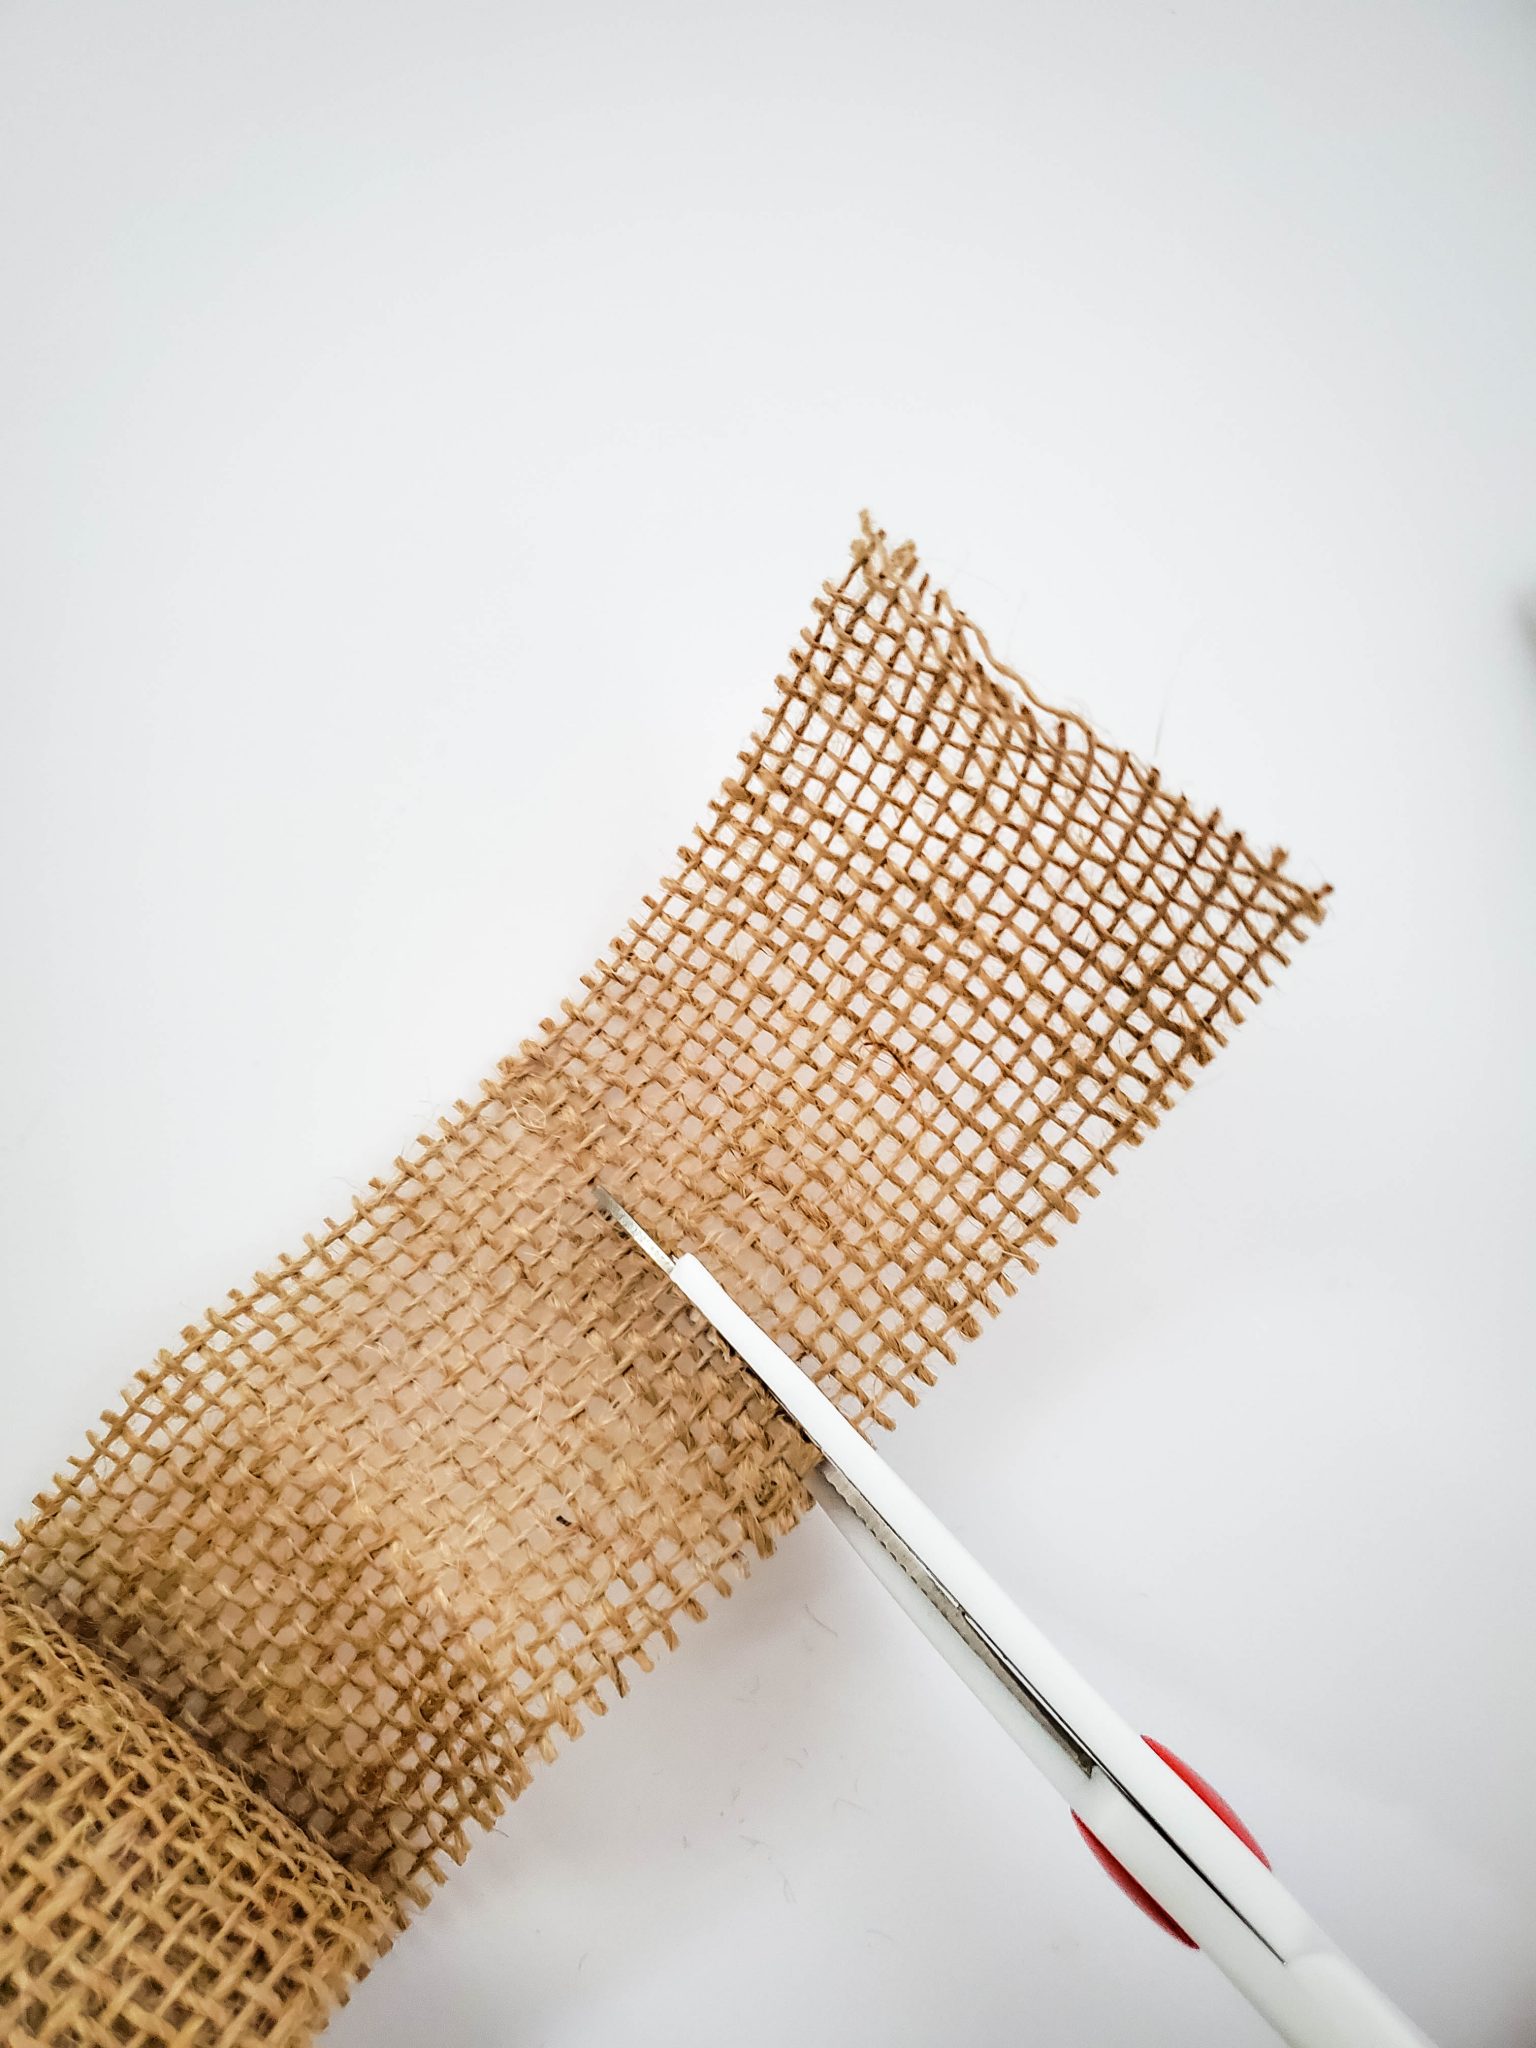
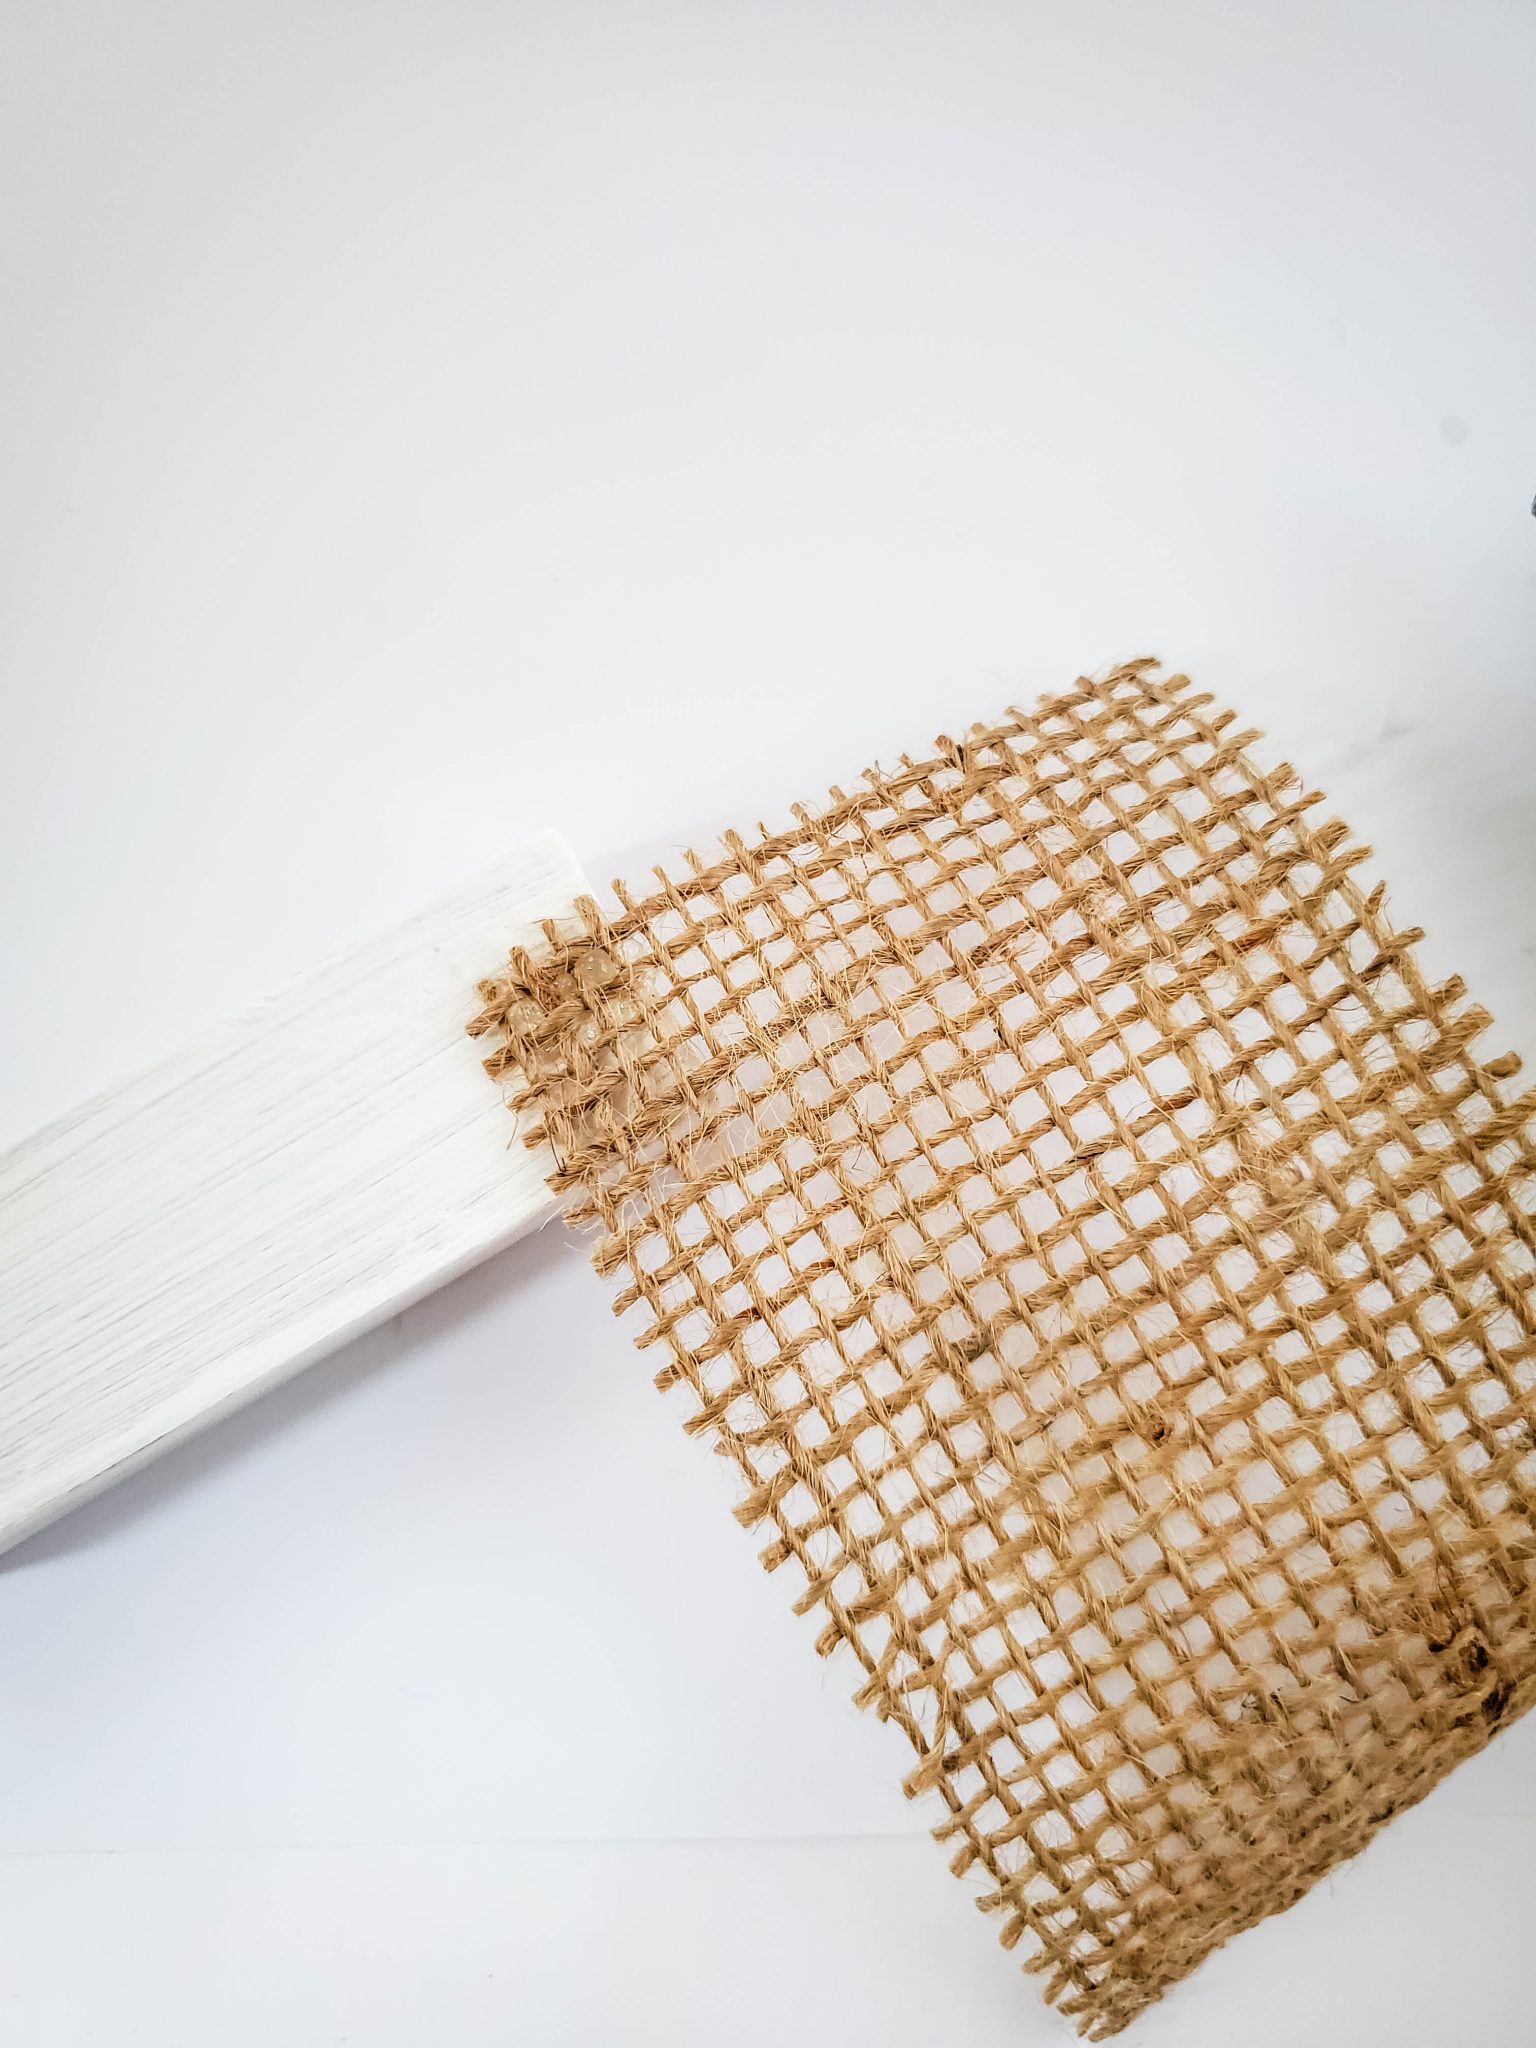
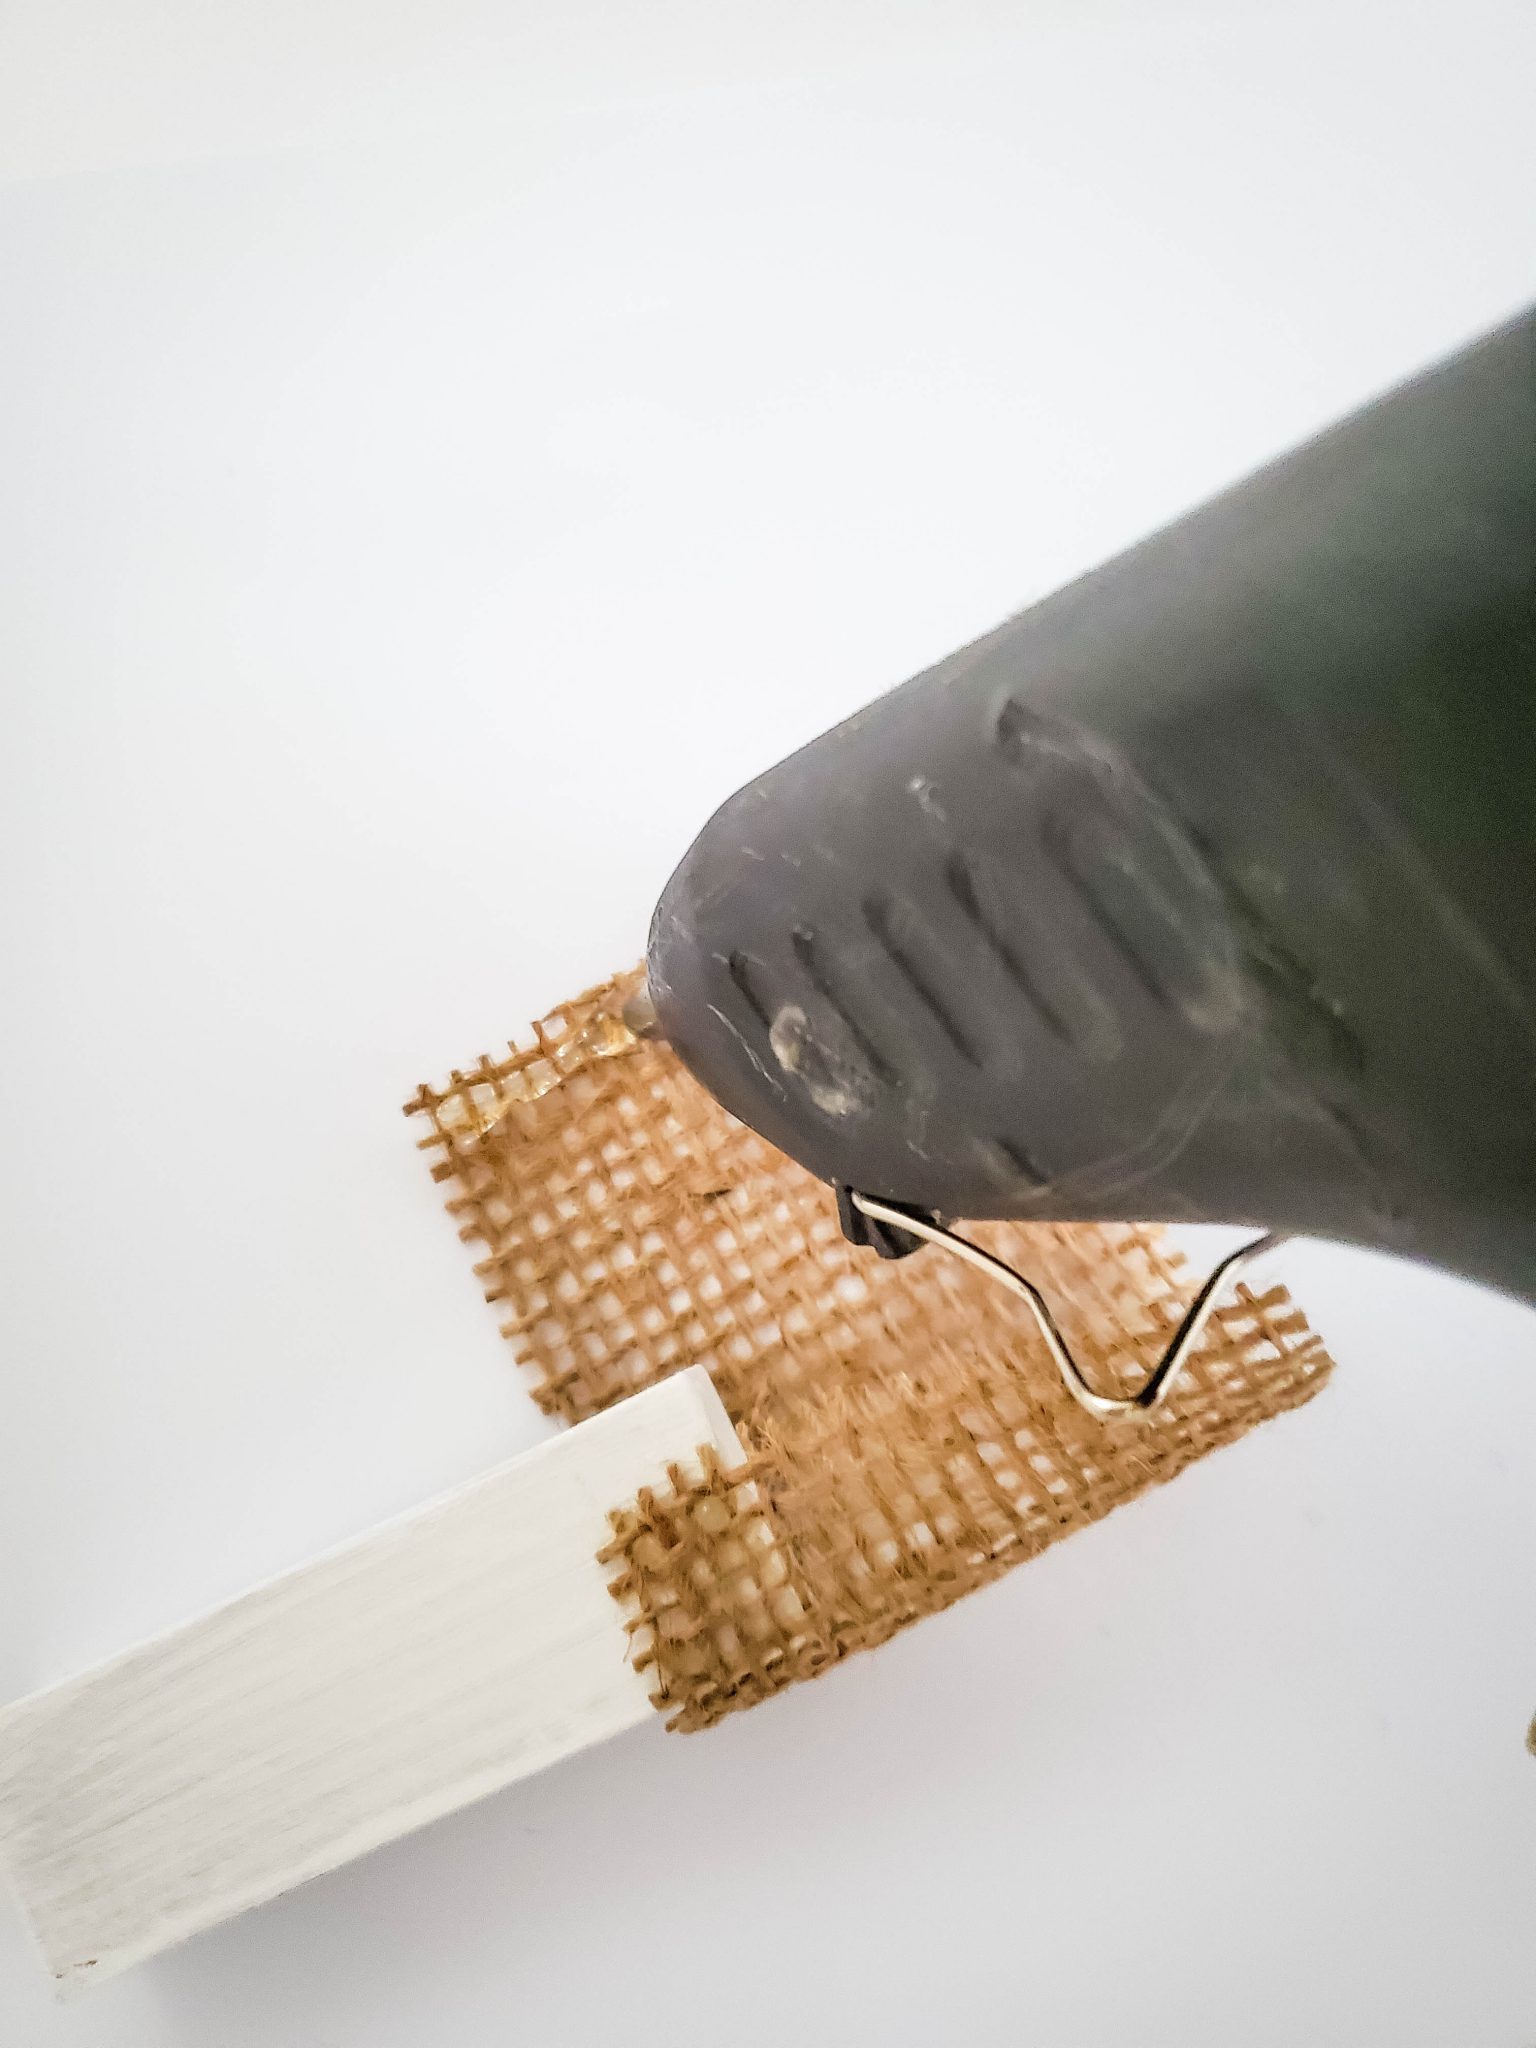
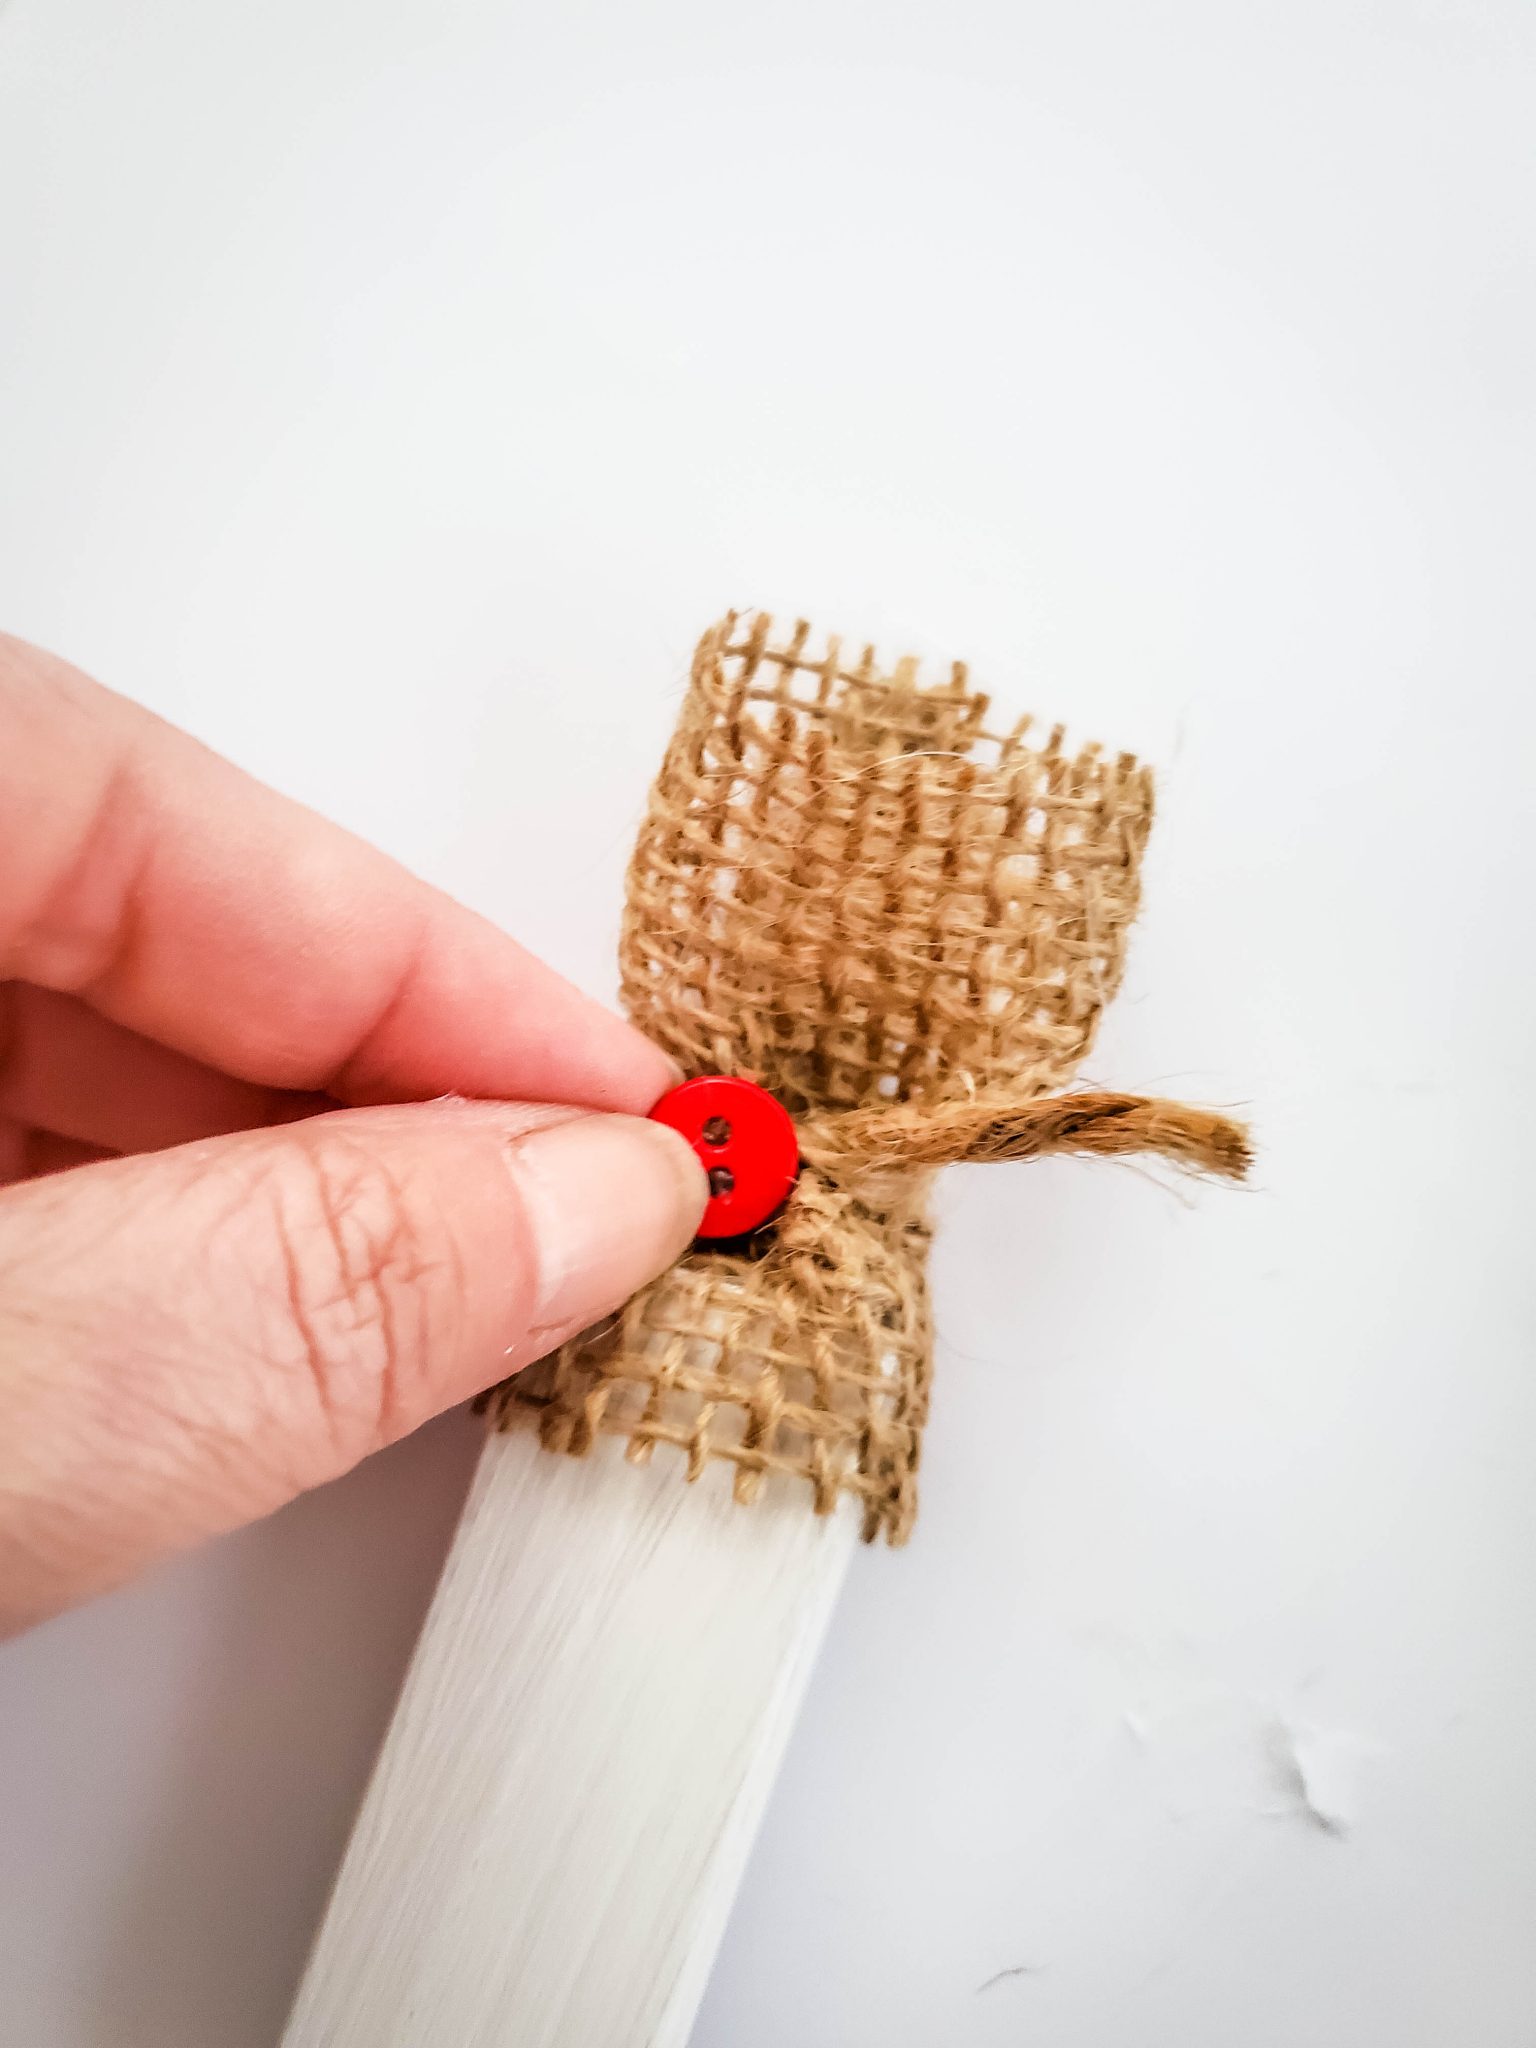
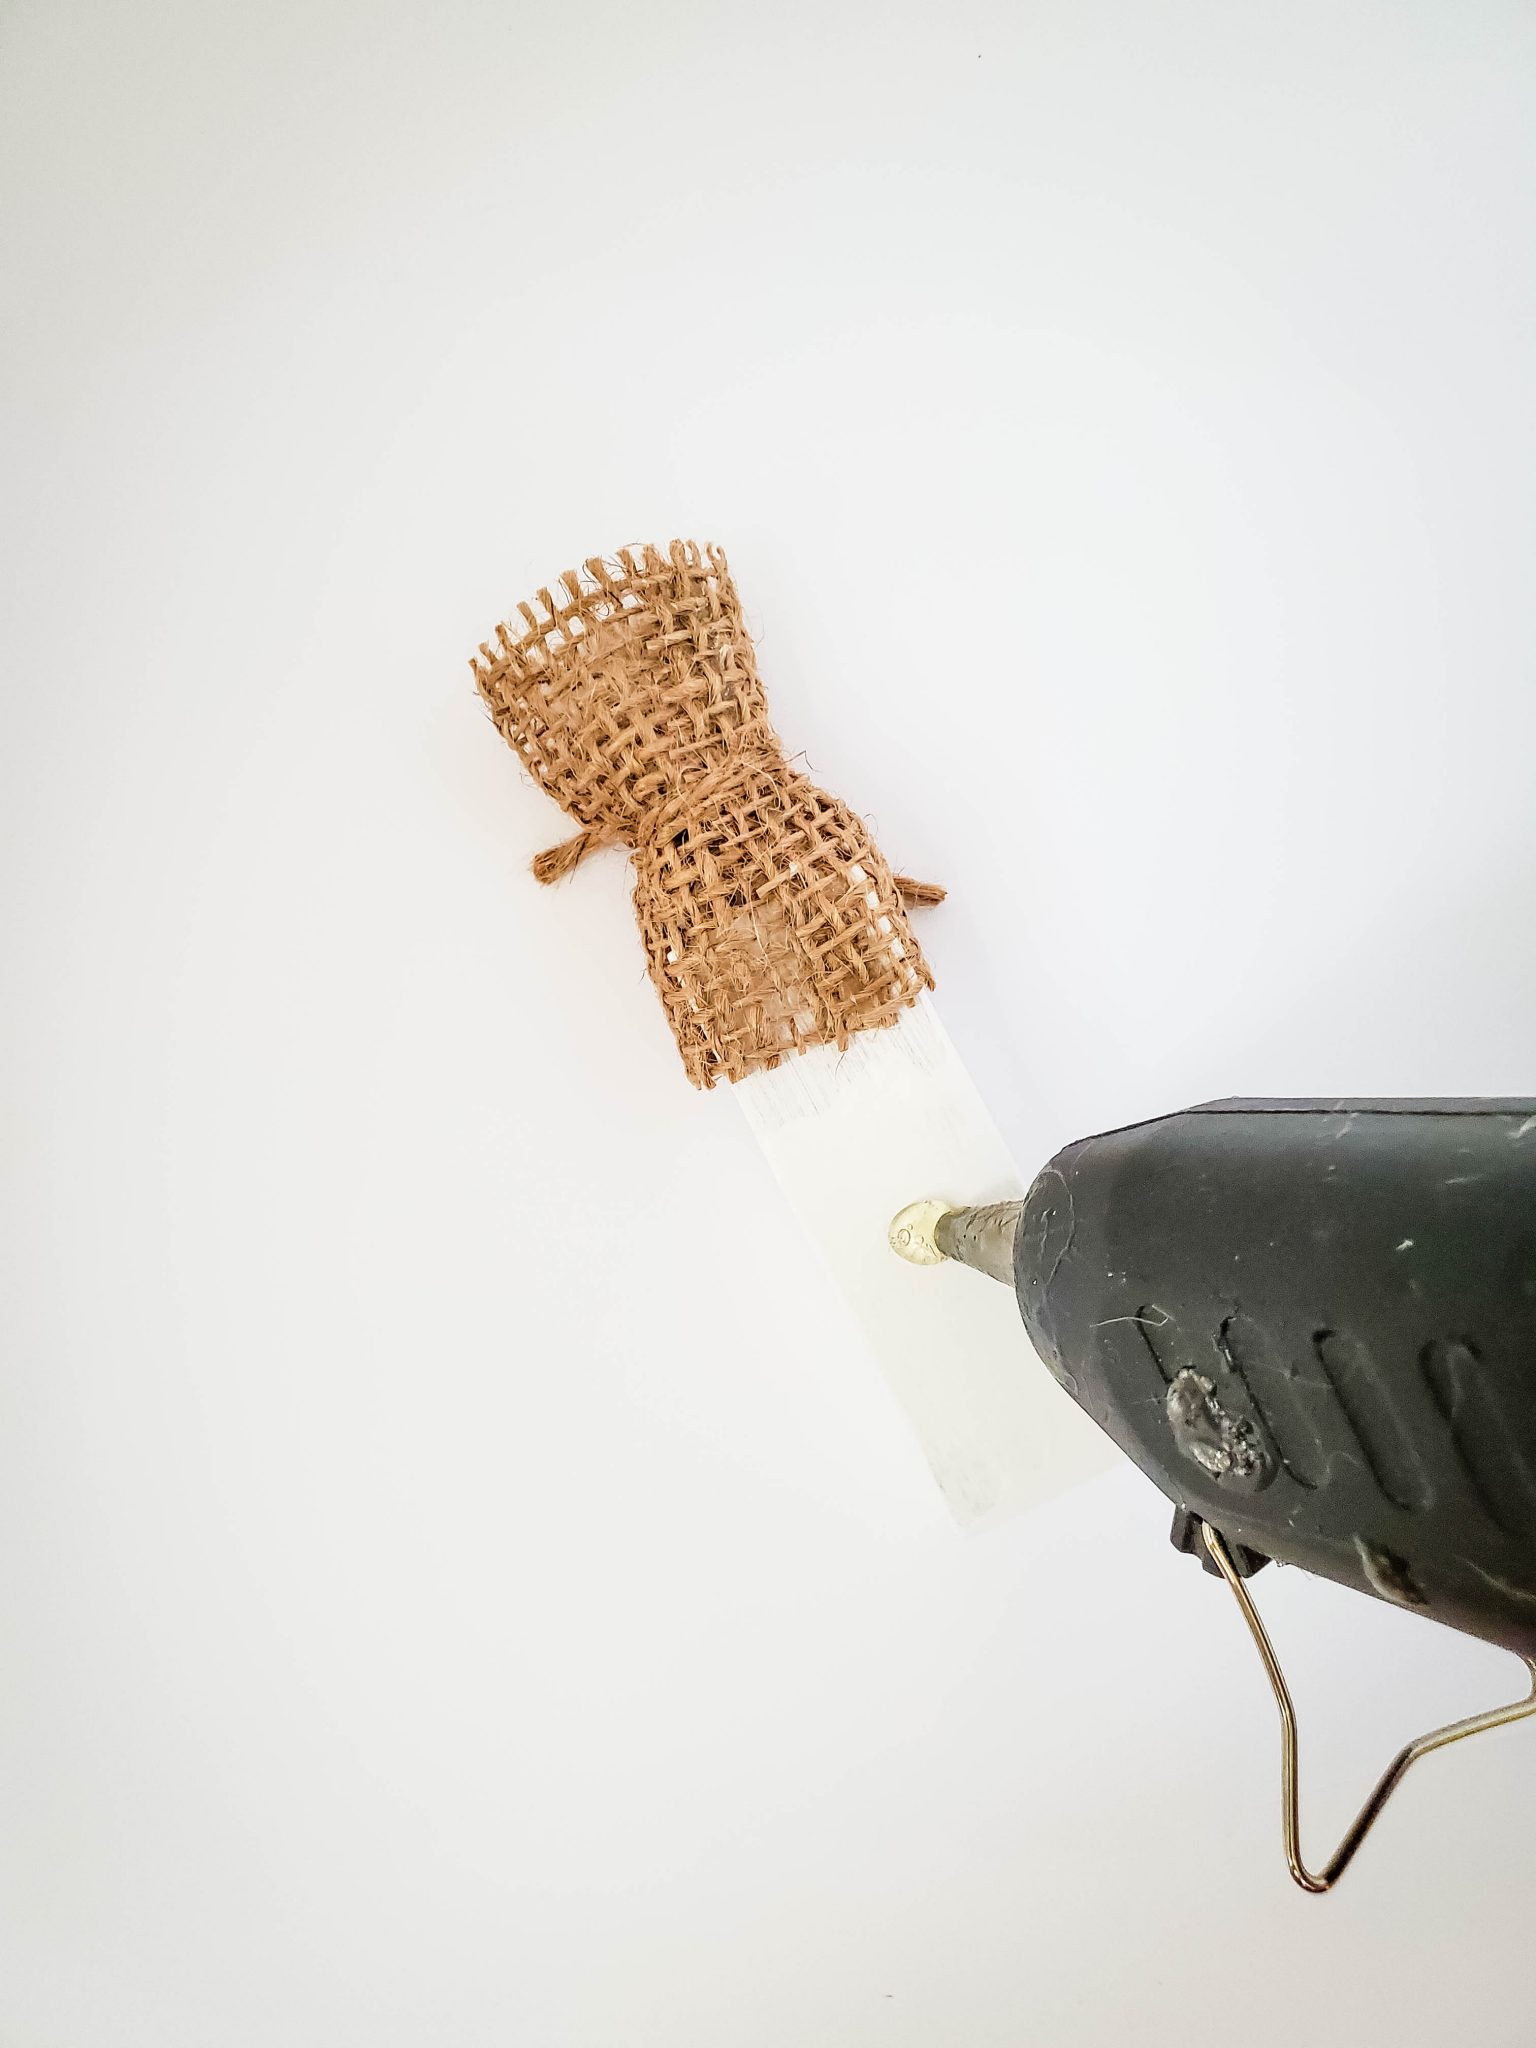
Cut a 3 1/2″ strip of burlap ribbon to make the hat
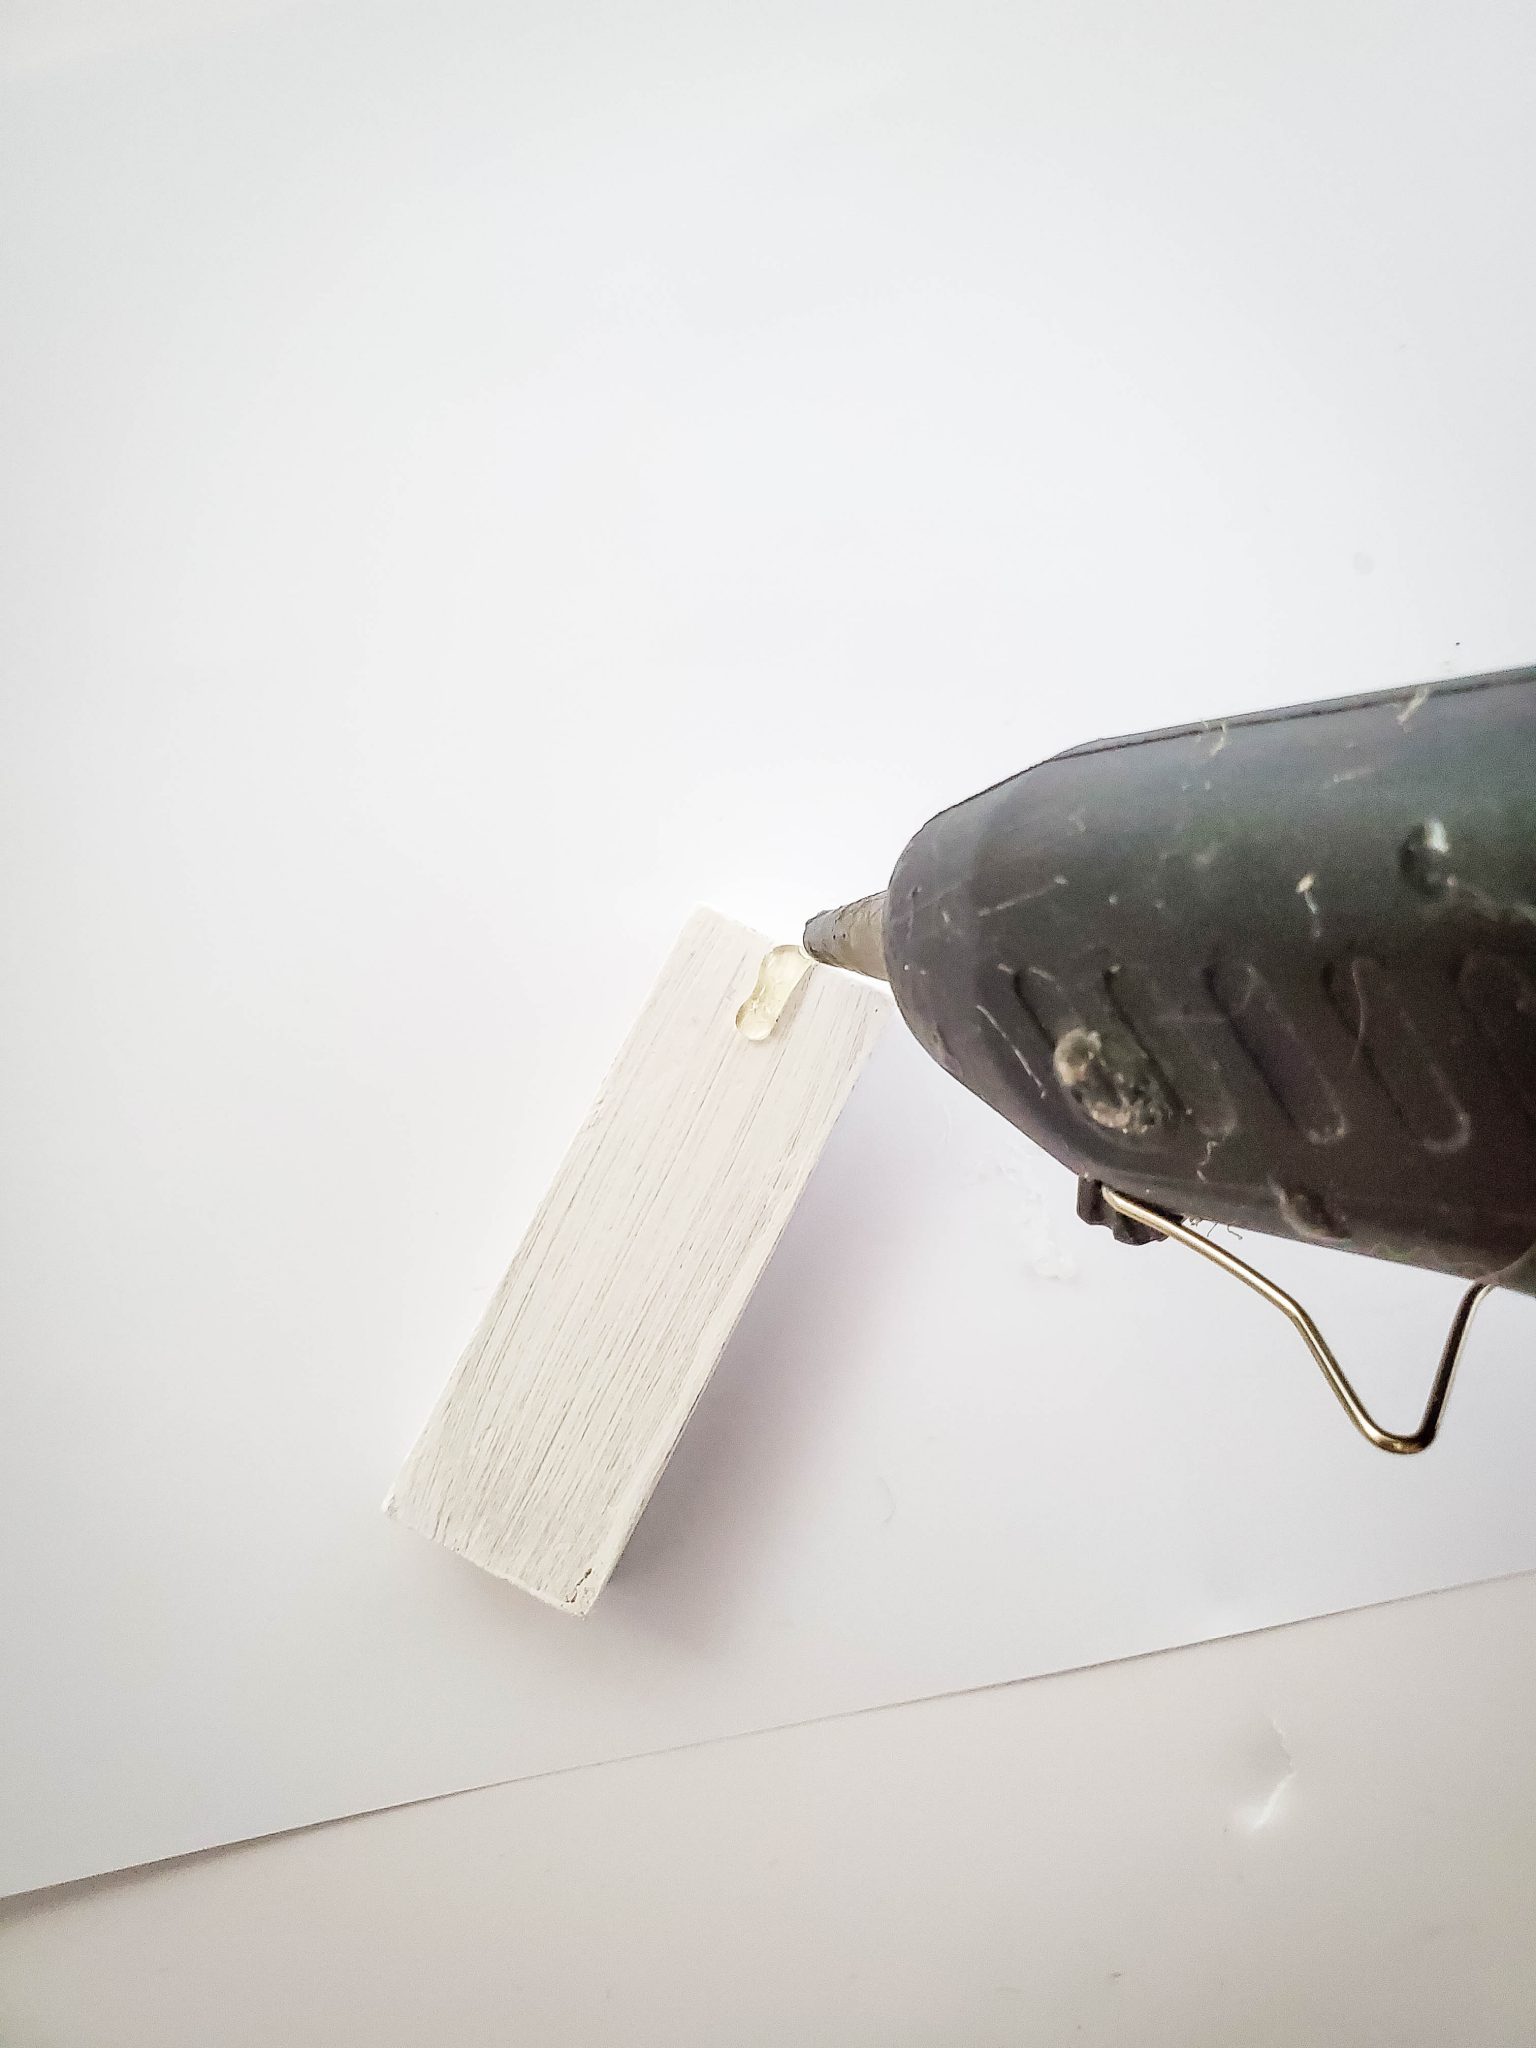
Apply a small amount of glue to one end of the block and press the ribbon into place
Wrap the burlap ribbon around the block, gluing it into place as you wrap
Cut a 5″ length of twine
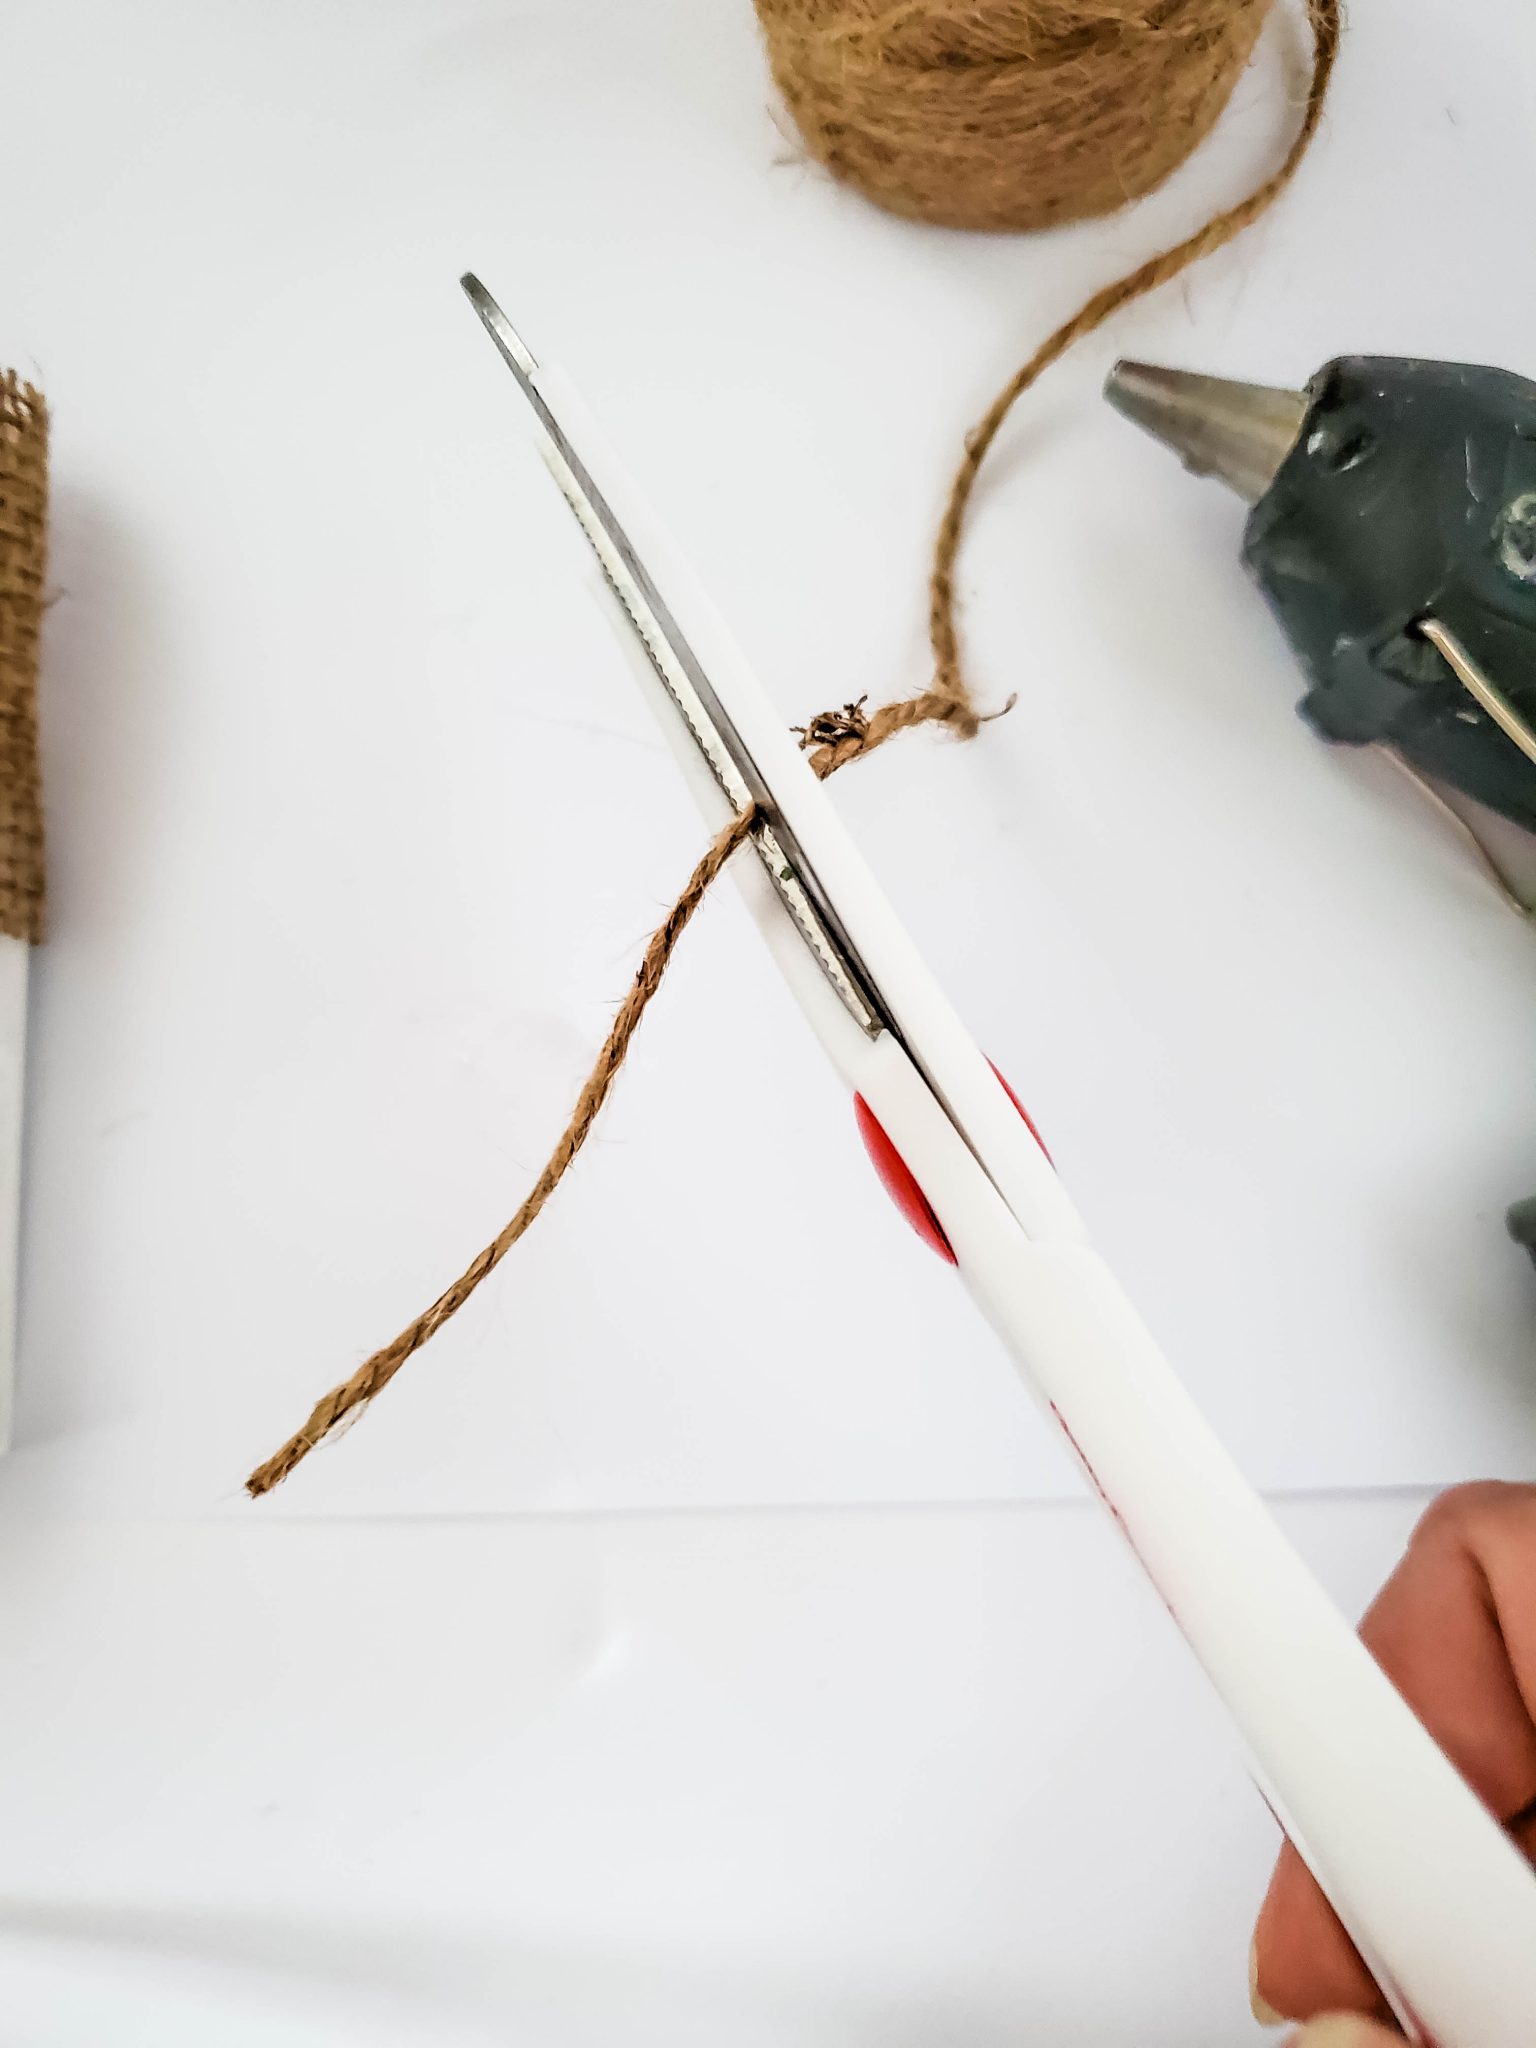
Tie the twine around the burlap ribbon
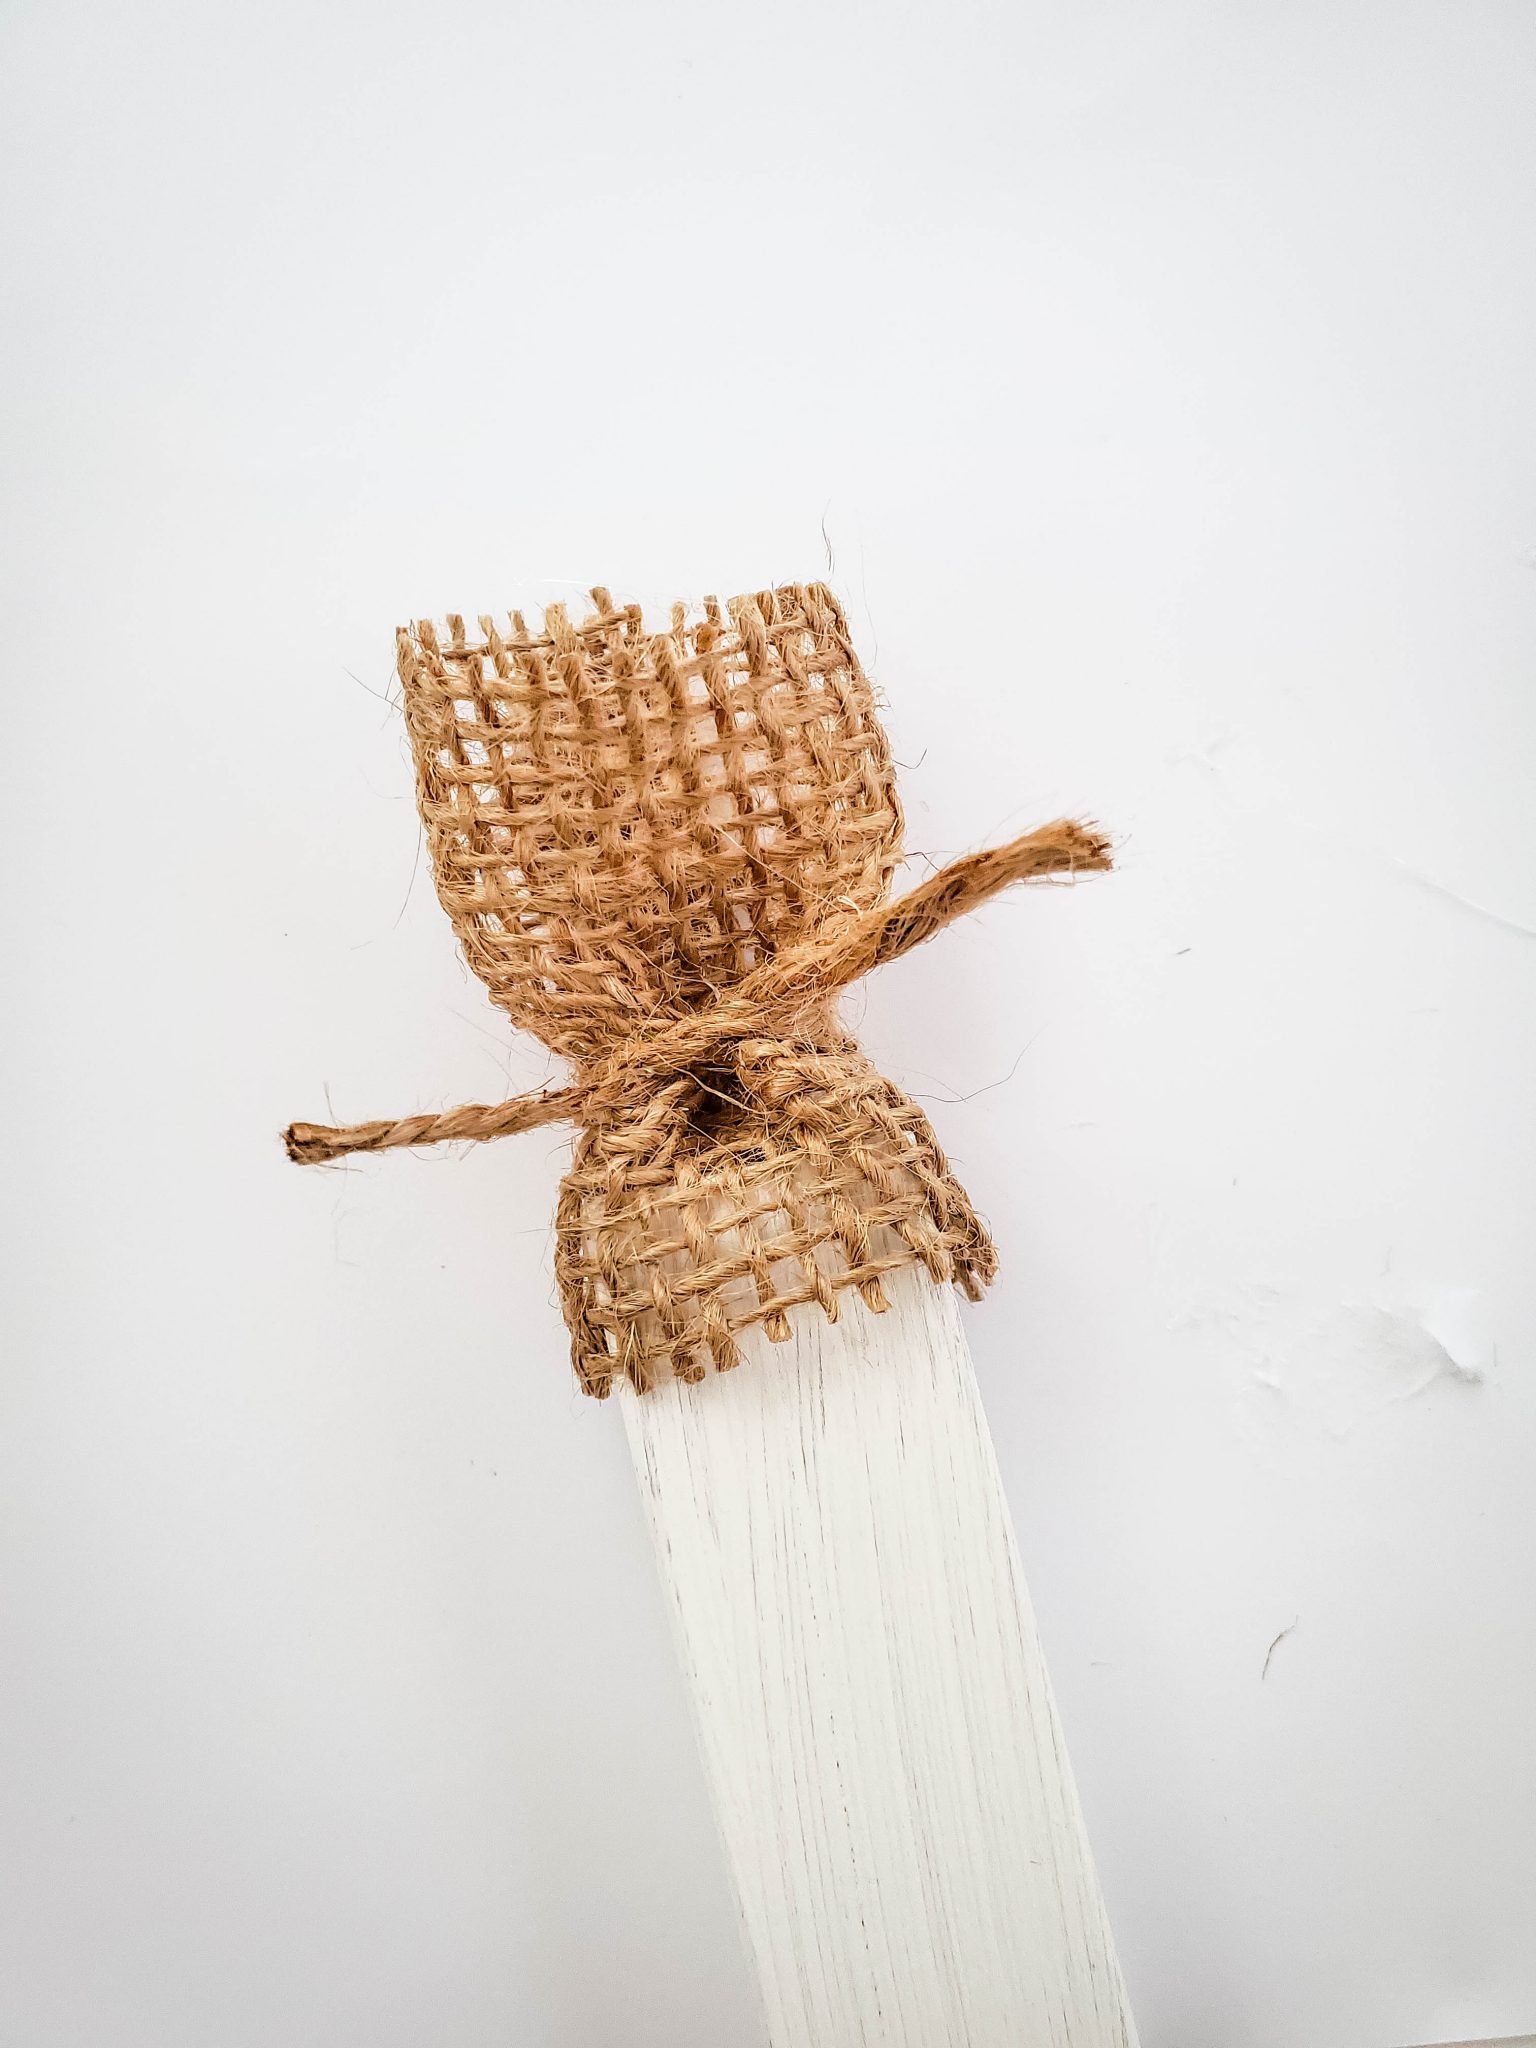
Glue a red button over the knot
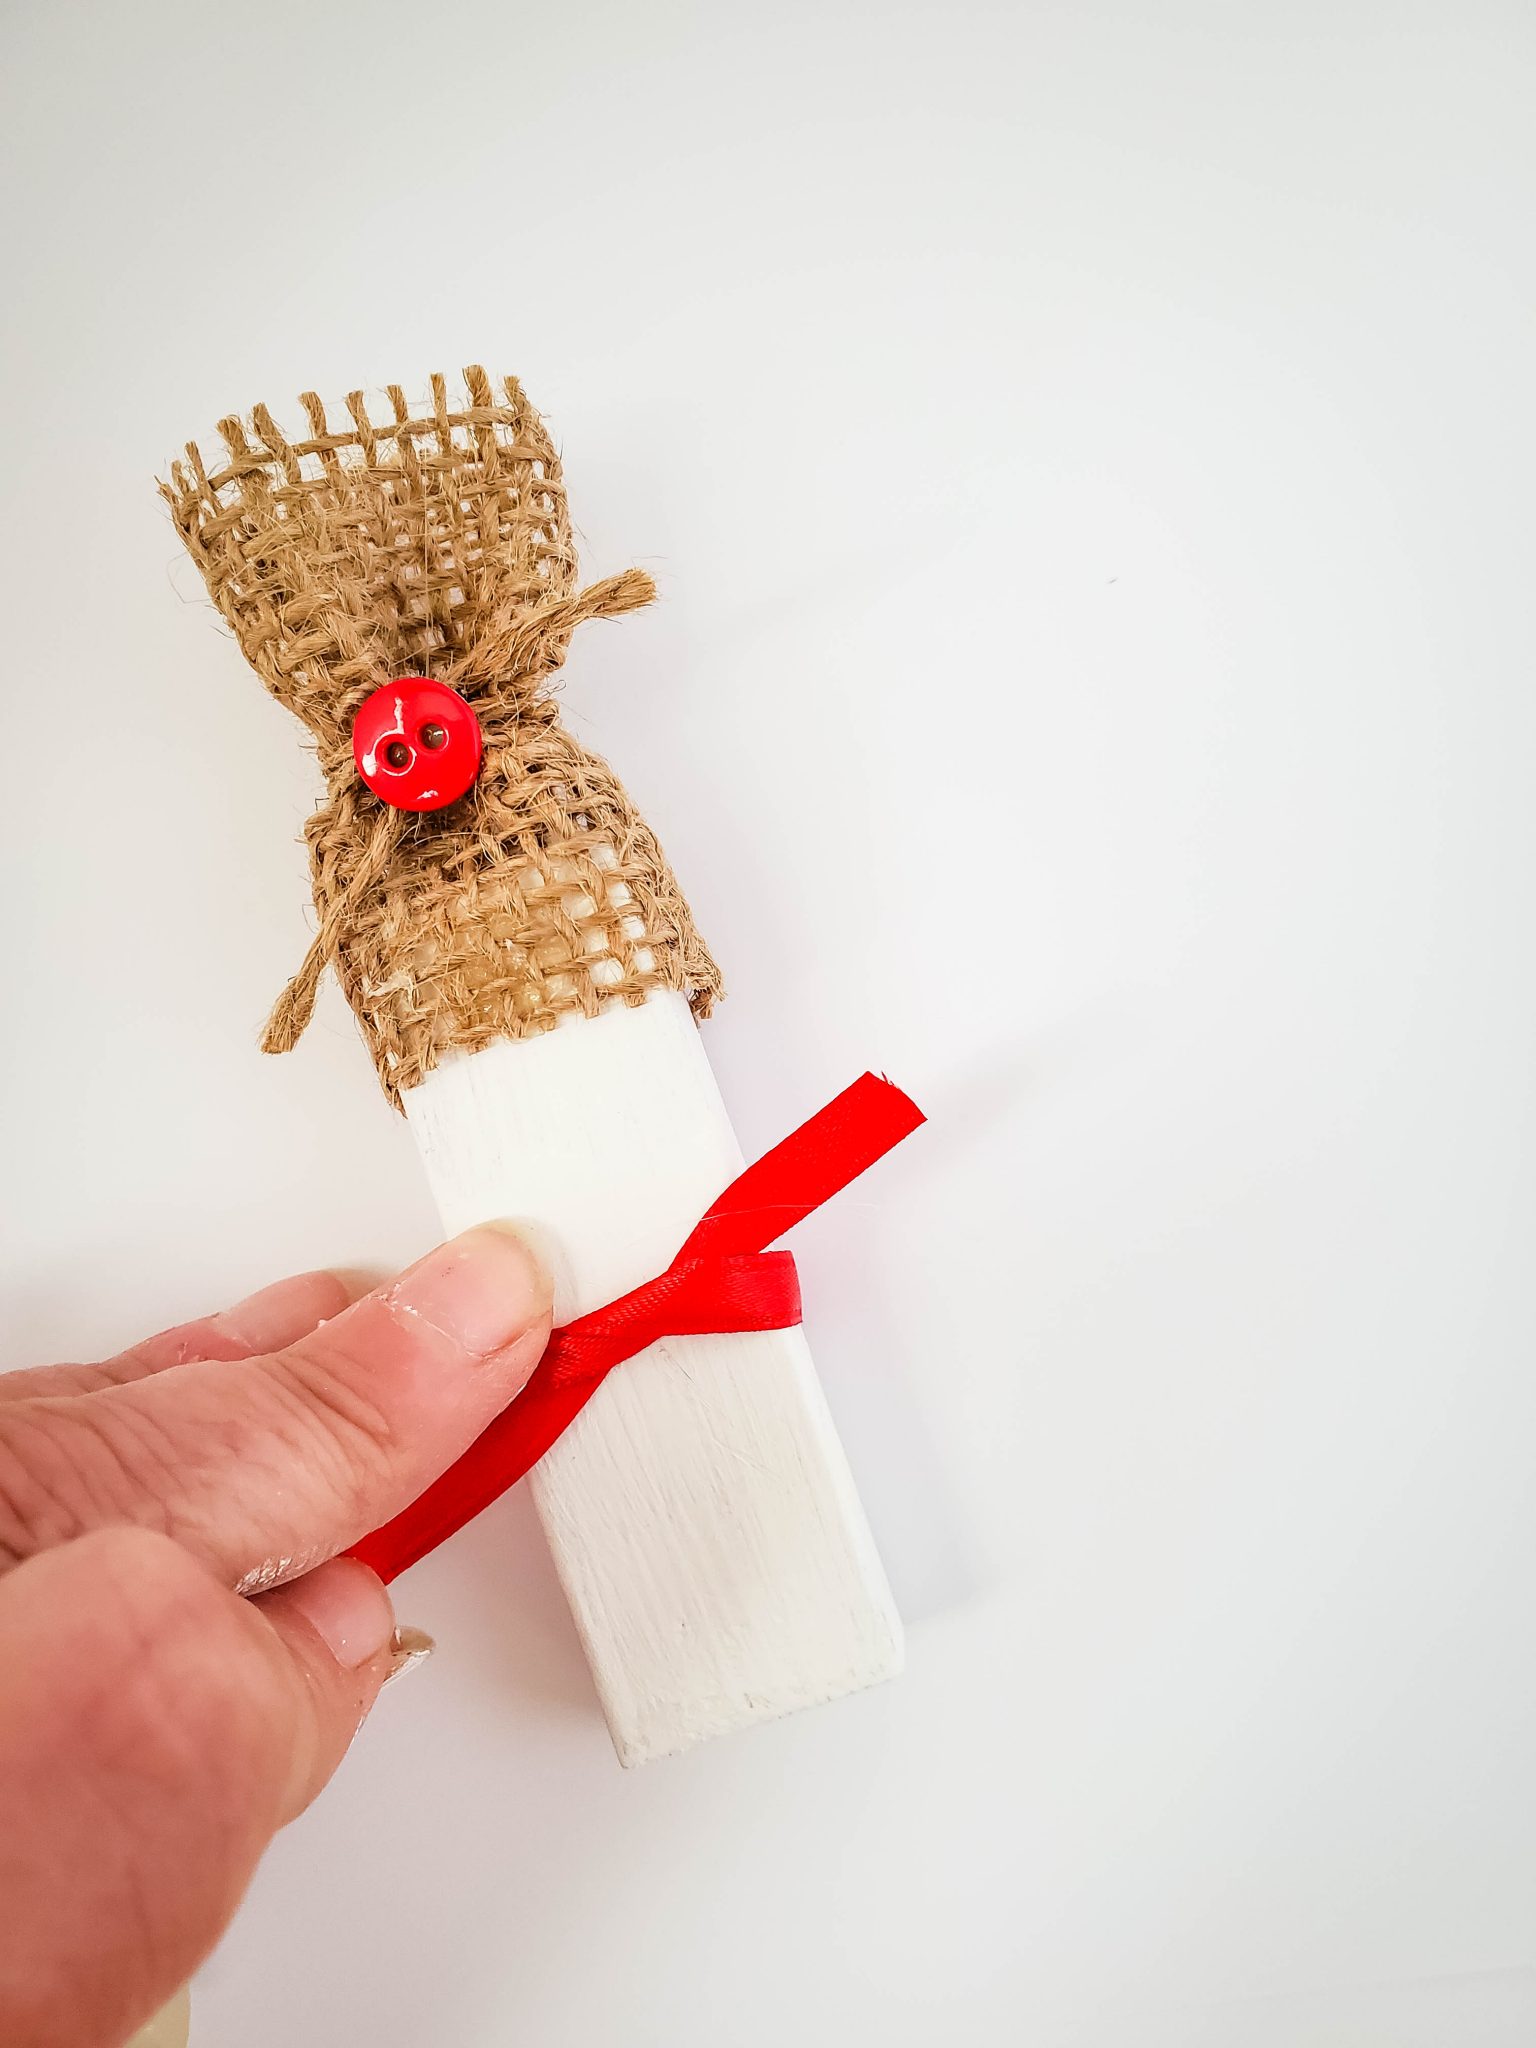
Cut 6″ of red ribbon
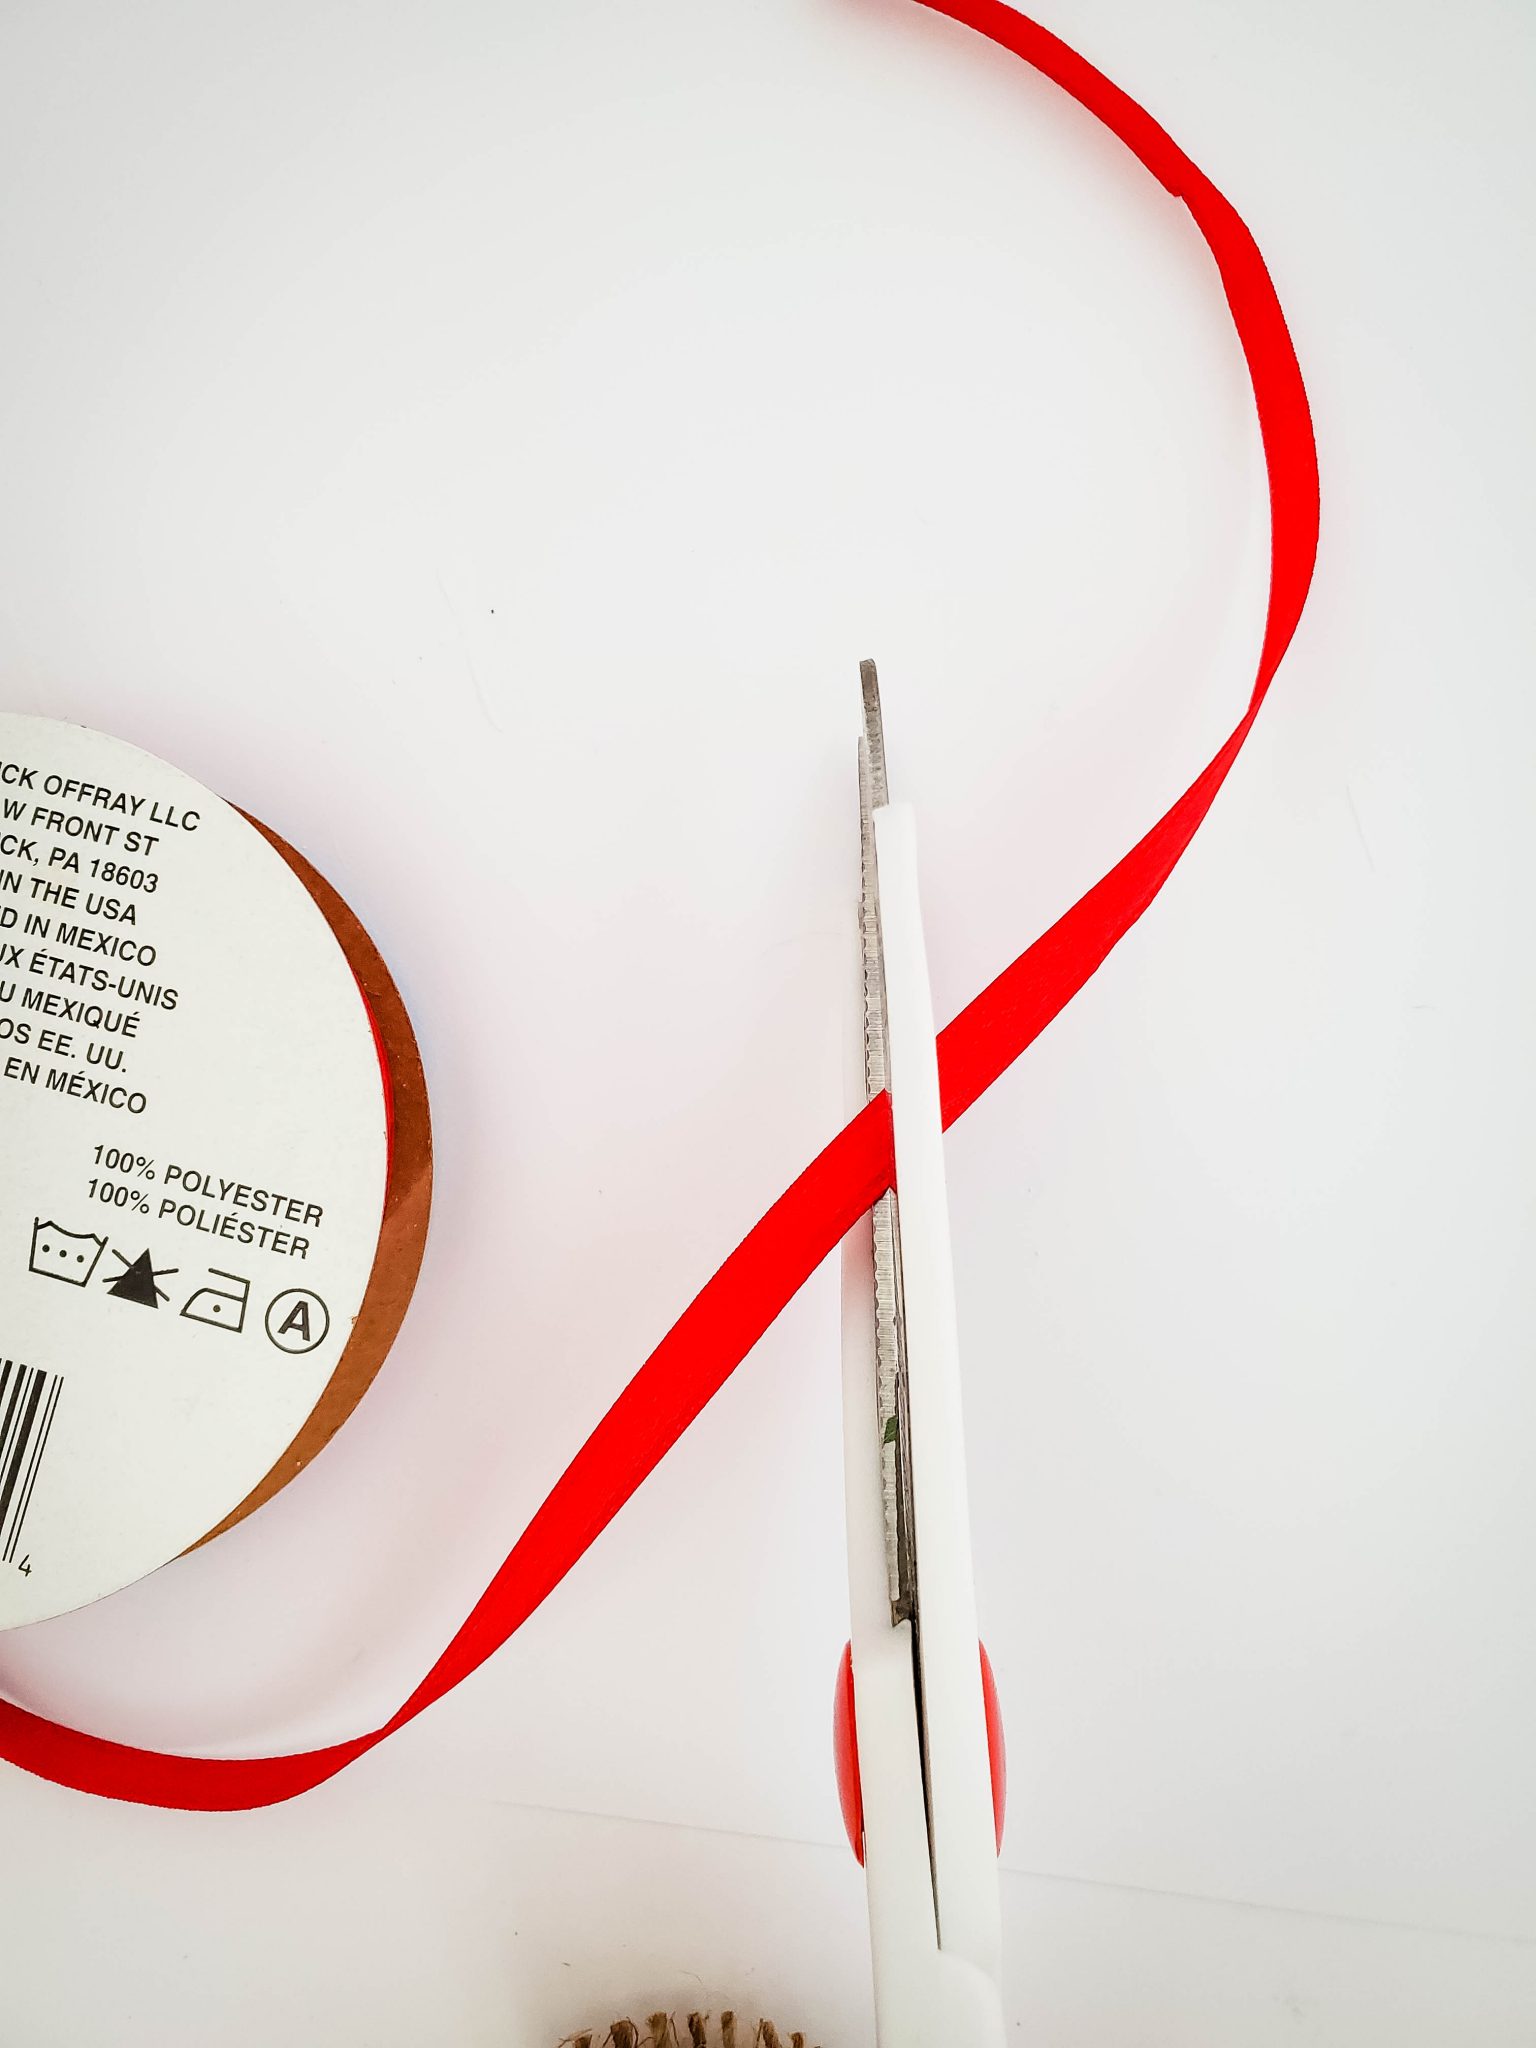
Add Ribbon
Apply a dot of glue about halfway down the back of the block.
Center the ribbon onto the glue.
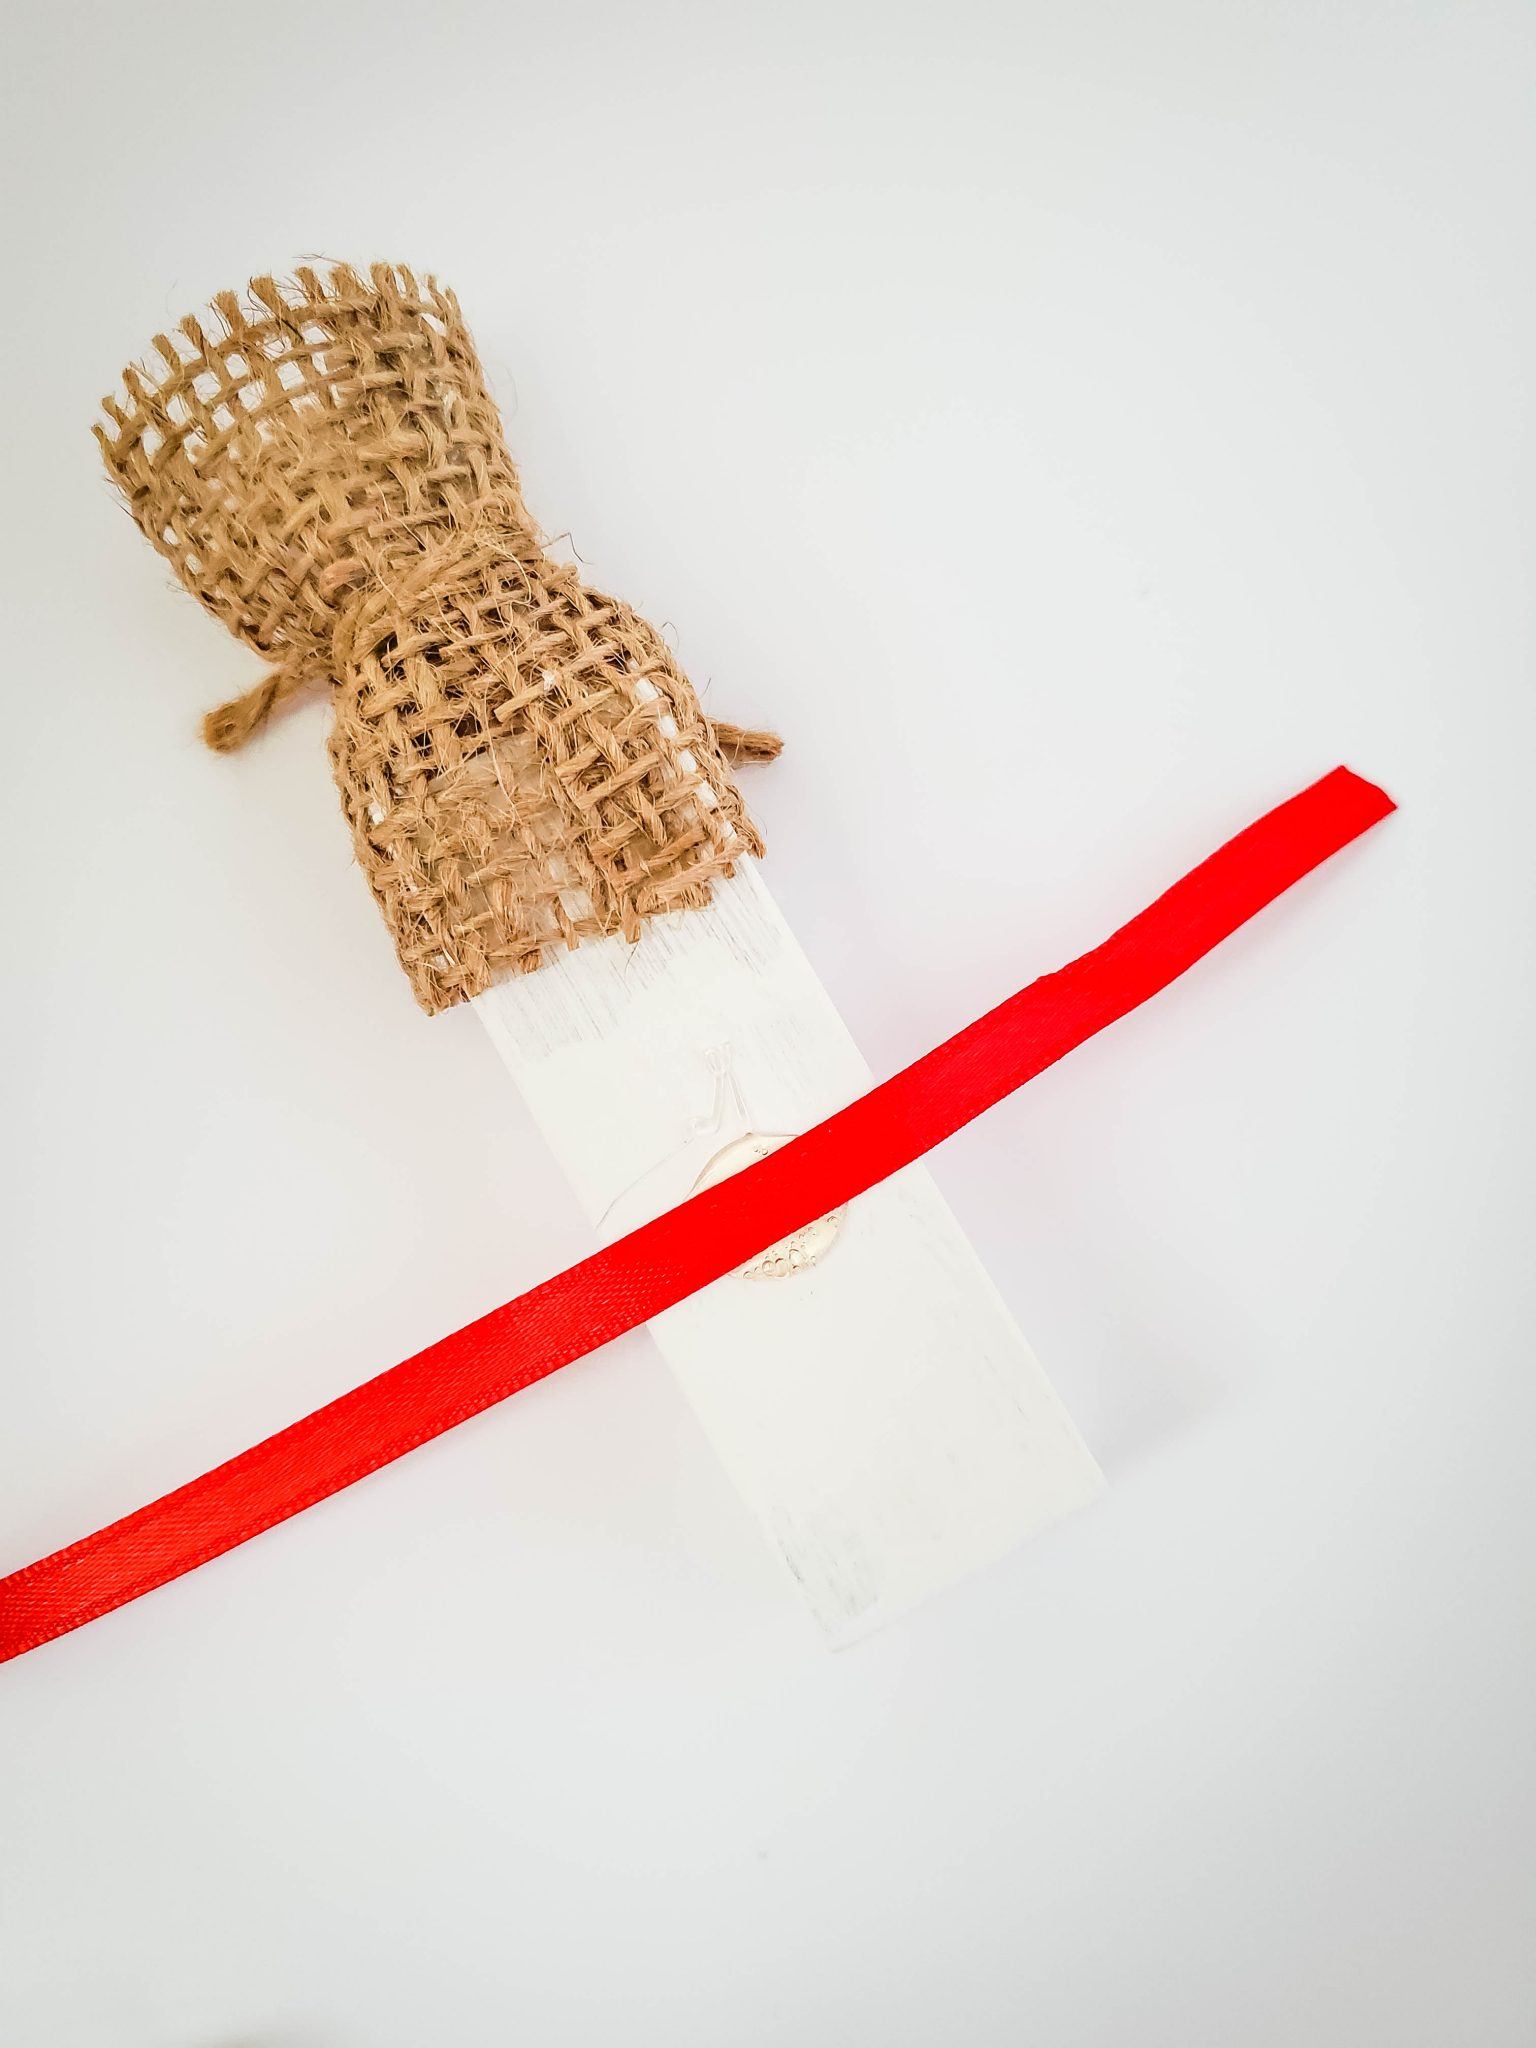
Then wrap the ribbon around the front of the block and make a knot.
Add Brown Buttons
Use the black marker to make eyes and a mouth
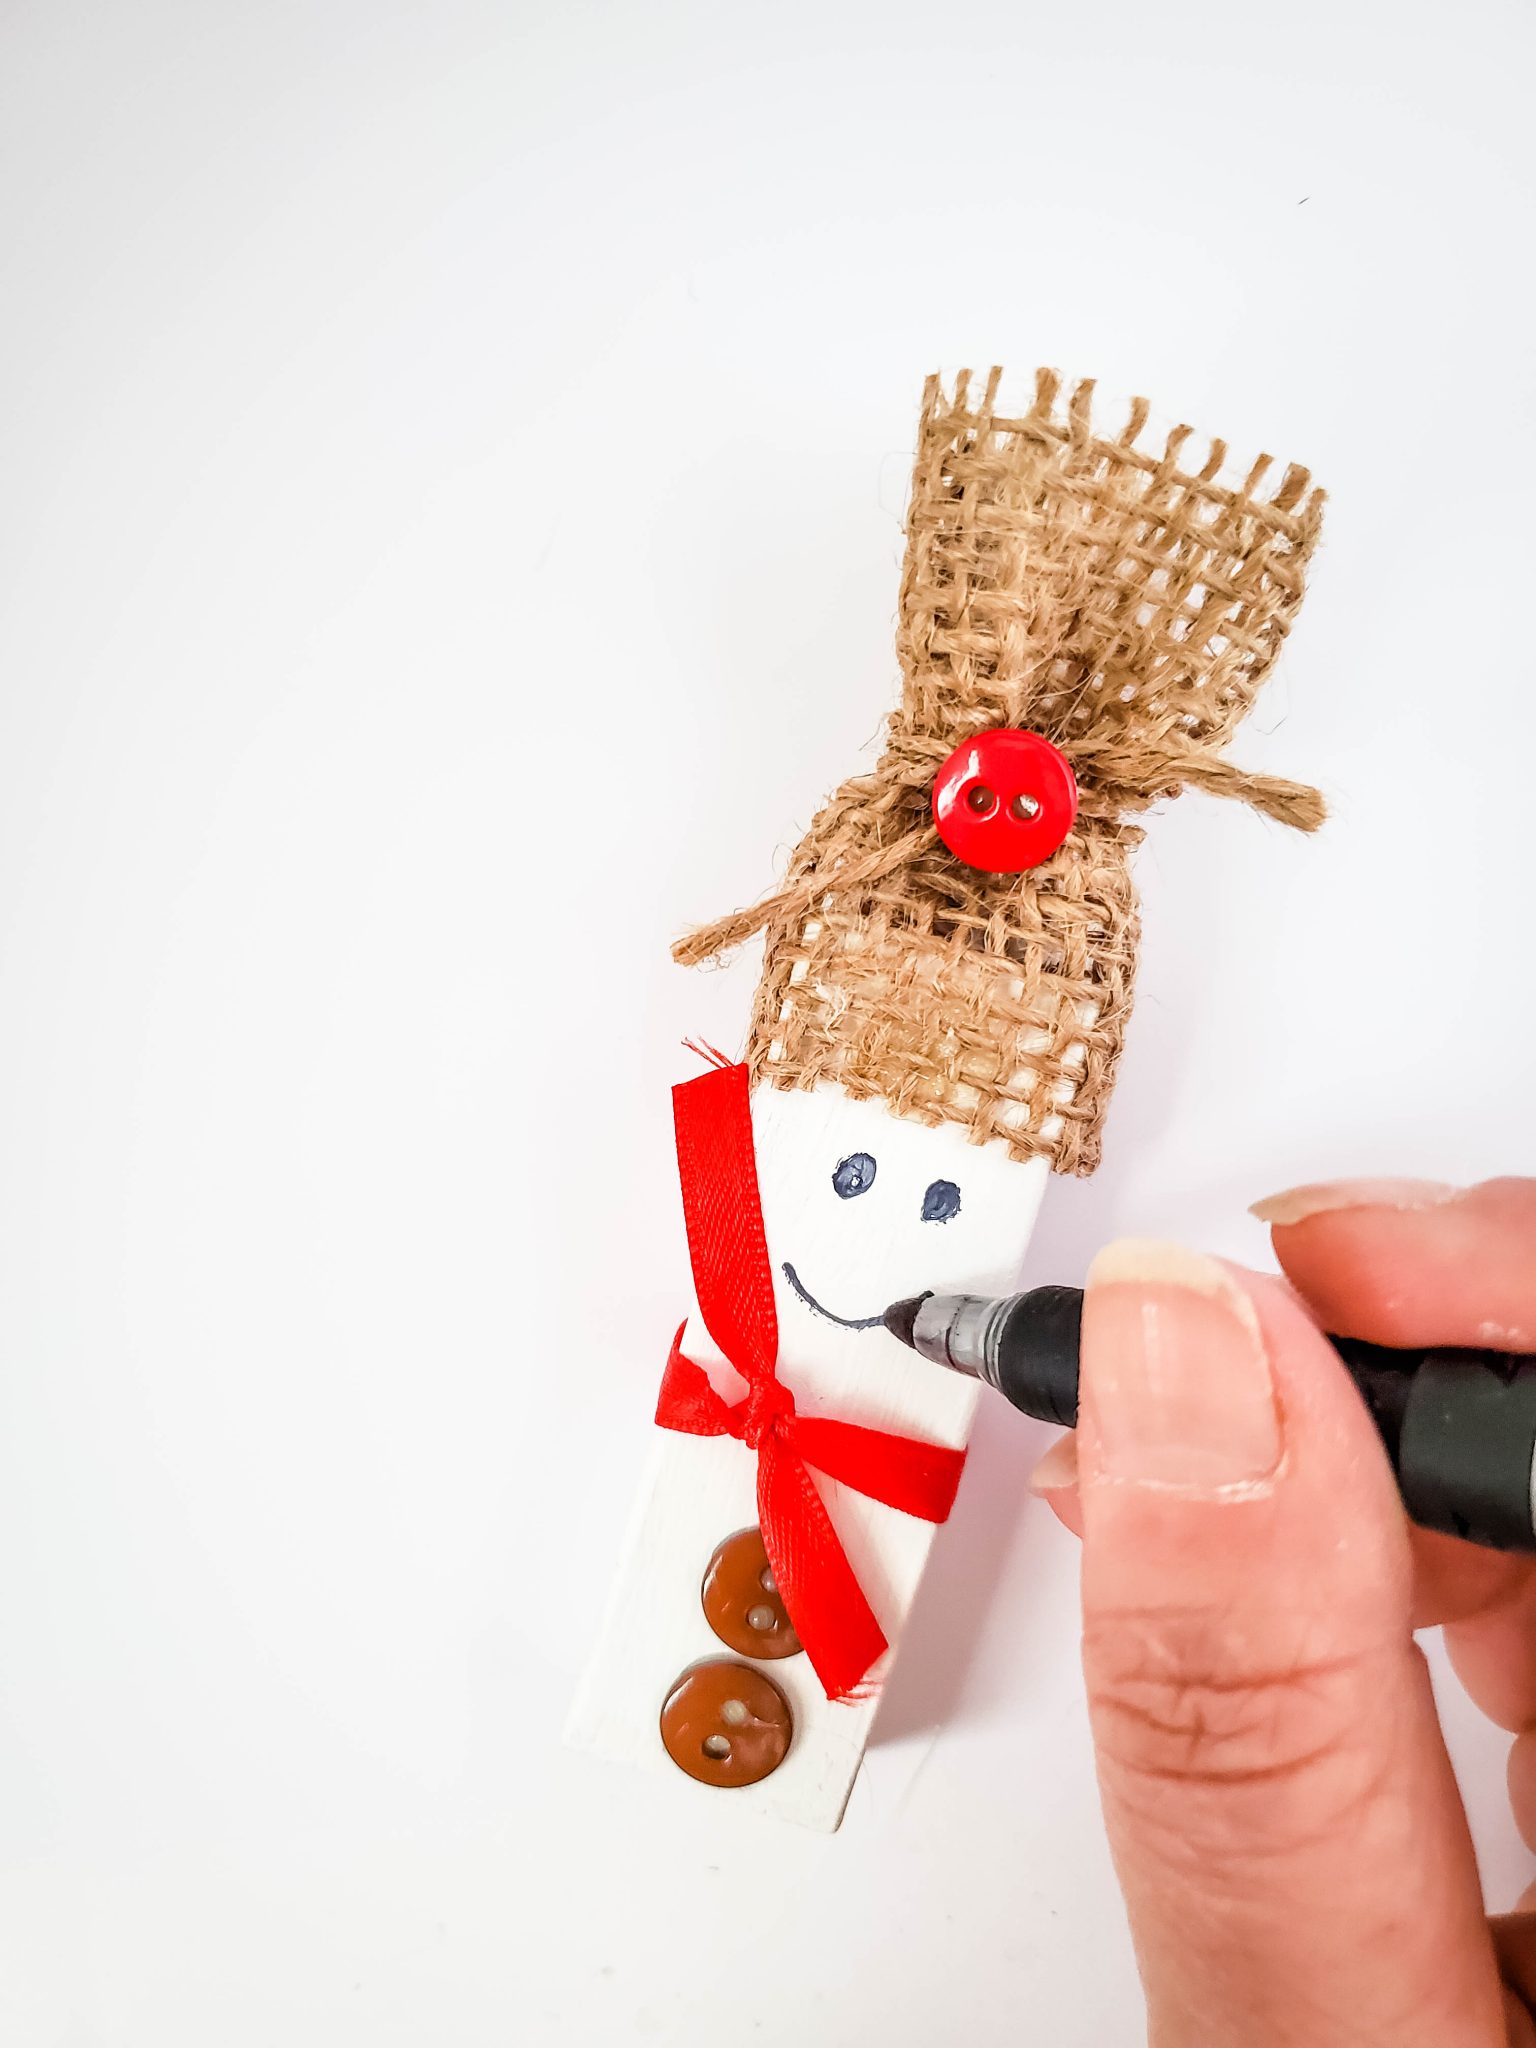
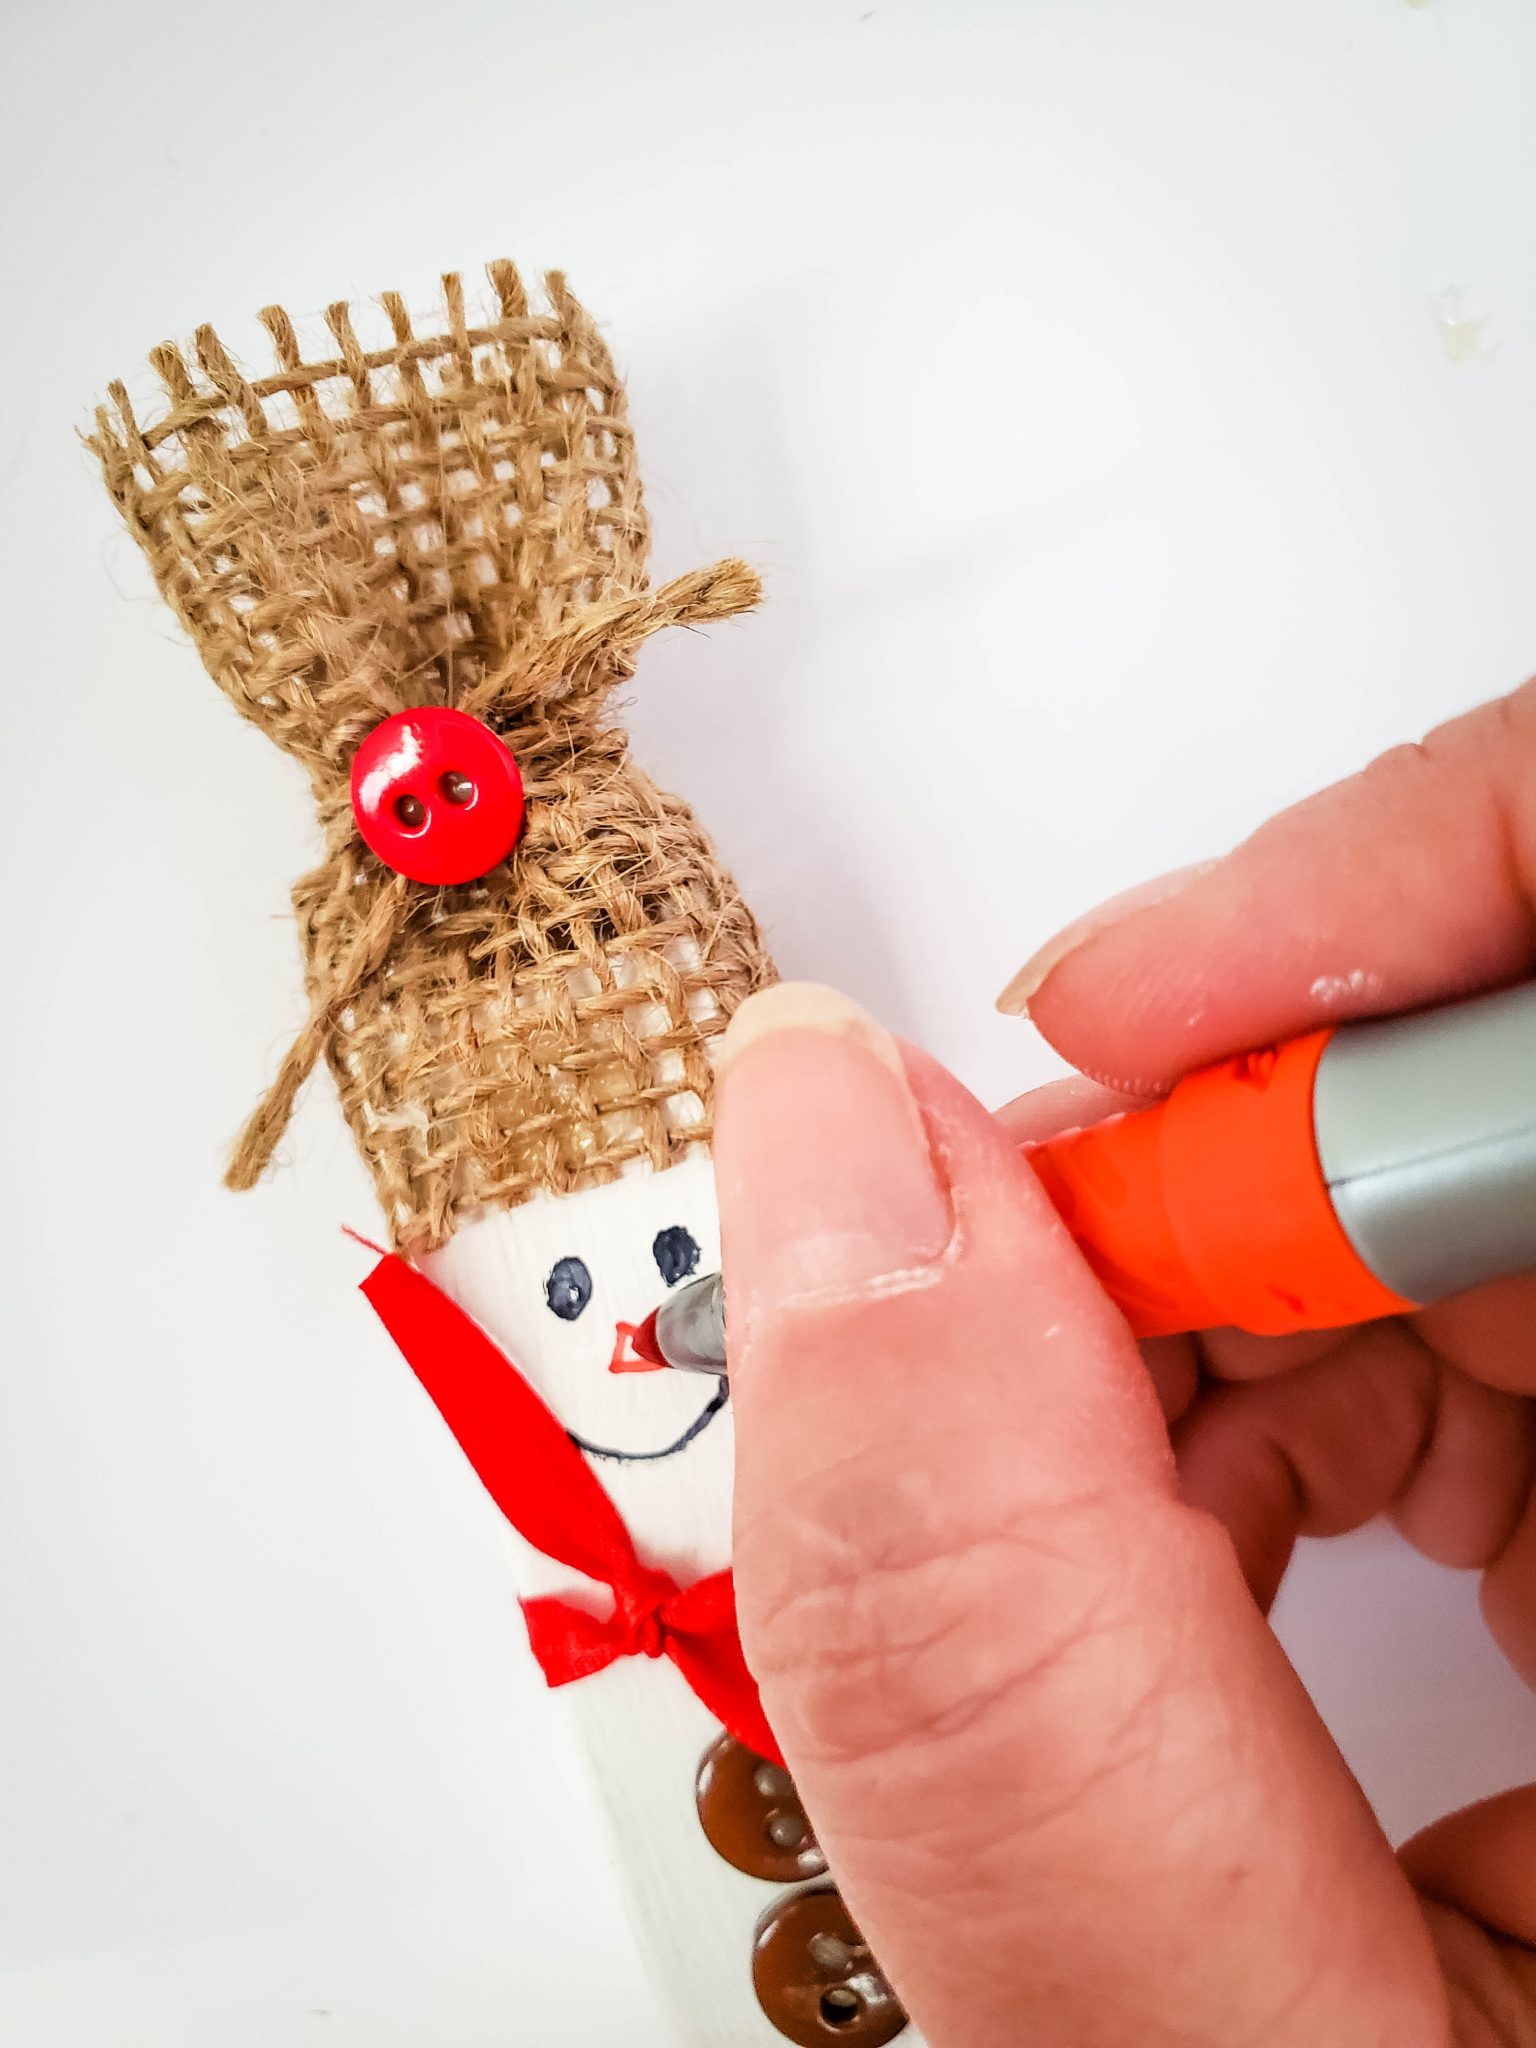
Use the orange marker to make a nose
To make this an ornament, add a hanger using twine or red ribbon.