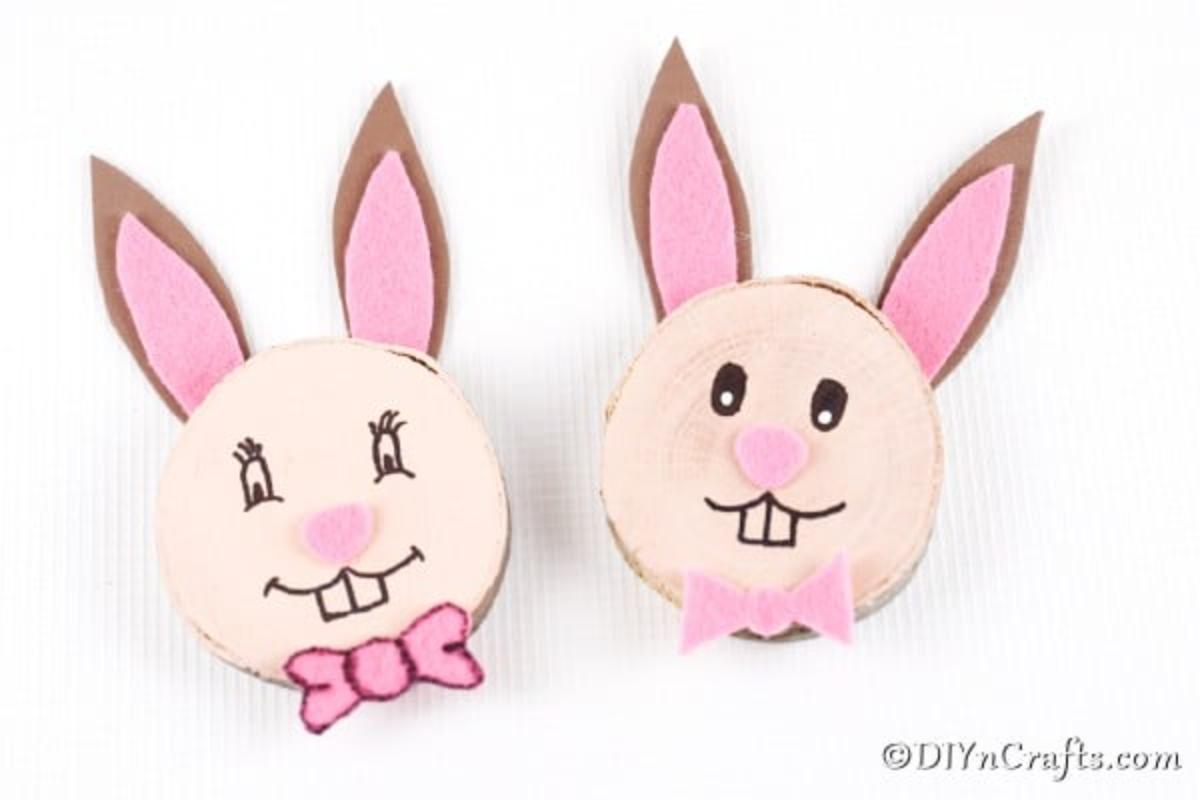
DIY Wood Slice Bunnies
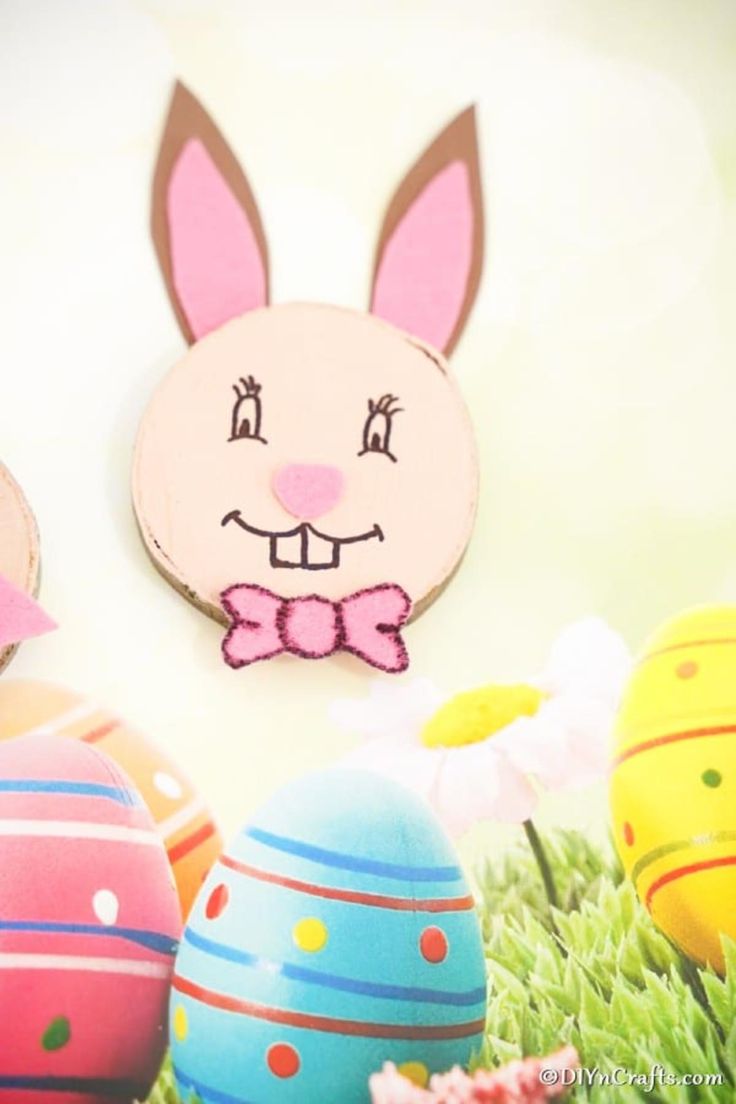
Get ready to add a touch of cuteness to your home with DIY Wood Slice Bunnies! These adorable decorations are not only fun to make but also bring a rustic charm to any space. Whether you're crafting them for Easter or simply to add some whimsy to your decor, these wood slice bunnies are sure to bring a smile to your face every time you see them hop into view. So grab your supplies, unleash your inner artist, and let's get crafting some charming wood slice bunnies together!
Supplies Needed
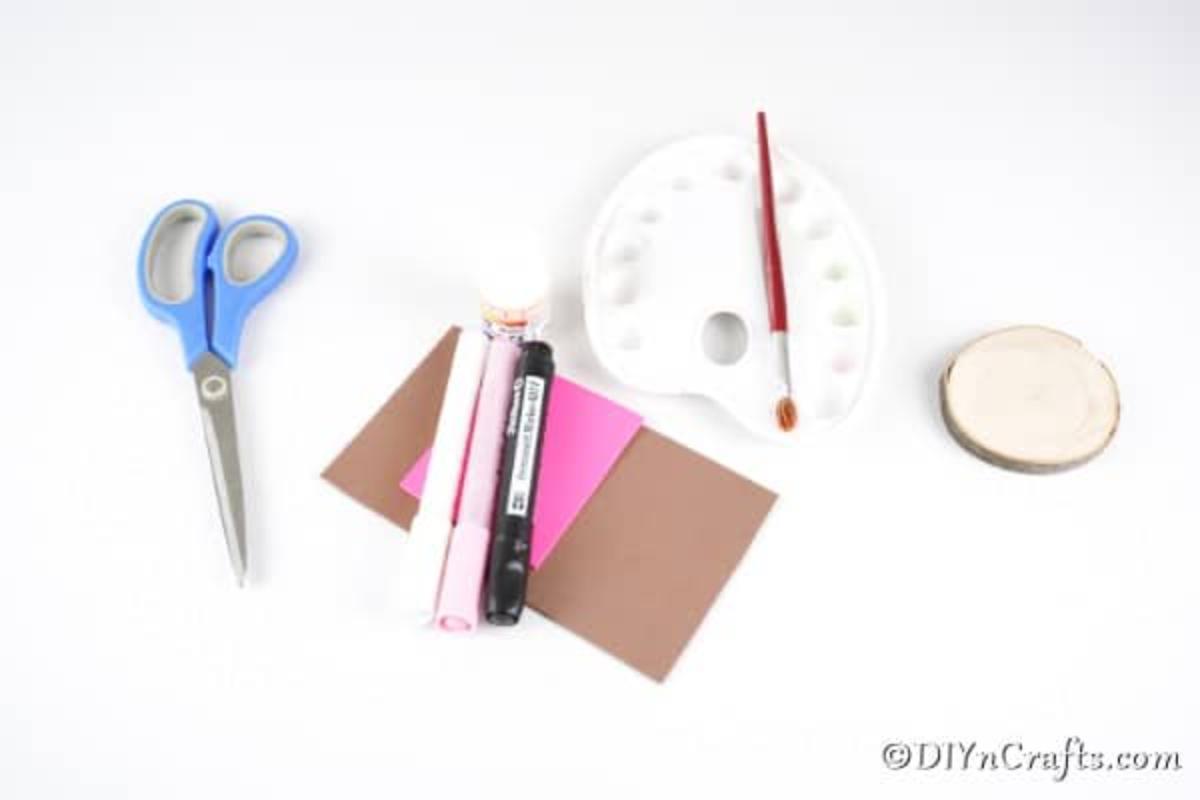
- Wood slices
- Pink craft paper
- Brown craft paper
- Pink felt
- White or pink paint
- Black marker
- White marker
- Pink marker
- Scissors
- Paintbrush
- Craft glue
How to Make Wood Slice Bunnies Easter Decoration
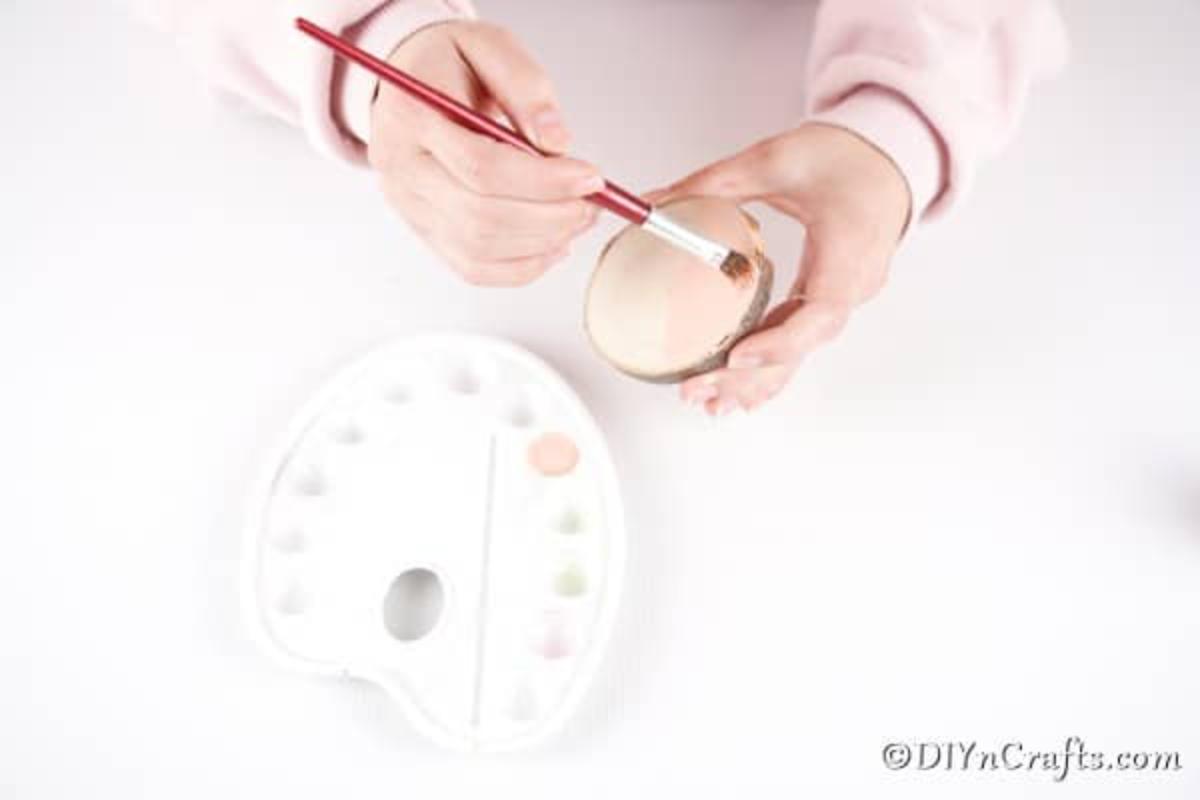
Begin by painting your wood slices light pink or white and setting them aside to dry. You only need to paint one side of these.
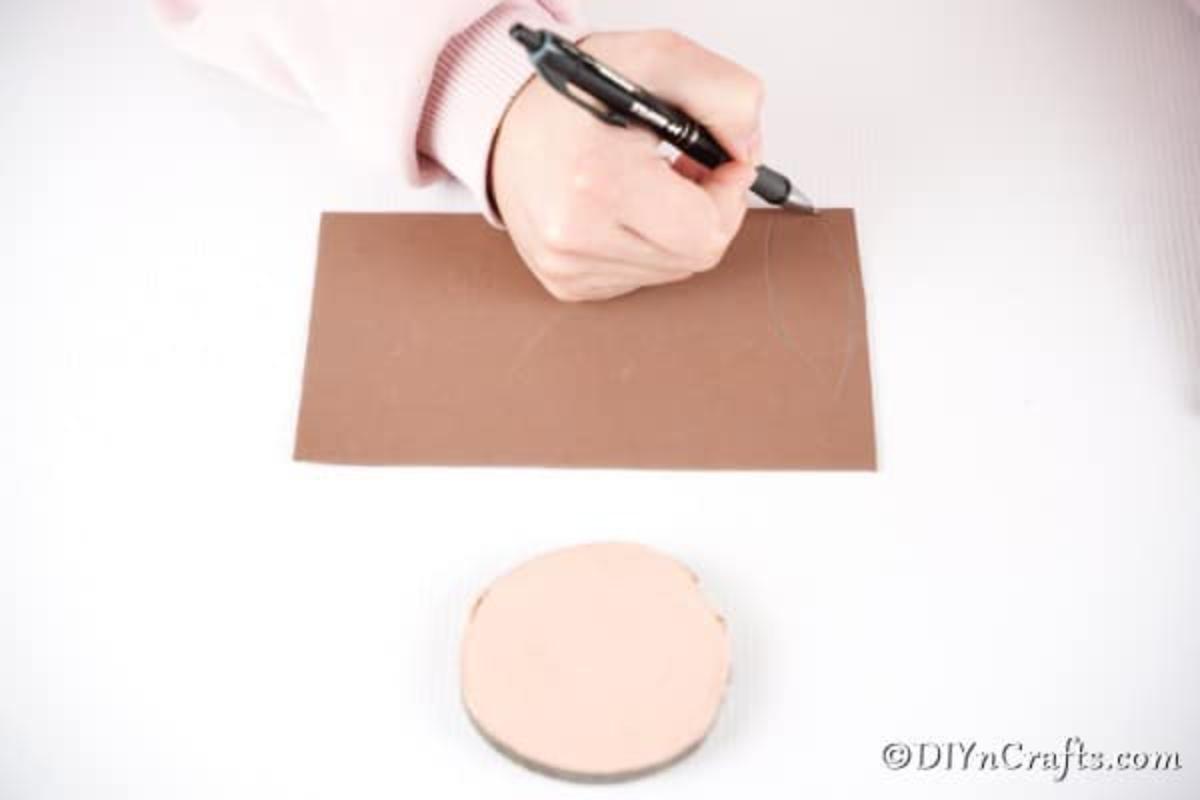
While the paint is drying, you will trace and cut out the bunny ears from first brown paper and then slightly smaller ears from pink paper.
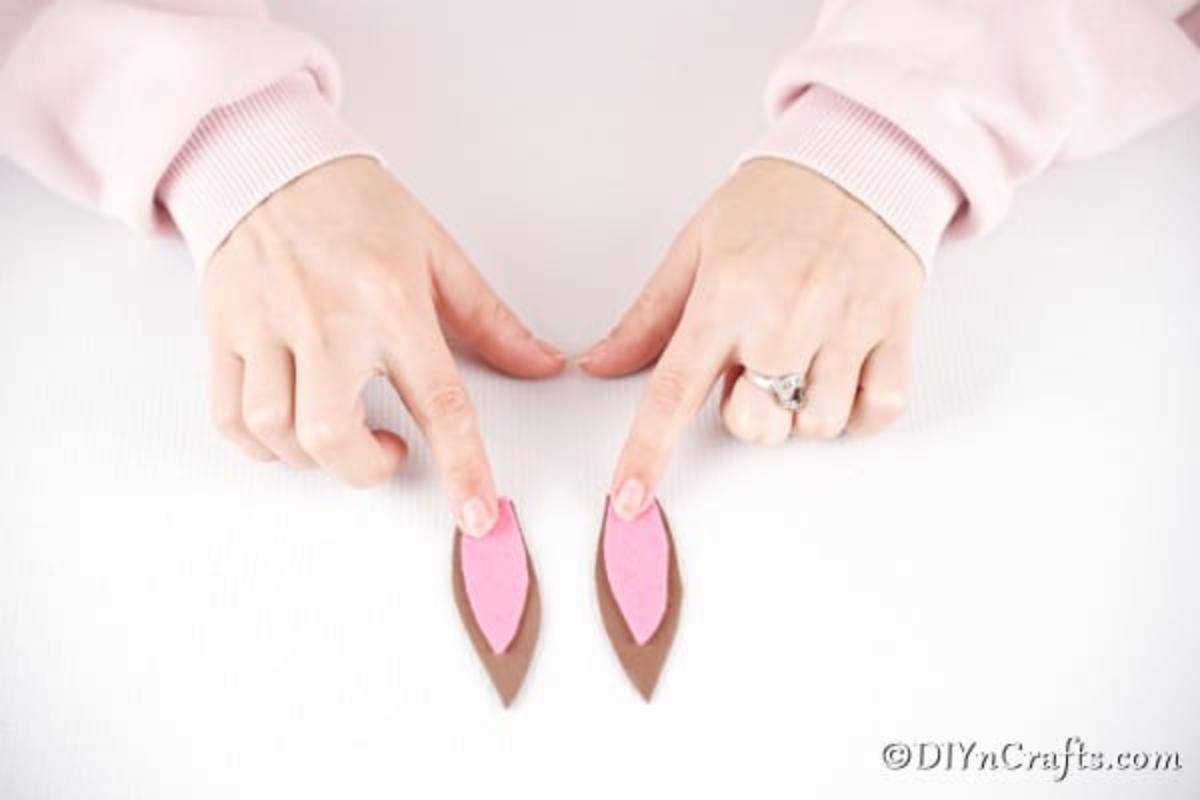
Attach the pink ear to the brown ear as shown.
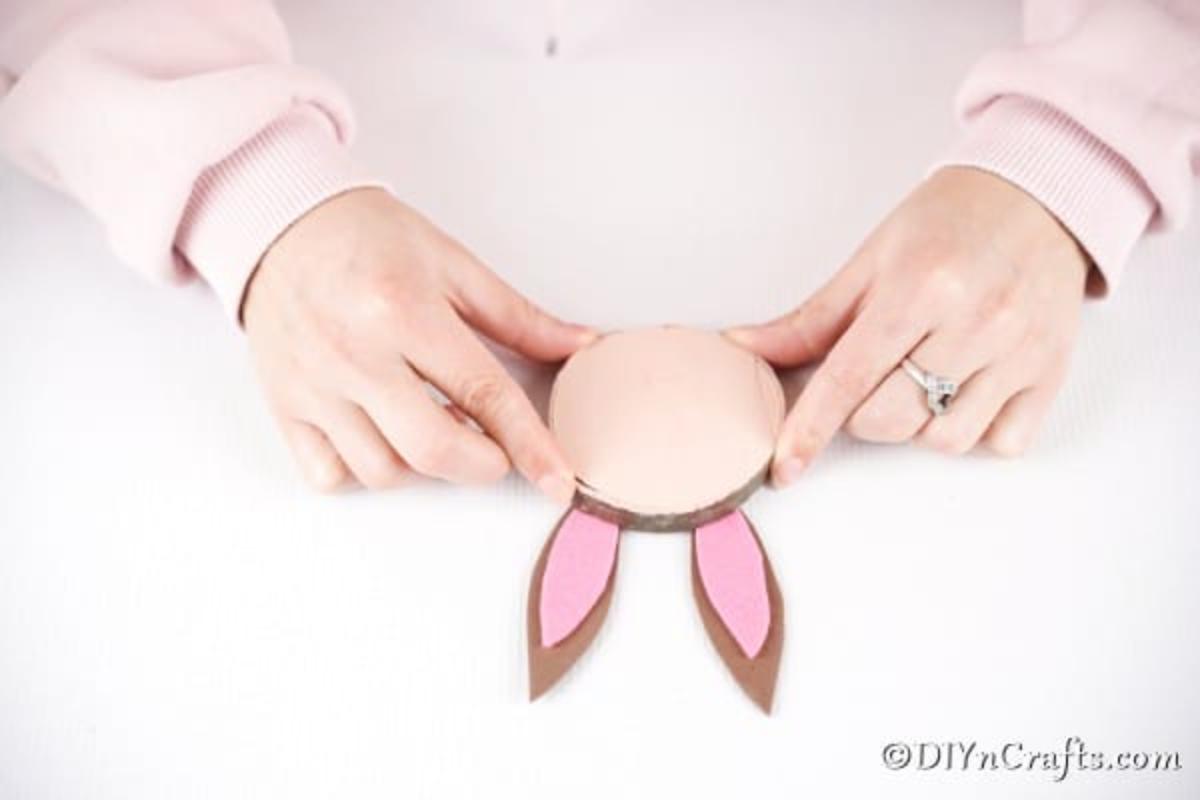
Now, you will glue the bunny ears in place on the back of the wood slice.
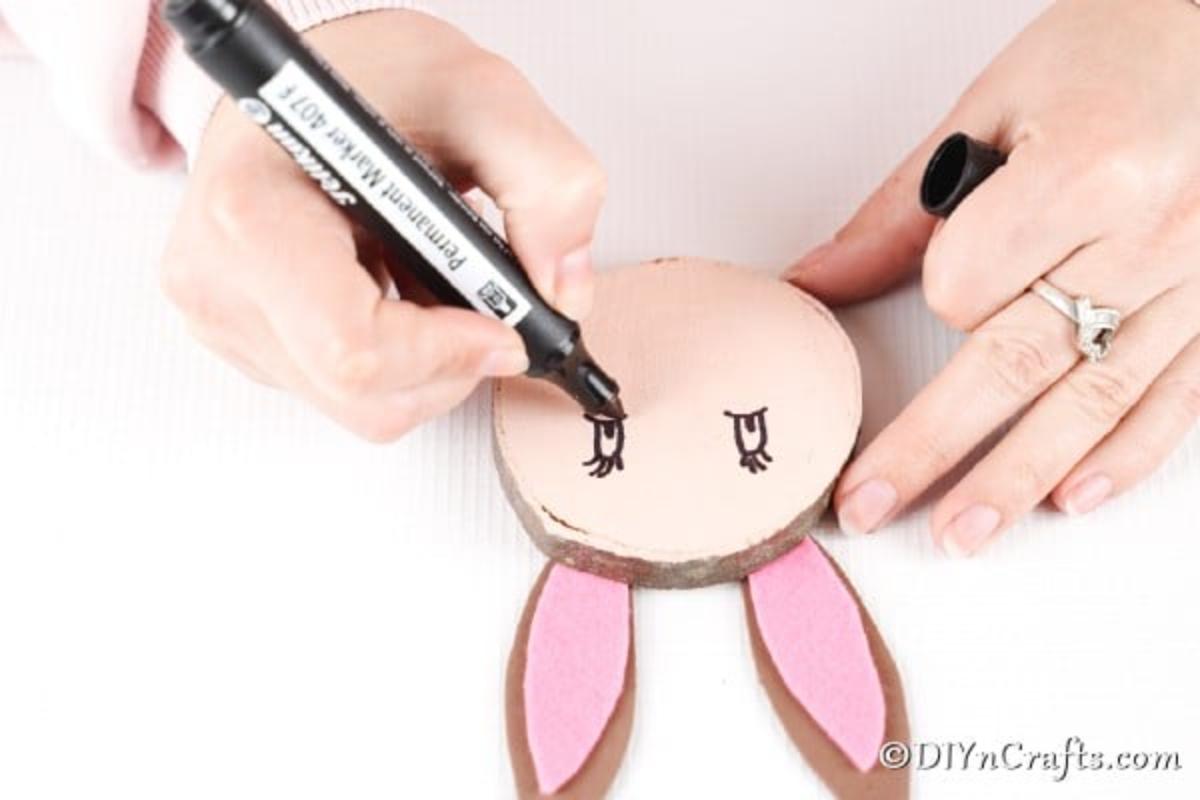
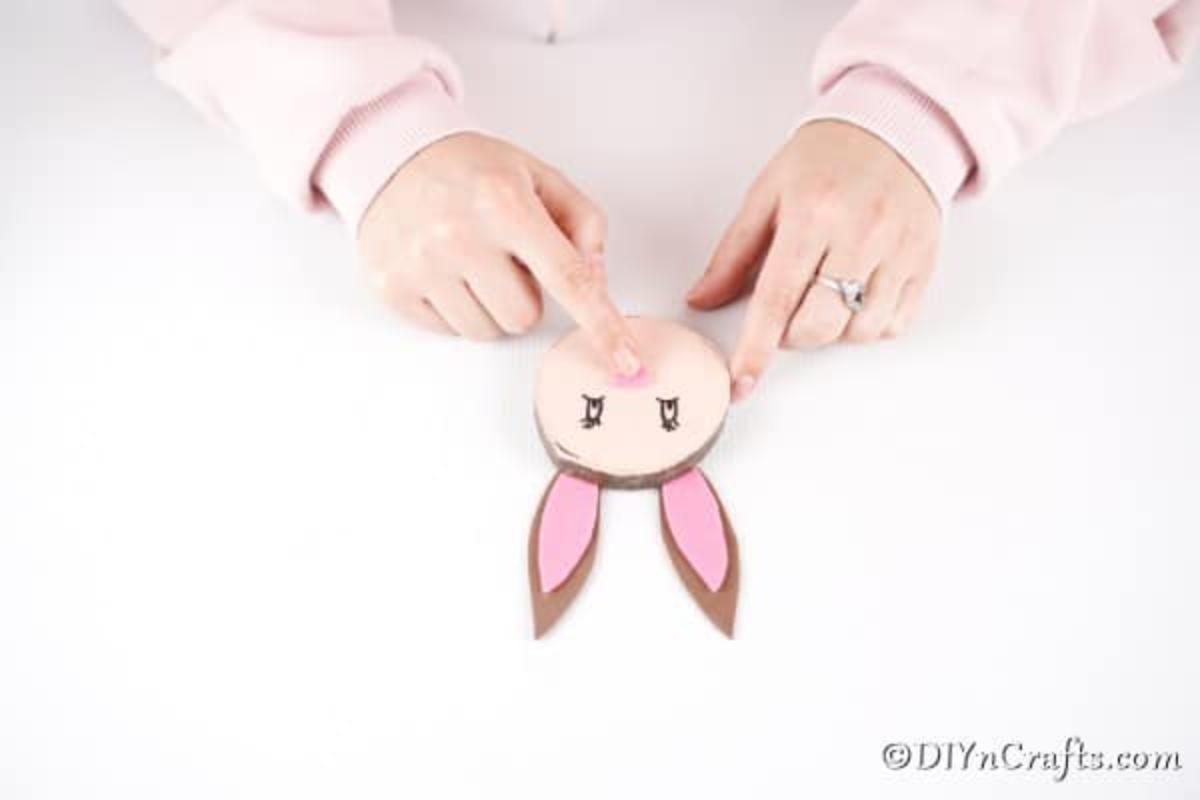
Next, draw the bunny eyes with a black marker.
Cut out a felt circle for the bunny nose and attach it with craft glue.
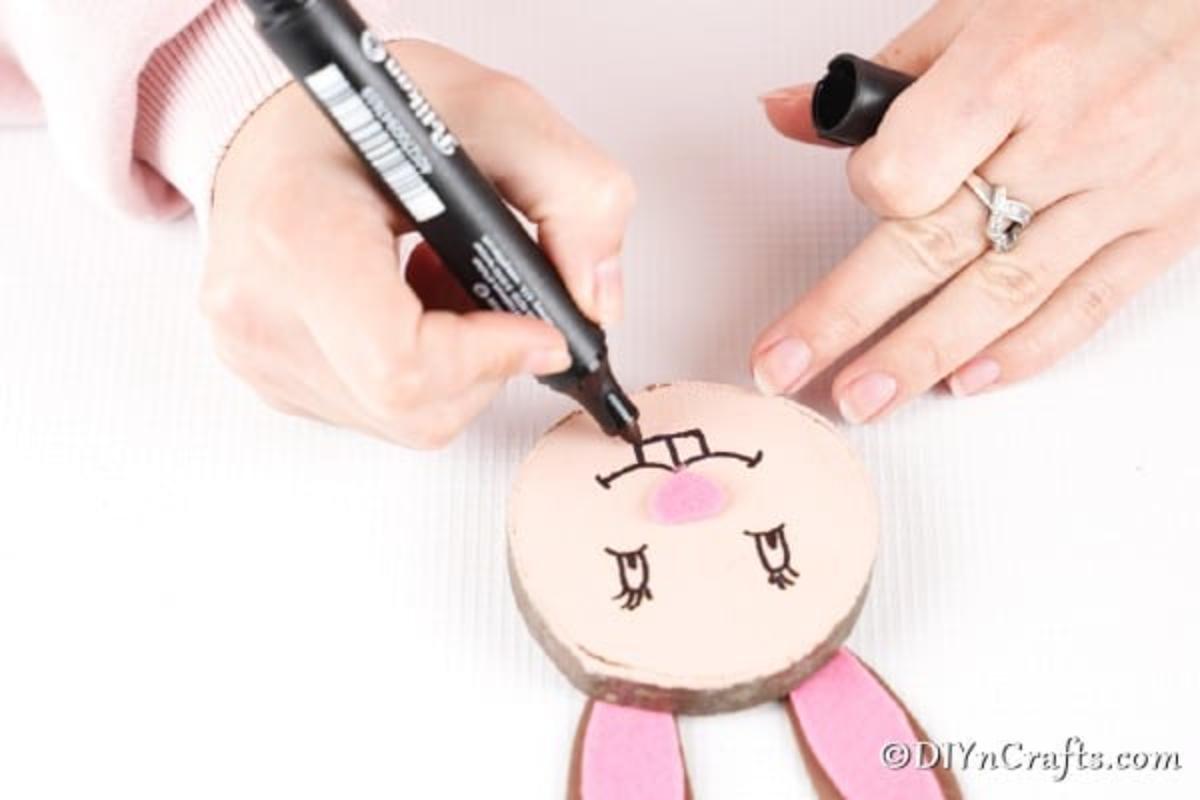
Draw on a smile with big teeth.
Attach the bow tie to the bottom of the bunny's face.
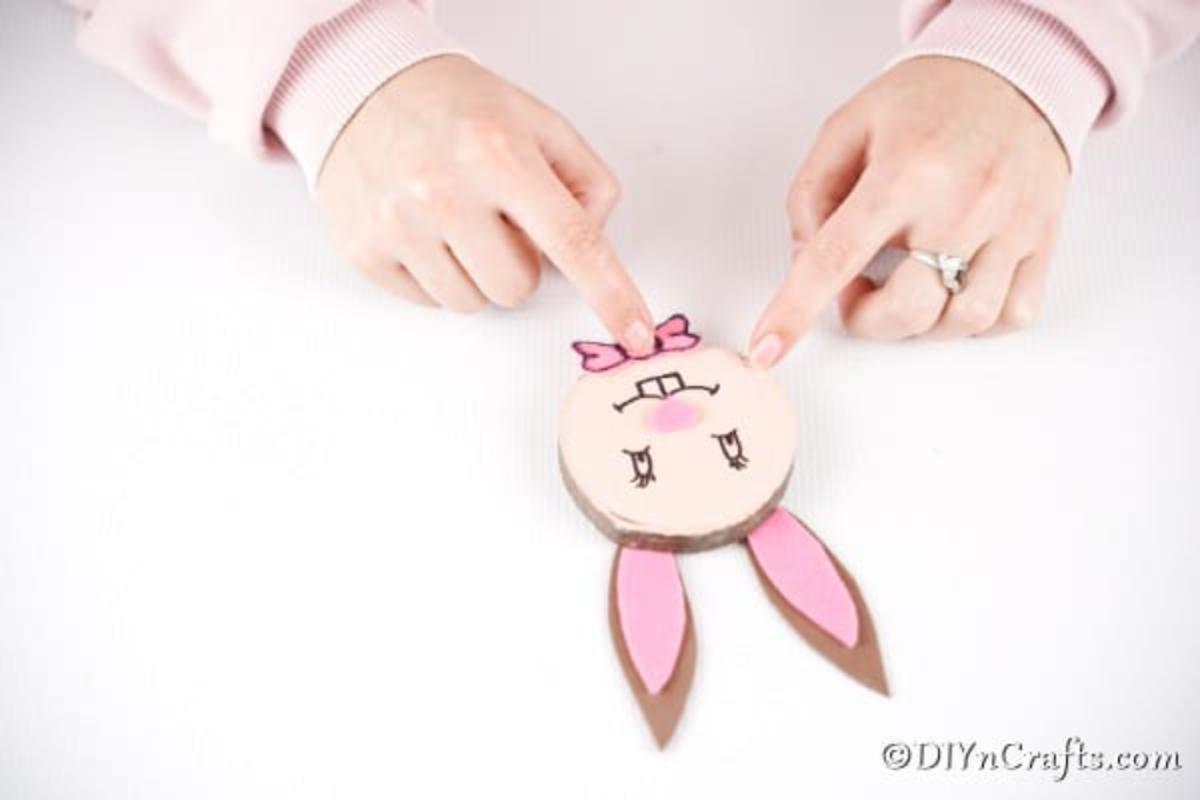
Use and display your Easter bunny wood slice decorations as you wish!