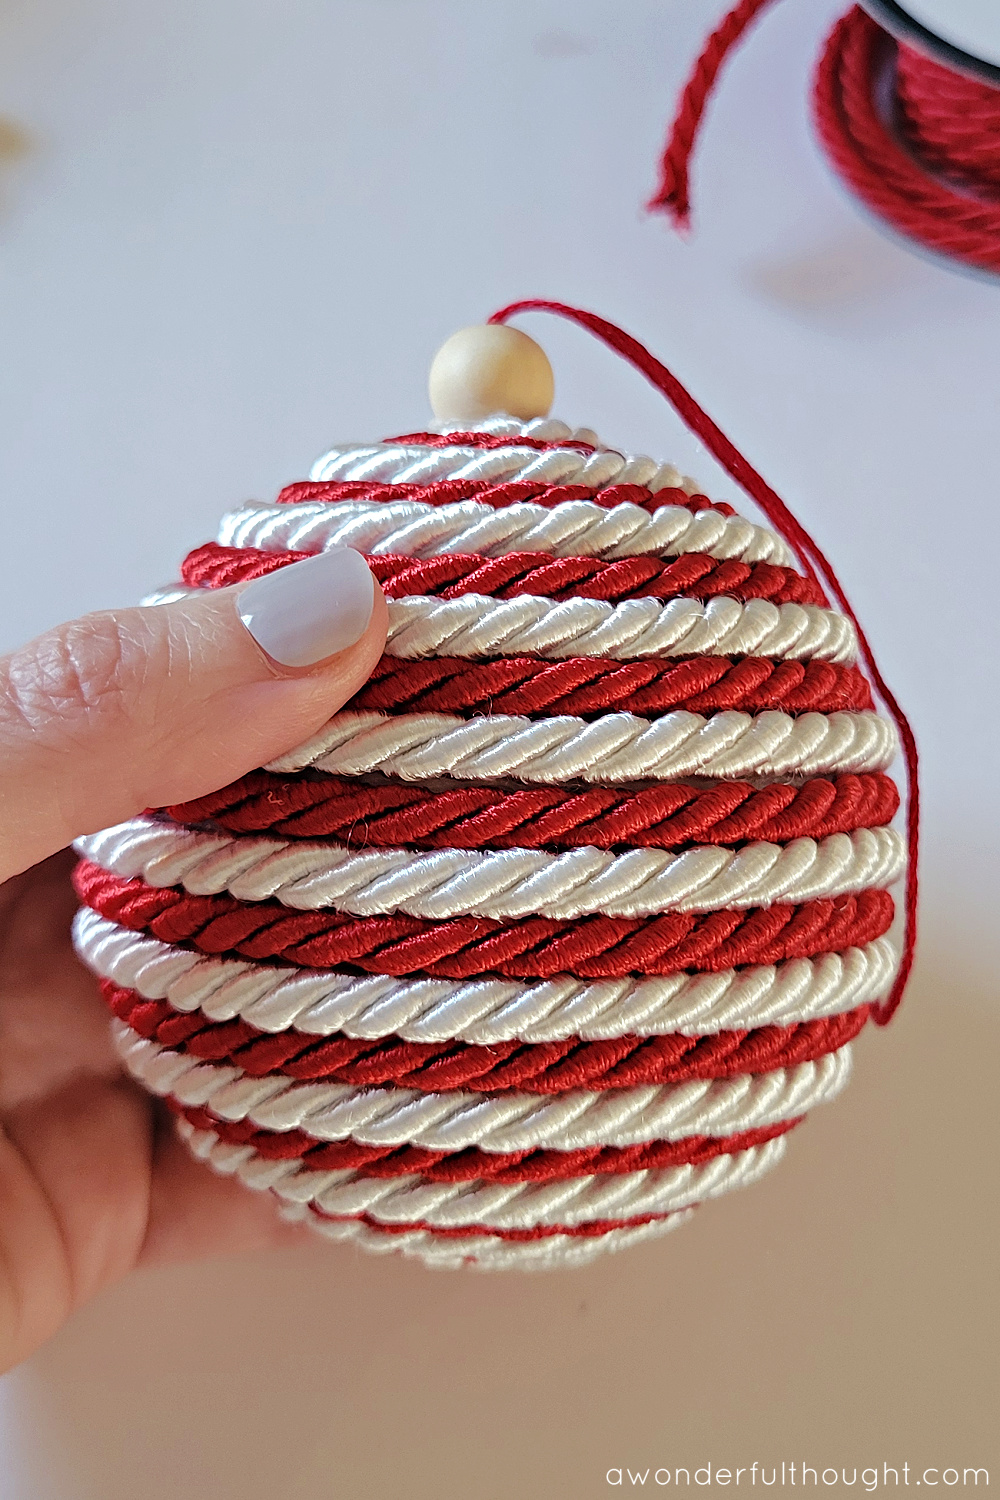
Candy Ball Christmas Ornaments
Candy ball Christmas ornaments are not only adorable but also add a touch of sweetness to your holiday decor. These colorful and shiny ornaments resemble delicious candies, bringing joy and cheer to your Christmas tree. Hang them up, and they will shimmer and catch the light, adding a festive and playful vibe to your home. Kids and adults alike will love these charming decorations that evoke memories of sugary treats and holiday magic. So why not sprinkle some sweet charm on your tree this Christmas with these delightful candy ball ornaments? They are sure to bring a smile to everyone's face and make your holiday season extra special!
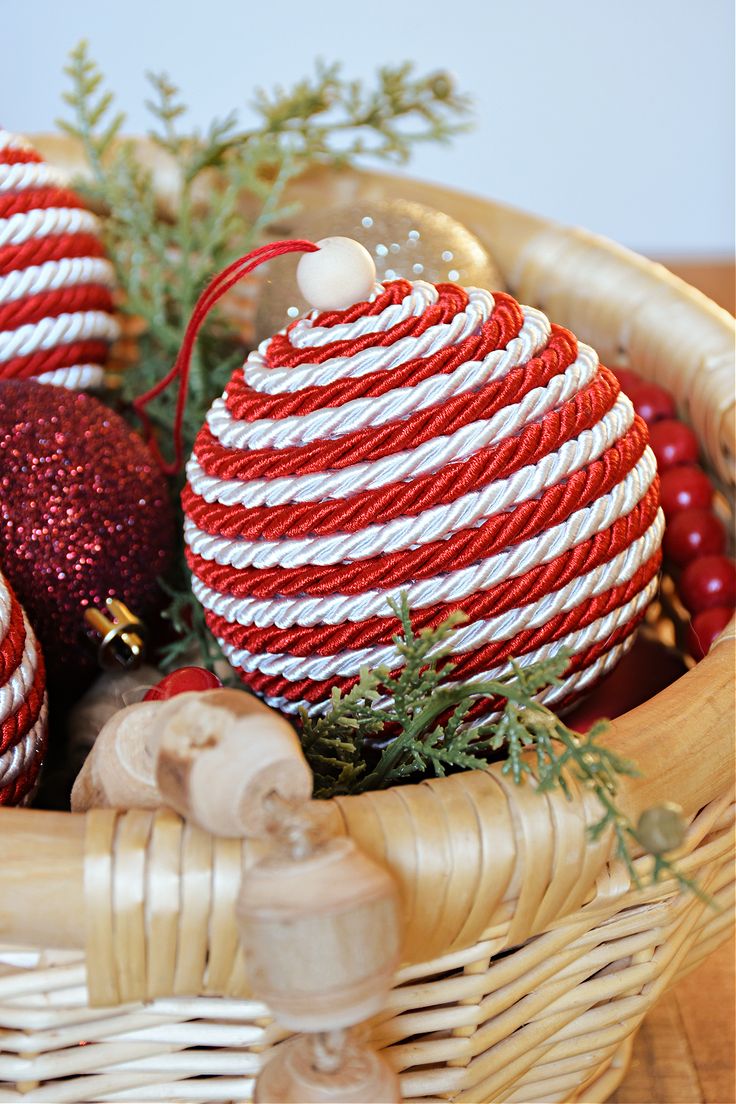
Supplies:
- 2.75″ Foam Balls
- Red and White Twisted Cord
- Red embroidery thread
- Wood Beads – I used the 14 mm beads
- Hot Glue Gun
- Scissors
How to make peppermint ball ornaments
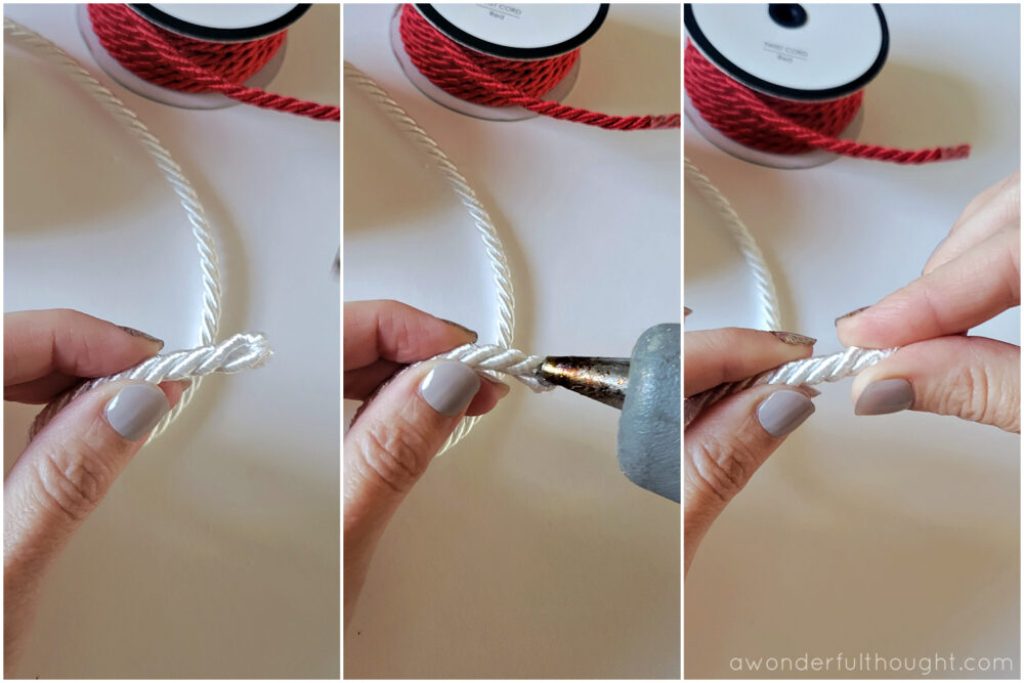
The balls were really easy to make, it is essentially just gluing the cord around the foam ball but I will still walk you through it and add some tips I found out when making them. The twisted cord that I used to make these ornaments unravels very quickly and easily, so when you cut the ends of the cord you have to add some hot glue to the end to stop the fraying. You could also try a lighter and fuse the end but I didn’t want any dark spots on the cording.
To begin, start the red and white cord facing in opposite directions. Add a dab of hot glue onto the top of a foam ball and place the ends of the cord next to each other.
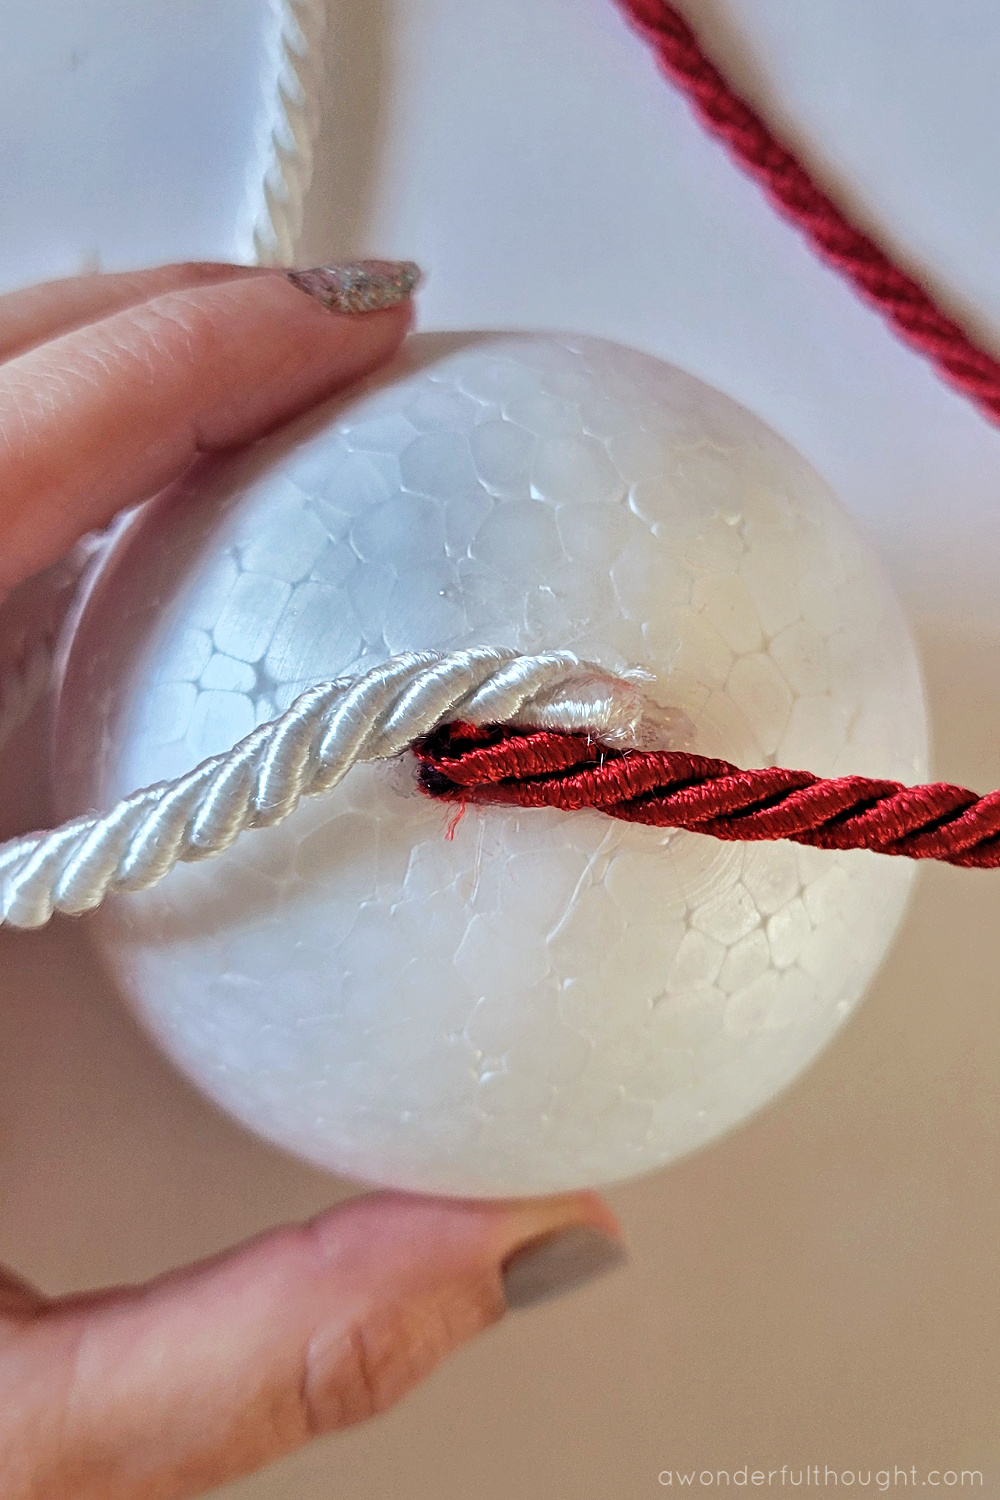
Taking one of the colors and wrap it around the starting point and glue it down. Then repeat with the other color until both cords are together.
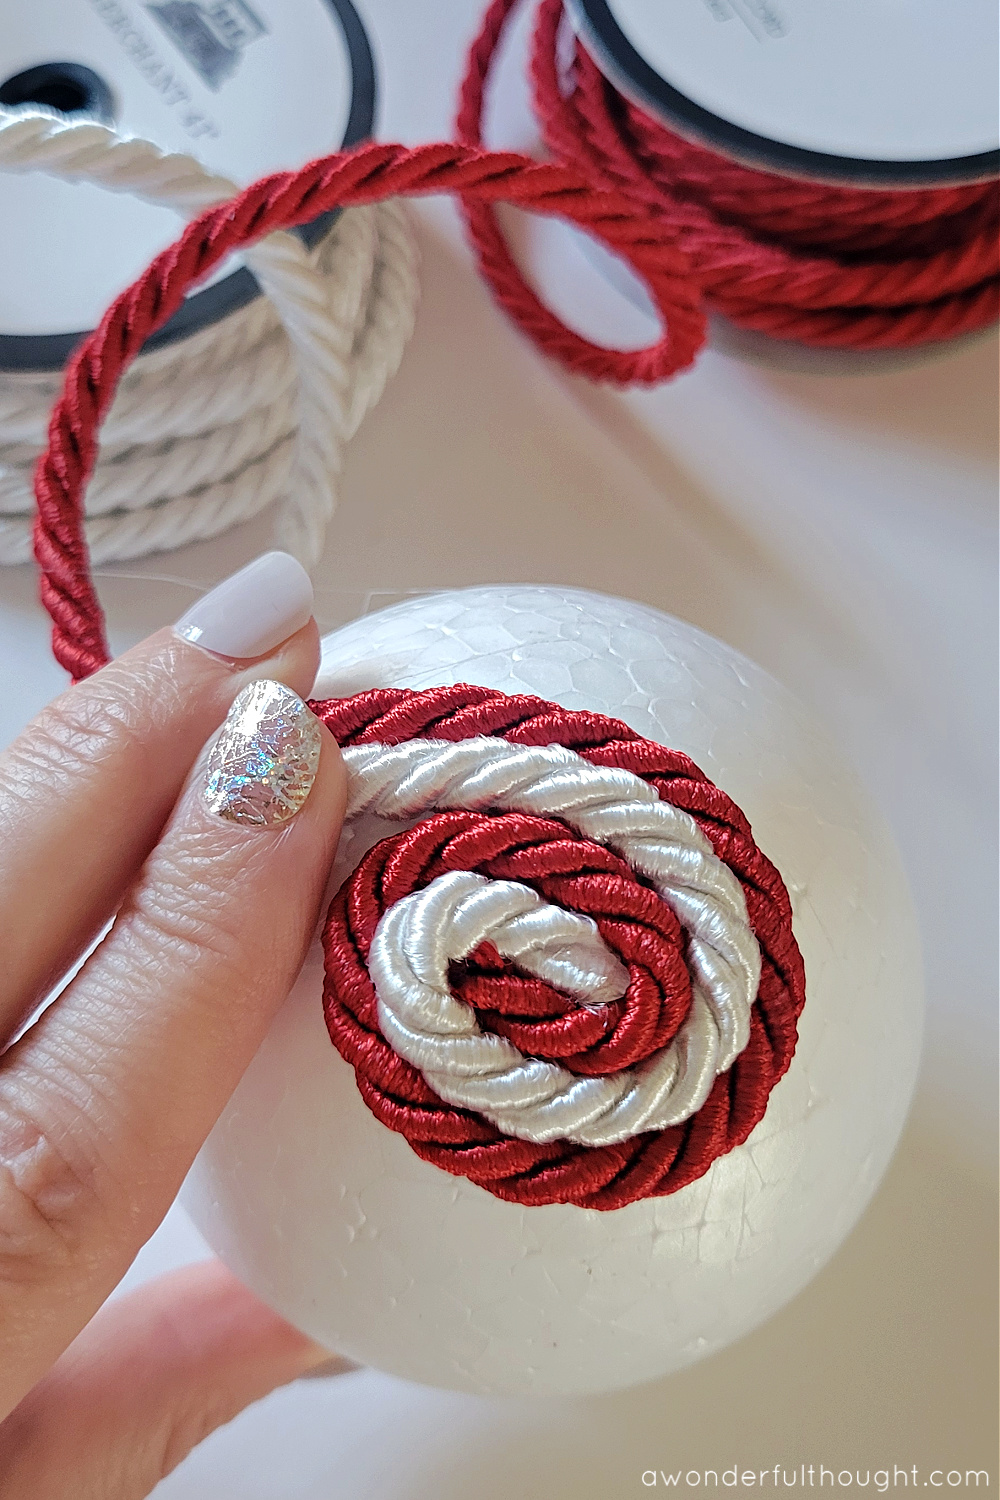
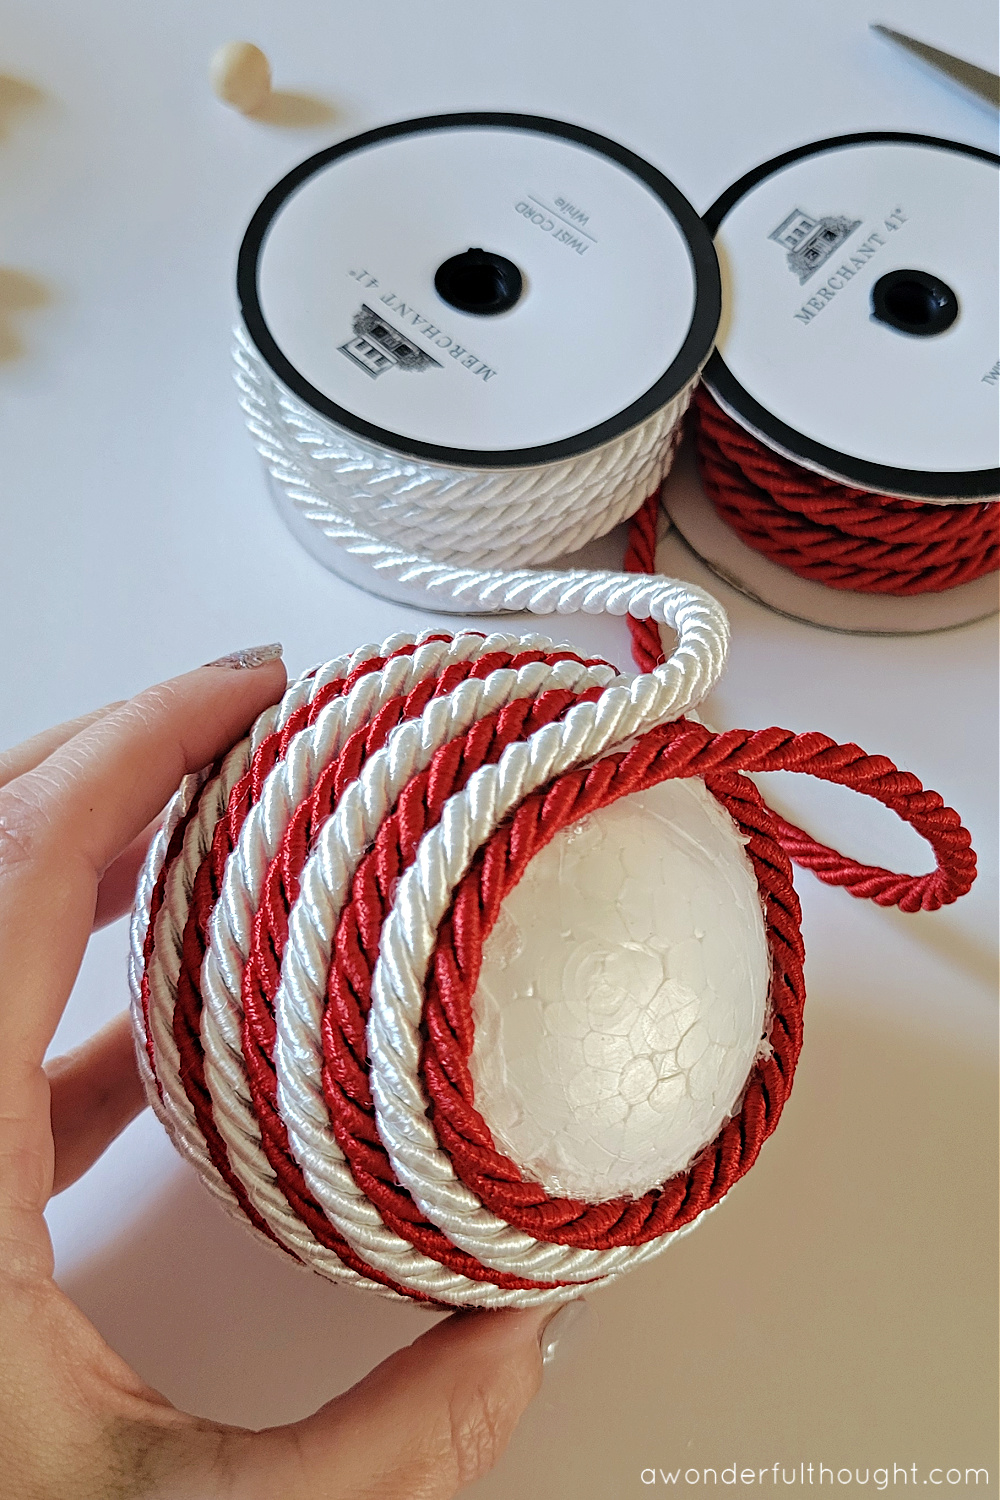
Add more hot glue underneath the last row of cord and holding both colors of the cord at the same time, wrap the cords into the hot glue. Press the cords down so they lay flat against the foam ball and so there is no gap between the layers of cord.
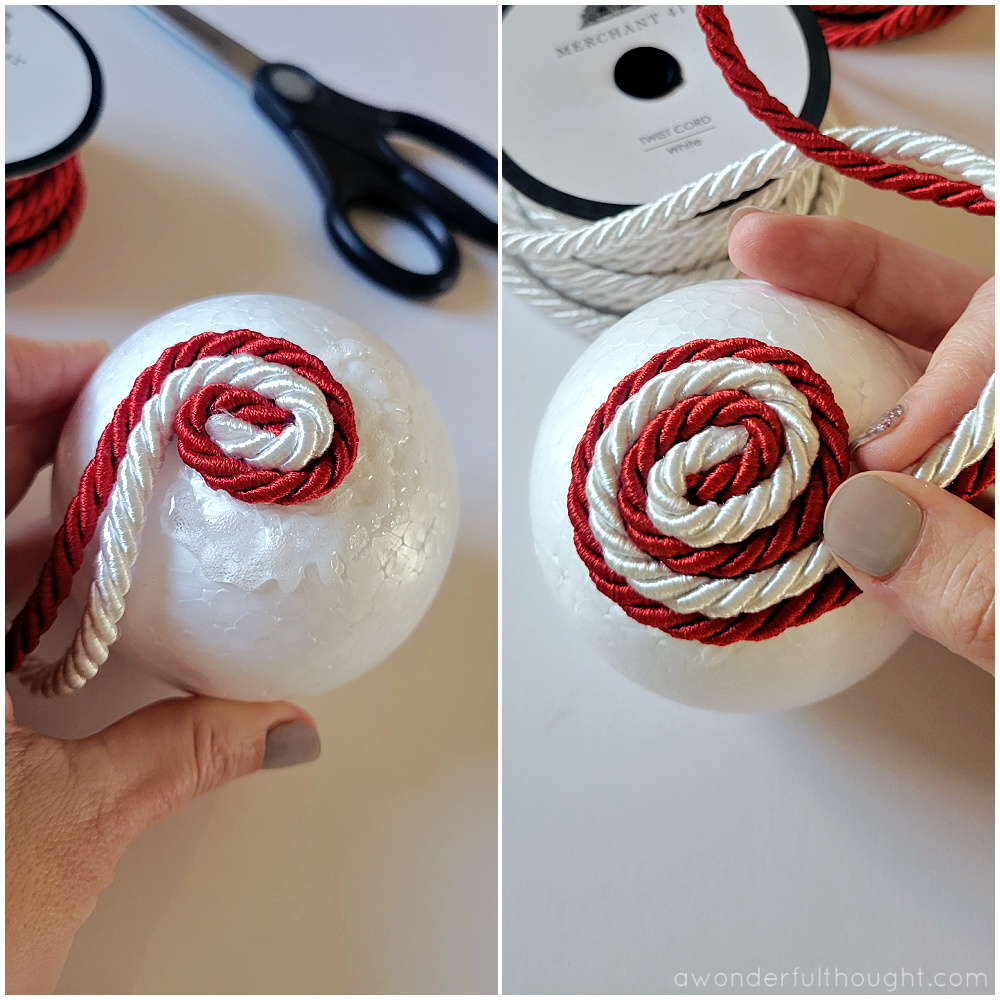
Continue this pattern as you work your way around the foam ball.
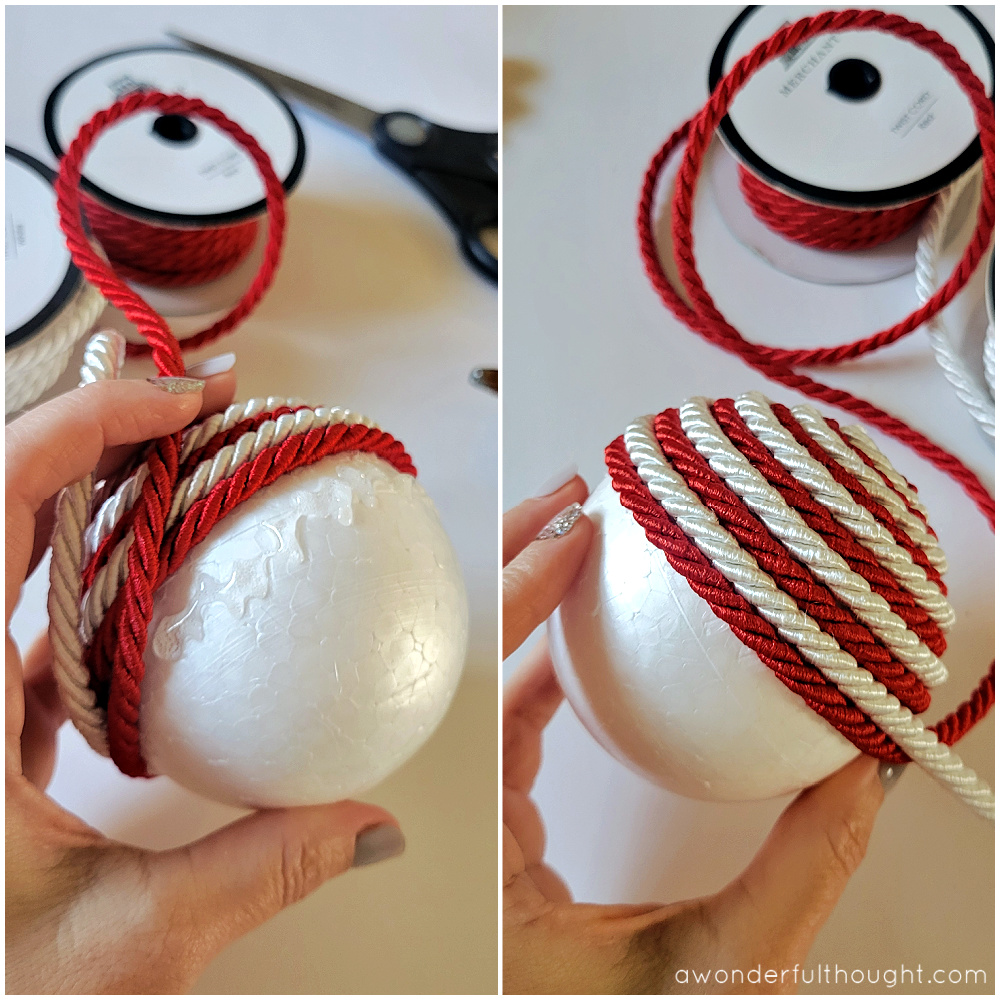
If you have some extra glue under the row, like in the picture below, just wipe it off with your fingers. It is usually cool enough by the time you get your row pressed down.
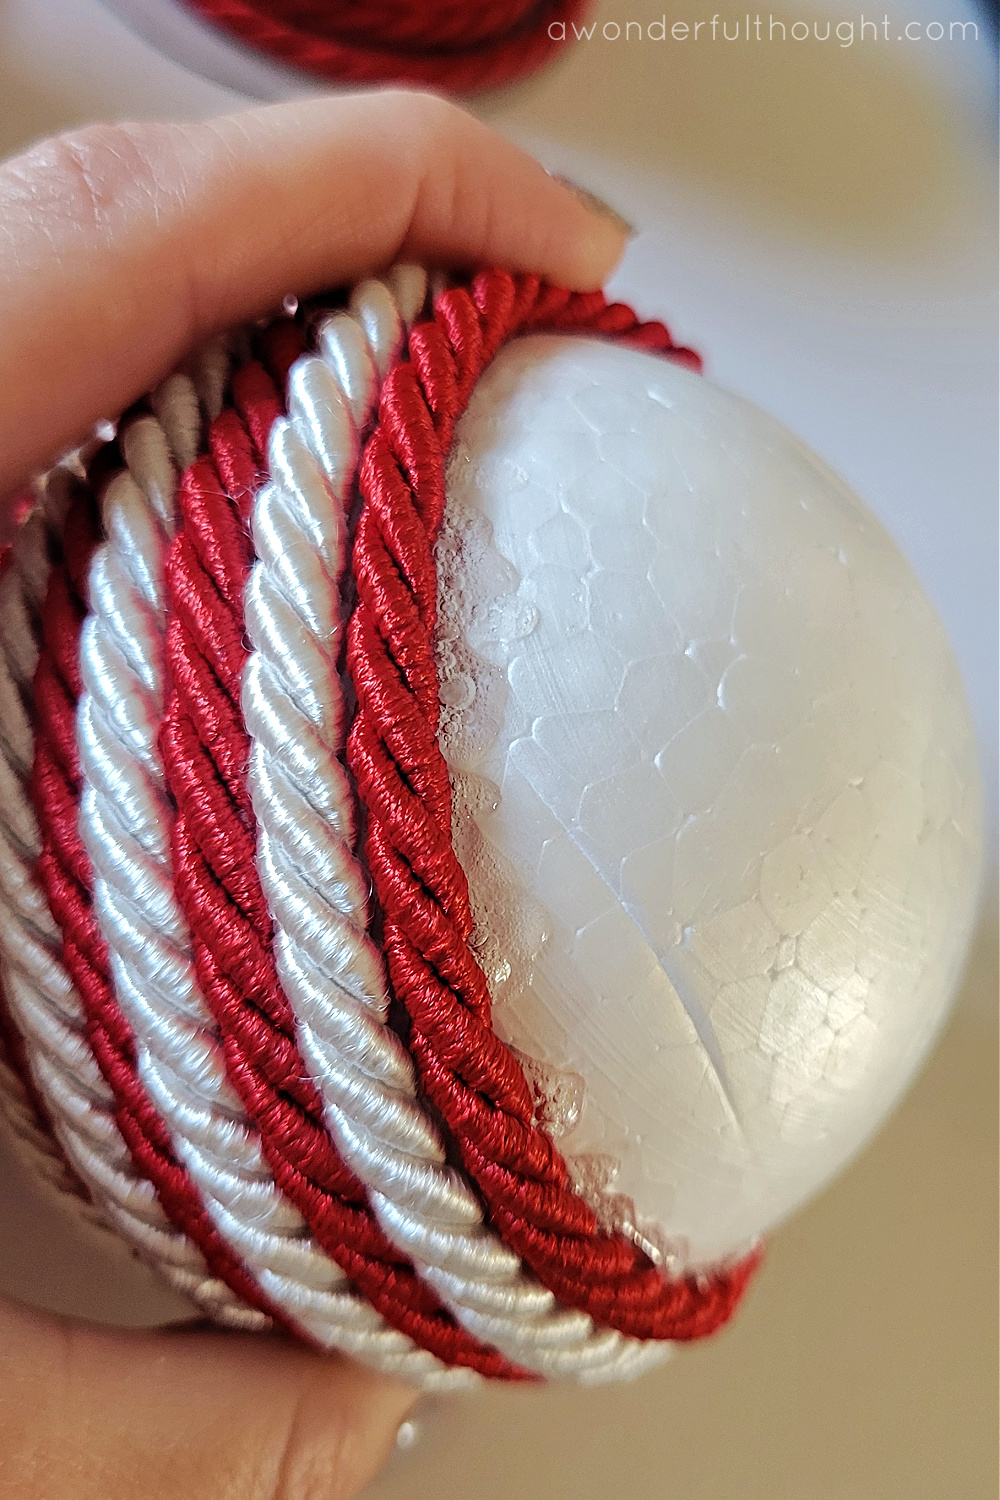
As you get closer to the bottom of the ball, you will be more nestling the cords into the previous row rather than wrapping them around.
How to finish the ornament
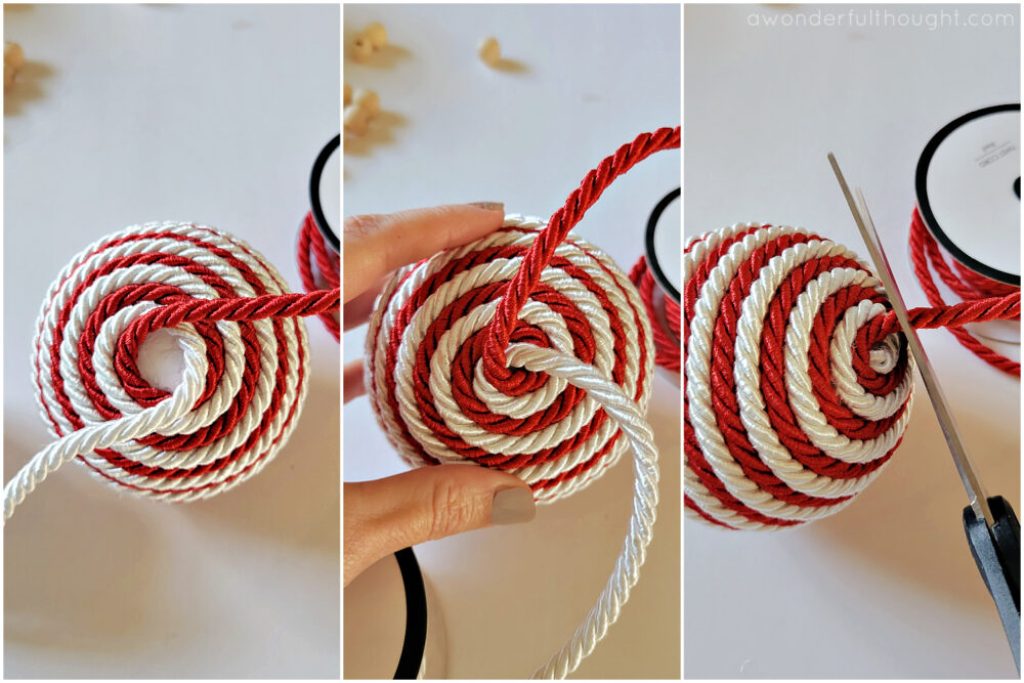
When you come to the end, start wrapping the red and white cord separately around each other. You will reach a point where you can’t wrap anymore, that is where you will cut the cord. You can fuse the ends with glue again or you can just stick them into the glue. Cut off any loose threads.
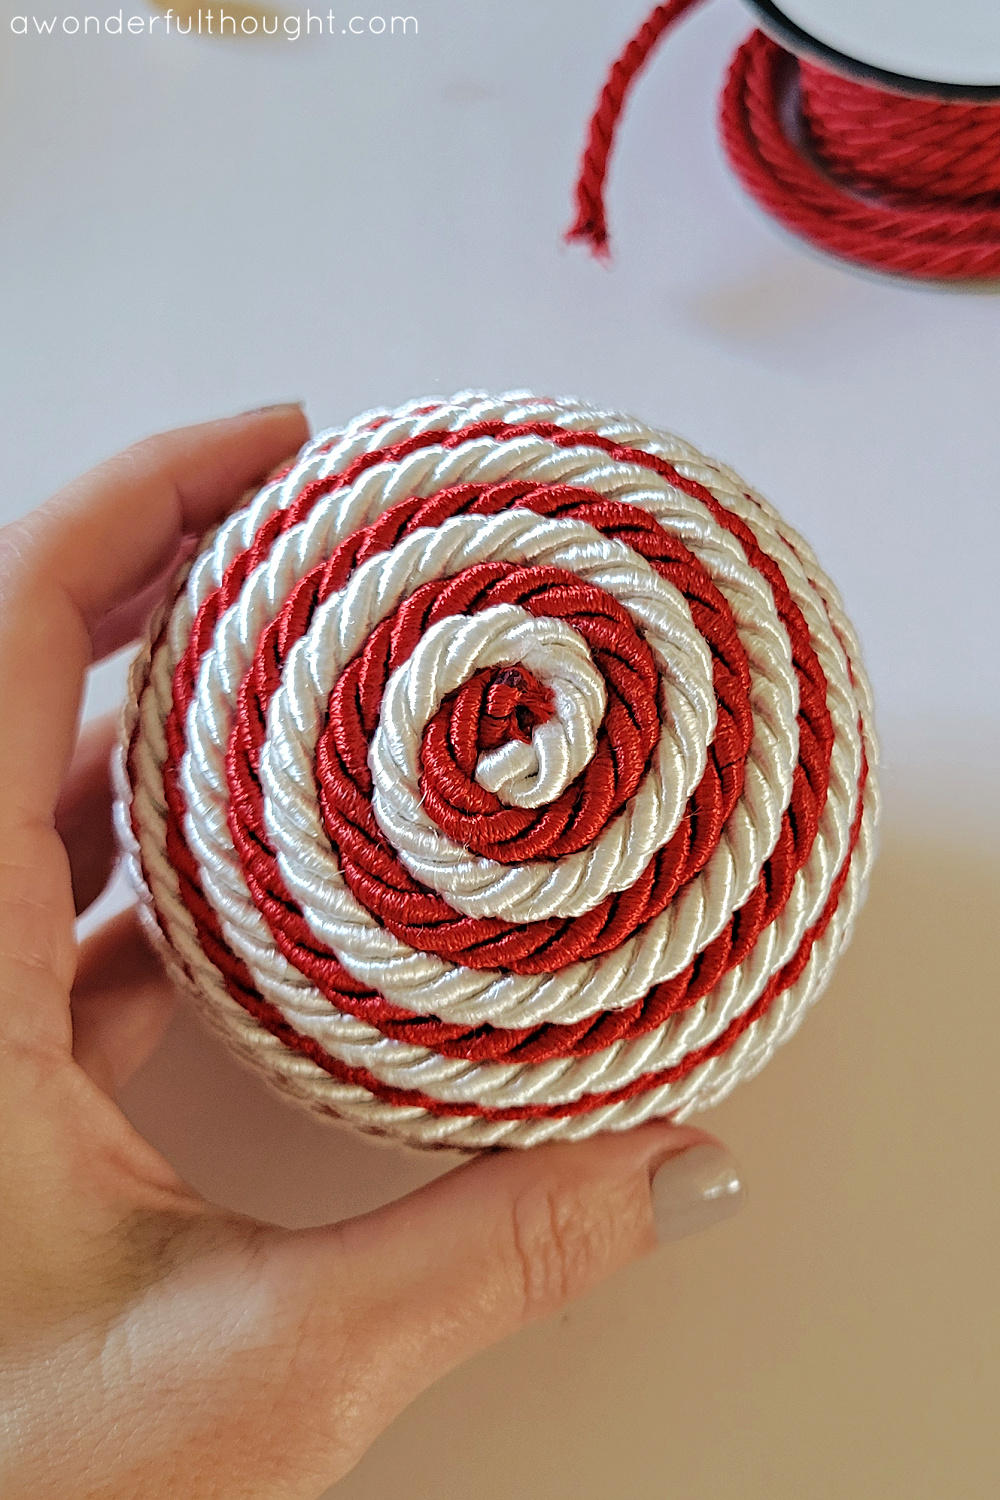
Your end should look similar to this, but if it doesn’t look as nice, don’t worry because we will cover it with a bead.
Add a string to hang the ornament
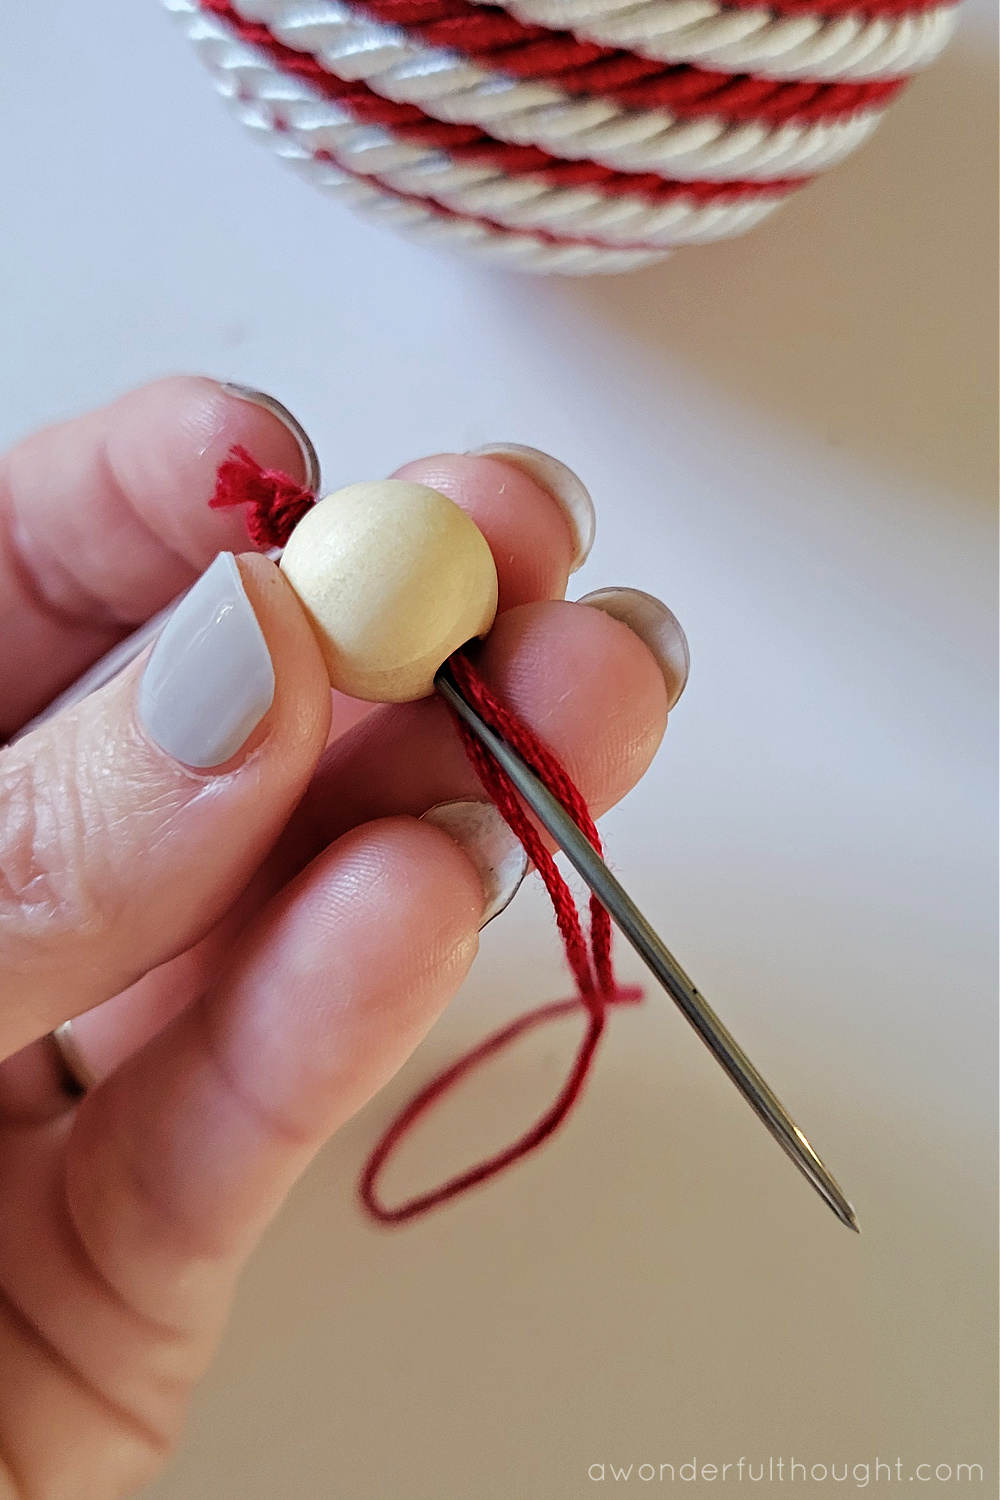
To make this into an ornament, we need a string. I just added a wood bead on top with some embroidery thread. Cut a length of red embroidery thread to about 7-8 inches long and tie about four to five knots on the end. You want the knot to be big enough to just fit through the bead opening.
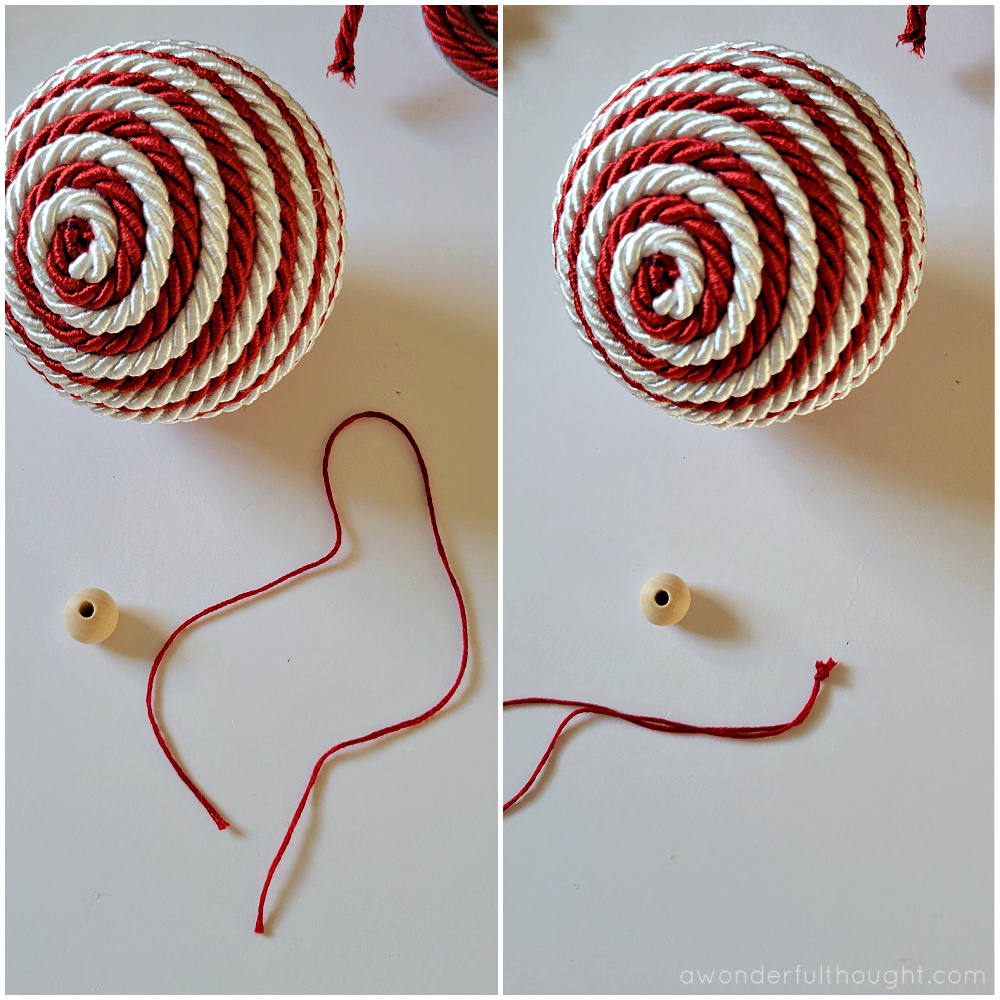
Use something to poke the knot through the bead, I used the back of an embroidery needle but anything small and thin would work.
Add some hot glue onto the top of the candy ornament. When you glue the bead down, make sure the knot is sticking out of the bead so that it will be glued down as well. Press the wood bead into the hot glue for a few seconds.
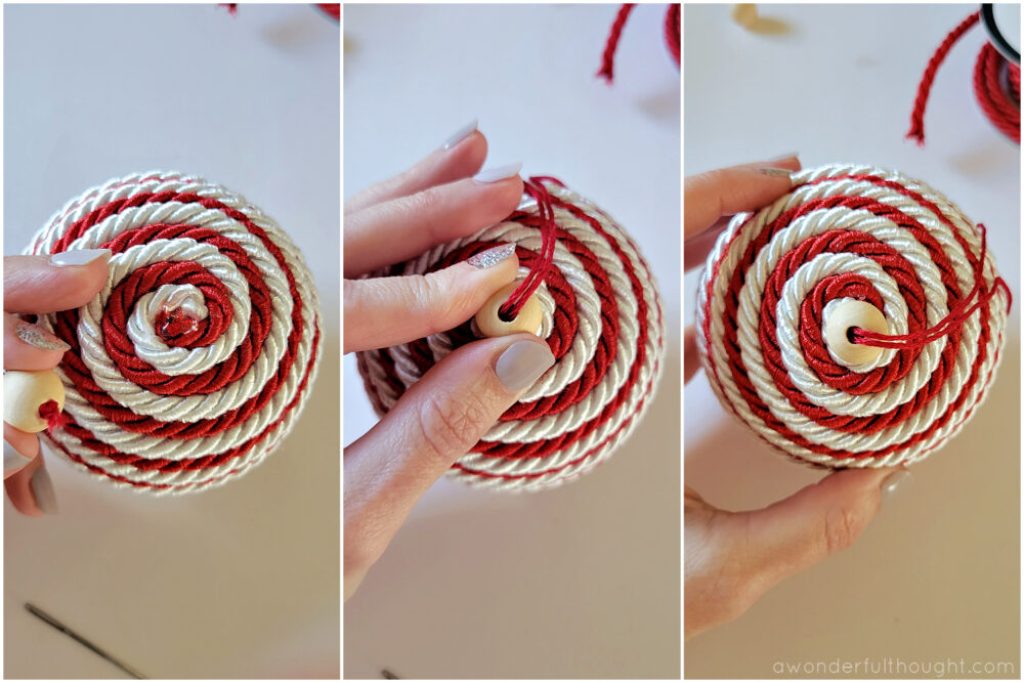
Now you have a candy ball ornament instead of just a candy ball.