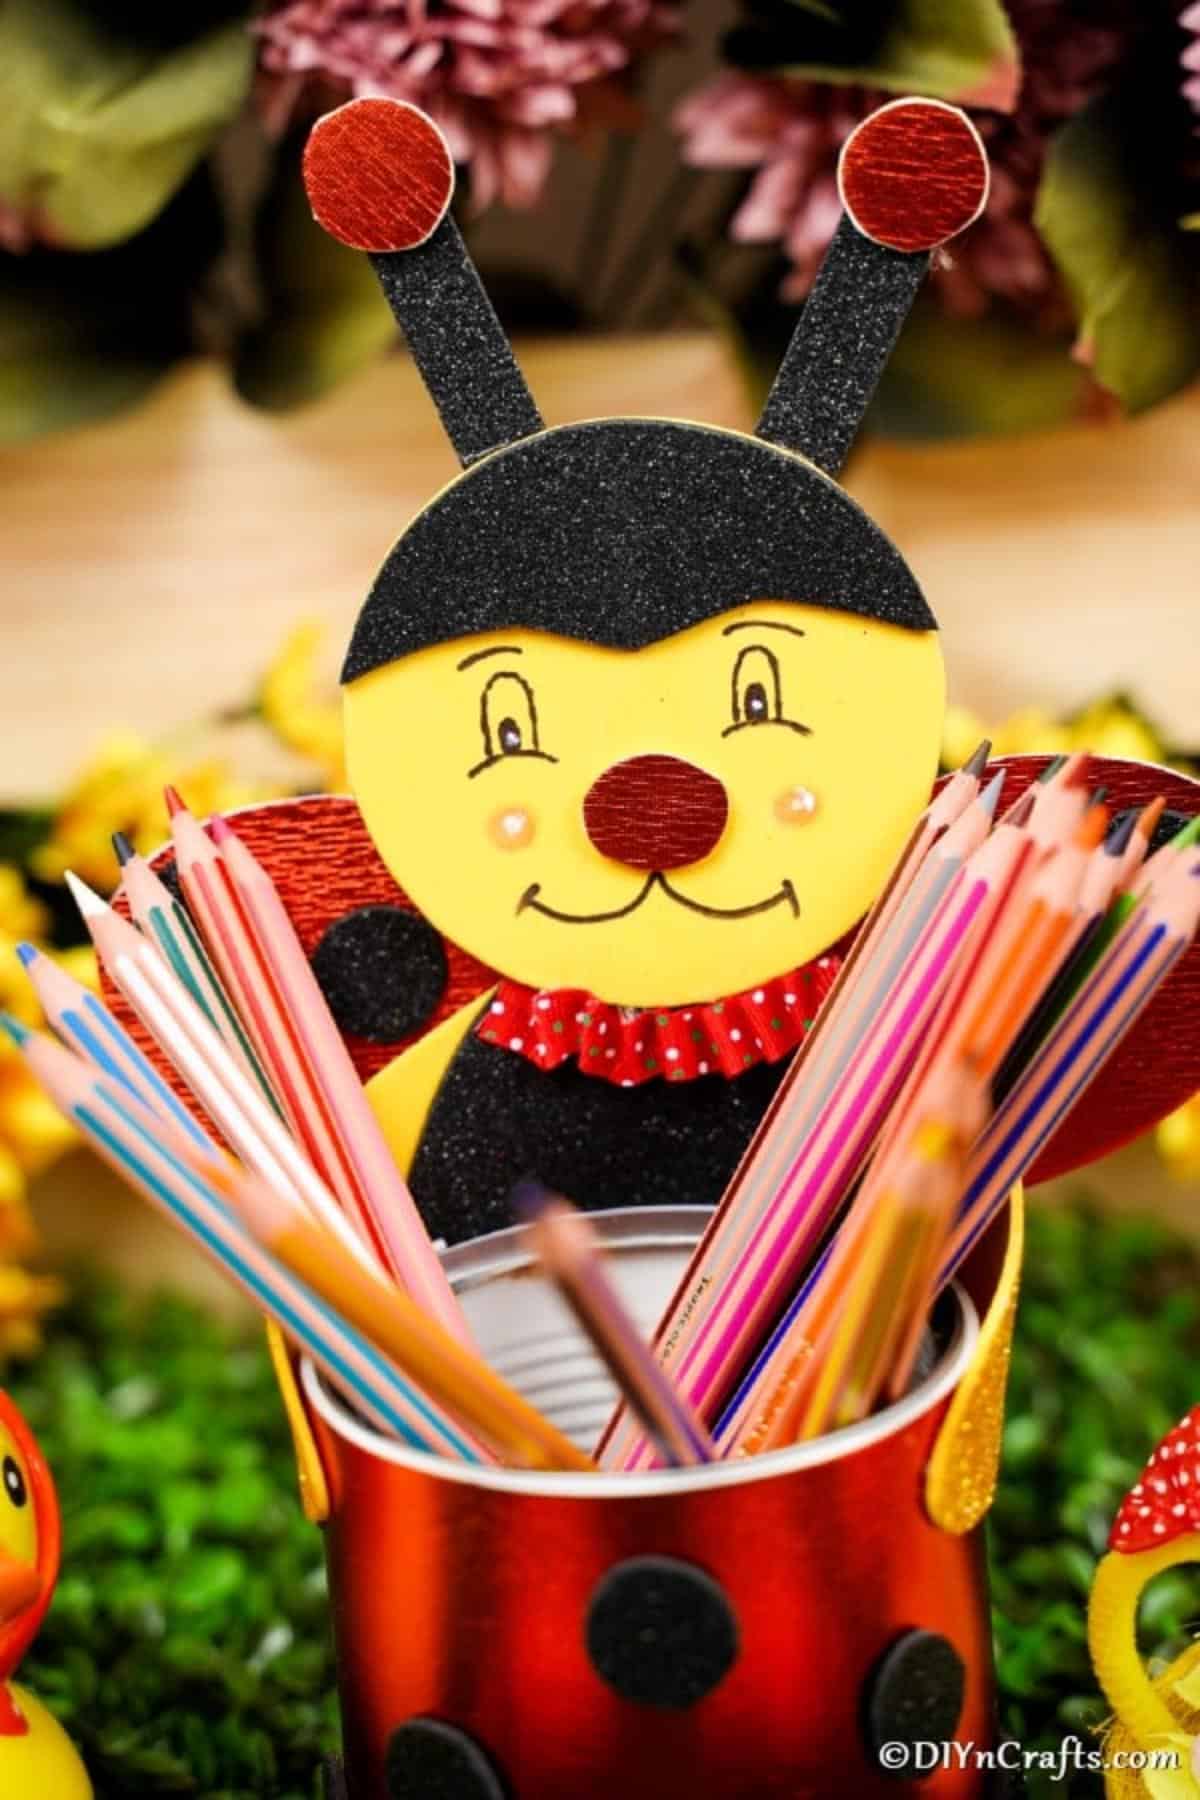
Creative Repurposed Tin Can Ladybug Organizer
Oh, the Creative Repurposed Tin Can Ladybug Organizer is such a delightful project! This charming DIY creation not only adds a pop of color to your space but also helps in keeping your trinkets organized in a fun and eco-friendly way. By upcycling a simple tin can into a cute ladybug design, it brings a touch of whimsy to any room. Perfect for storing small items like pens, clips, or even small plants, this little organizer is a wonderful way to add a creative and personalized touch to your home decor. Happy crafting!
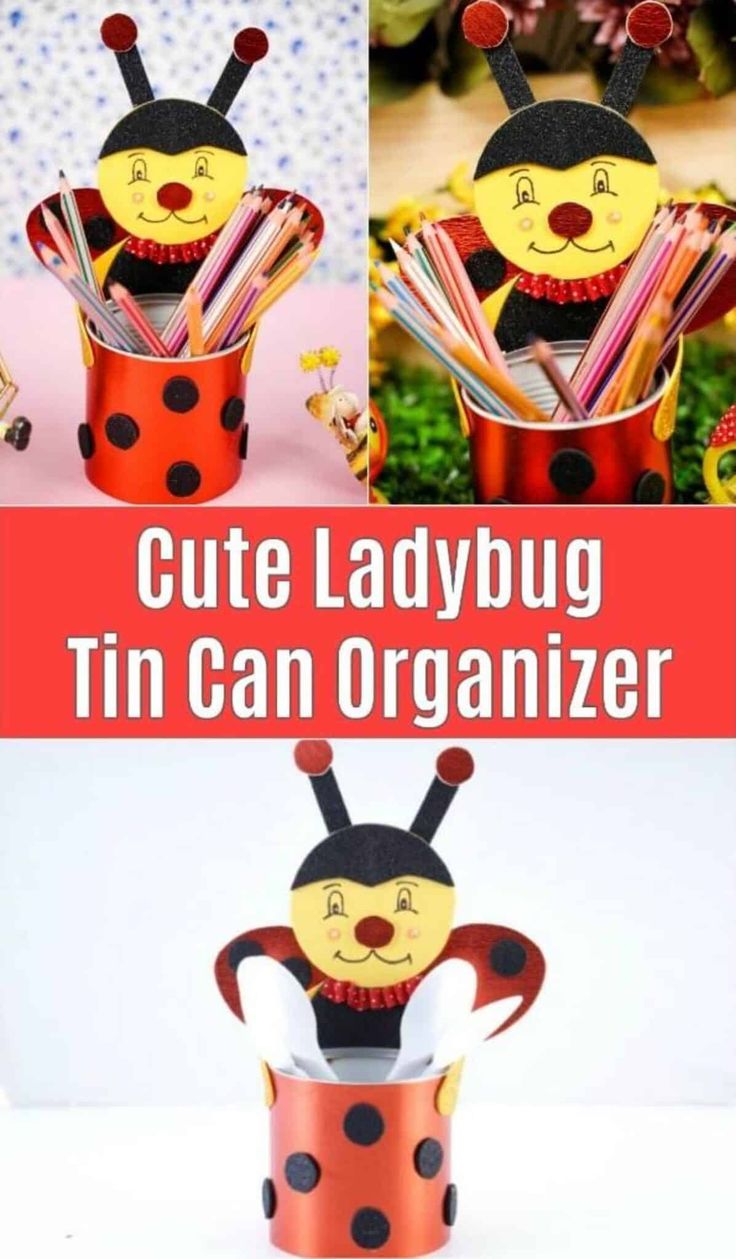
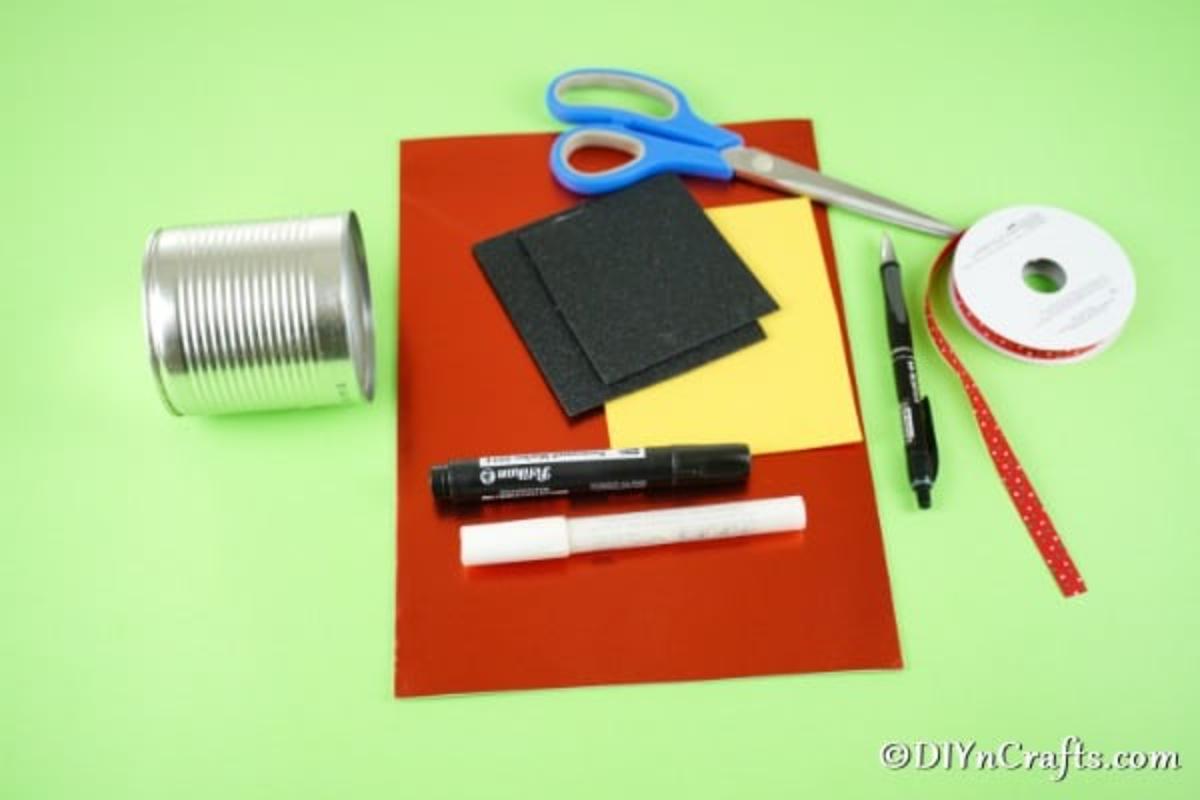
Supplies Needed
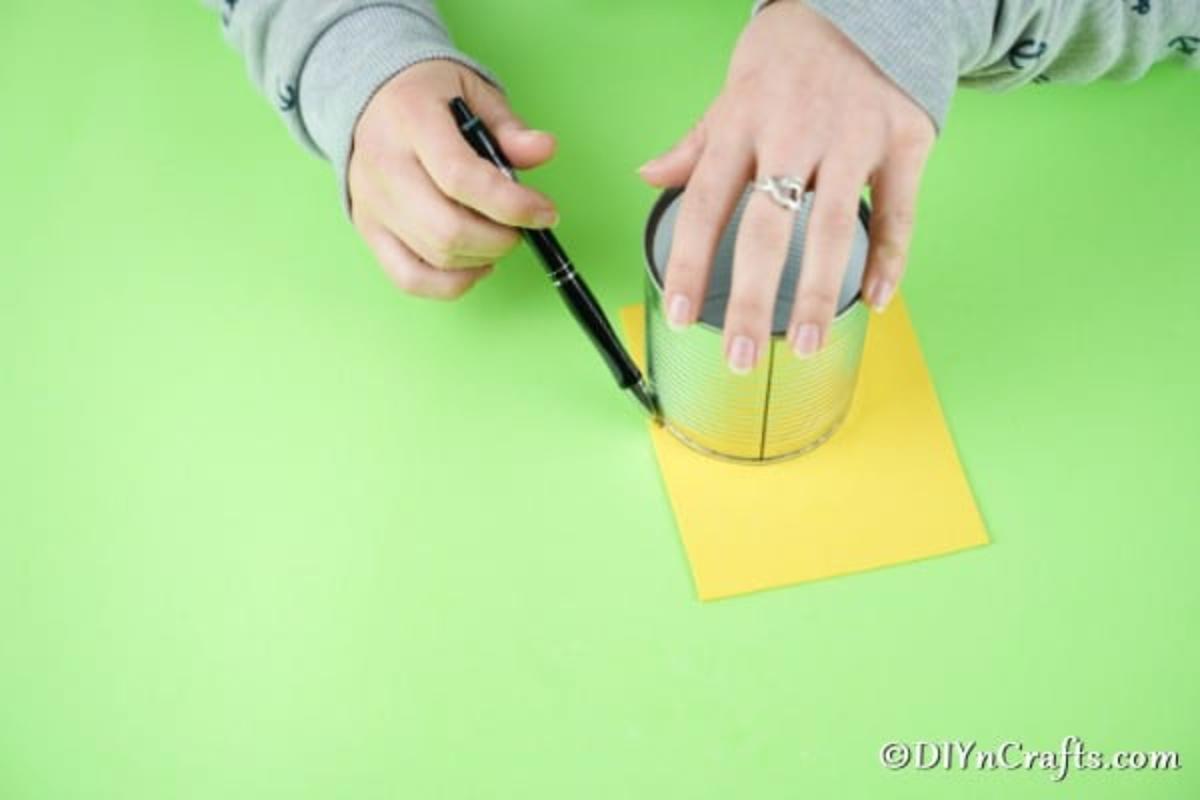
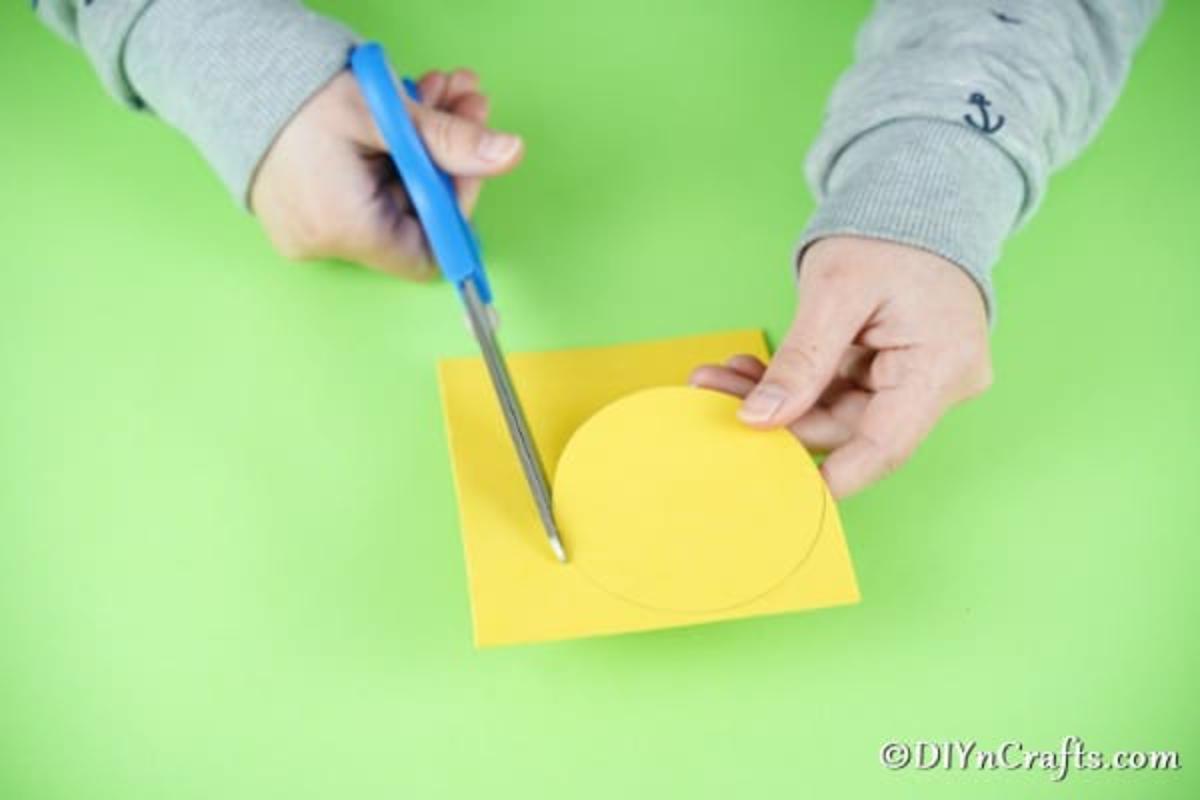
Cut out the circle and set aside.
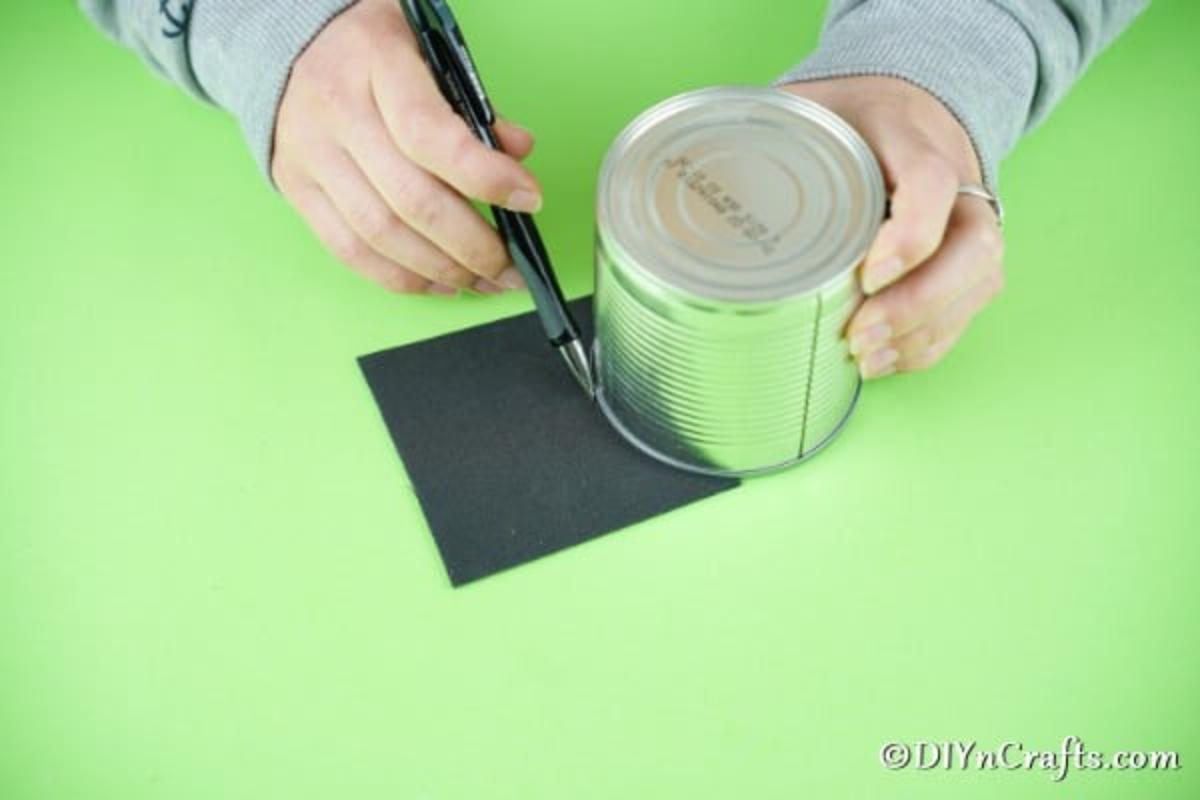
Now, you will use the can to create a half circle on the black paper.
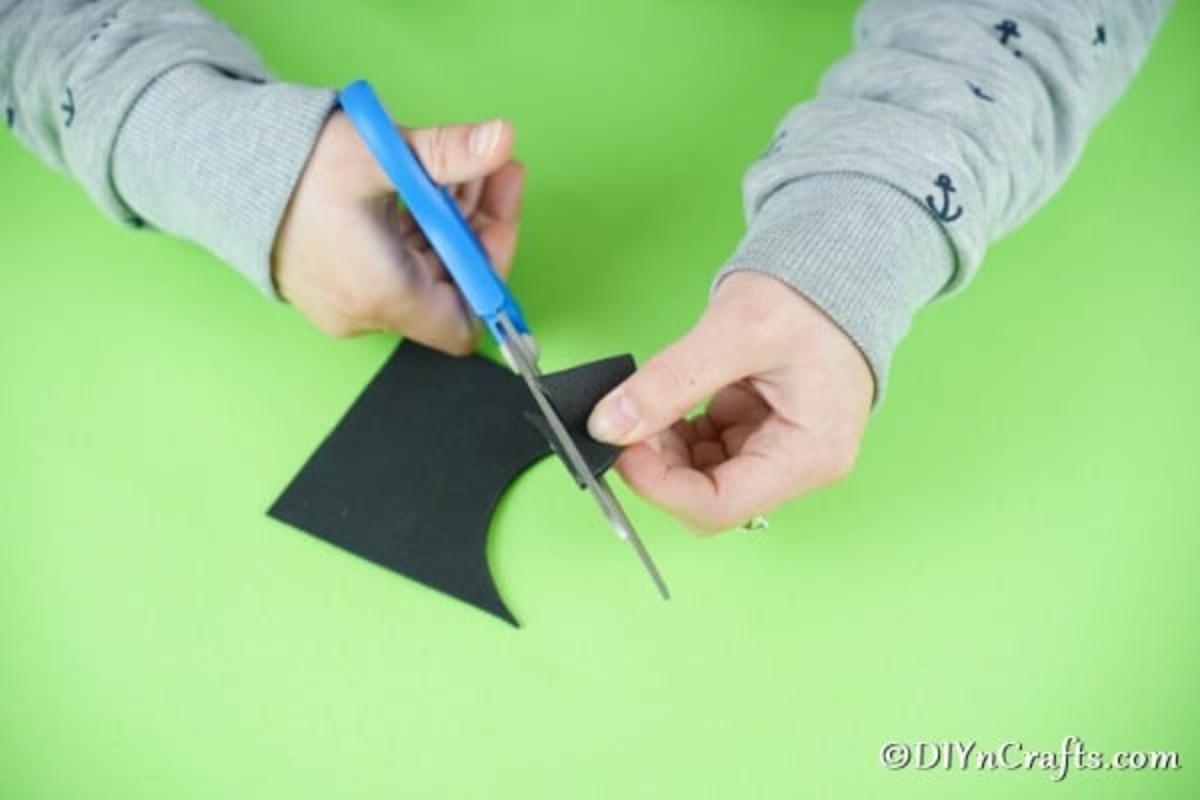
Cut out the half circle, and then cut a scallop/wave along the flat side.
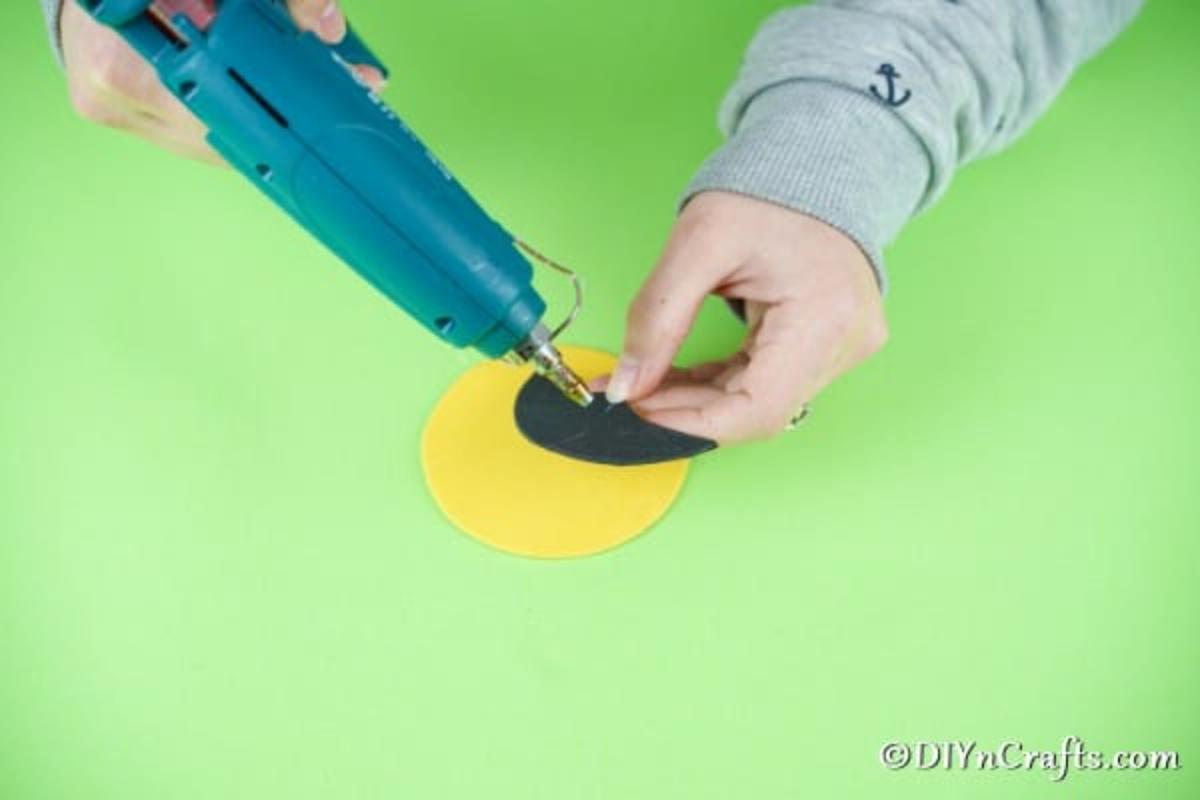
Now, you will glue this black piece onto the top of the yellow, creating the top of the ladybug's head.
Next, you will measure and cut the red foam paper to attach to your tin can.
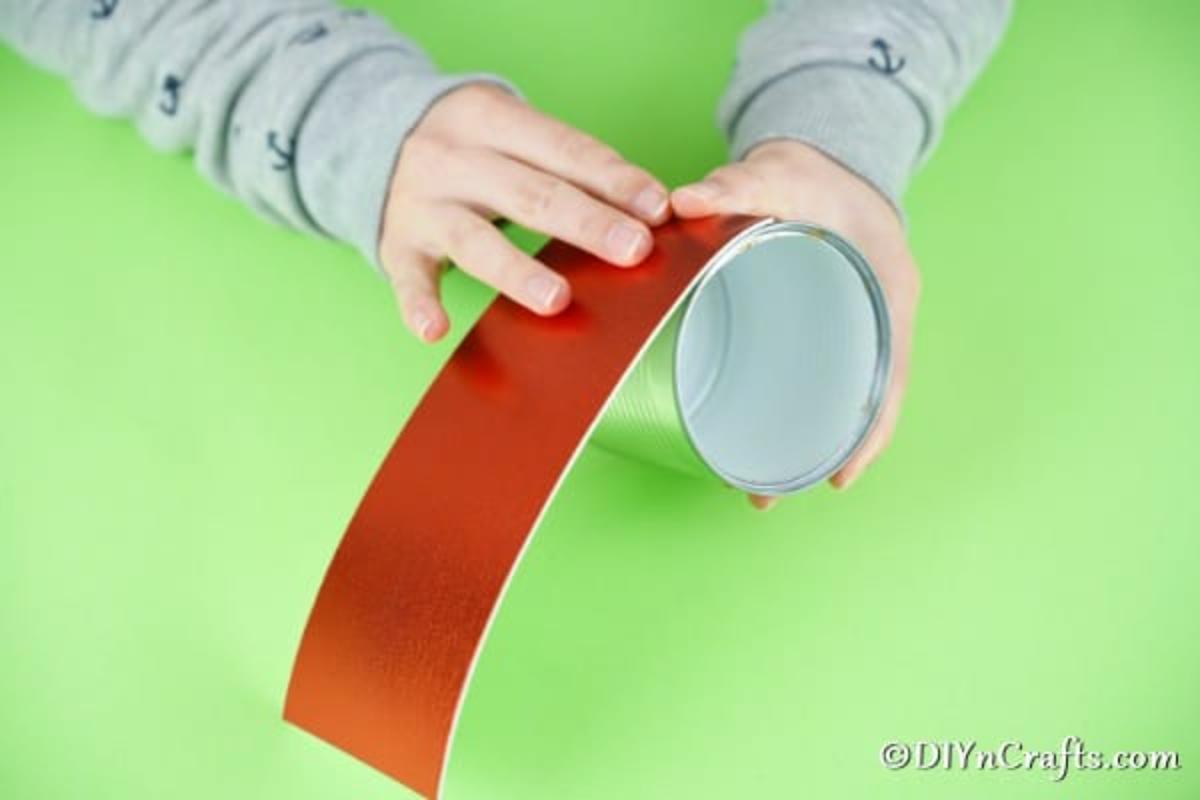
Glue this piece in place, wrapping it all the way around the tin can.
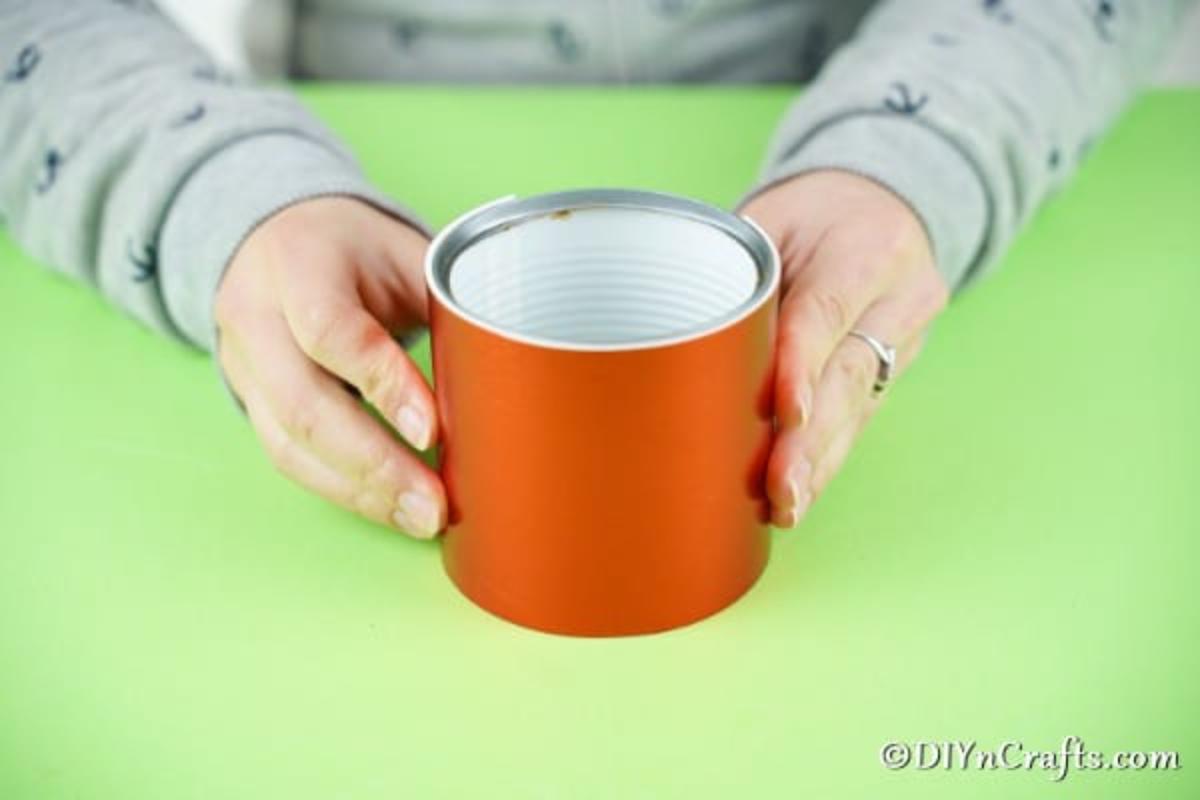
Now you will go back to the black paper and cut out 2 long straight pieces to be used as an antenna and then a body shape that is like half an upside down circle.
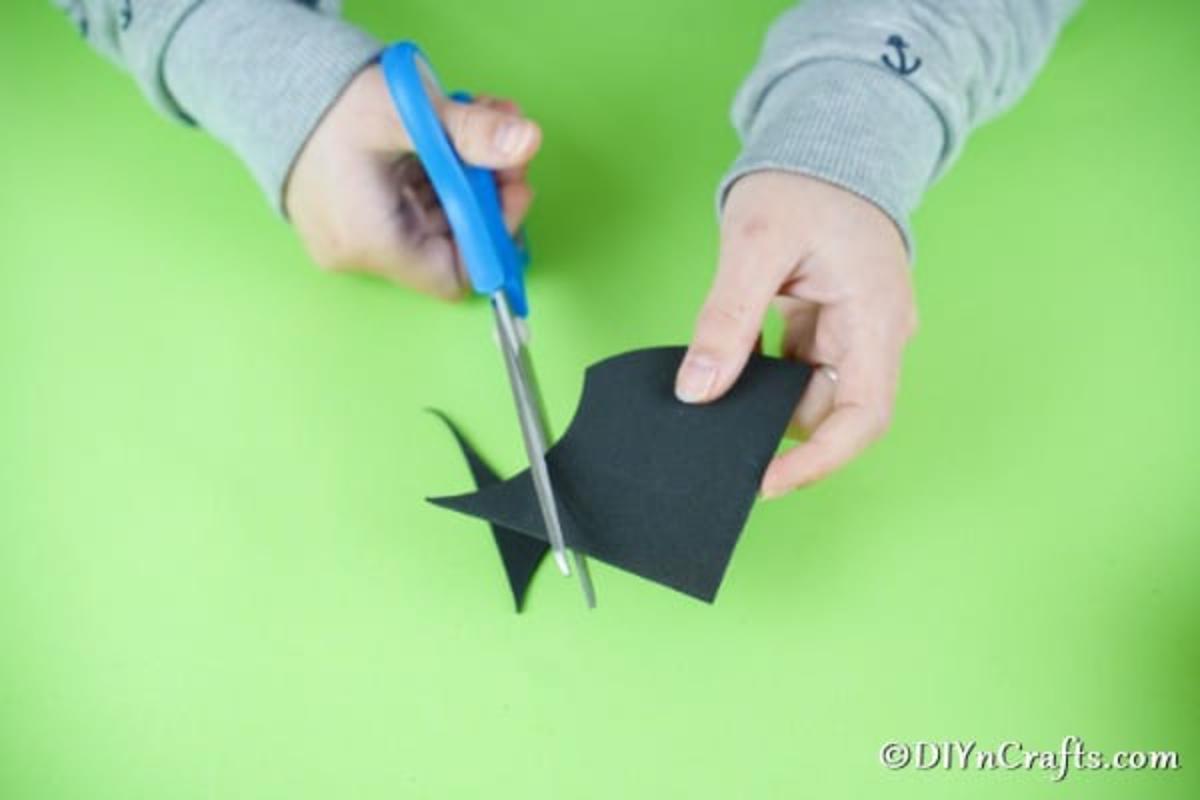
Glue the yellow head on the top of the body, and add the antenna on the top of the yellow head, gluing them to the back.
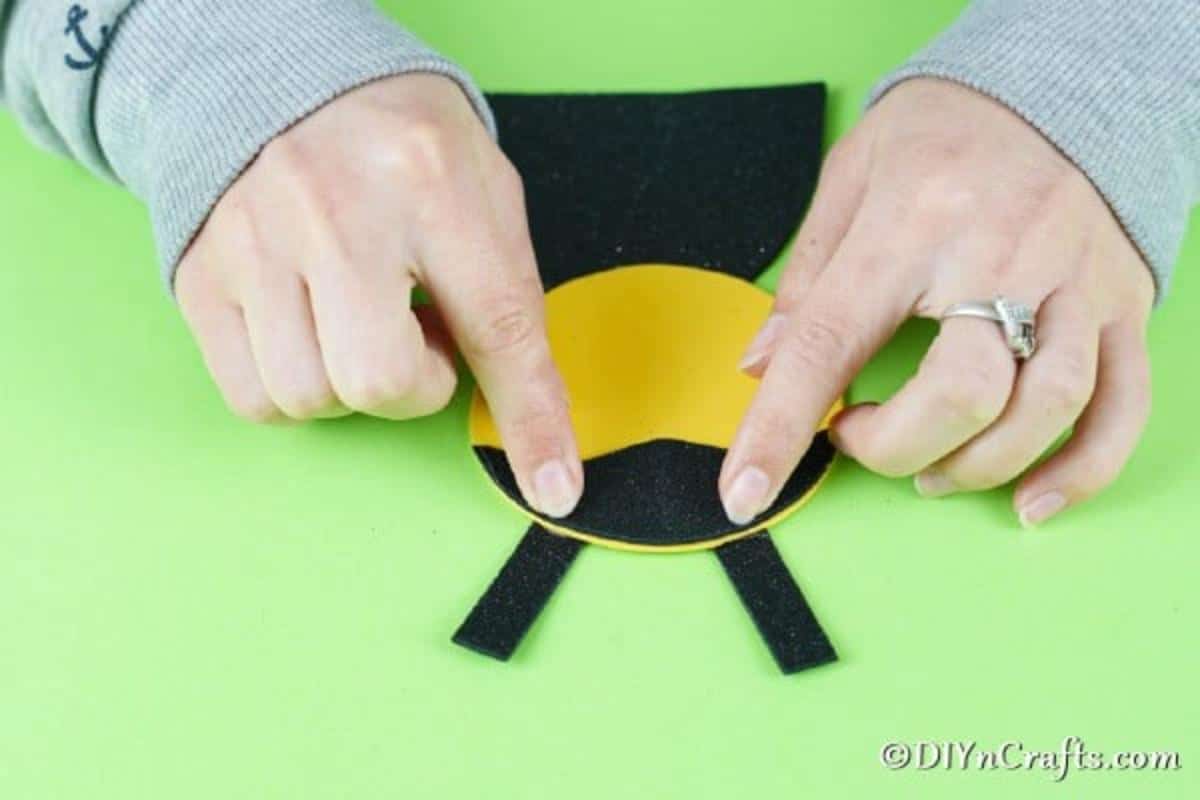
Now, trace and cut out three small red circles out of the red paper. Add one on each of the antenna, and set the third aside.
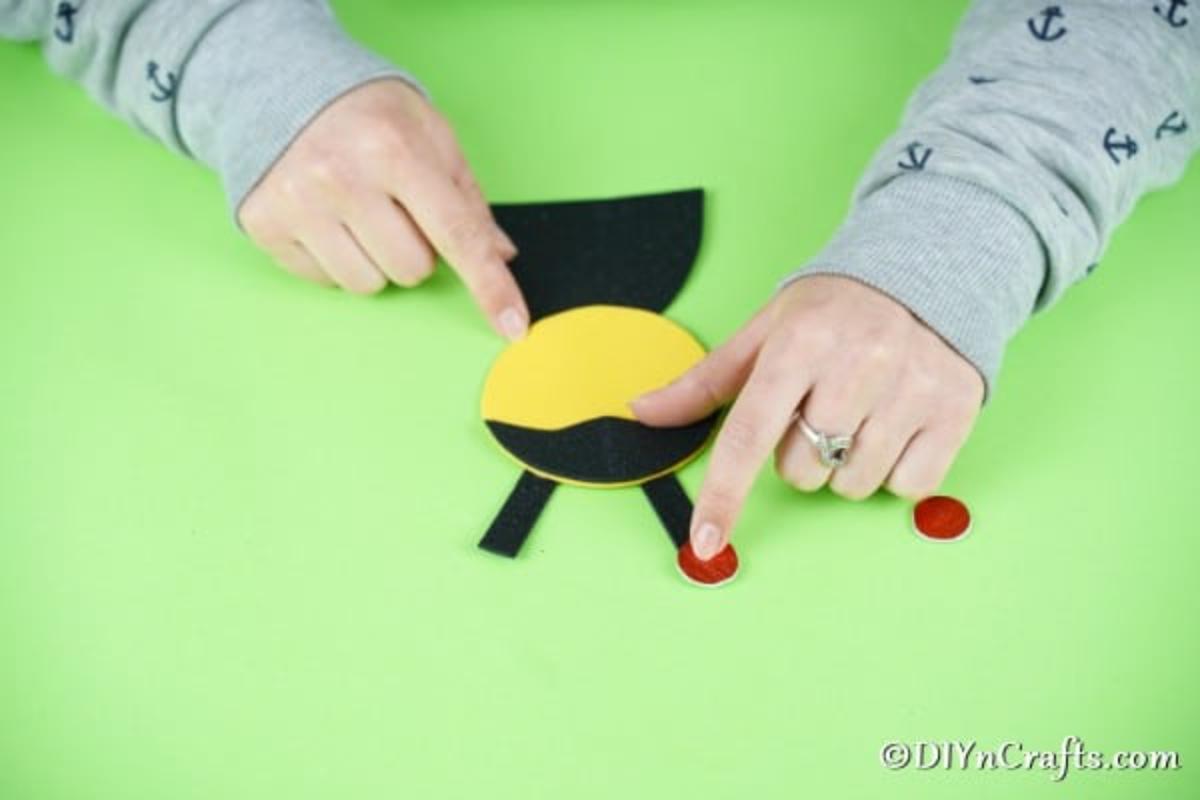
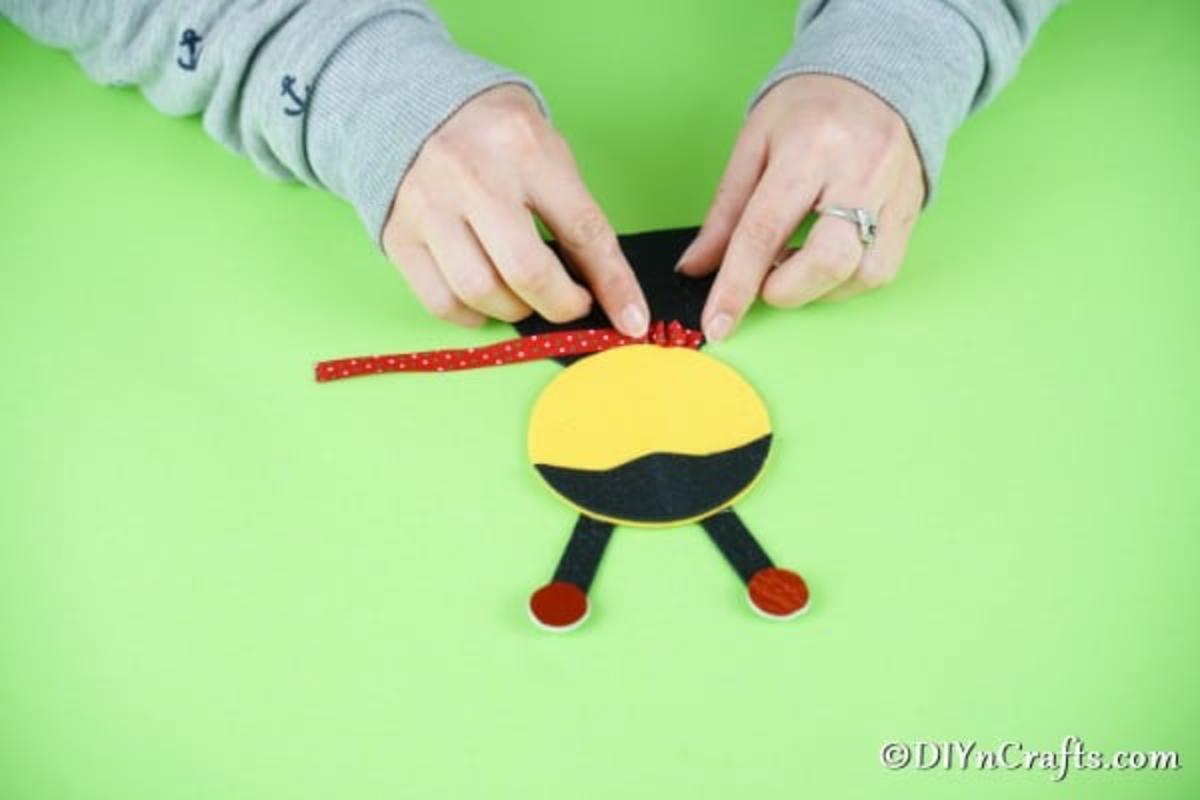
Take your ribbon, and start attaching it at the "neck." I glued one end in place, then bunched it up, gluing as I moved along so that it looked like a fluffy ribbon.
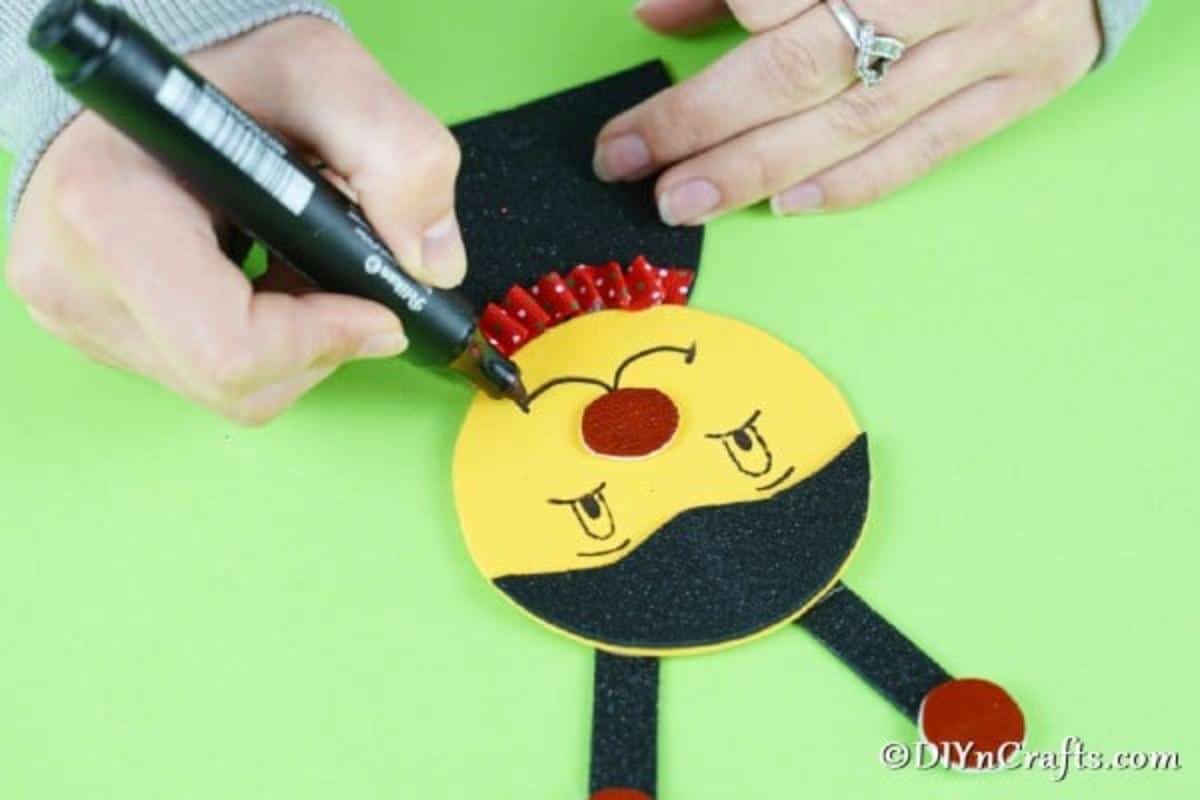
Next, you will add the third red circle to the center of the face and add eyes and a mouth using a black marker.
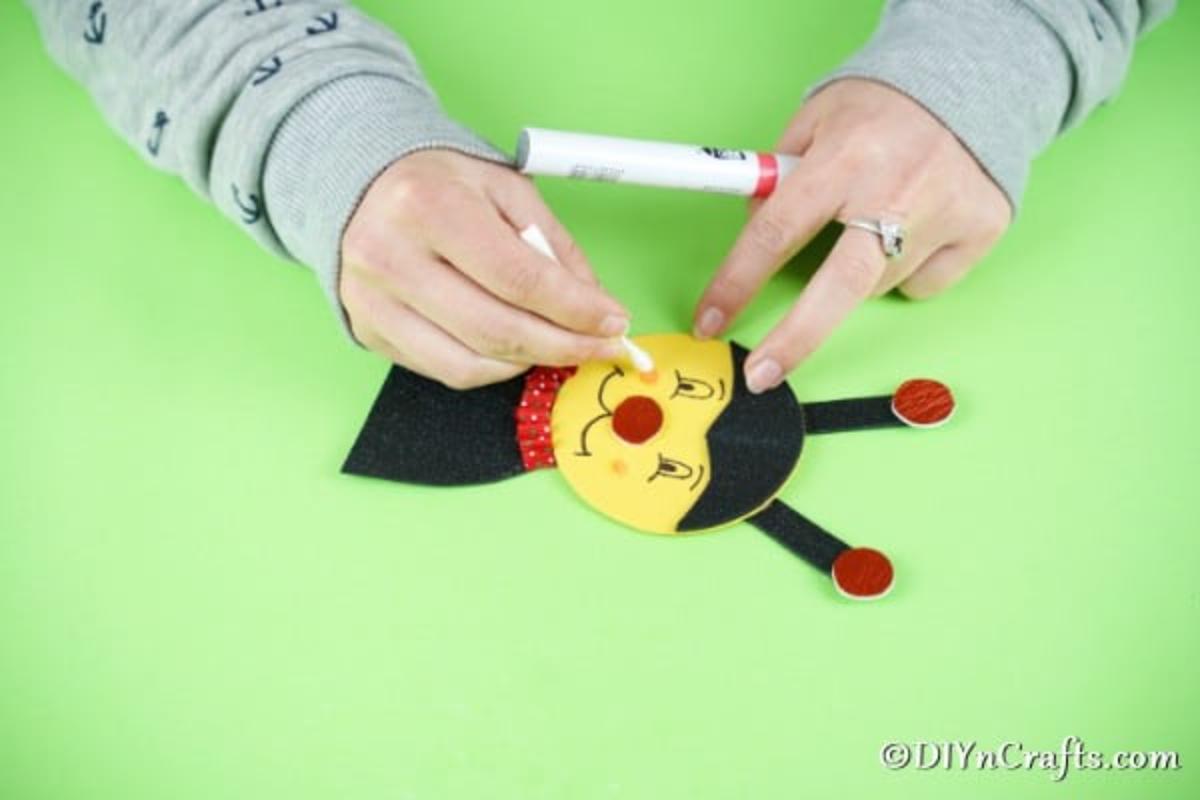
Use accent colors of white or pink paint pen to create "cheeks."
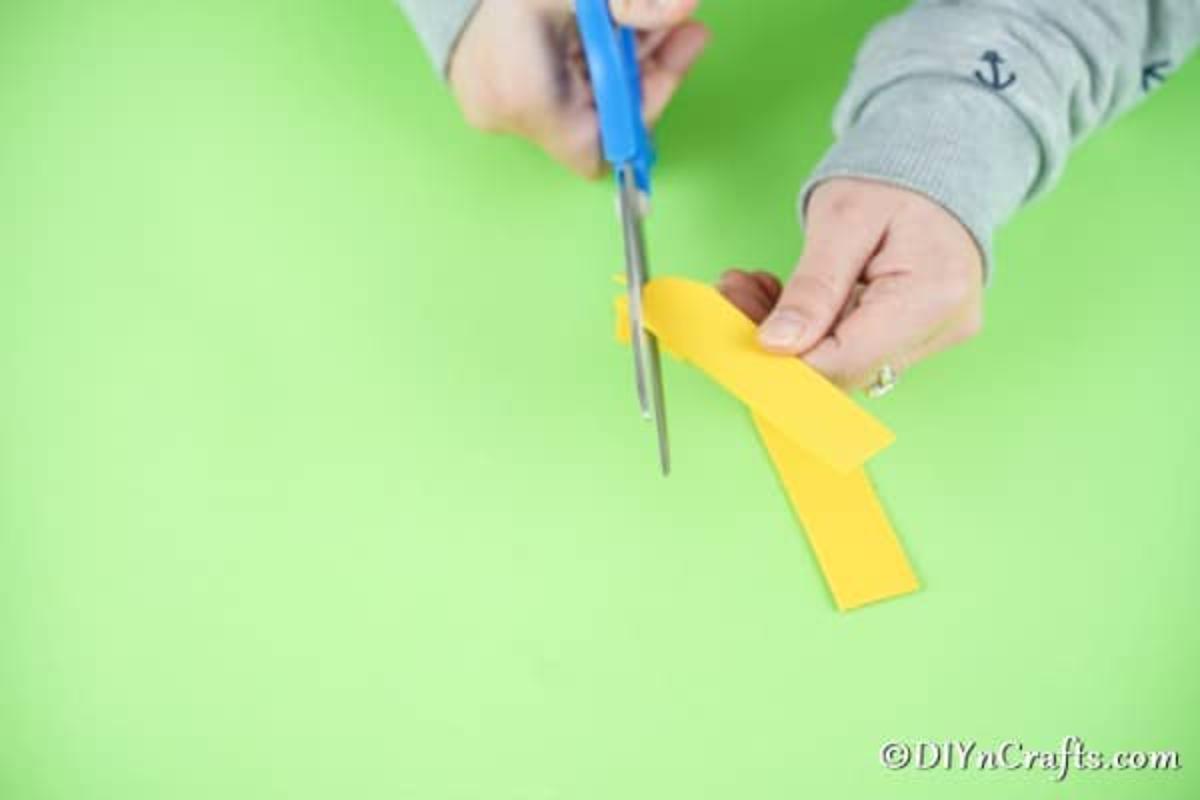
Now, you will cut out 2 arms from your yellow paper. A long shape similar to a cucumber or zucchini works well for these.
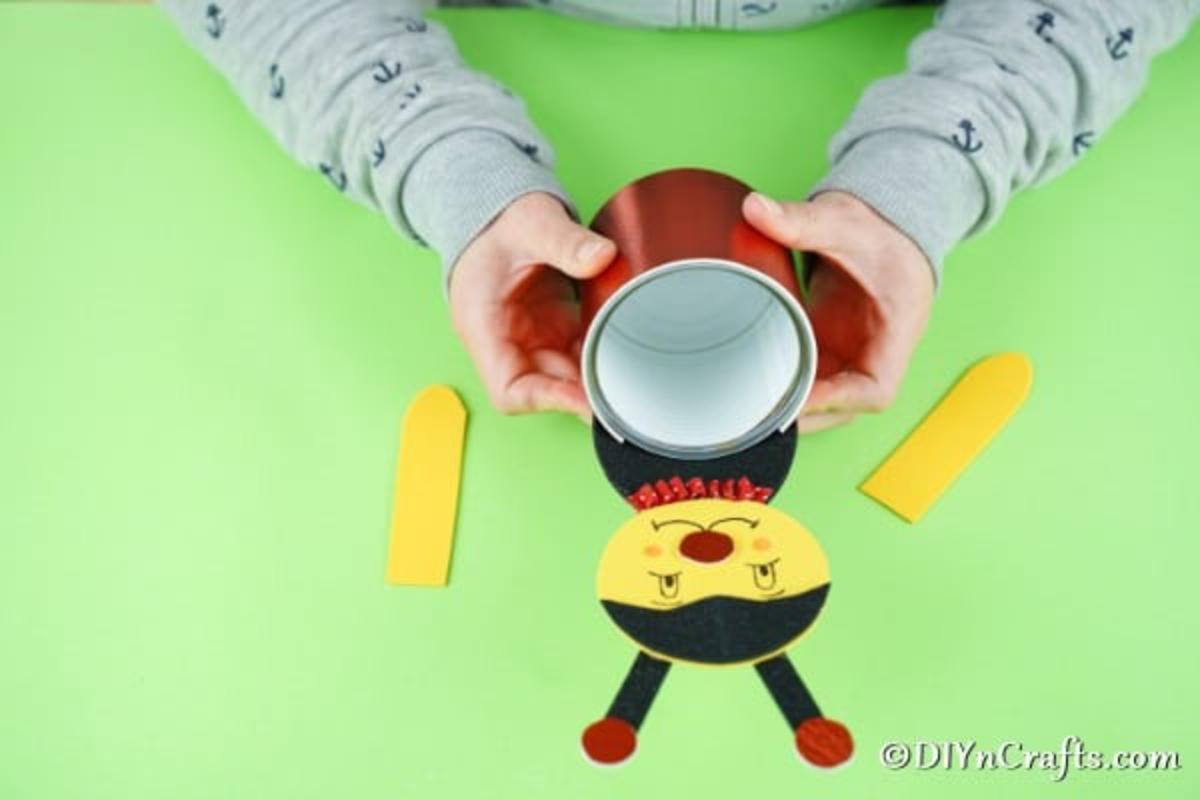
Glue the body of the ladybug to the open top of the can you covered with red paper earlier.
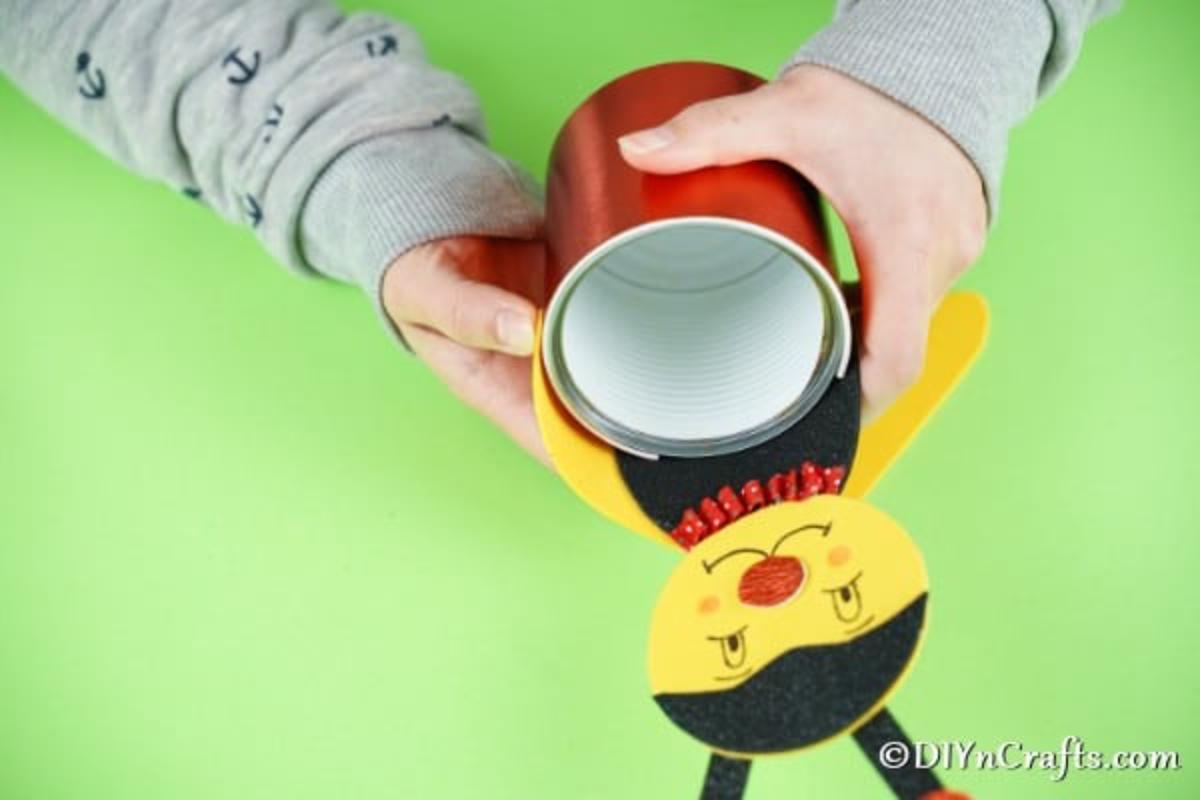
Now, attach the arms to the back of the ladybug's body, and then attach the "hand" or pointed end of each arm to the side of the can as shown.
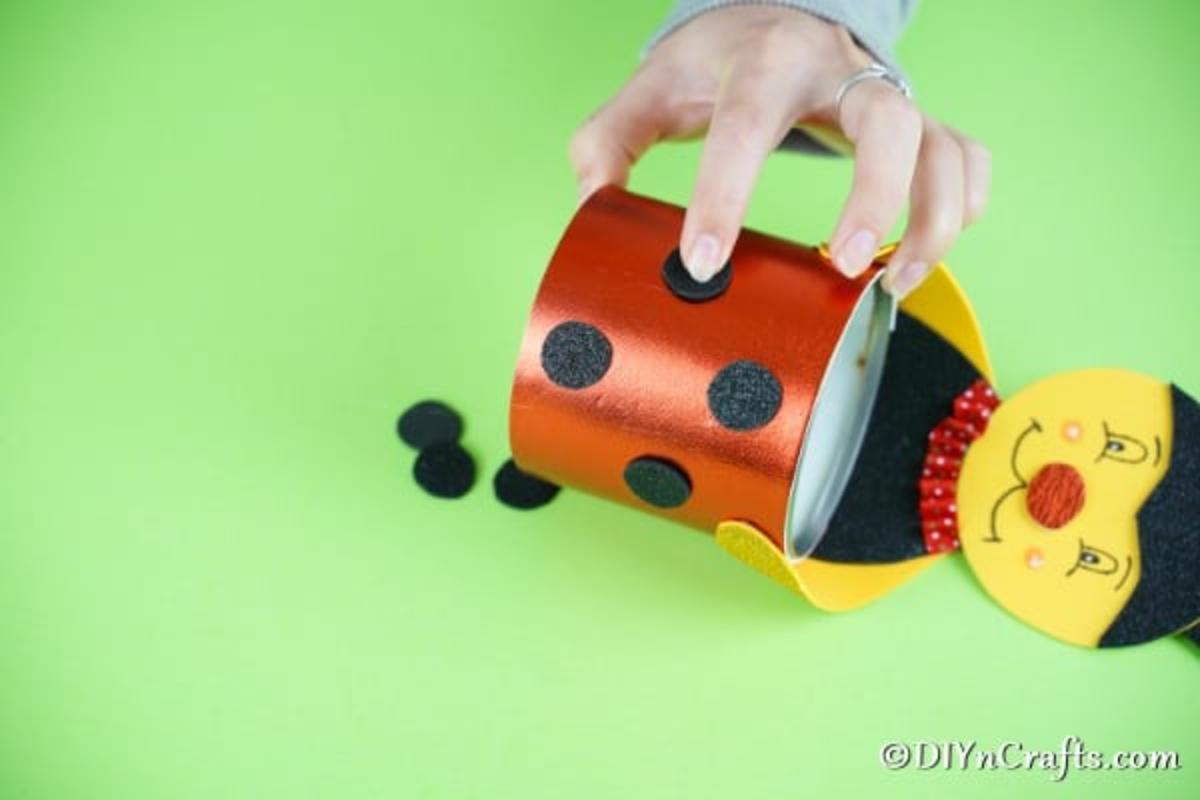
Next, you will cut out several small black circles to add dots to your ladybug. Start by gluing them around the outside of the red tin can.
Now, you will cut out two rounded "wings" from the red paper to attach to the back of the ladybug so they come out from the back and up to about halfway up the face.
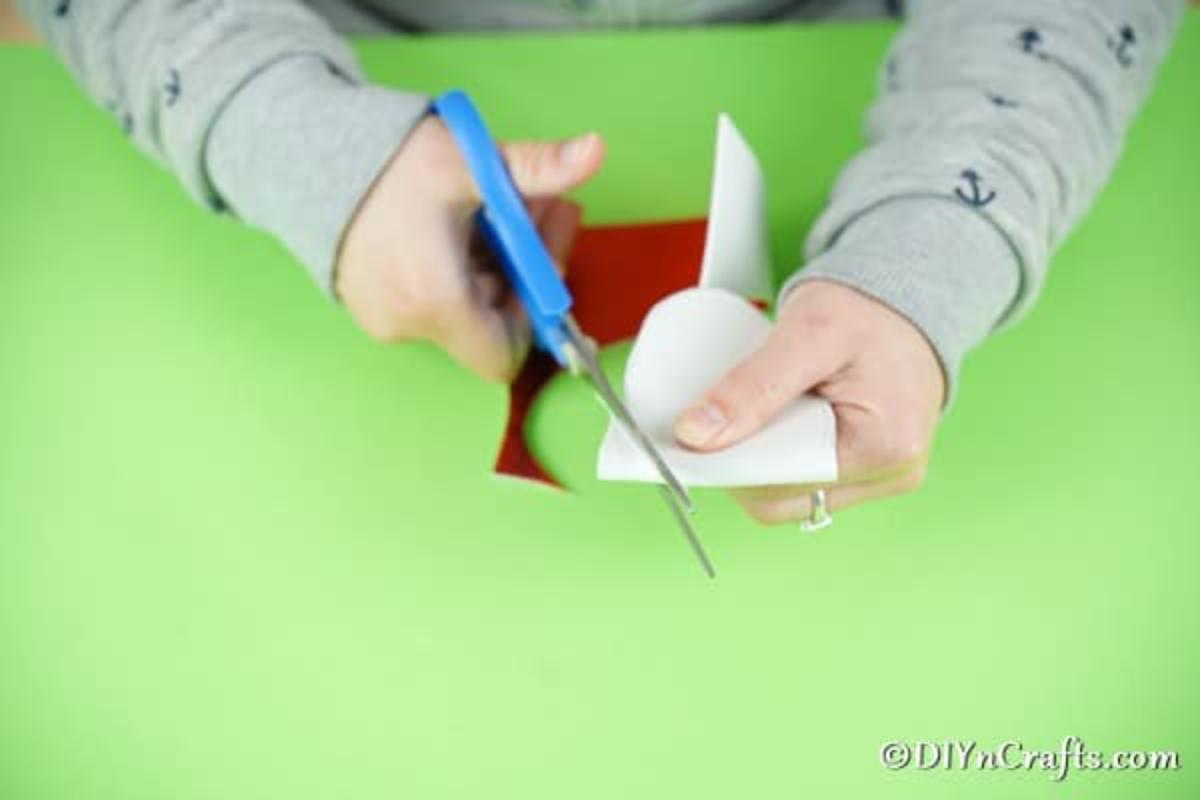
Add these wings to the back of the body as suggested and attach a few of the black circles.
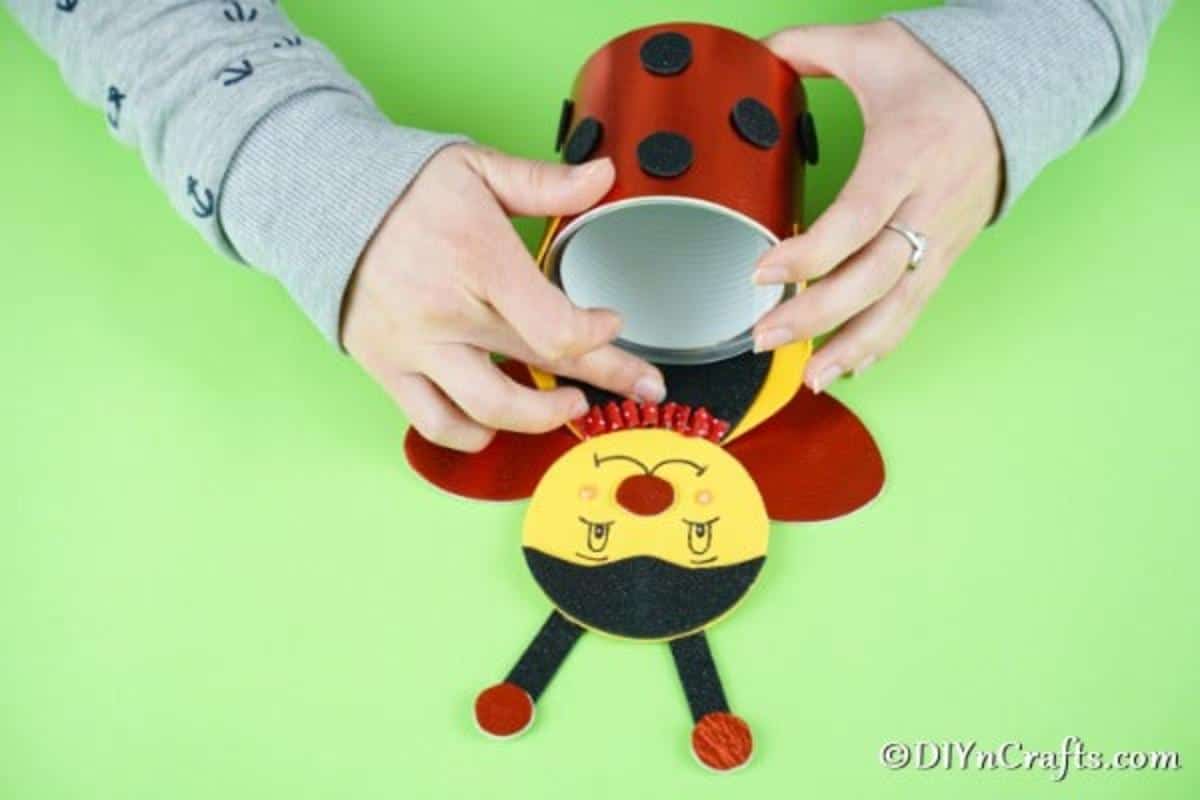
Now, you can fill your ladybug with pencils, pens, or whatever item you want to store!