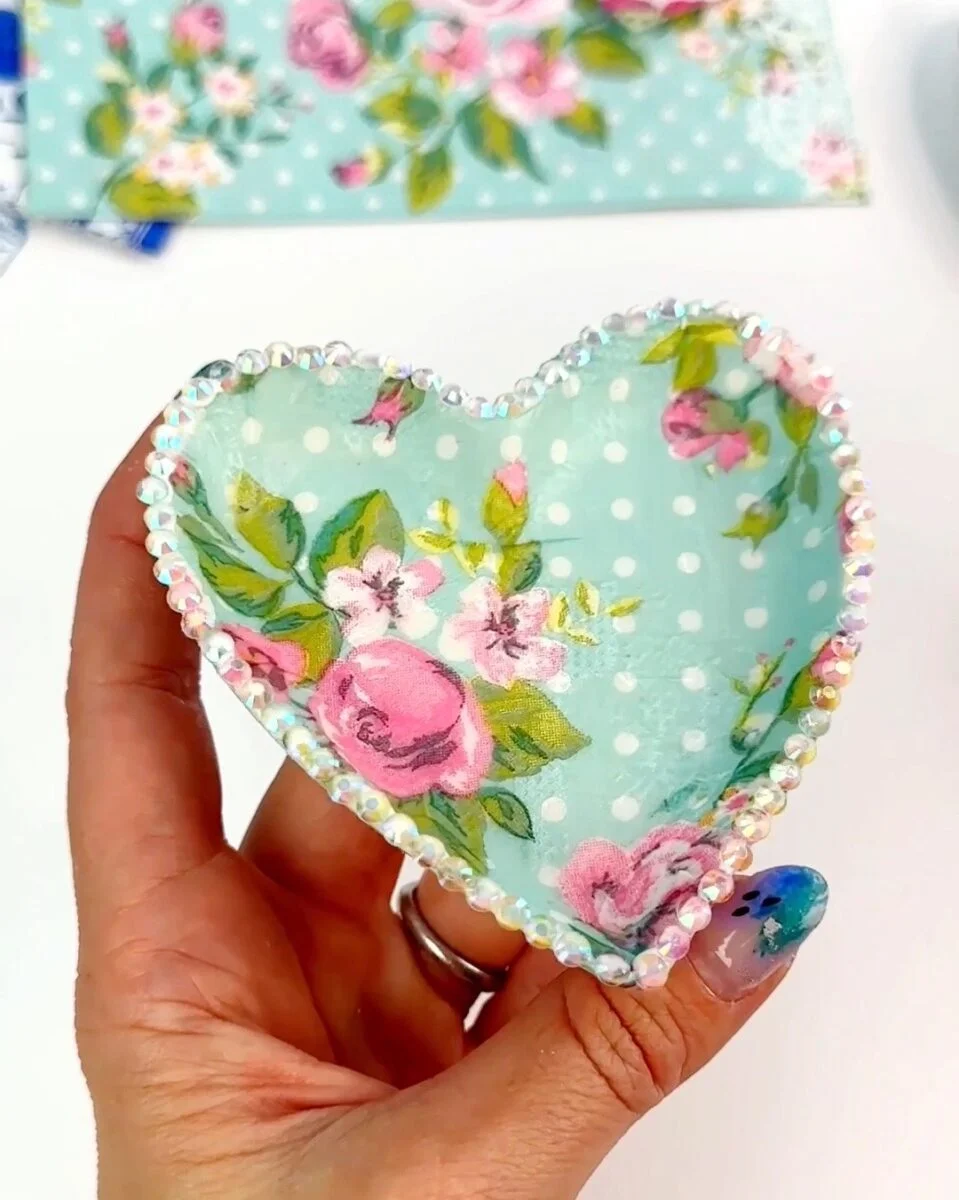
DIY Heart Dish
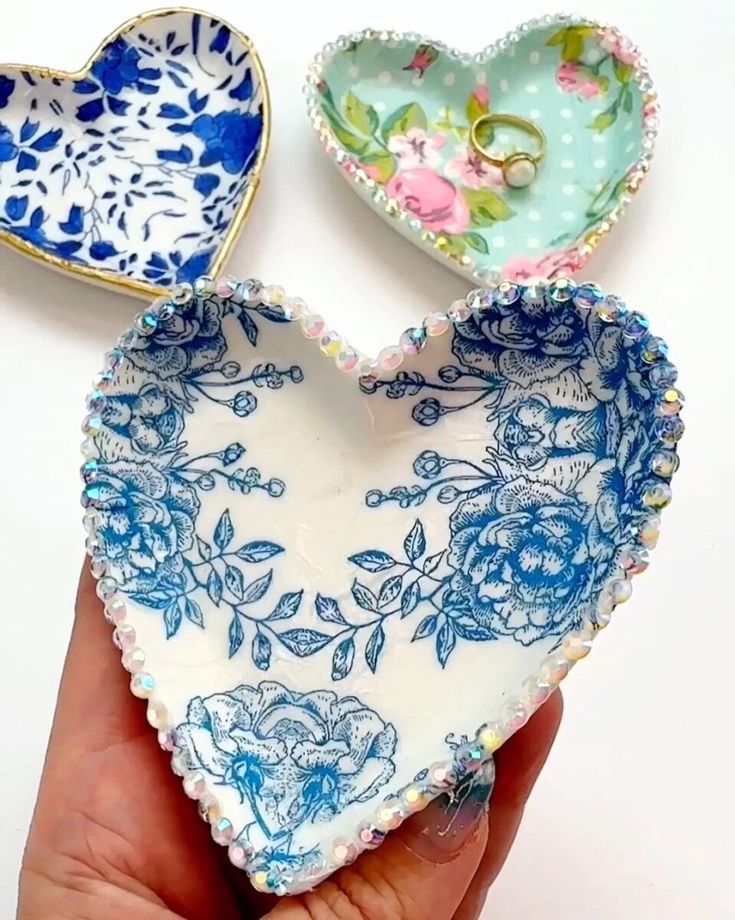
Creating a DIY Heart Dish is such a fun and creative project! This charming dish can be a lovely addition to your home decor or a heartfelt gift for someone special. Let your creativity shine through, and enjoy the satisfaction of making something unique with your own hands!
Supplies
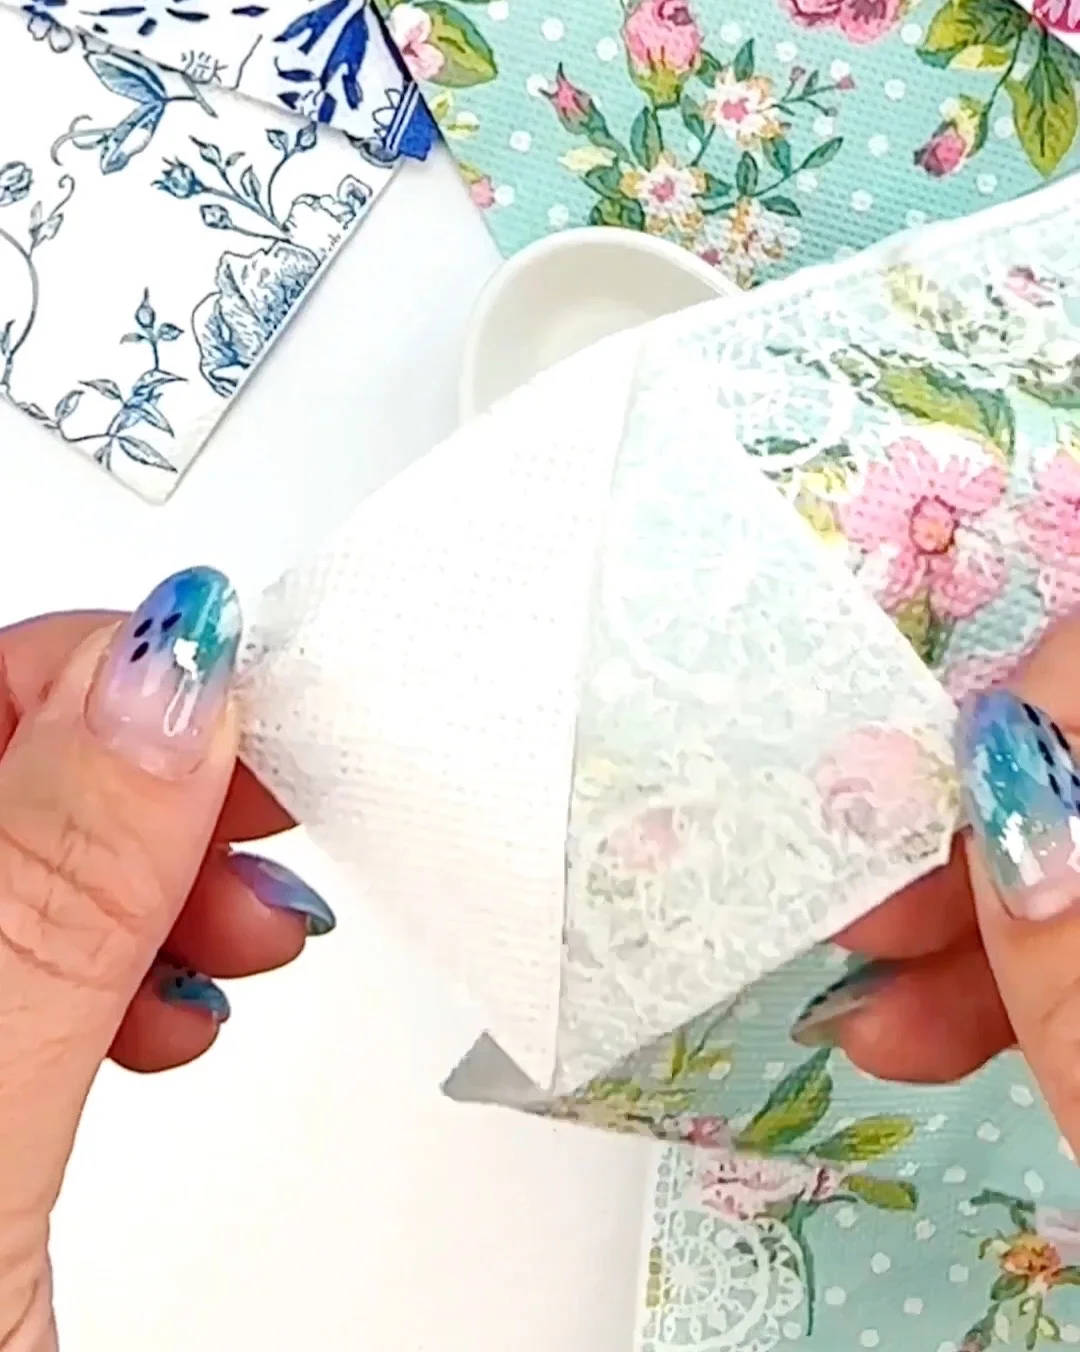
Step 3. Tear the napkin along the outline you just made.
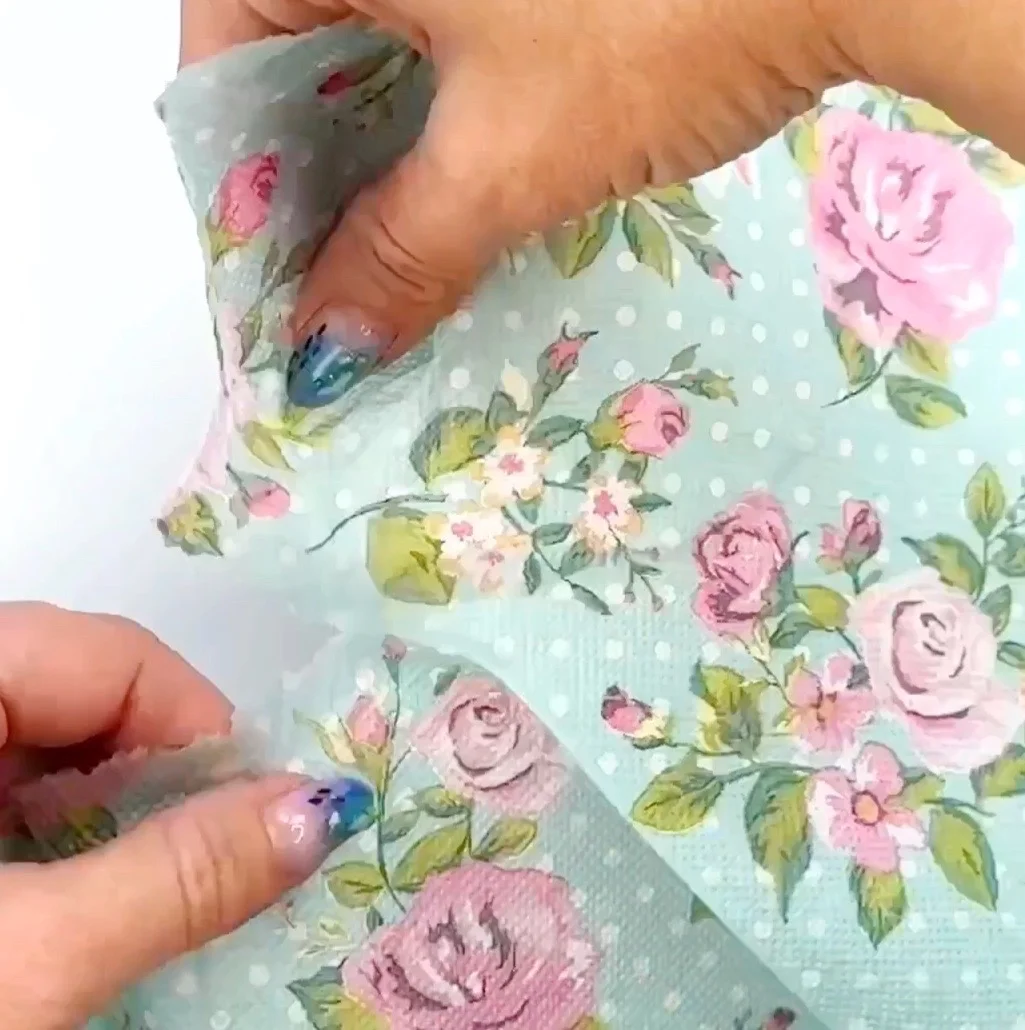
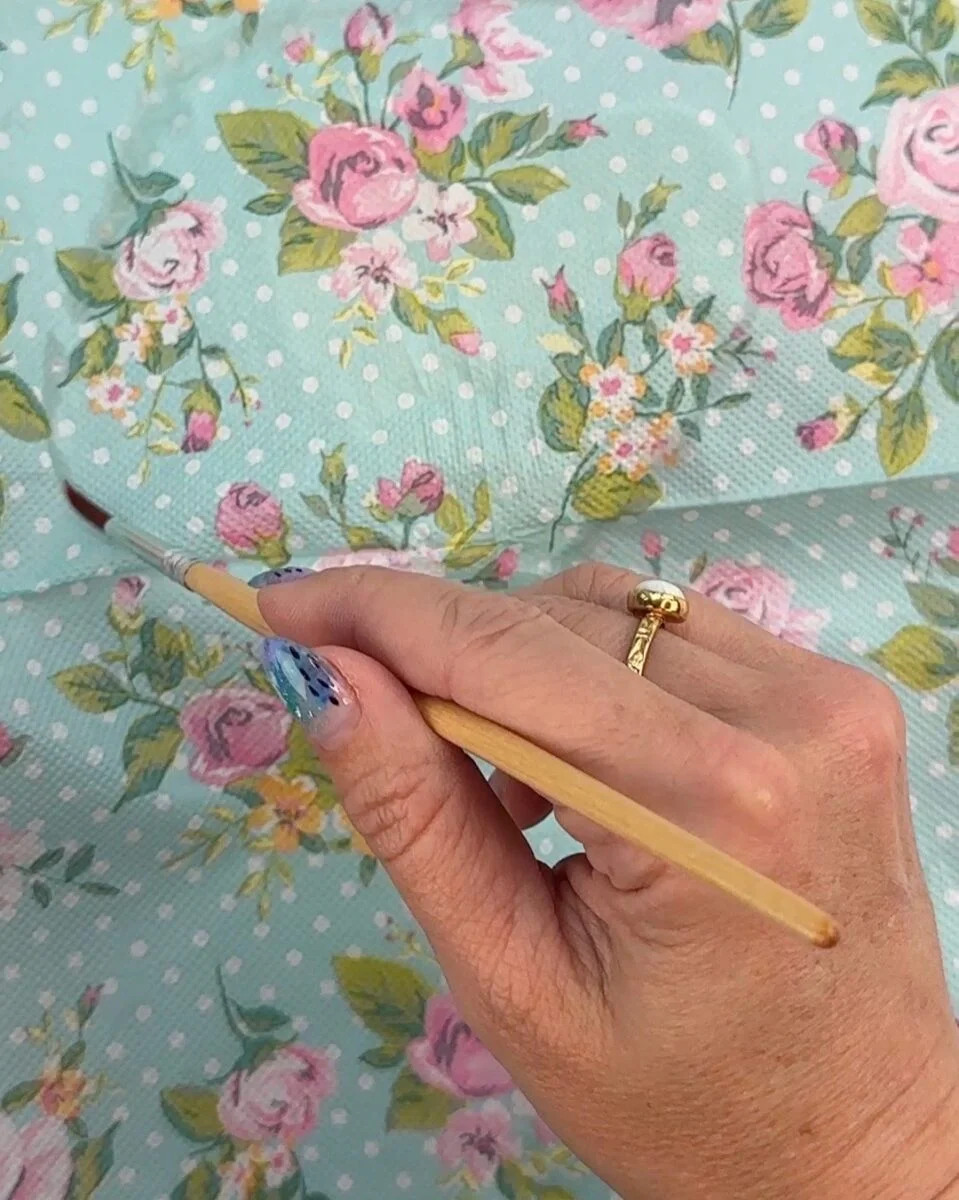
Step 4. Next, place the napkin printed side down on top of a piece of Saran wrap. Add Mod Podge to the napkin using a paintbrush. Make sure to use a light touch so as to not tear the napkin.
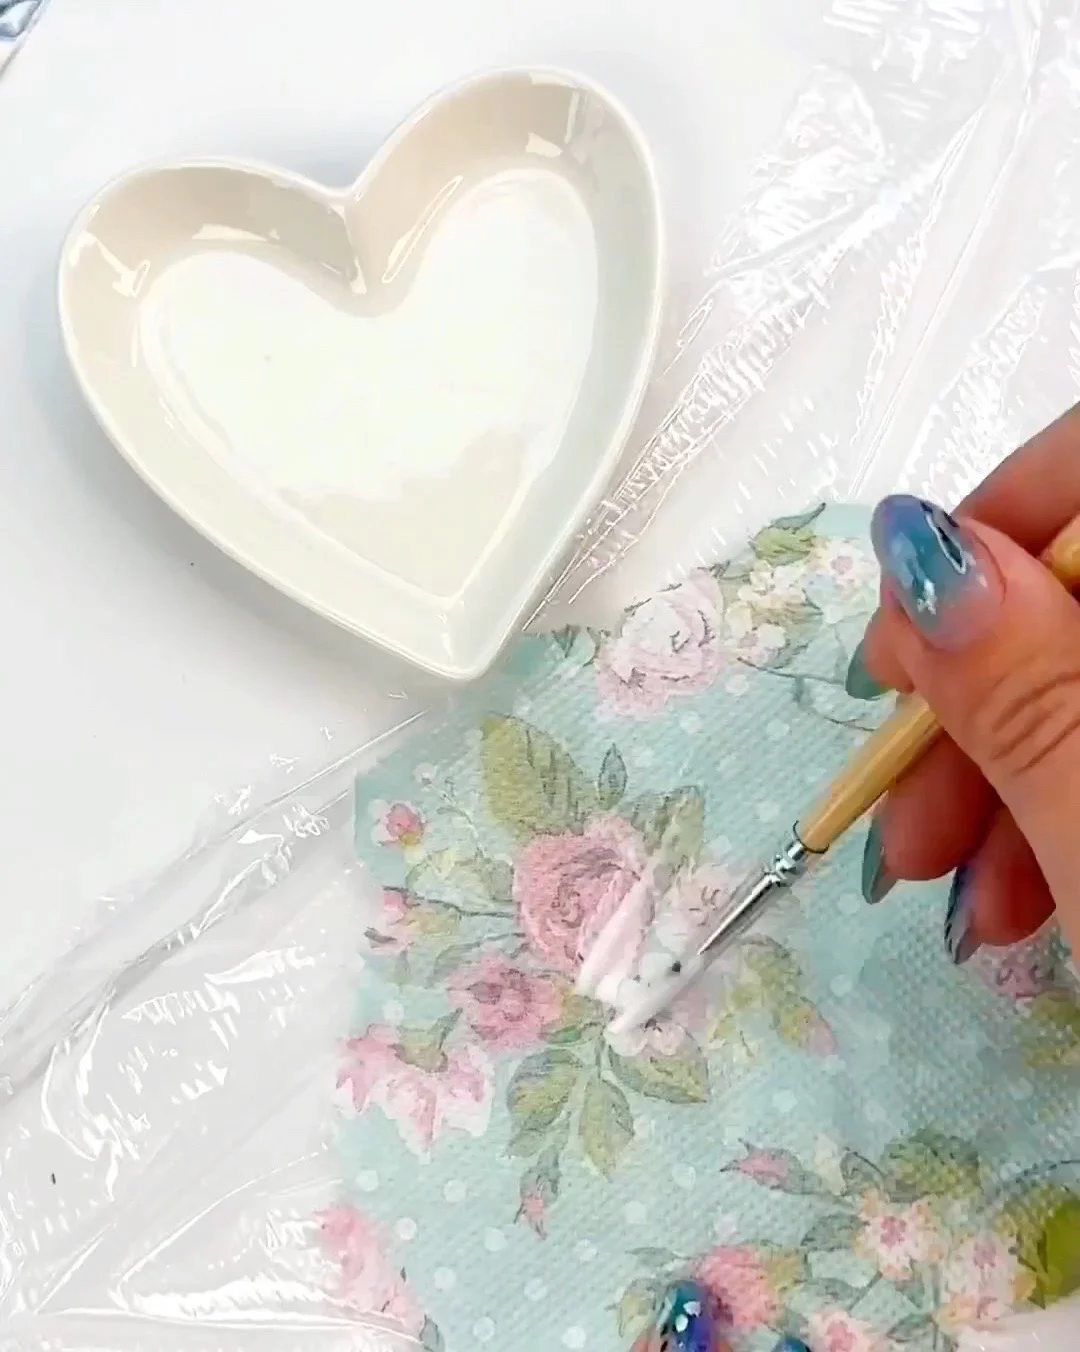
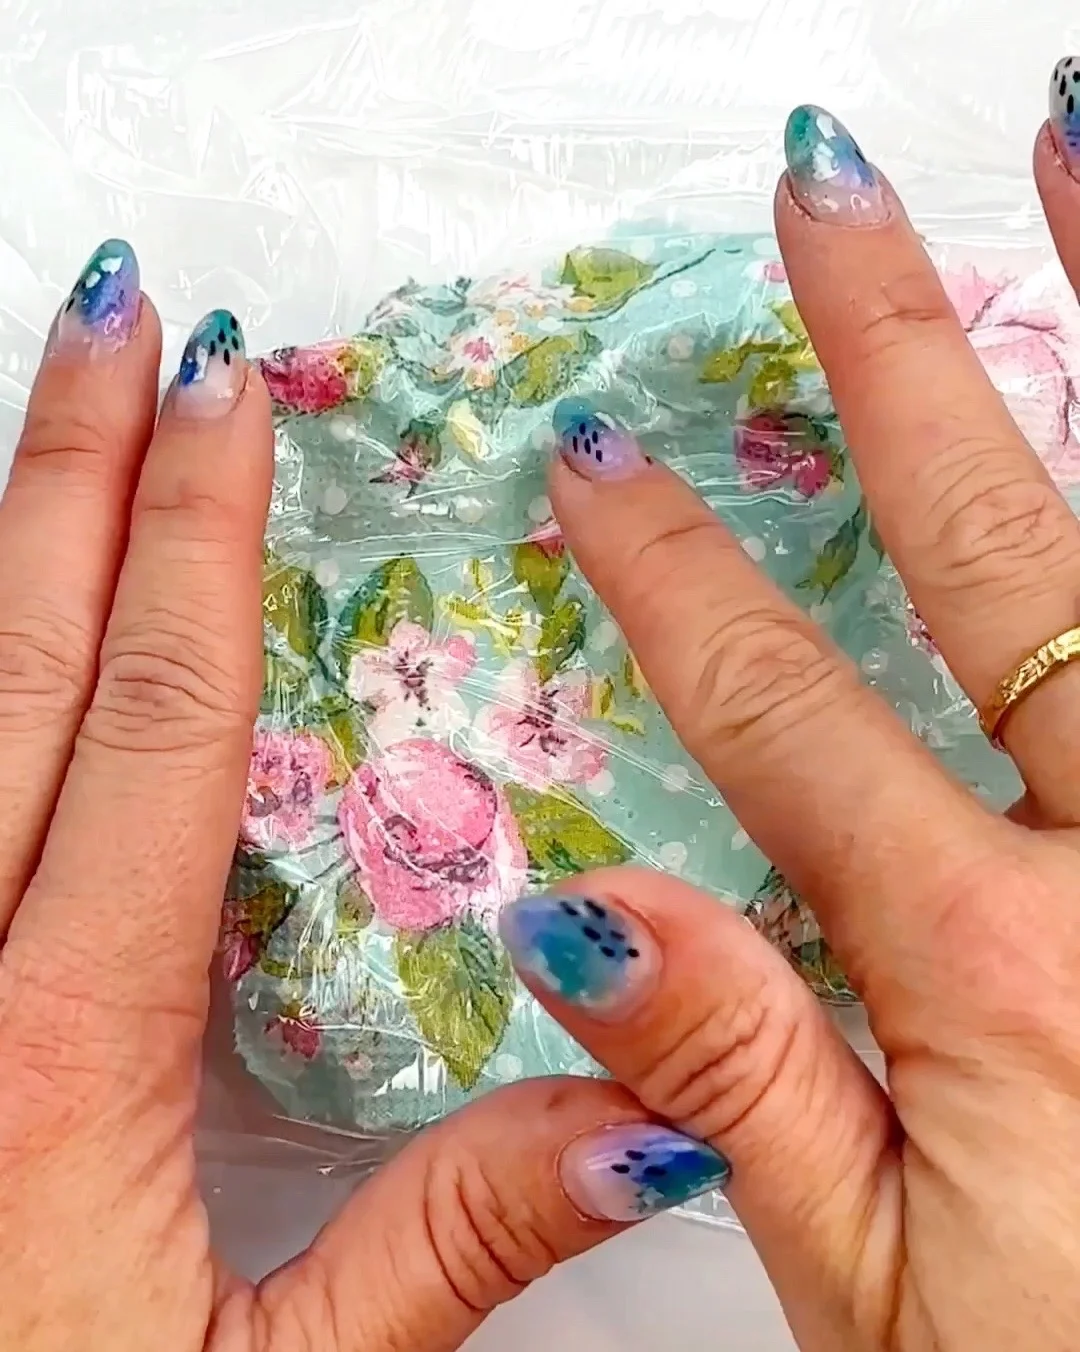
Step 5. Pick up the Saran Wrap and turn it over and place it directly onto the item you are decoupaging onto. With the Saran Wrap in place, smooth out the wrinkles and air bubbles, pressing down with your fingers.
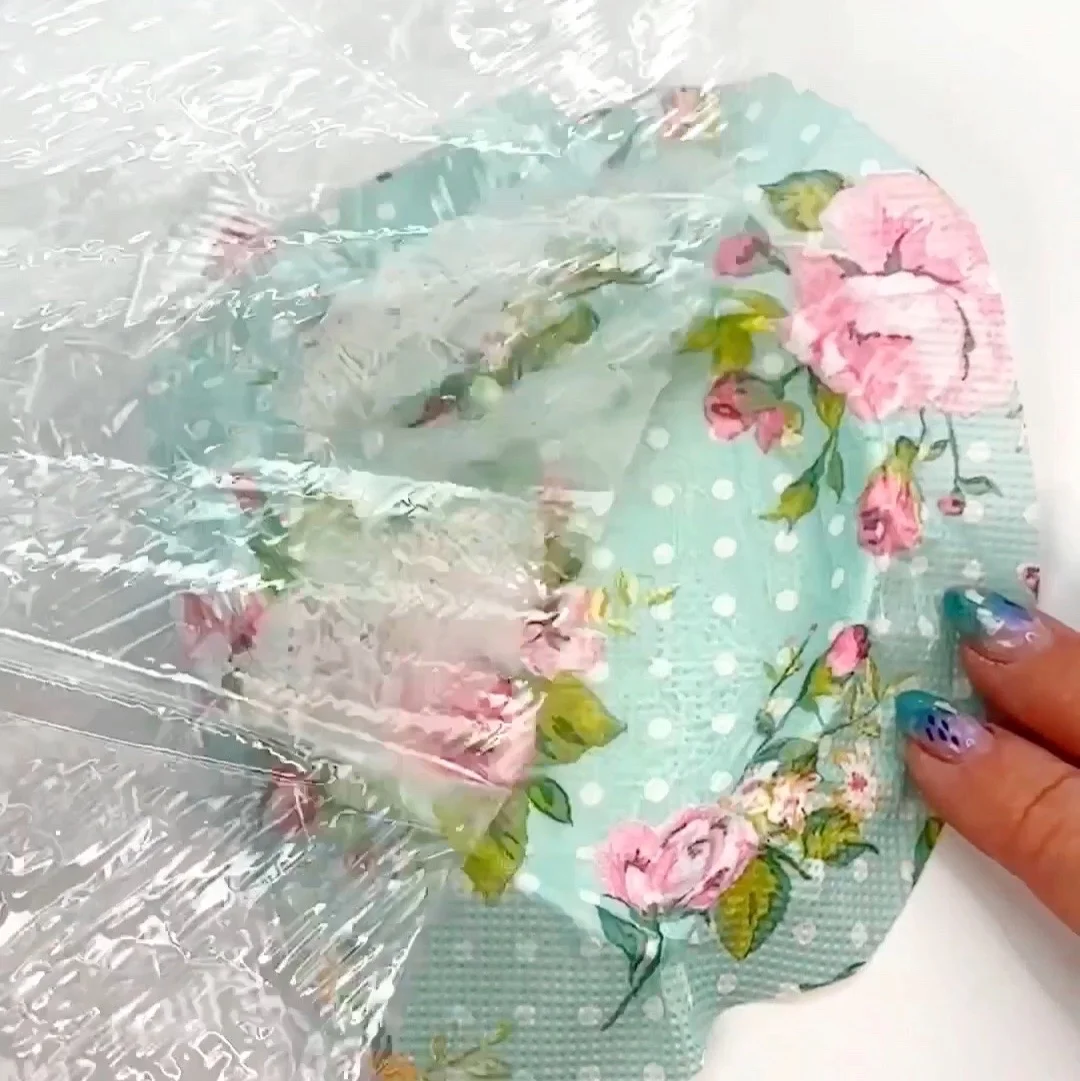
Step 6. Carefully remove the Saran Wrap.
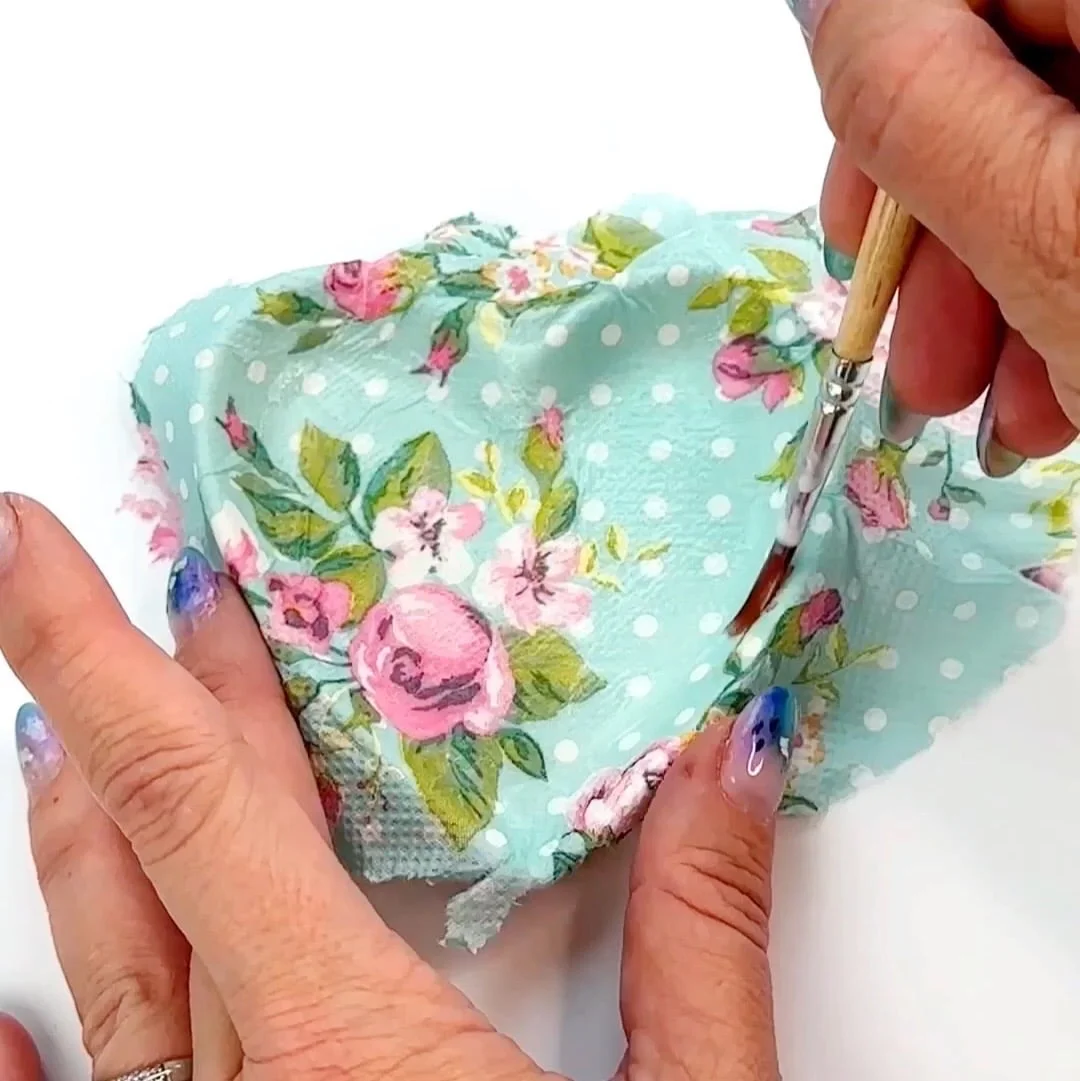
Step 7. Lightly touch up any areas of the napkin that are still raised with a paint brush and Mod Podge.
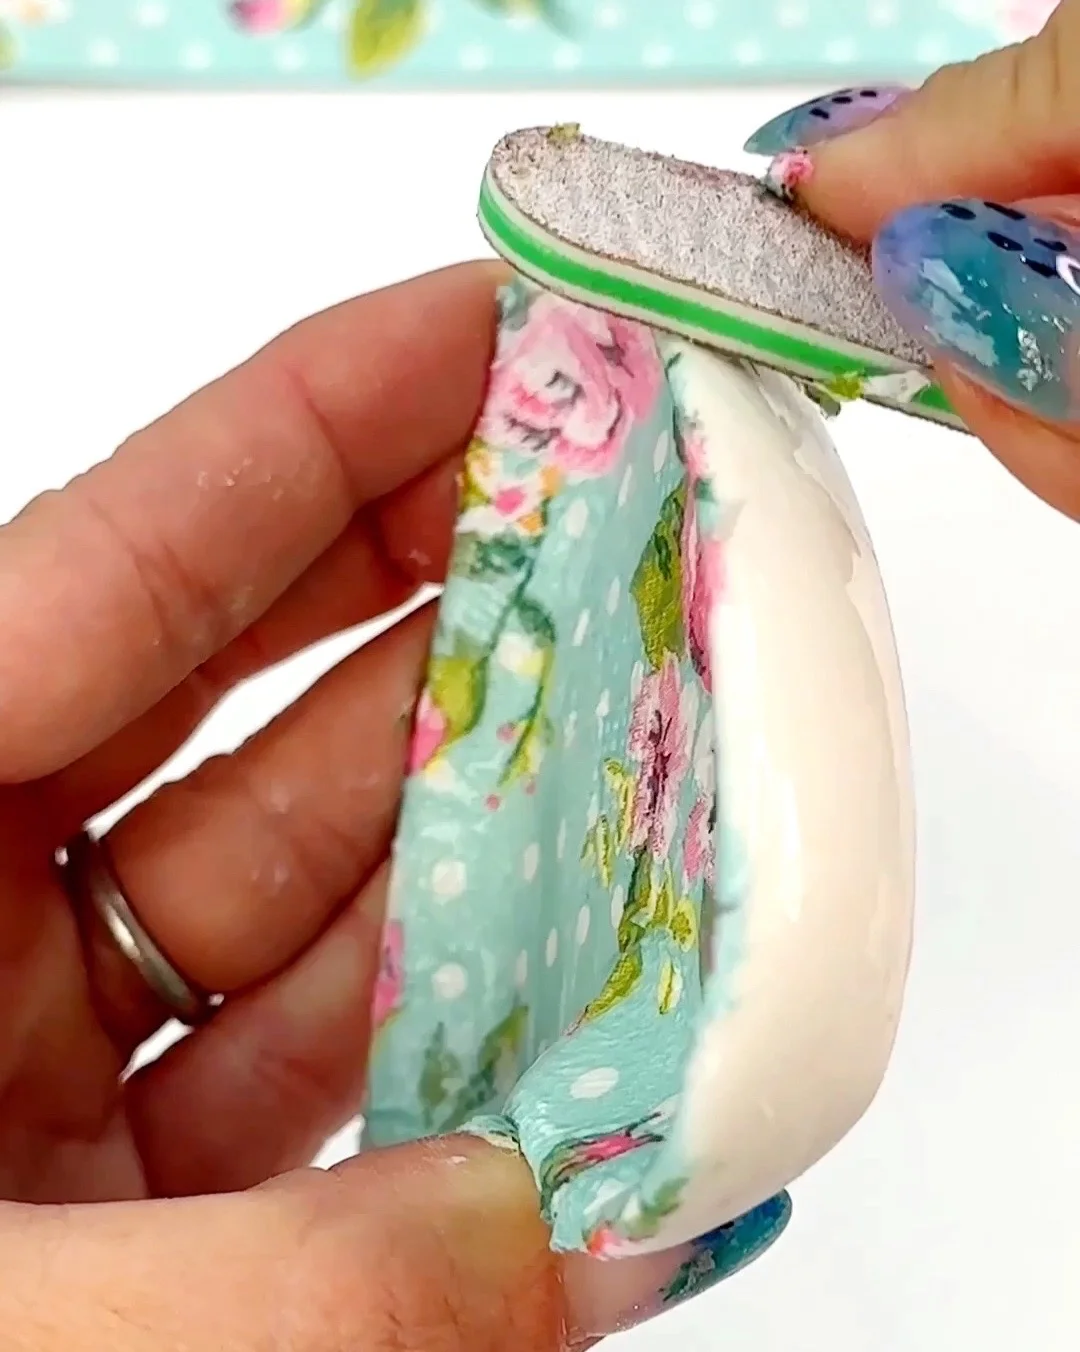
Step 8. For the leftover napkin edges, wait for them to dry and then use a nail file to remove them
Step 8. Add rhinestones to the outline of the heart dish.
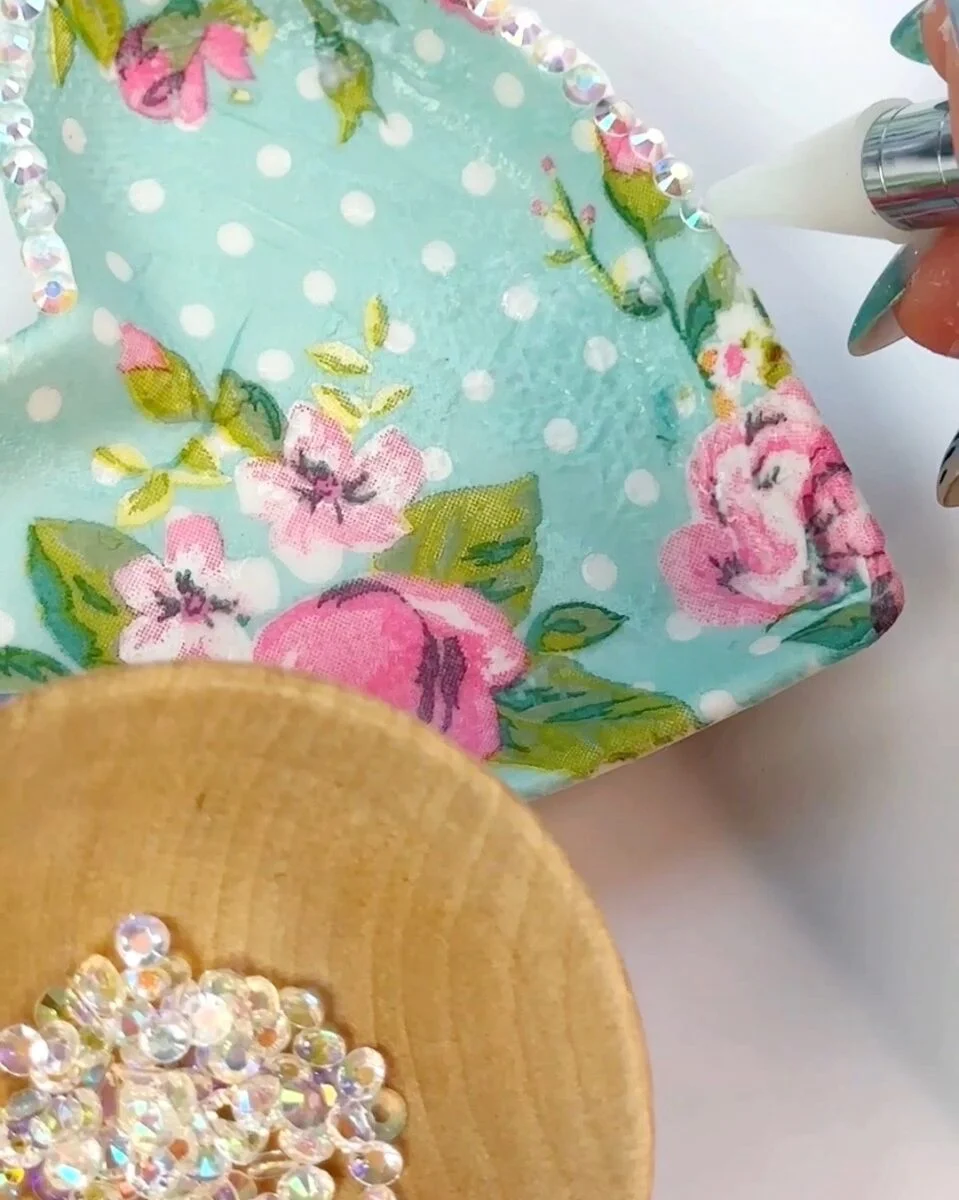
Step 9. Enjoy your beautiful new heart ring dish.